
 admin
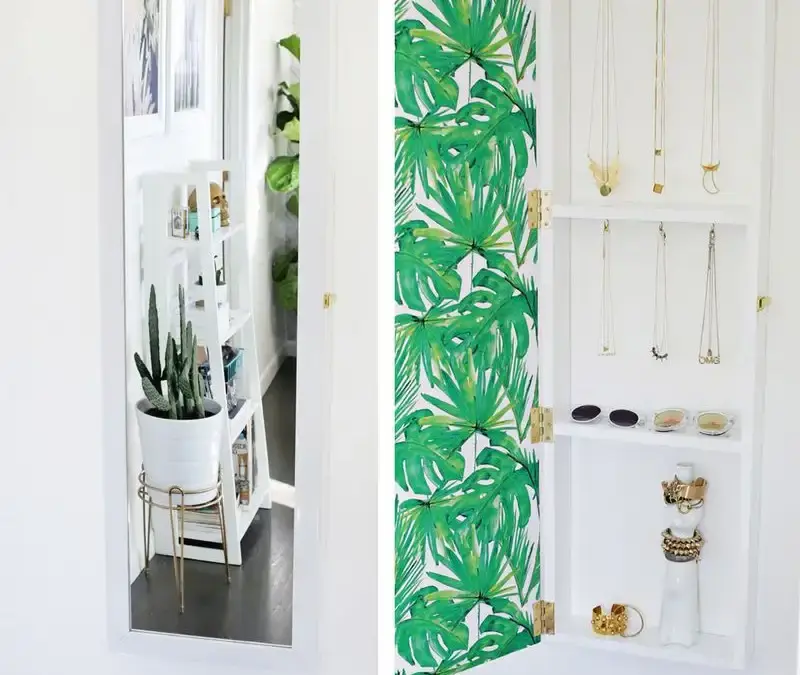
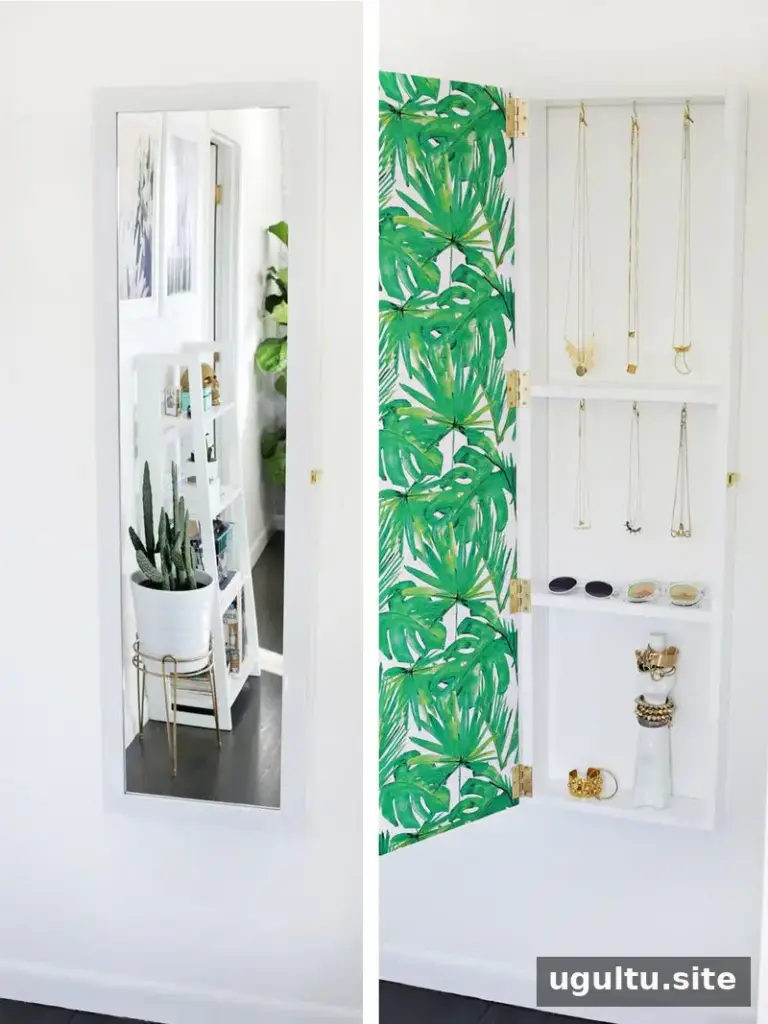
A DIY jewelry storage mirror is a practical way to organize accessories when closet or bedroom space is limited. This wall-mounted project combines a full-length mirror with a shallow cabinet, keeping jewelry out of sight while making necklaces and other pieces easy to find.
The mirror acts as the cabinet door, while a simple wooden frame creates space for shelves and hooks behind it. You can adjust the number and placement of the compartments to suit the accessories you want to store.
Materials for a DIY Jewelry Storage Mirror
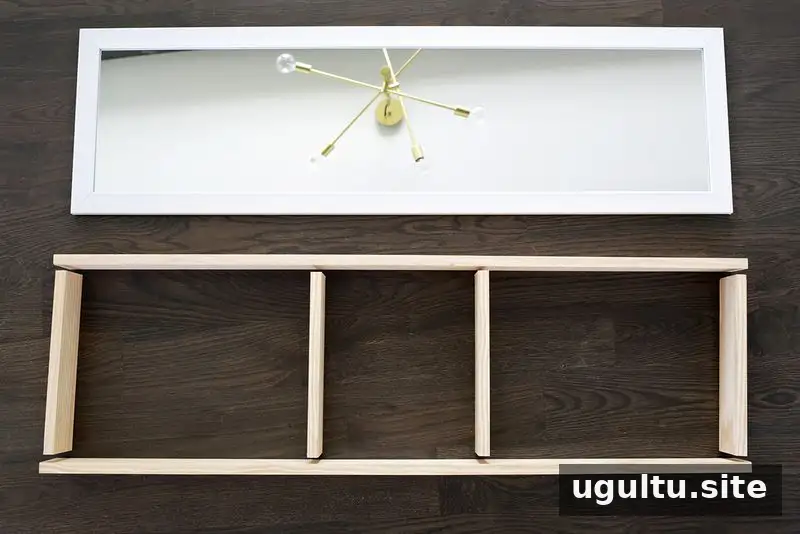
Gather the following supplies before you begin:
- Three 6-foot boards measuring 3 1/2 inches wide and 3/4 inch thick
- A full-length mirror
- Wood screws and super glue
- Paint or wood stain
- Two D-ring hangers
- A cabinet catch
- Four 2 1/2-inch brass hinges
- Cup hooks
- Removable wallpaper and an X-Acto knife (optional)
Measure the mirror before cutting any boards. The frame should match its overall size, and accurate measurements help the mirror sit evenly over the cabinet.
Build the Wooden Frame
Cut two boards to the exact length of the mirror. Cut four more pieces to fit between the long boards. If your boards are 3/4 inch thick, subtract 1 1/2 inches from the mirror’s width to calculate the length of each crosspiece. A home improvement store can cut the boards, or you can use a jigsaw if you do not have a miter saw.
Position two crosspieces at the top and bottom to form a rectangle. Install the remaining two between them to create three sections. Add more crosspieces if you want additional compartments.
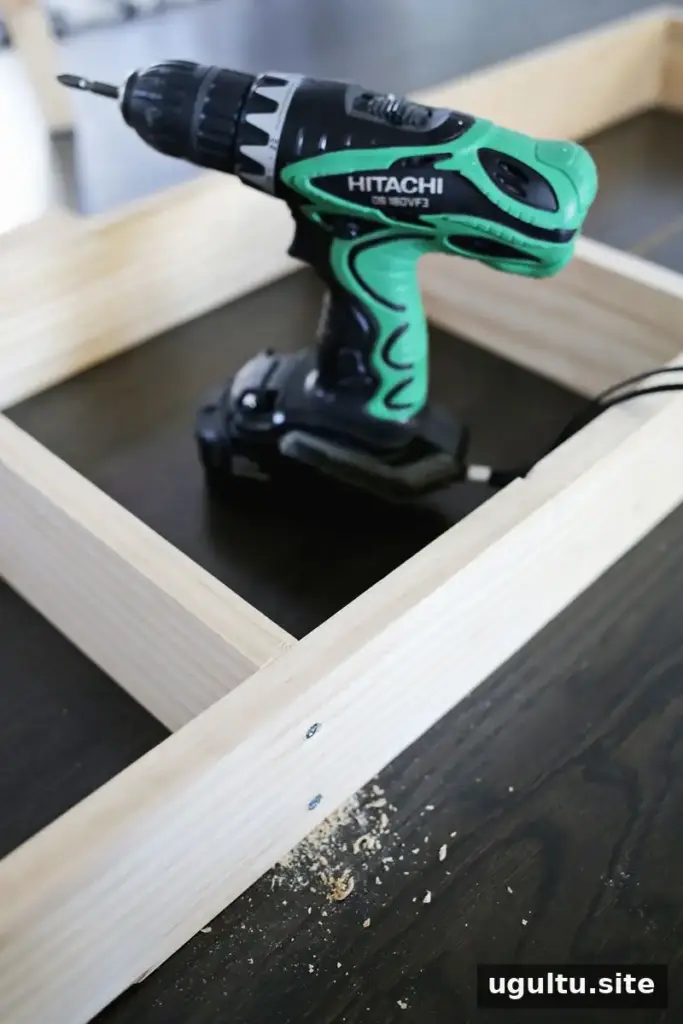
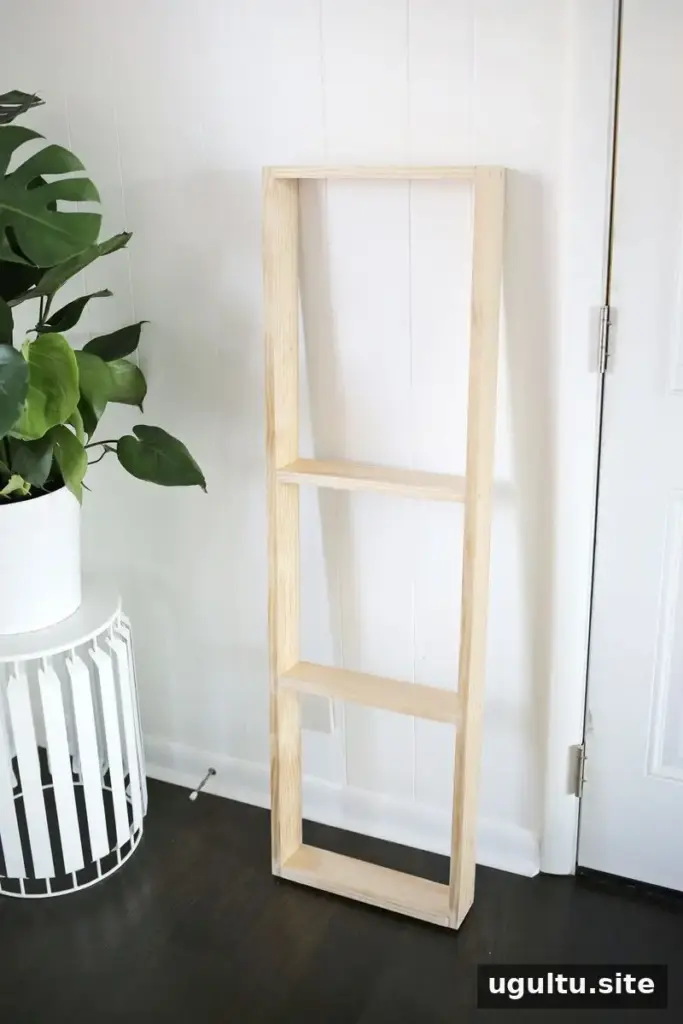
Fasten the crosspieces through the outside edges of the long boards with wood screws. Pre-drilling the holes can make assembly easier, especially when working with hardwood. Once the frame is assembled, paint or stain it, allowing the finish to dry according to its product instructions.
Attach the Mirror and Prepare to Hang It
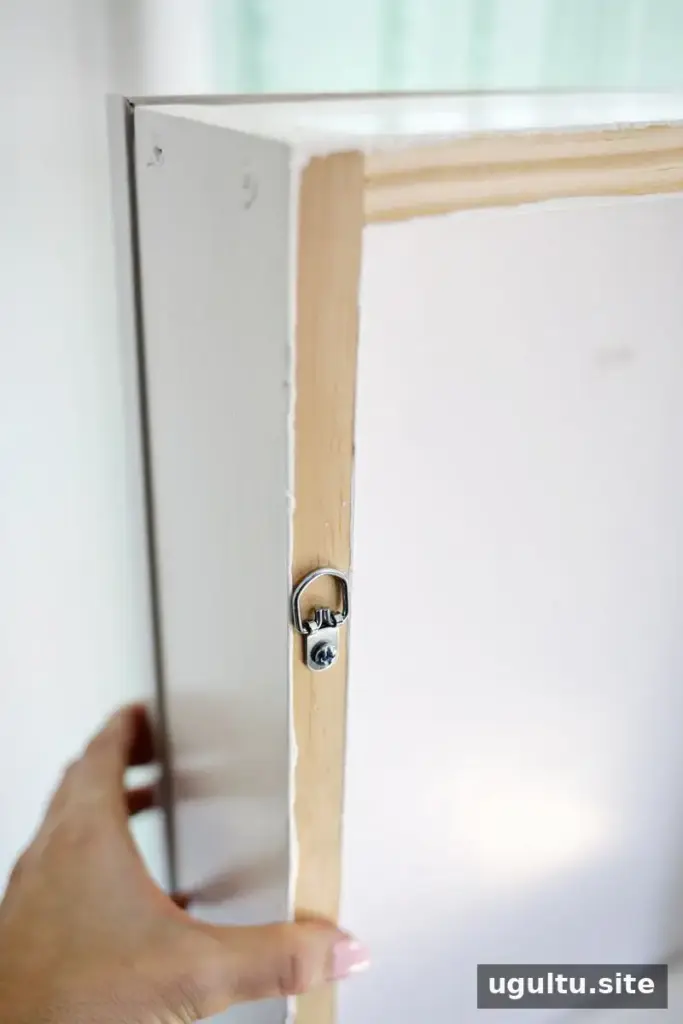
Install the two D-ring hangers on the back of the frame, about 4 inches down from its top edge. Make sure they are firmly attached and positioned evenly.
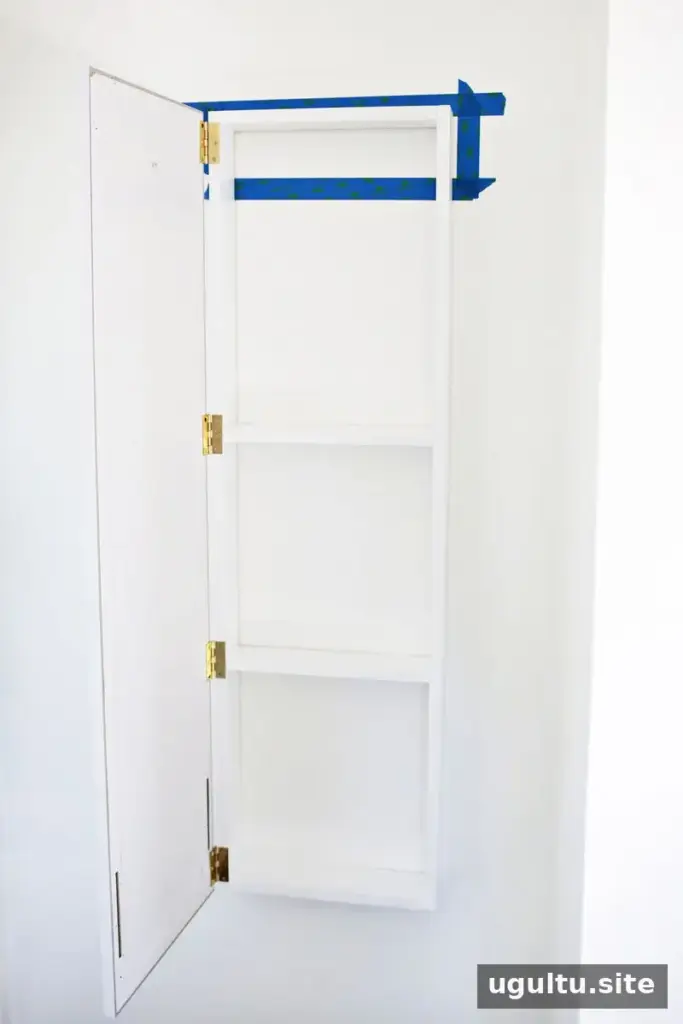
Choose which side the mirror door should open from, then attach the four brass hinges to the corresponding front edge of the frame. Close the hinges and apply a few small drops of super glue to their tops. Carefully position the back of the mirror over the frame so the hinges align, and allow the glue to set.
The glue helps hold the hinges in place during alignment; it is not the final fastening. Once you have checked that the mirror sits correctly and opens smoothly, secure the hinges to the mirror’s backing or frame with screws. Do not drill into mirror glass. If your mirror does not have a suitable backing for screws, use an attachment method designed for that mirror.
Before hanging the cabinet, mark a level line on the wall with painter’s tape and measure 4 inches down from the top to locate the frame’s hanging points. Choose screws or wall anchors appropriate for your wall type and the weight of the completed cabinet.
Add a Decorative Back and Jewelry Hooks
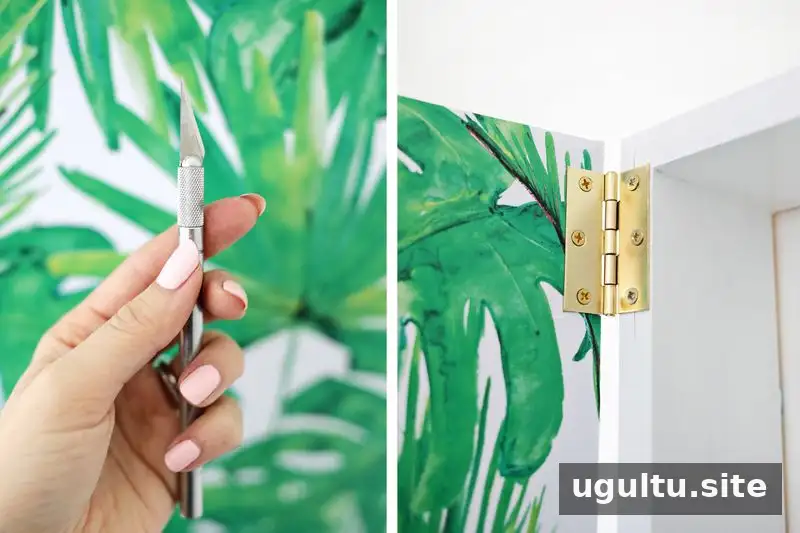
For an optional decorative finish, apply removable wallpaper to the back of the mirror. Trim around the hinges with an X-Acto knife, cutting carefully along their edges.
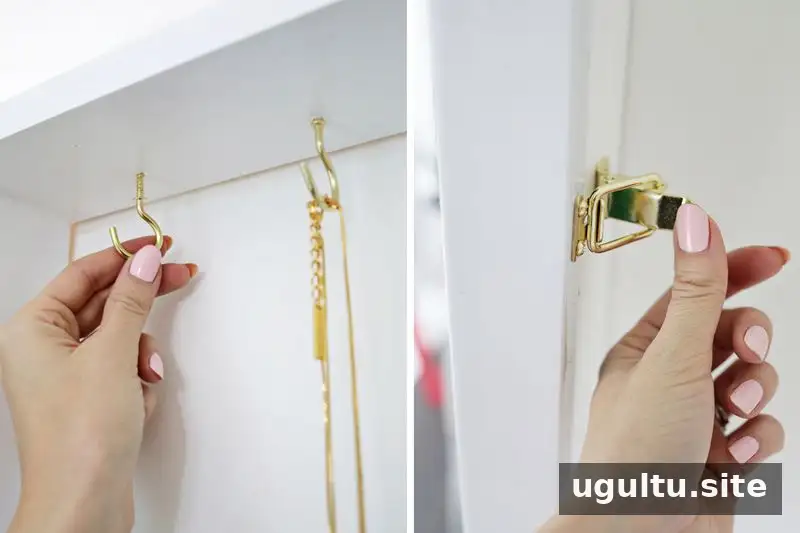
Install cup hooks in the shelves to hang necklaces and other accessories. Add the cabinet catch to the side so the mirror door stays closed when it is not in use. Arrange items with enough space between hooks to help prevent chains from tangling.
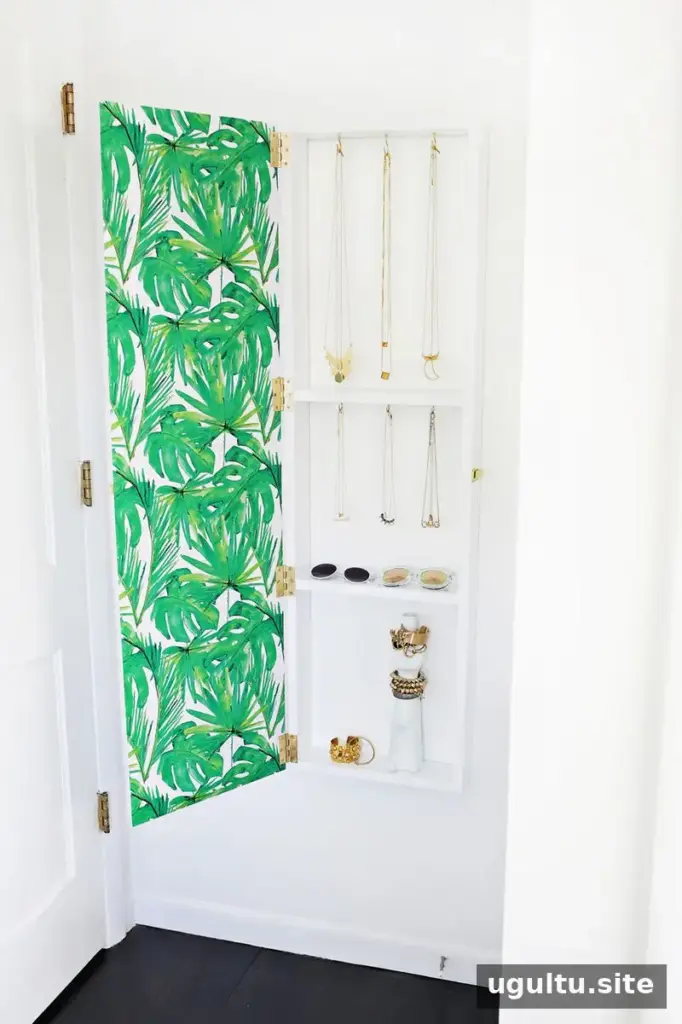
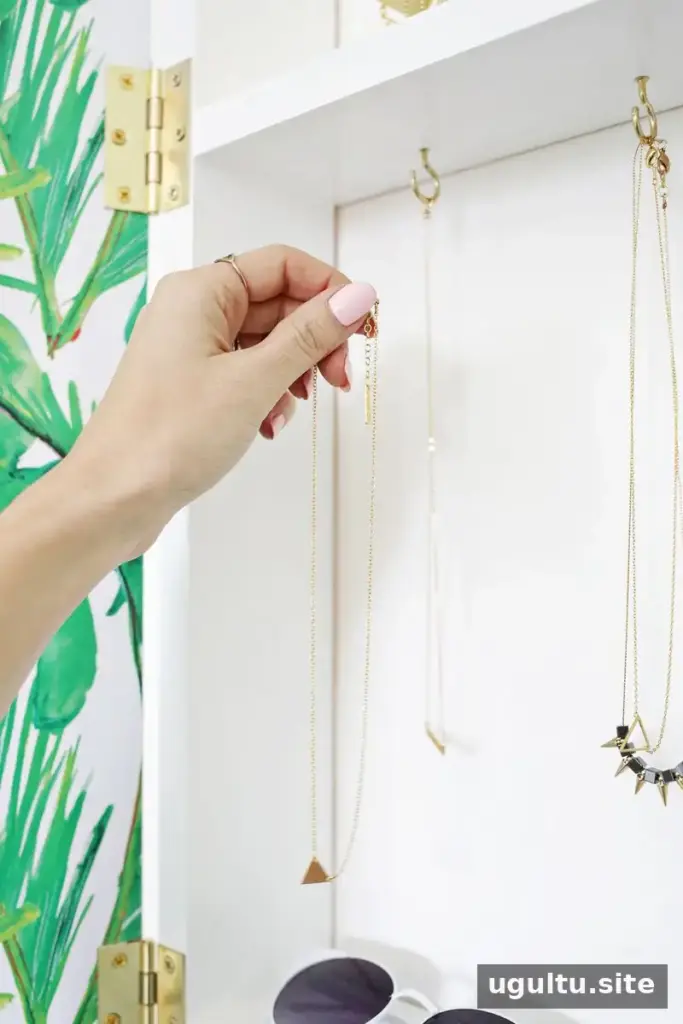
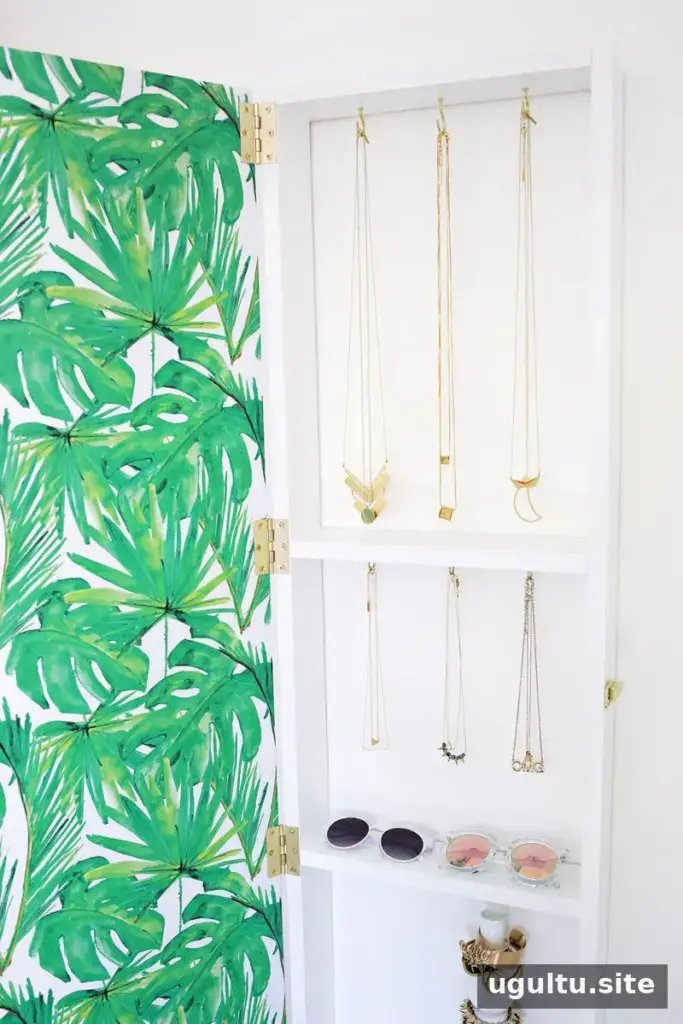
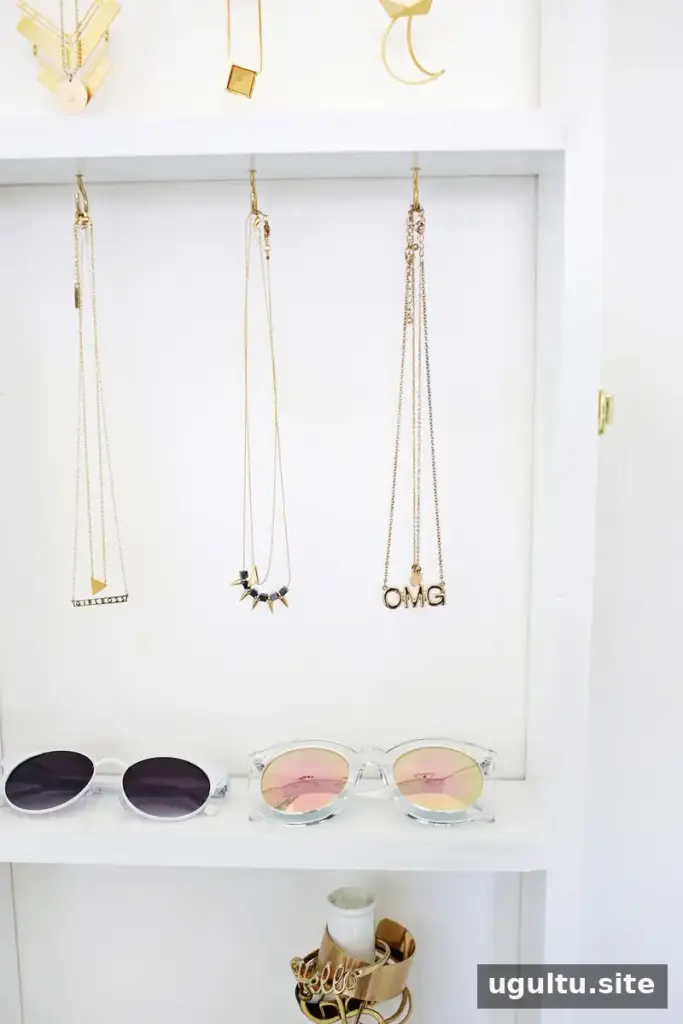
Enjoy Your Finished Jewelry Storage Mirror
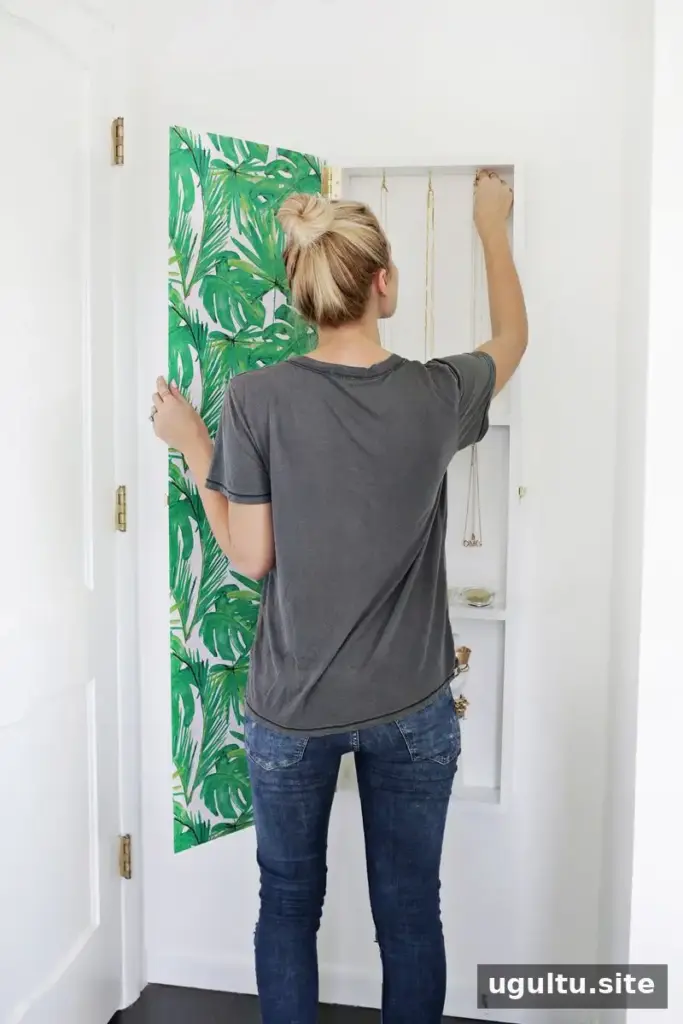
This project makes use of wall space while concealing jewelry behind a full-length mirror. The layout is customizable: change the number and size of the compartments or add hooks to match your storage needs. Before loading the cabinet, check that it hangs securely and that the door opens and closes without catching.
A DIY jewelry storage mirror can be a useful bedroom organization solution when you want accessories close at hand without leaving them on display. —Laura


