
 admin

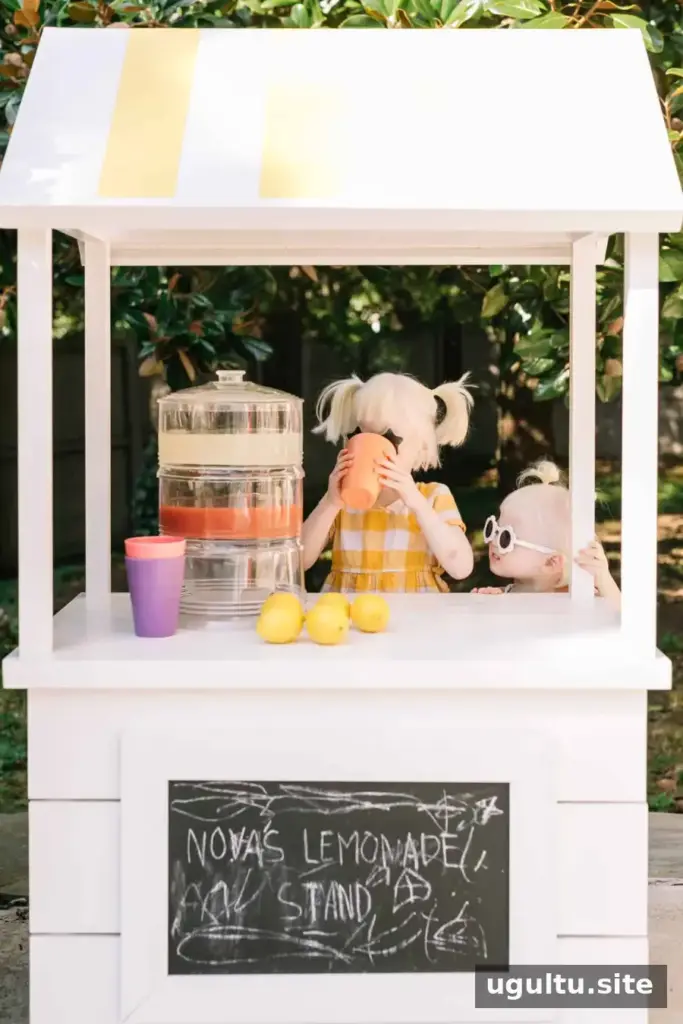
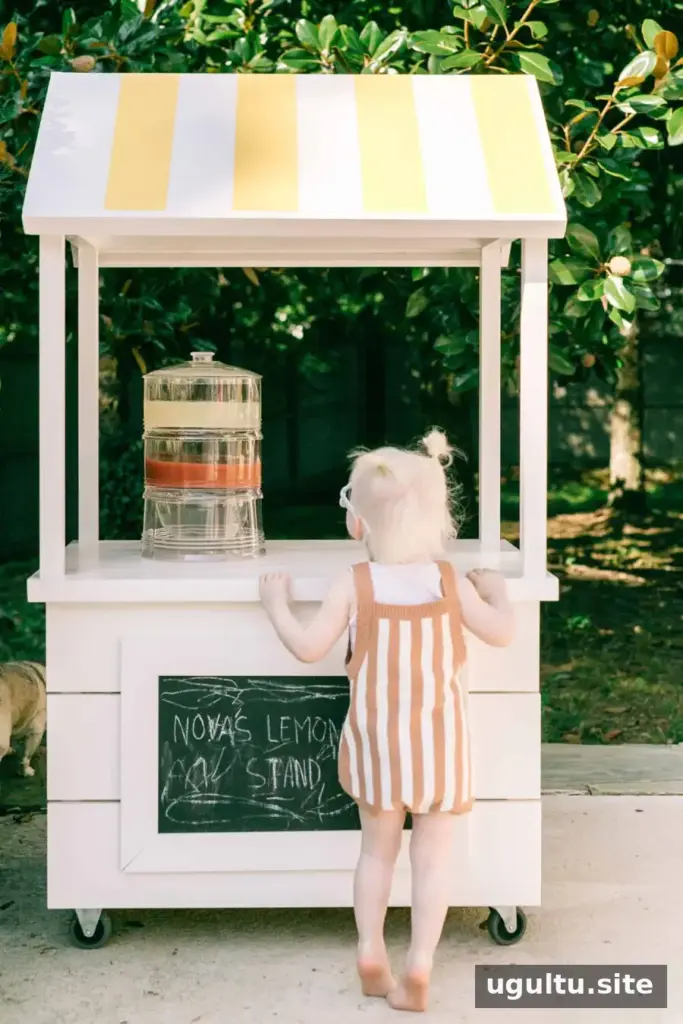
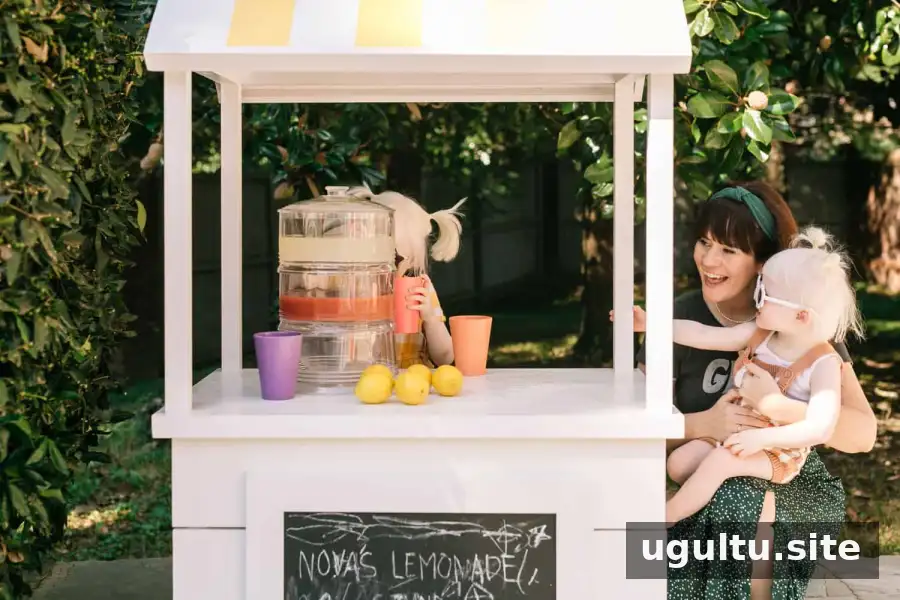
A DIY lemonade stand can be a fun woodworking project for a backyard, playroom, or family gathering. This design has a raised counter, a framed roof, and casters so it can be moved when needed. The project introduction is by Elsie, with the construction instructions by Collin.
The stand can be used for pretend play or serving drinks. If you plan to use it outdoors, keep it on a level surface and supervise children around tools, moving parts, and drinks.
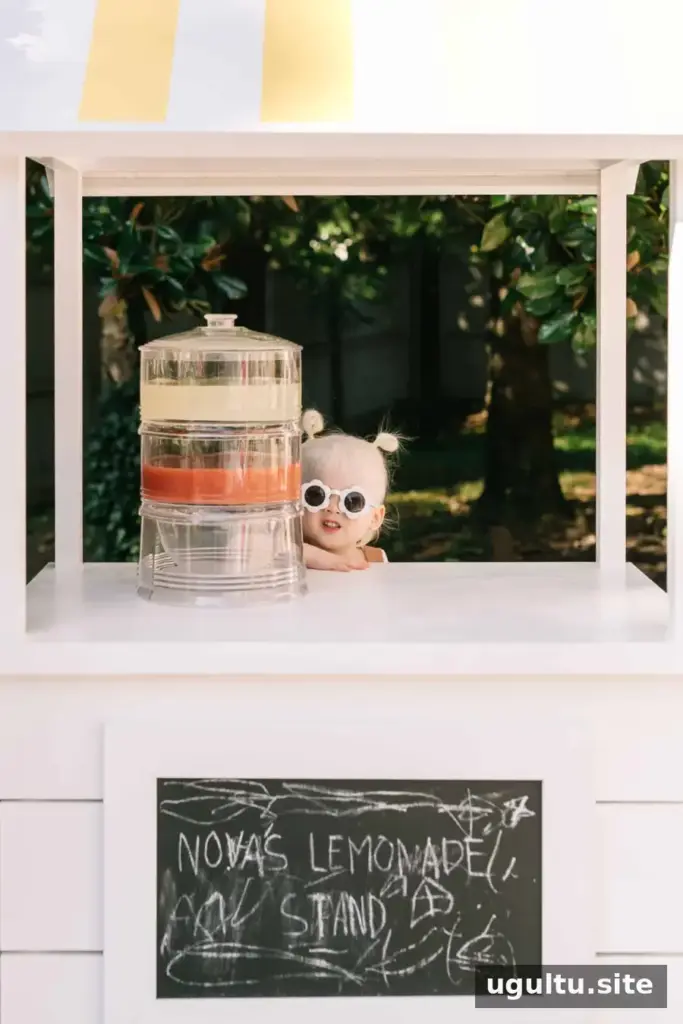

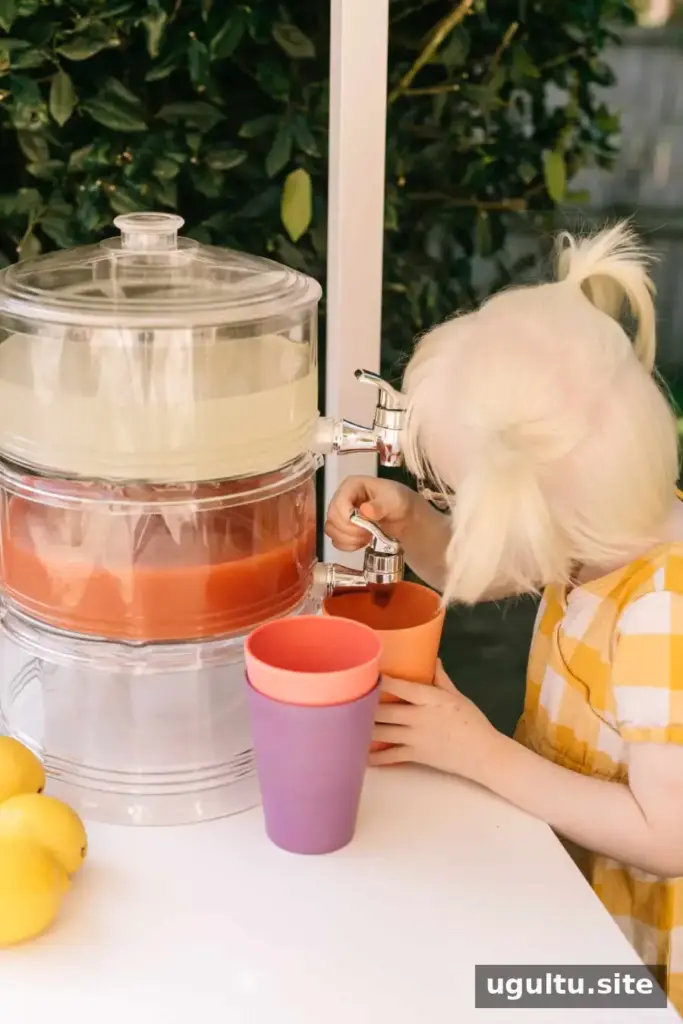



Cheers, girl!
DIY Lemonade Stand Materials
- Four 2′ x 4′ x 8′ boards
- Three 3/4″ x 8″ x 8′ primed boards
- Six 3/4″ x 4″ x 8′ primed boards
- Two 3/4″ x 2′ x 4′ plywood boards
- Four 3/4″ x 1.5″ x 8′ primed boards
- Nine 1.5″ x 1.5″ x 3′ boards
- Two 4″ fixed casters and two swivel casters
- 2″ square-head wood screws for a pocket-hole jig
- Wood filler, caulk, and painter’s tape
- Paintbrush or mini roller
- Exterior white and yellow semigloss paint
Tools
- Miter saw, circular saw, and jigsaw
- Electric drill and nail gun
- Clamps and speed square
- Pocket-hole jig
Wear suitable eye and hearing protection when cutting or fastening wood. Check that the tools and blades are in good condition before starting, and follow their manufacturers’ safety instructions.
How to Build the Stand Base
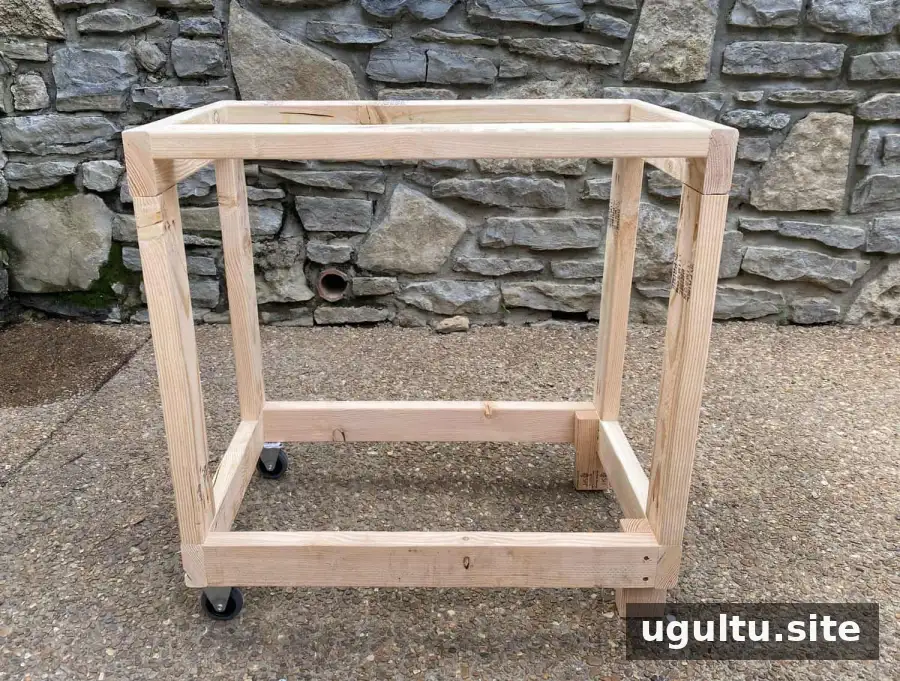
Make a square base frame from the 2″ x 4″ boards. The stated base dimensions are 3′ wide, 23.25″ tall, and 2′ deep. Cut the boards to form two matching 23.25″ x 2′ side boxes, then join the sides with four boards cut to 33″. Attach the casters to the underside with screws. The finished design uses four casters—two fixed and two swivel—to make the stand easier to roll.
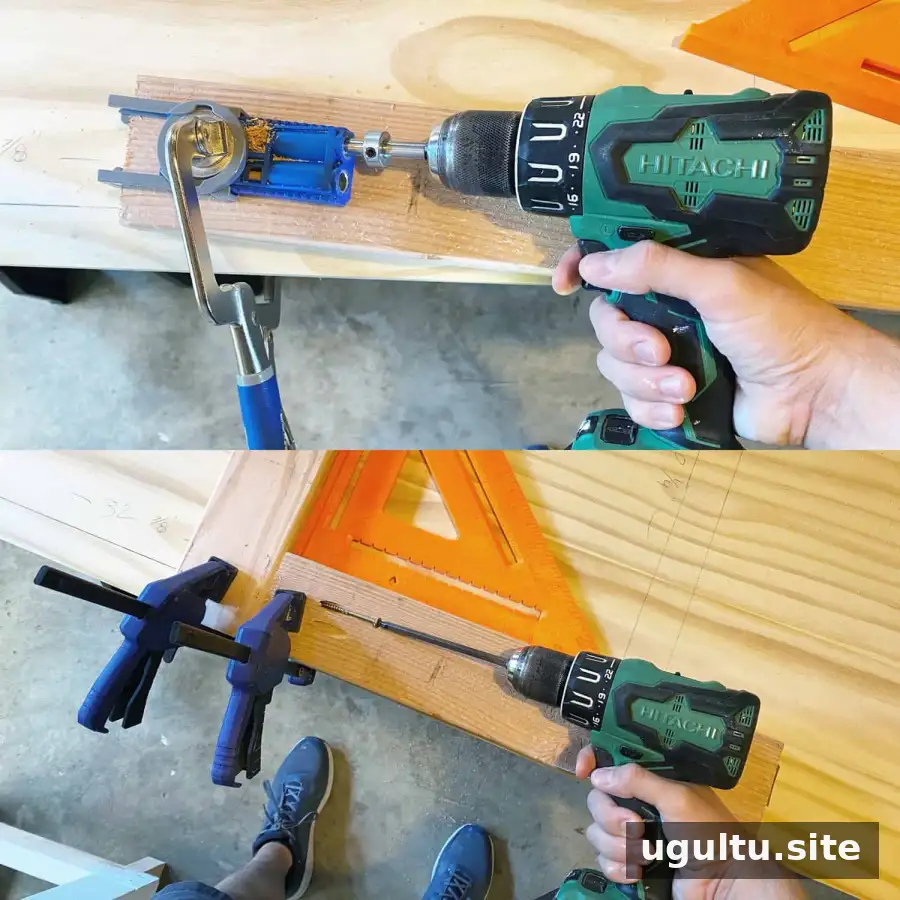
Join the 2″ x 4″ pieces with wood glue and pocket-hole screws. Use clamps to hold the boards steady while fastening, and check each corner with a square so the frame stays at a right angle.
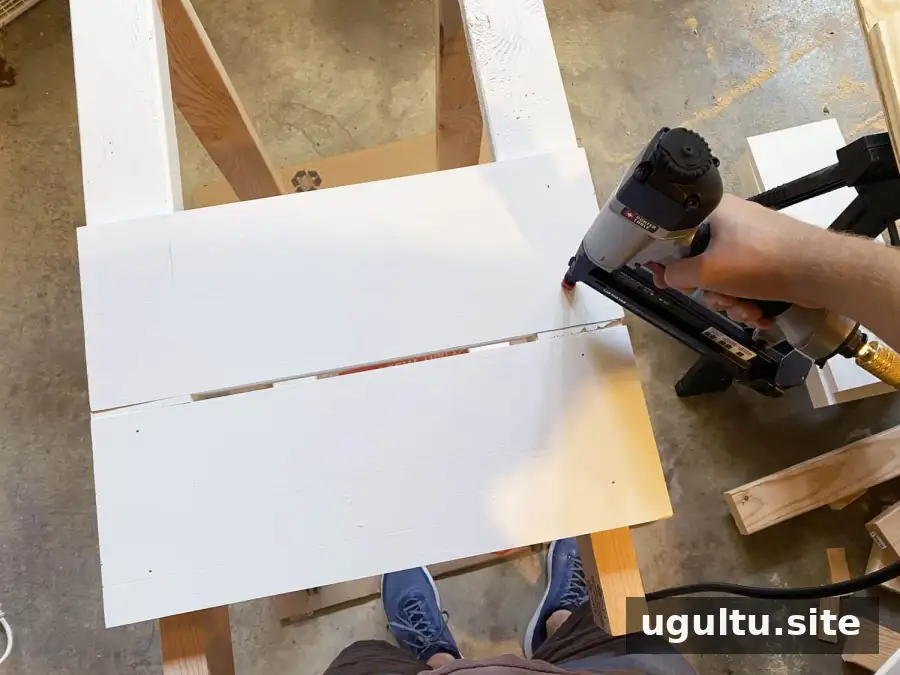
Cut the 3/4″ x 8″ primed boards into six 2′ side boards and three 37.5″ front boards. Attach the side boards first, leaving a 1/2″ gap between each. Add the front boards in the same way, positioning them to cover the cut ends of the side boards. Use wood glue and a nail gun. Small 1/2″ scrap-wood spacers can help keep the gaps consistent.
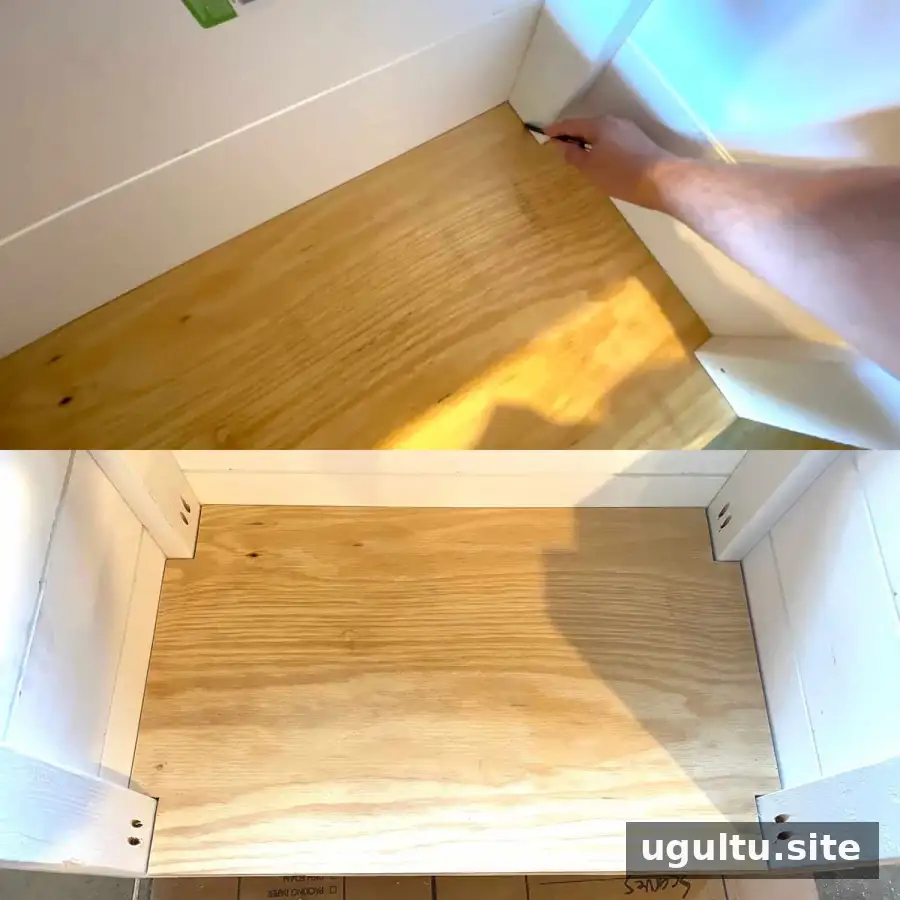
Turn the base upside down and trace its inside outline onto one plywood board. Cut out the traced shape with a jigsaw, fit it into the bottom of the base, and secure it with glue and a nail gun. Work carefully around the traced line so the panel fits neatly.
Add the Counter and Roof
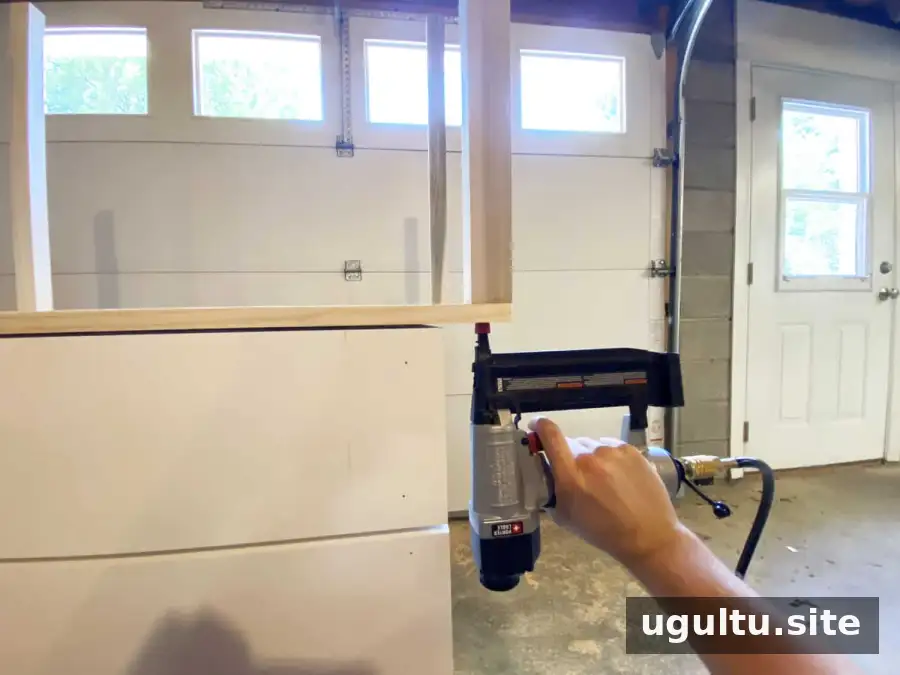
Cut the second plywood board to 37.5″ x 24.75″ for the countertop. Cut four of the 1.5″ x 1.5″ x 3′ boards to 2′ lengths for the roof posts. Position one post at each corner of the countertop and attach with wood glue and a few nails. Turn the assembly over and add one screw to each post for stability.
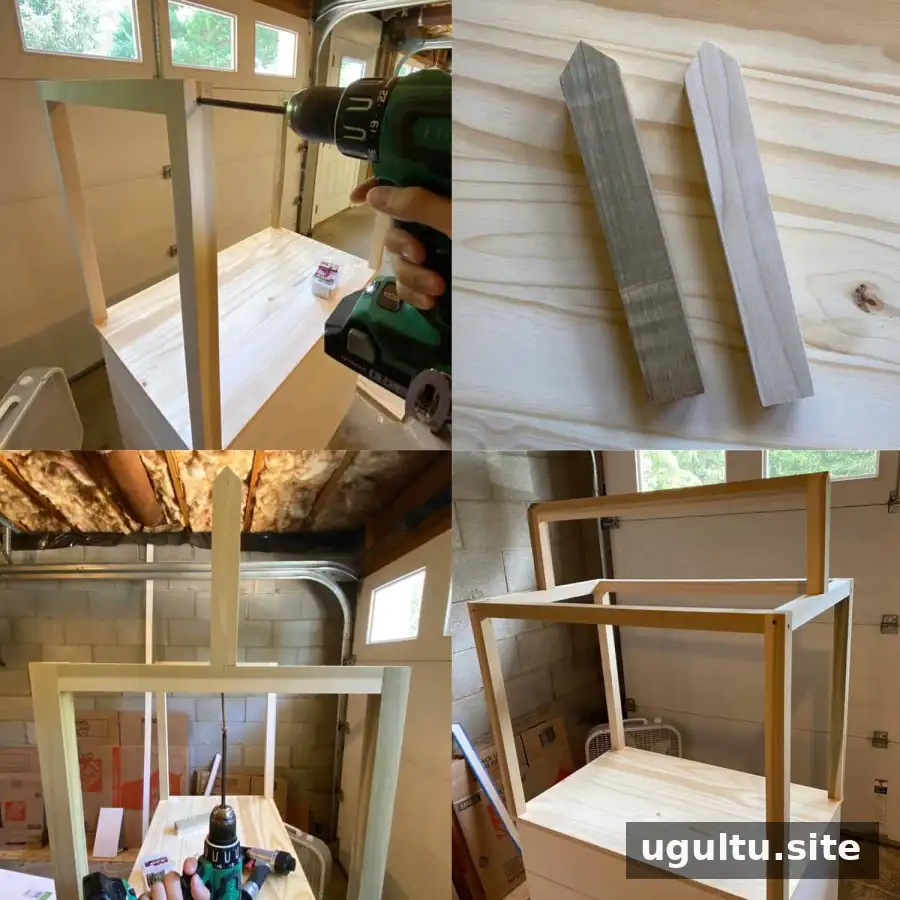
Set the countertop and posts on the base, check that they are evenly positioned, and attach them with glue and a nail gun. For the roof frame, cut two 1.5″ boards to 34.5″ and two to 21.75″, fitting them between the four posts. Cut two 8″ pieces with 45-degree cuts at the top to create arrow-shaped peaks, then attach one at the center of each side of the roof frame. Cut another 1.5″ board to 34.5″ and fit it at an angle between the two peak pieces. Glue and nail the frame into shape, then add wood screws for strength.
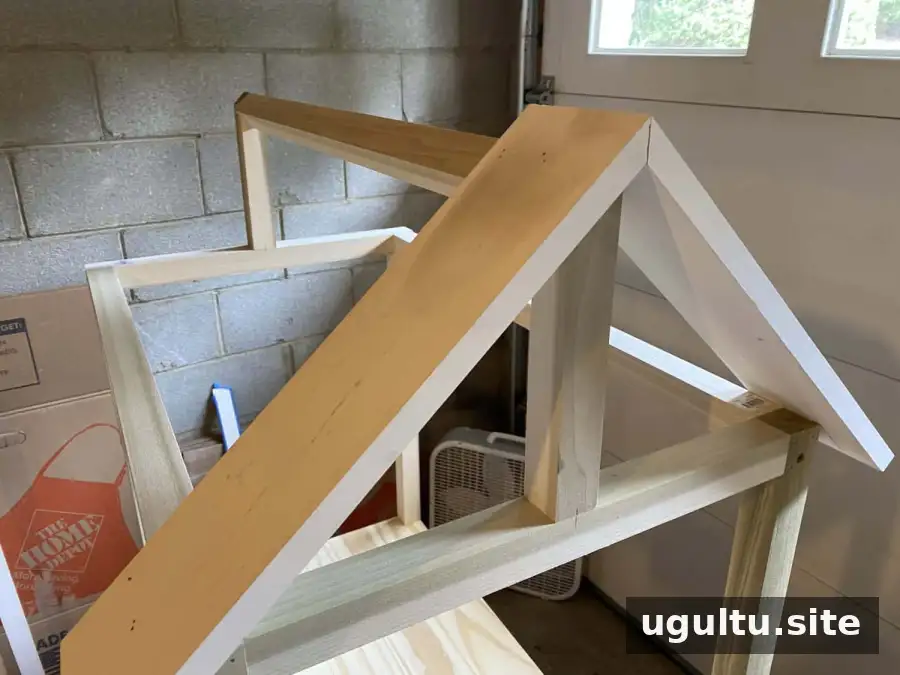
Cut the 3/4″ x 4″ primed boards into sixteen 18″ pieces, each with a 45-degree cut at the top. Attach them one at a time to the roof frame, aligning their angled ends at the top. Use wood glue and a nail gun.
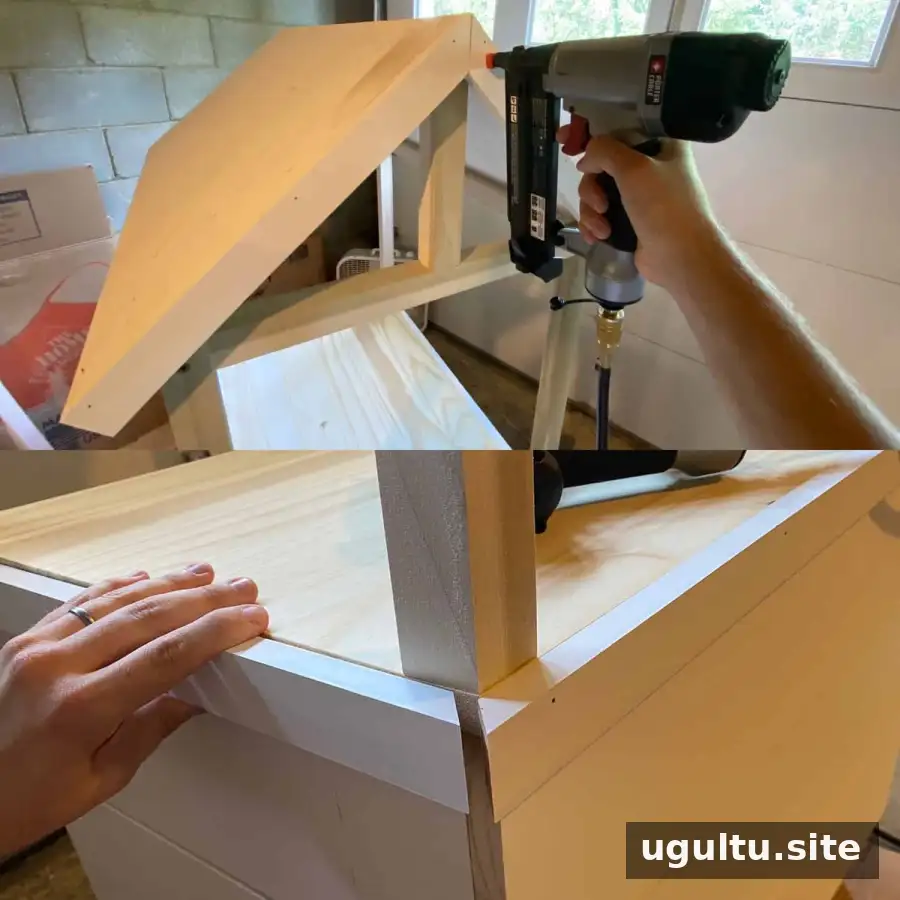
Finish the edges of the roof and countertop with the 3/4″ x 1.5″ primed boards. Cut them to fit, then attach them with wood glue and a nail gun. Fill gaps, cracks, and nail holes with wood filler or caulk. Once the filler and caulk are ready for painting, coat the roof white, mask every other board with painter’s tape, and paint the exposed boards yellow. Use exterior paint as specified and follow the product’s drying instructions before moving or using the stand.
Finishing Your DIY Lemonade Stand
Before use, check that the fasteners are secure, the counter and roof feel stable, and the casters are firmly attached. Roll the stand slowly and keep it away from slopes or uneven ground. With careful assembly and a fully dried finish, this DIY lemonade stand is ready for serving drinks or imaginative play.
Project introduction and closing note by Elsie; building instructions by Collin.


