admin
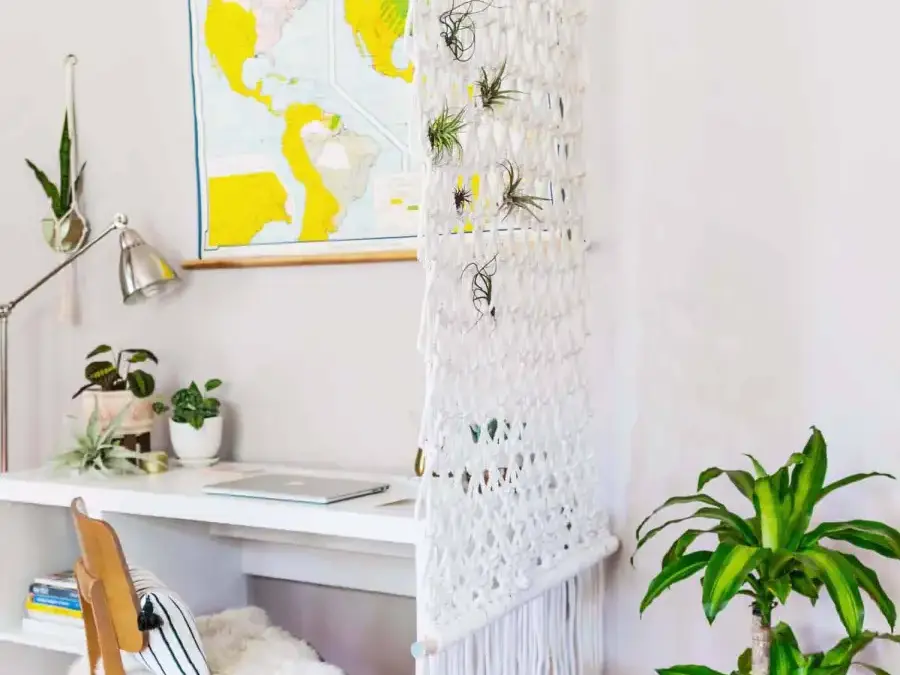
A Macrame Room Divider DIY project can add texture and help define an open area without blocking natural light. Made with cotton rope and a pair of wooden dowels, this large-scale hanging suits a studio apartment, shared workspace, or spacious room that needs a visual boundary. Plan for plenty of working space and take time to check the pattern as you go.
Materials and rope preparation
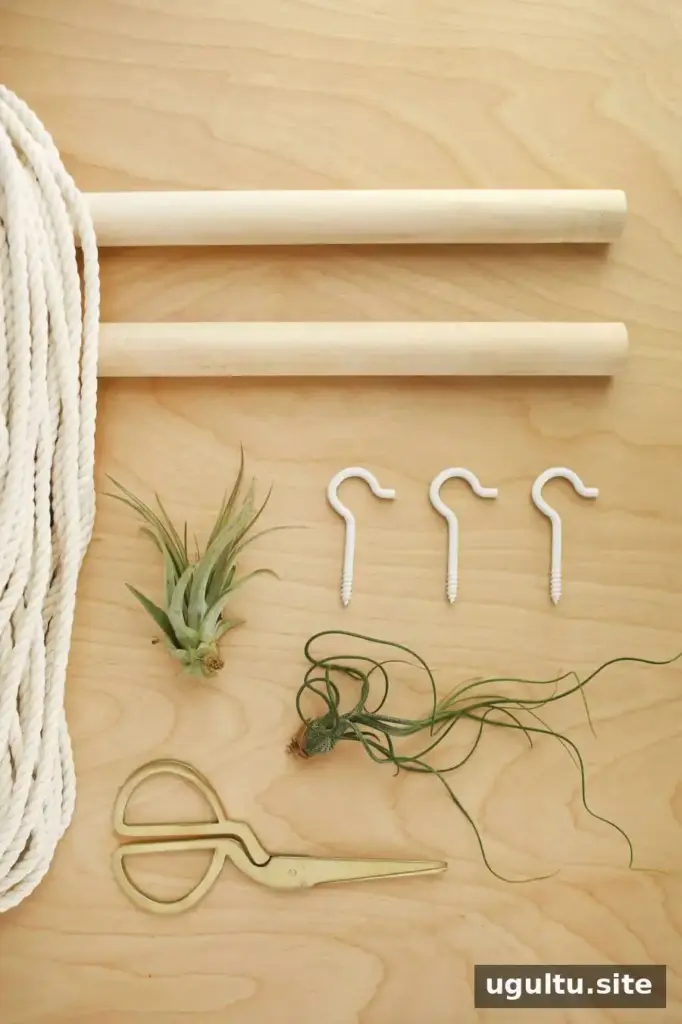
Gather the following supplies before starting. The rope measurements are for the size described here; use extra rope if you adapt the design to make a shorter divider.
- 1" x 36" wooden dowel
- 700 ft of 1/4" 3 strand cotton rope
- Three 3" hook screws
- Scissors
- Air plants (optional)
Measure and cut 24 strands of rope, each 28′ long. This amount is intended to make a hanging roughly 7′ from the top dowel to the bottom dowel, with extra length available for fringe. If you change the finished size, it is generally safer to cut more rope than you expect to need. Keep the strands organized and avoid cutting them shorter until the pattern is complete.
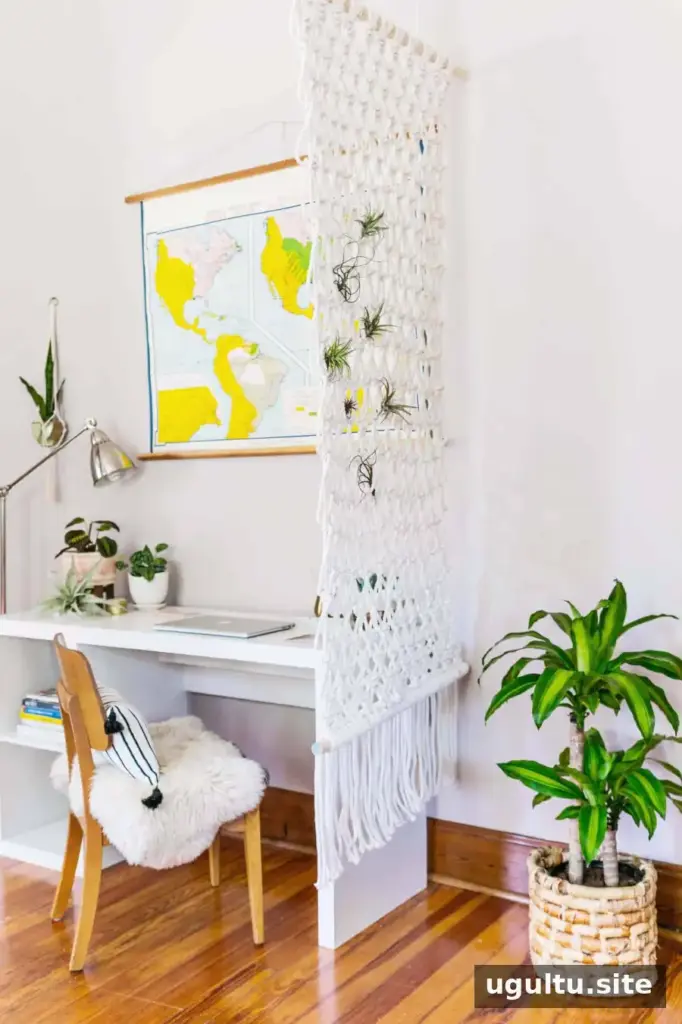
This project uses repeated knots, so a clean, open work area makes it easier to keep the strands untangled.
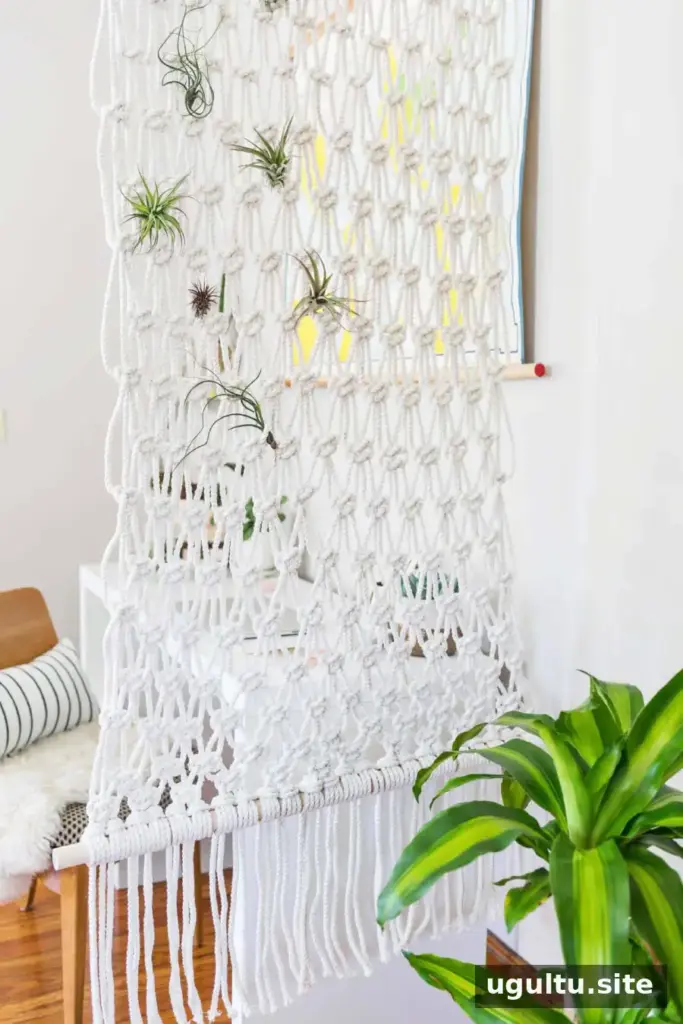
Macrame Room Divider DIY: make the knots
Lark’s head knot
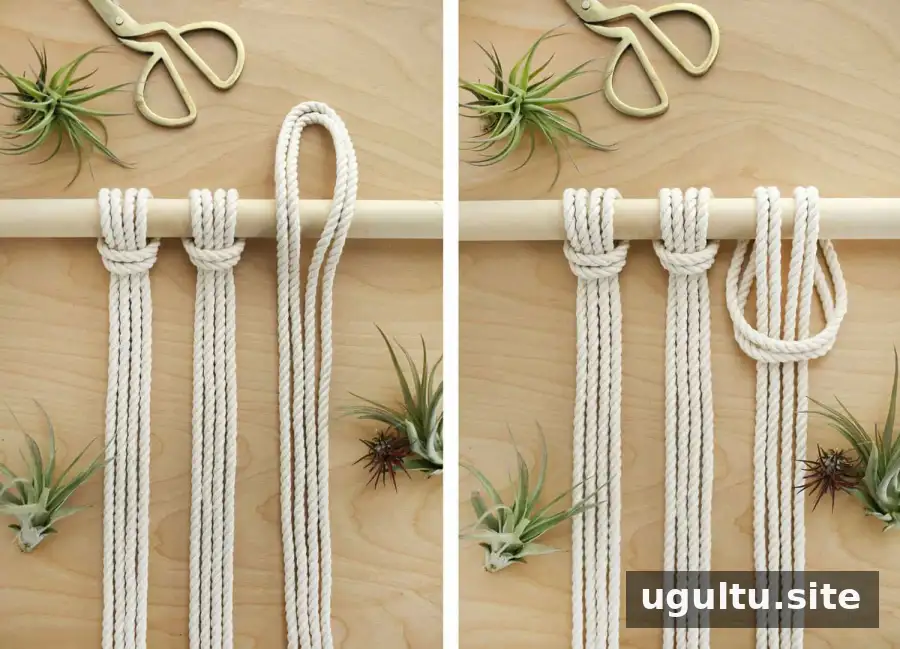
Use two rope strands for each knot, making 12 knots across the first wooden dowel. Fold a pair of strands in half and place the folded center over the dowel. Bring the loose ends around the dowel and pass them through the loop. Pull gently to secure the knot.
Repeat with the remaining pairs, wrapping each one over the same side of the dowel. Keep the knots evenly spaced. Wrapping a strand under the dowel by mistake can change the appearance, so check their direction as you work.
Half knot and square knot
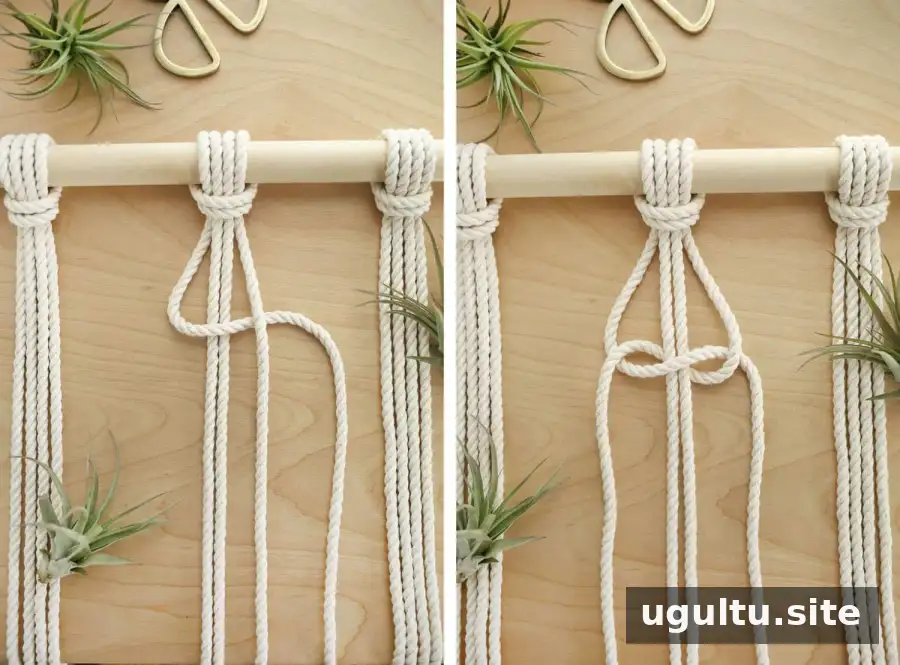
A half knot uses four strands. Leave the two center strands in place, then move the outer strands. Bend the outer left strand toward the right and pass it under the outer right strand. Take the outer right strand under the crossing, behind the center strands, and up through the loop on the left. Tighten evenly.
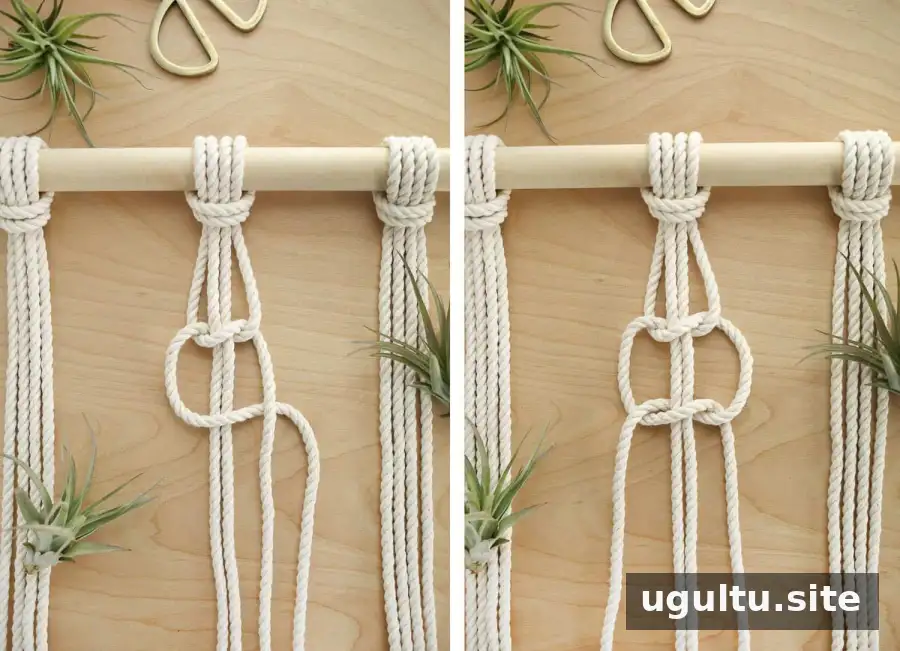
A square knot is made from two half knots. After the first half knot, repeat the process in the opposite direction and snug the second half against the first. Make one square knot with each group of four strands for the first row. Avoid pulling so tightly that the rows become compressed.
Alternating rows and scalloped edges
For the next row, use two strands from one square knot and two from the neighboring knot to form a new square knot between them. Continue across the piece. You can begin at the center and work outward on both sides, or start at one edge and move across. The outer edges will have an extra pair of strands.
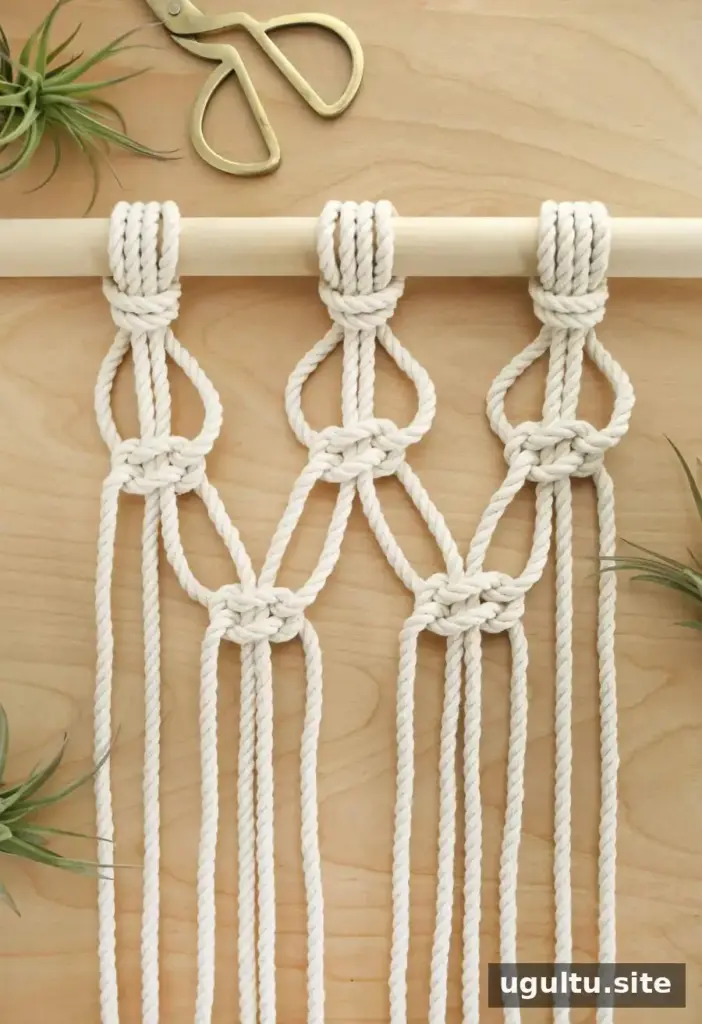
Allow about 2.5" between knots for an open, airy look. Keep the spacing consistent from row to row and step back occasionally to check that the pattern is level. The outer strands should have enough slack to form a scallop; in this design, the edge slack is a little more than twice the length of the spacing between knots. Adjust gently, since uneven tension can make some scallops hang lower than others.
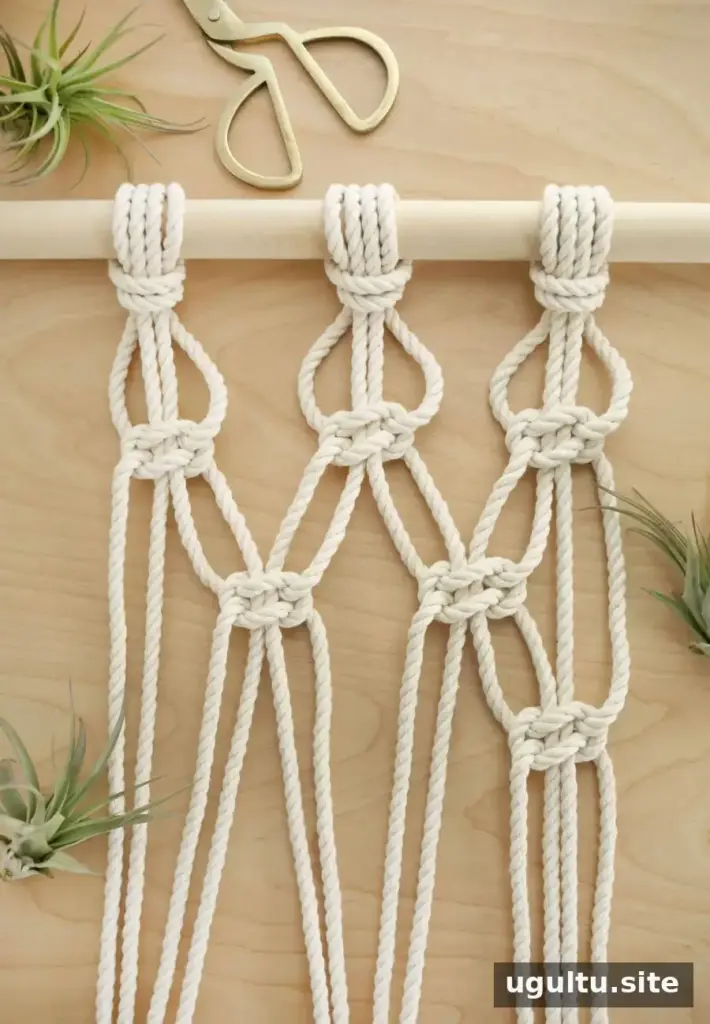
The pattern shown uses four alternating rows of square knots, followed by six alternating rows of half knots, then 13 alternating rows of square knots. Use the same sequence if you want to follow this design. Before moving on, check the overall spacing and knot tension so that the finished hanging does not look crooked.
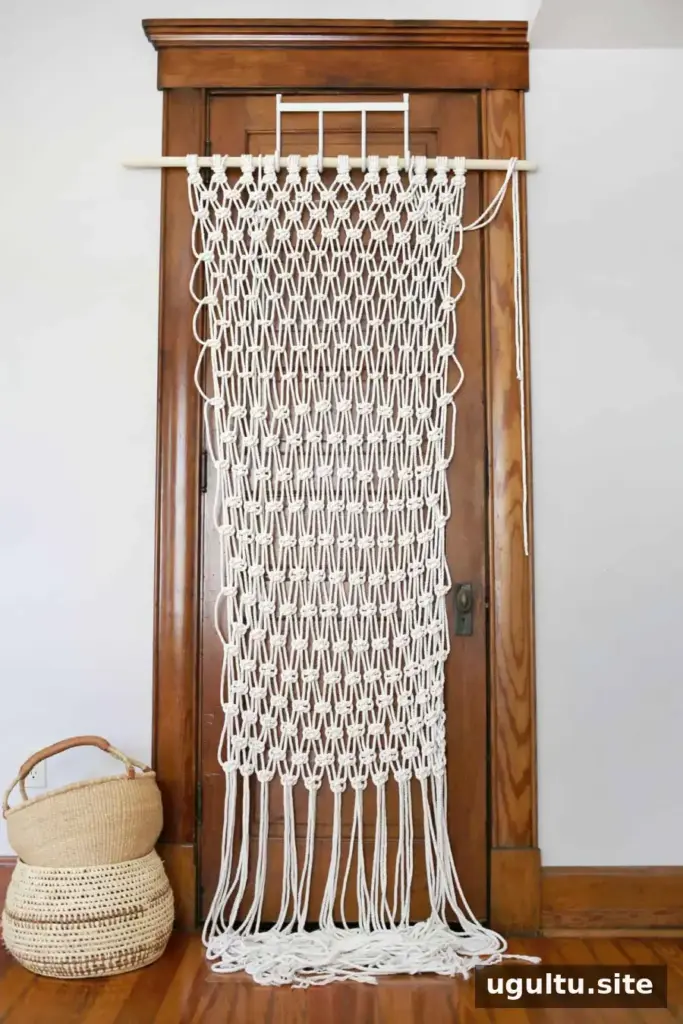
Attach the bottom dowel and finish
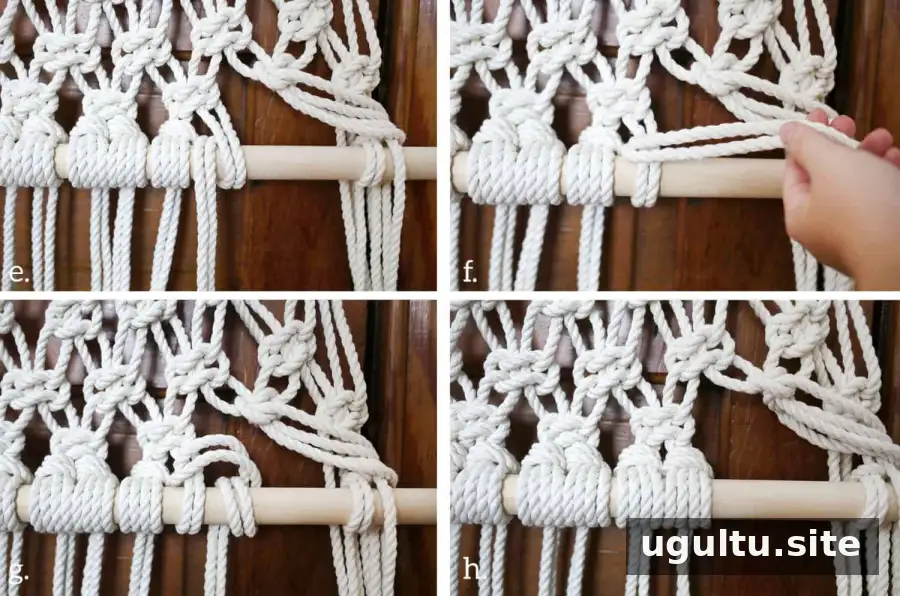
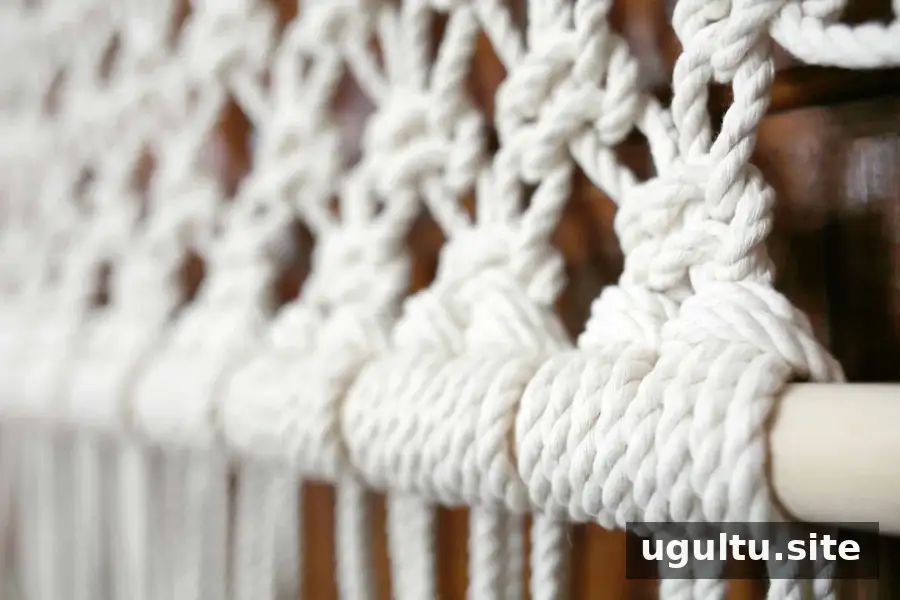
Attach the bottom dowel with lark’s head-style knots, working around the dowel in reverse from the starting method. Under one square knot, separate the four strands and set two aside. Wrap the other two around the dowel, bringing them over the top and around the same strands. Continue behind the dowel, then bring the rope around the front and tuck it beneath the loop. This creates a fringe on the back. Make two attachment knots for each square knot.
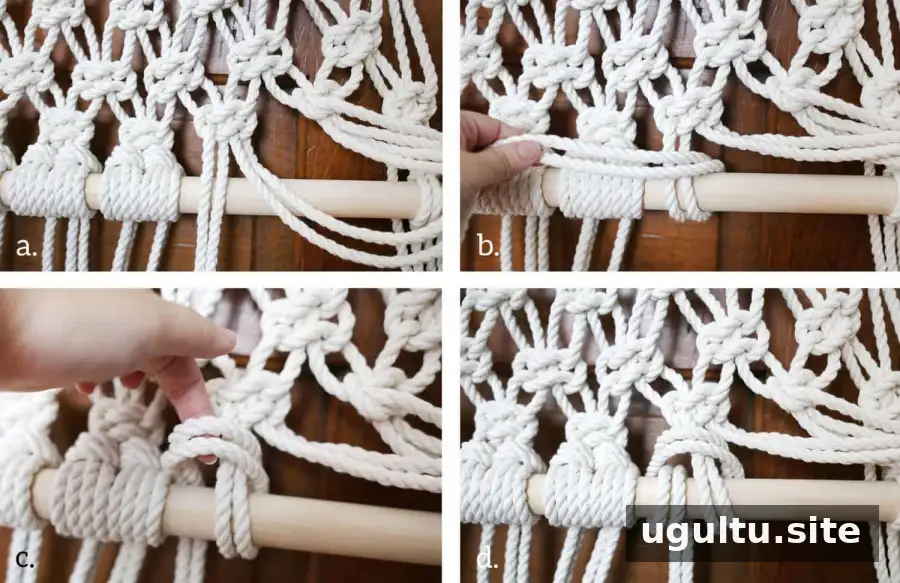
Use the remaining two strands from that square knot to make the second attachment. Bring them over and around the dowel to the left, wrap them over themselves, then pass them behind the dowel and back under the loop. Slide this knot close to the first and keep the tension even. Repeat along the dowel.
Trim the fringe to the desired length after the divider is assembled. In a room with 10-foot ceilings, the hanging described here needed another 18" of rope to reach the ceiling hooks. Measure your own ceiling and hanging position before trimming or installing, and make sure the hooks are suitable for the mounting surface.
Display ideas and final checks
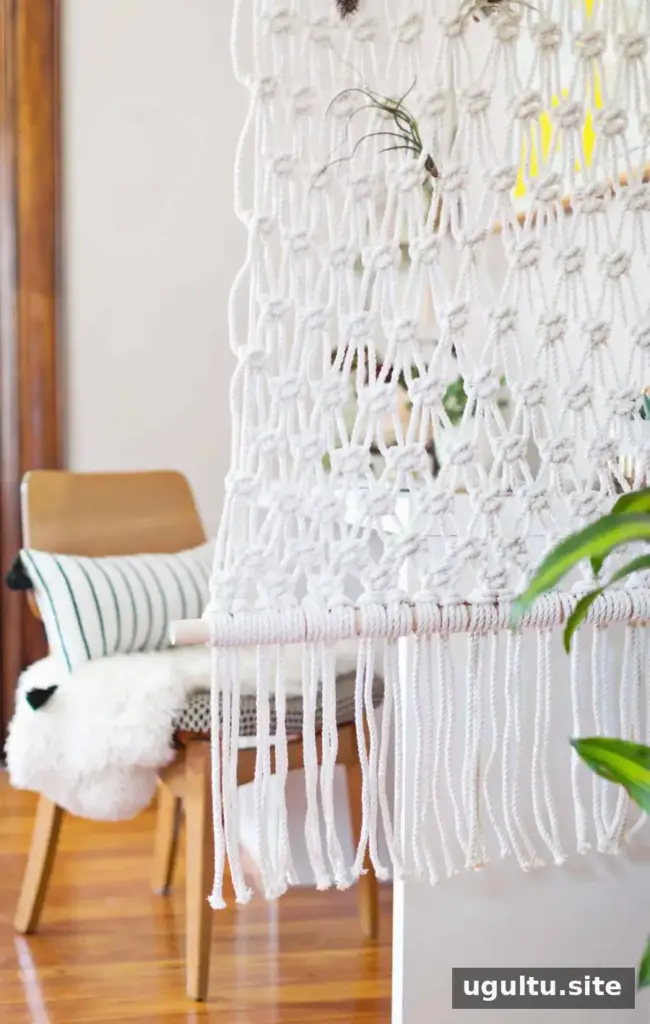
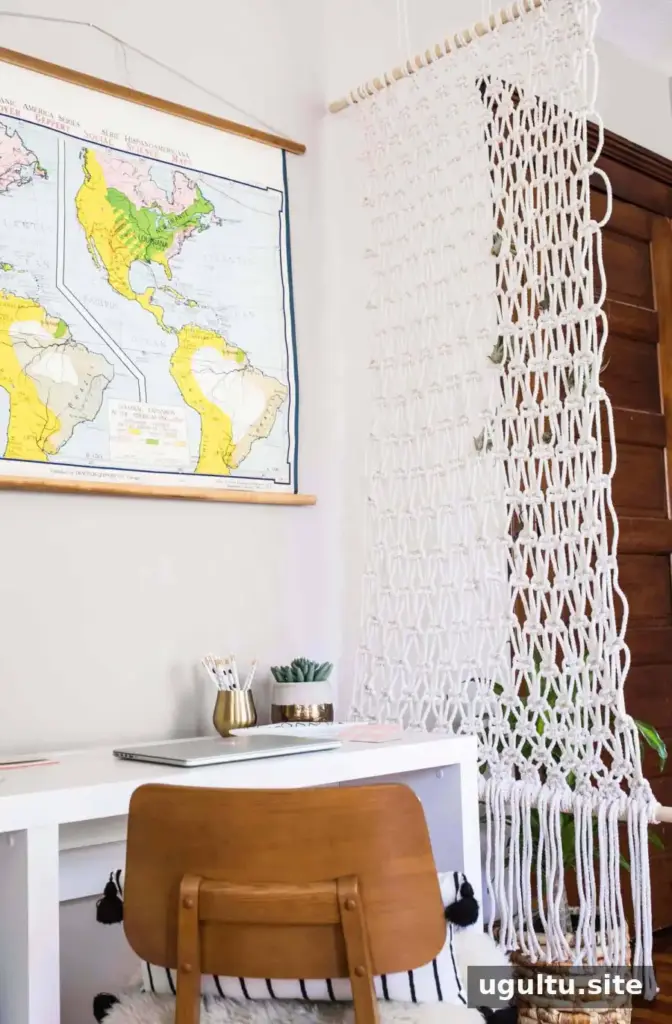
When a functional divider is not needed, the macrame piece can also hang against a painted wall or serve as a party backdrop with a floral swag. Air plants are an optional decorative addition. Before hanging, check that the dowels are secure, the knots are evenly tensioned, and the finished length suits the space.
This Macrame Room Divider DIY combines a simple knot pattern with a large format, making it a practical way to introduce texture while leaving light able to pass through. —Rache