
 admin
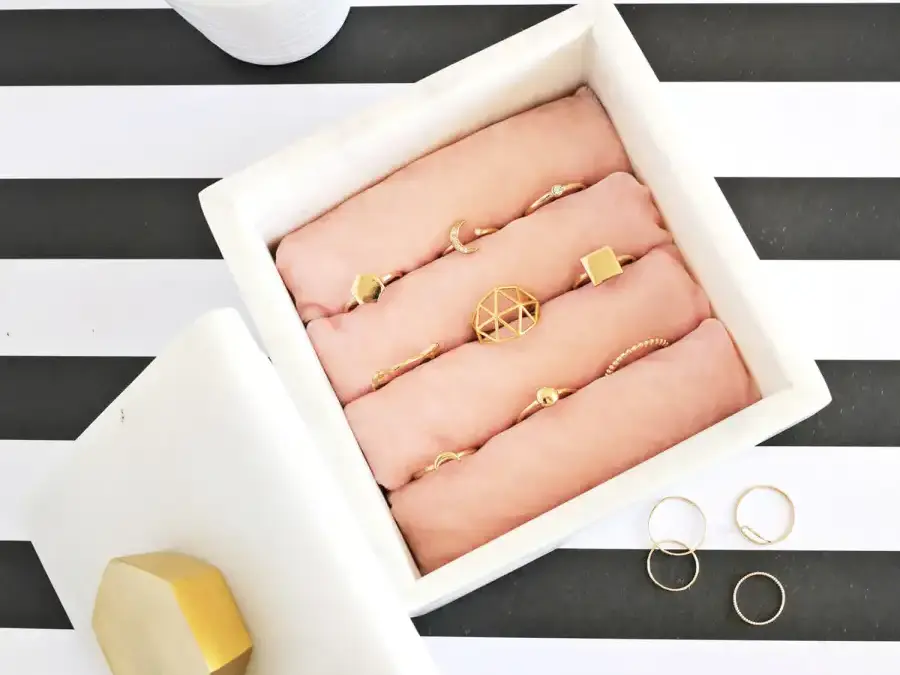
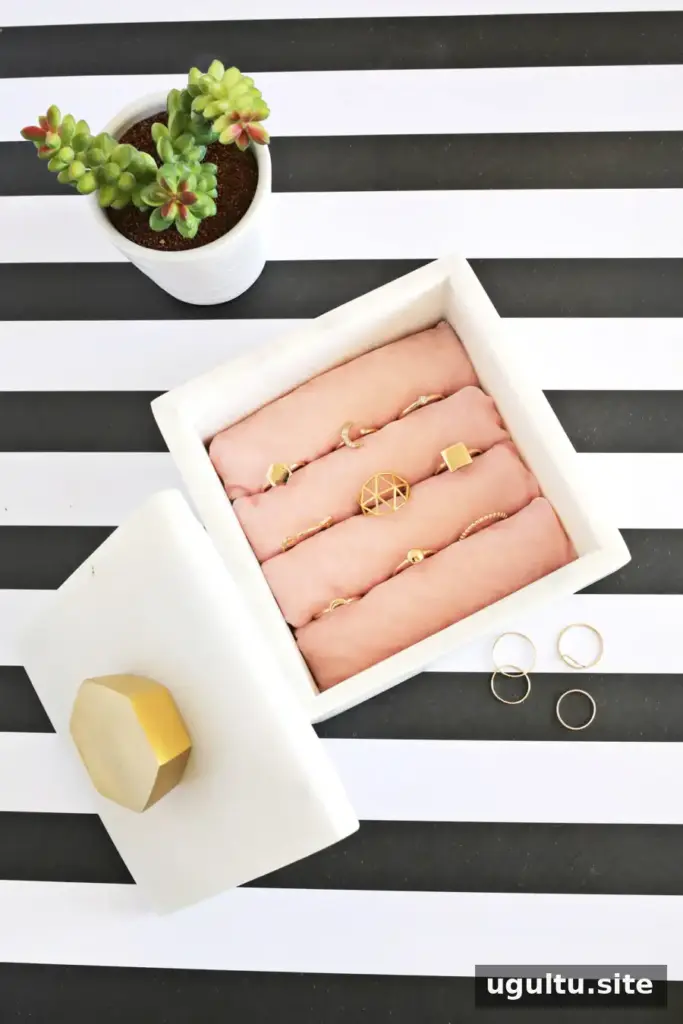
A DIY jewelry box is a simple way to give a decorative box a useful purpose. With a few velvet-covered batting rolls, you can create padded rows for storing rings and other small pieces while keeping the box’s original look. Choose a lidded box with enough interior space for the jewelry you want to organize, then measure its inside width before preparing the inserts.
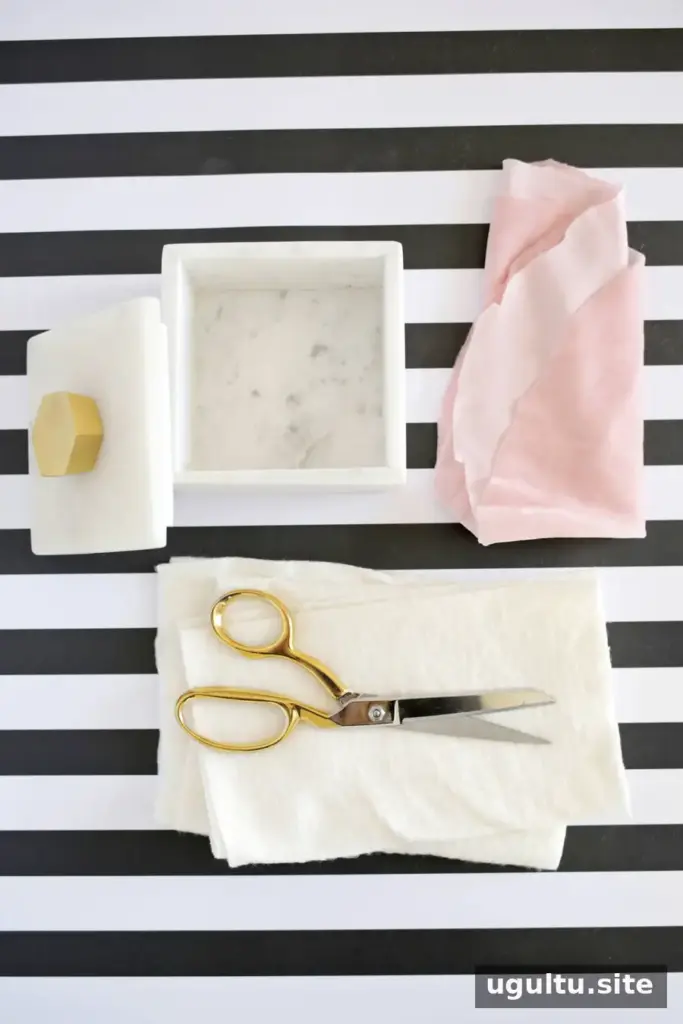
Supplies:
- A decorative box with a lid
- 1/4 yard of velvet fabric
- Cotton batting
- Straight pins and a sewing machine
- A hot glue gun or fabric glue
- Fabric scissors
- A cutting mat, rotary cutter, and ruler
How to Make a DIY Jewelry Box
1. Cut and roll the batting
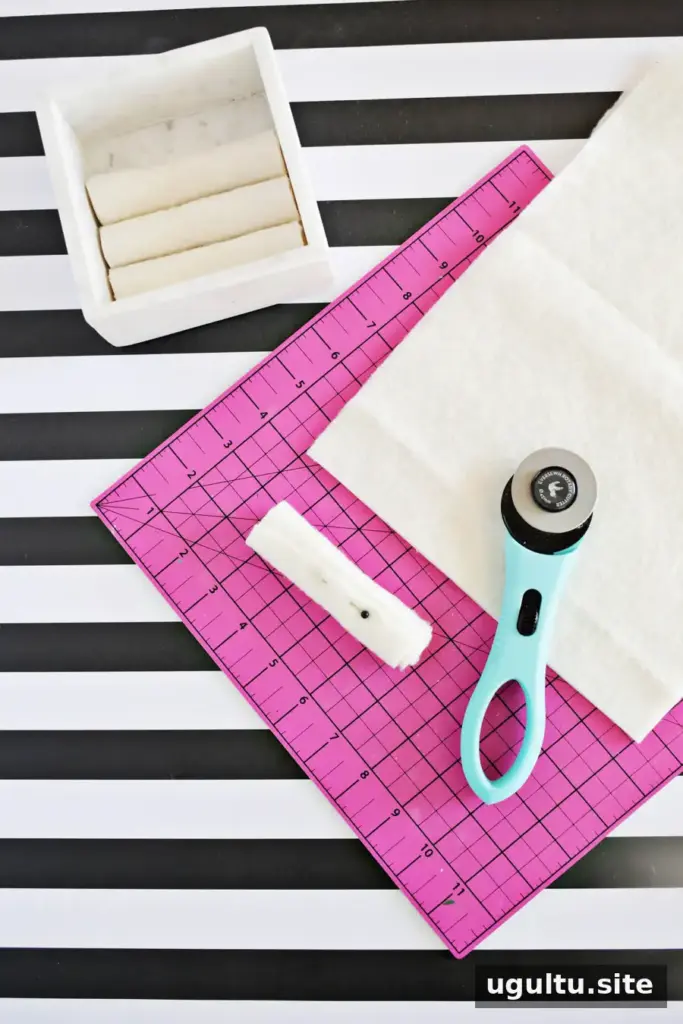
Fold the batting over itself, then cut a piece as wide as the box’s interior. Make it long enough to roll into a cushion about 1 inch thick. Rolls around 1 inch wide make it easier to estimate how many inserts will fit: for example, a box that is 5 inches wide will need about five rolls. Measure the inside of your box rather than its outer dimensions, and test-fit the rolls before covering them.
Roll each batting piece and pin it temporarily to hold its shape. Keep the rolls fairly even so they sit snugly beside one another without forcing the box lid open.
2. Measure and cut the velvet
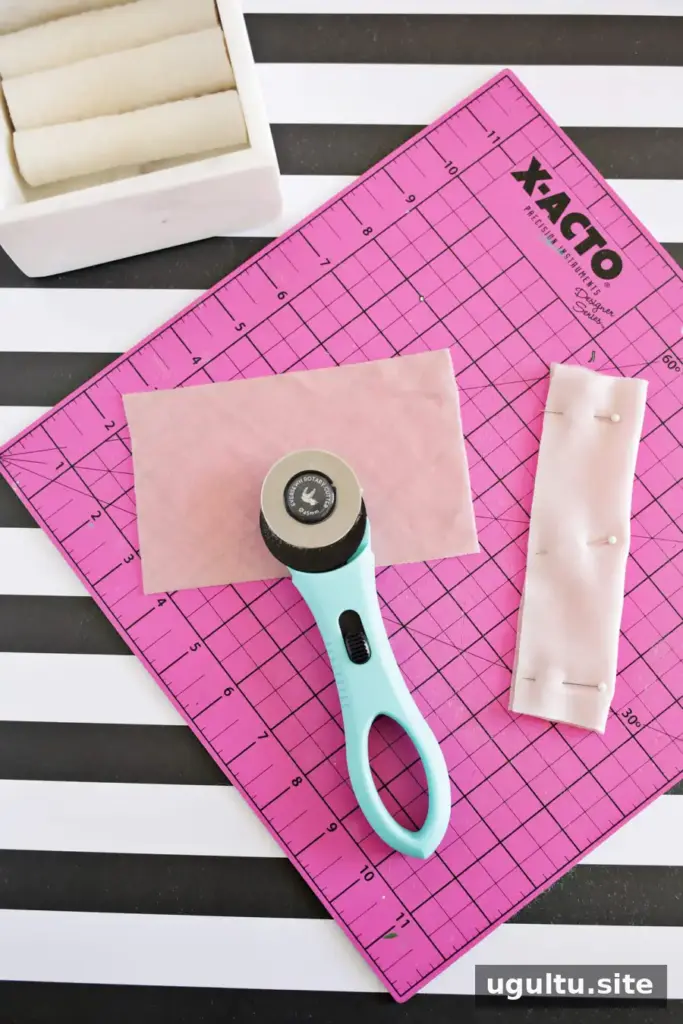
Use a flexible measuring tape to measure around a batting roll. Add 1/2 inch to that measurement to allow for a 1/4-inch seam allowance on each side. Cut a velvet rectangle for each roll. The rectangle should be 1 inch longer than the batting roll and as wide as the measured circumference, including the added allowance.
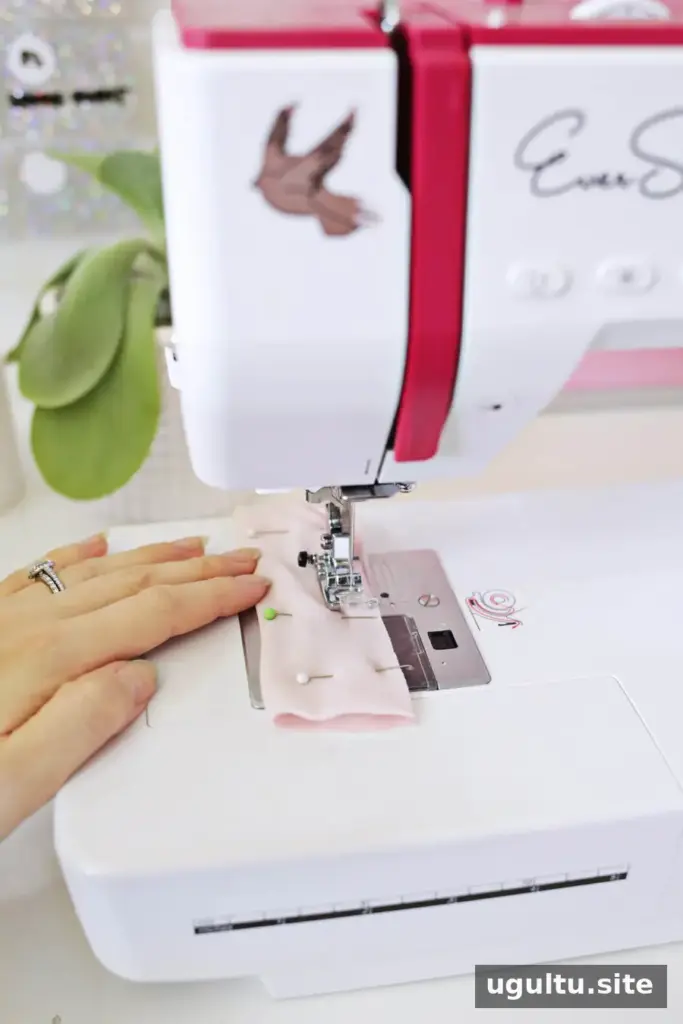
Fold each velvet rectangle lengthwise with the right sides facing inward, then pin the open long edge. Sew along that edge using a 1/4-inch seam allowance. Turn the fabric tube right side out. A narrow turning tool can help if the tube is snug, but take care not to pull or stretch the velvet.
3. Fill and close the fabric tubes
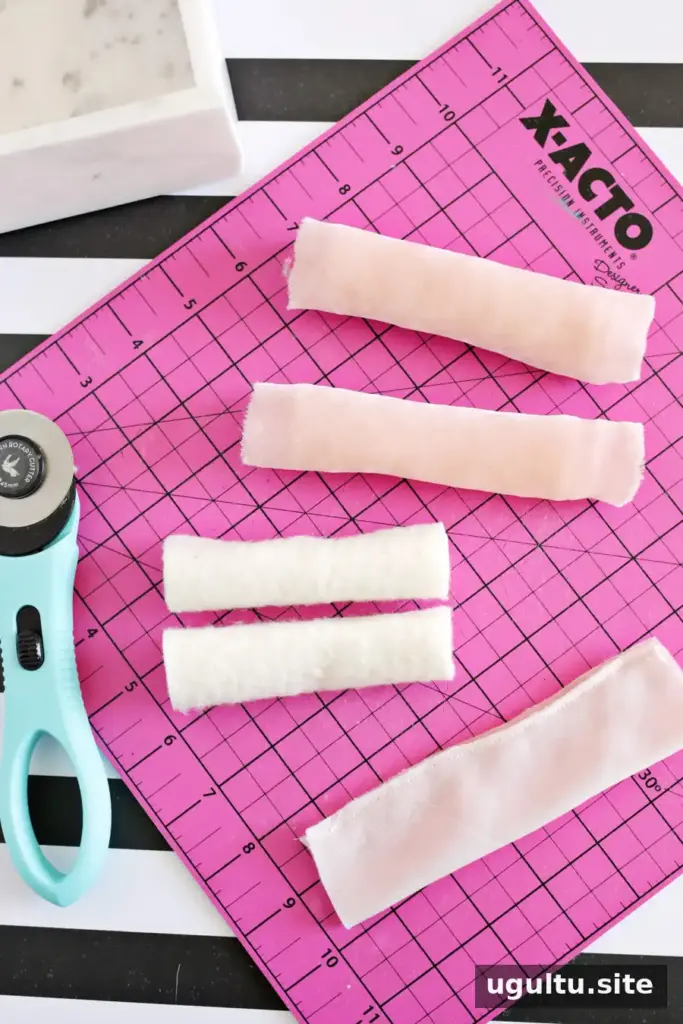
Remove the temporary pin from the batting, then slide the batting into the velvet tube. Repeat for each roll. If the fabric bunches, gently smooth it along the batting before closing the ends.
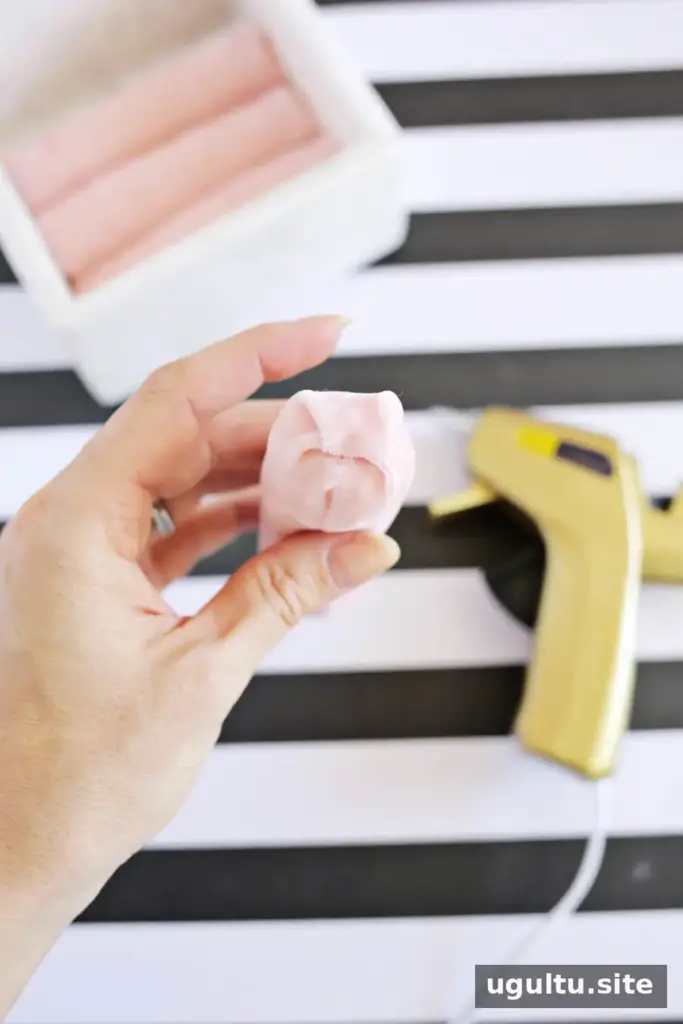
To finish an end, place a small amount of hot glue or quick-drying fabric glue onto the center of the batting inside the tube. Fold the lower velvet edge inward and press it into the glue. Add glue to the sides and fold them in one at a time, then secure the top flap. Repeat on the other end and on every remaining tube. Follow the glue manufacturer’s instructions and avoid touching hot glue directly.
4. Arrange the inserts
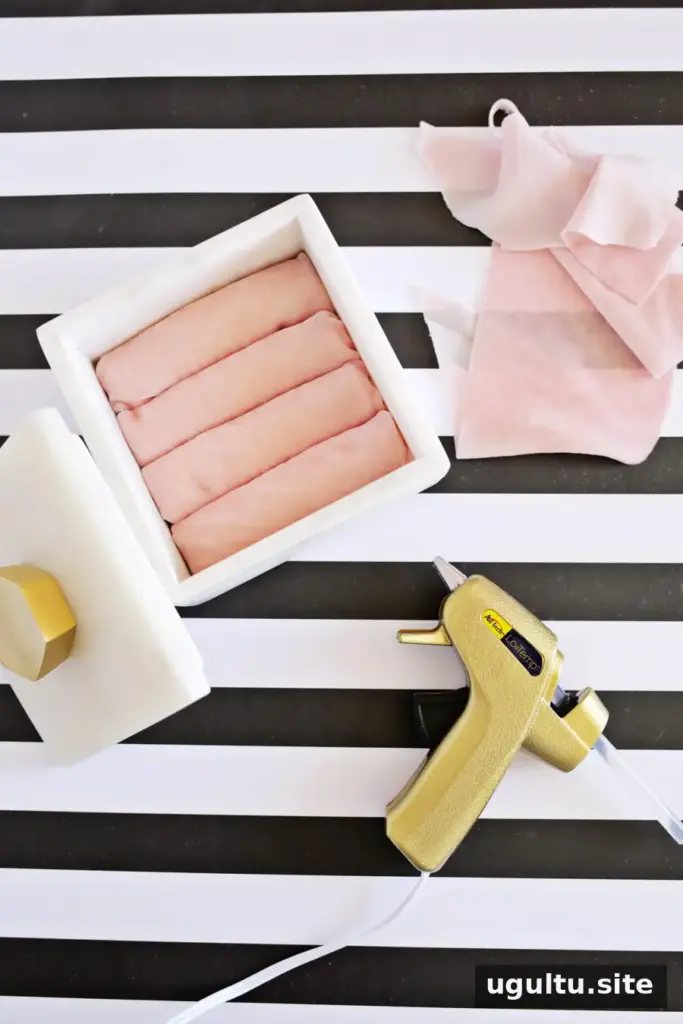
Place the velvet-covered rolls side by side in the box. They should fit closely enough to stay in place while leaving room to set jewelry between them. Adjust the number or size of the rolls to suit the box and the items you plan to store.
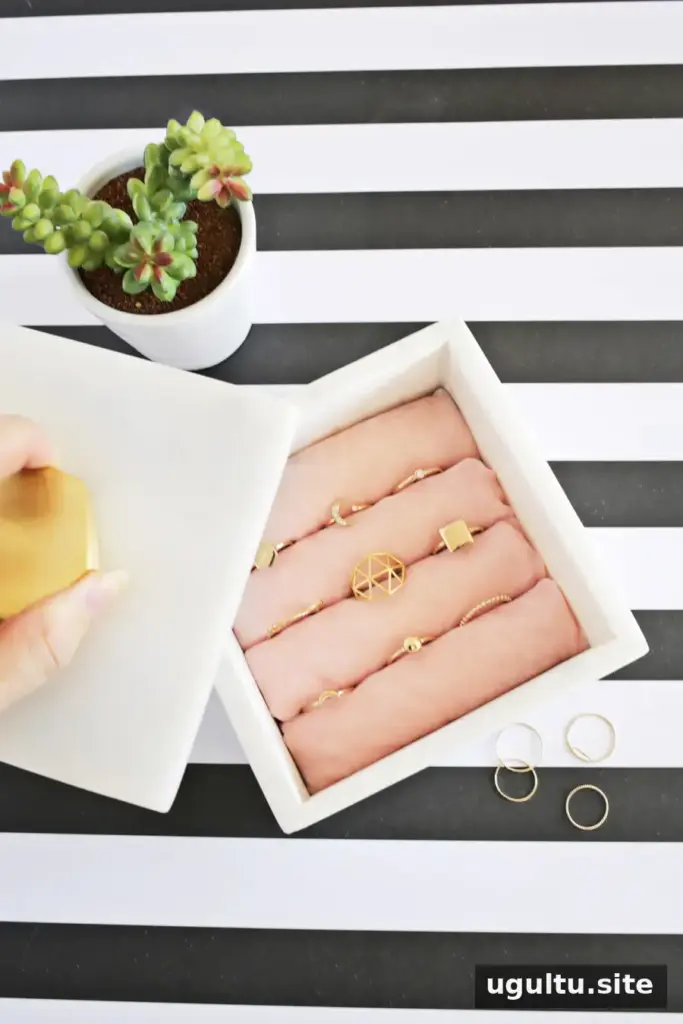
Personalize Your Jewelry Storage
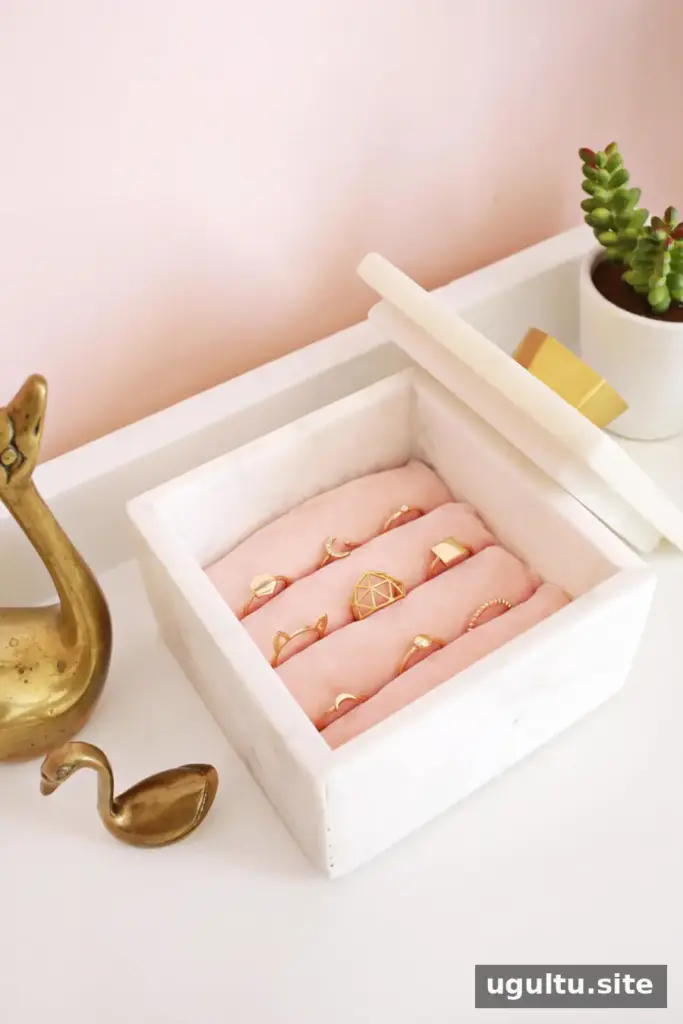
The box and velvet can be chosen to match your room or the jewelry you keep inside. A combination of marble-style detailing, pink, and gold is one option, but any decorative box and velvet color can work. Smaller pieces, such as stacking rings, are especially suited to the narrow spaces between padded rolls.
For a more flexible layout, vary the roll size or leave out a row to create extra room. Before gluing the ends, arrange the filled tubes in the box to check that they fit comfortably. This DIY jewelry box turns a decorative container into practical storage and helps keep small accessories together. — Laura


