admin
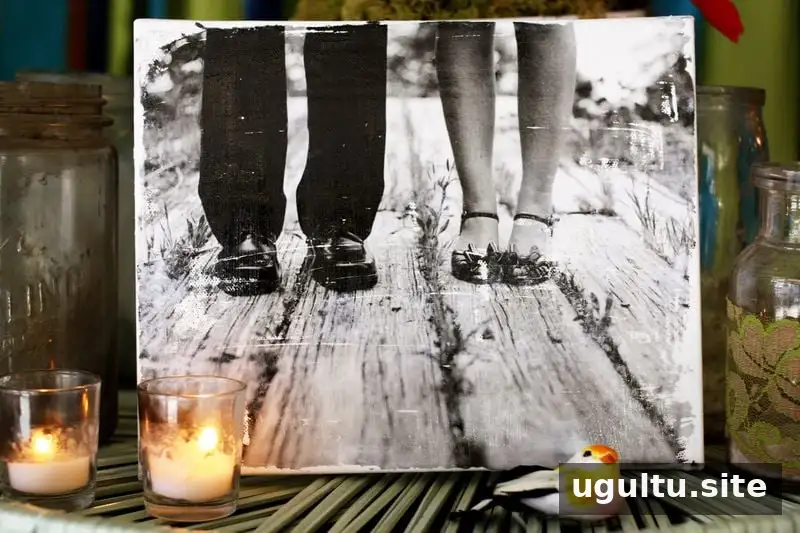
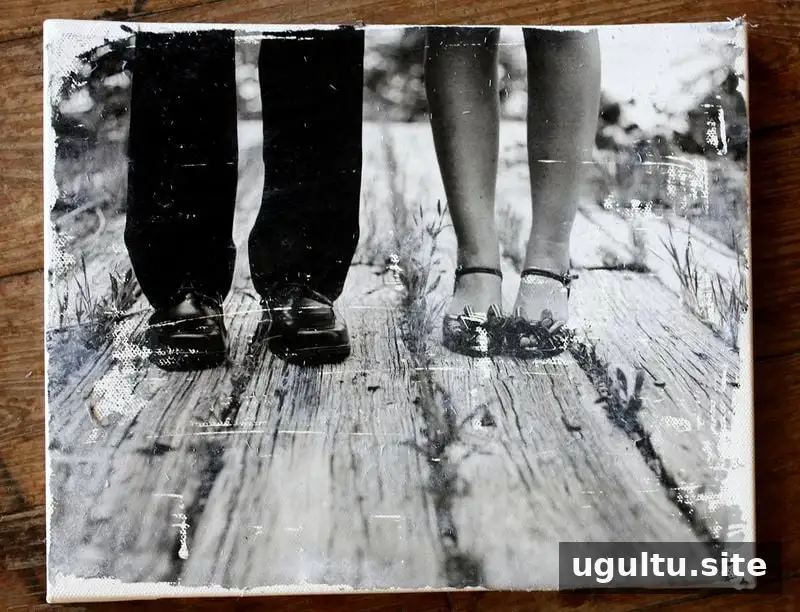
Learning how to transfer photos to canvas makes it possible to create a handmade keepsake using a few basic supplies. The process uses a printed image, gel medium, and water to lift away the paper and leave the image on a stretched canvas. Transfers can have a worn, textured finish, so choose a photo that will still look good if small areas fade or lose detail.
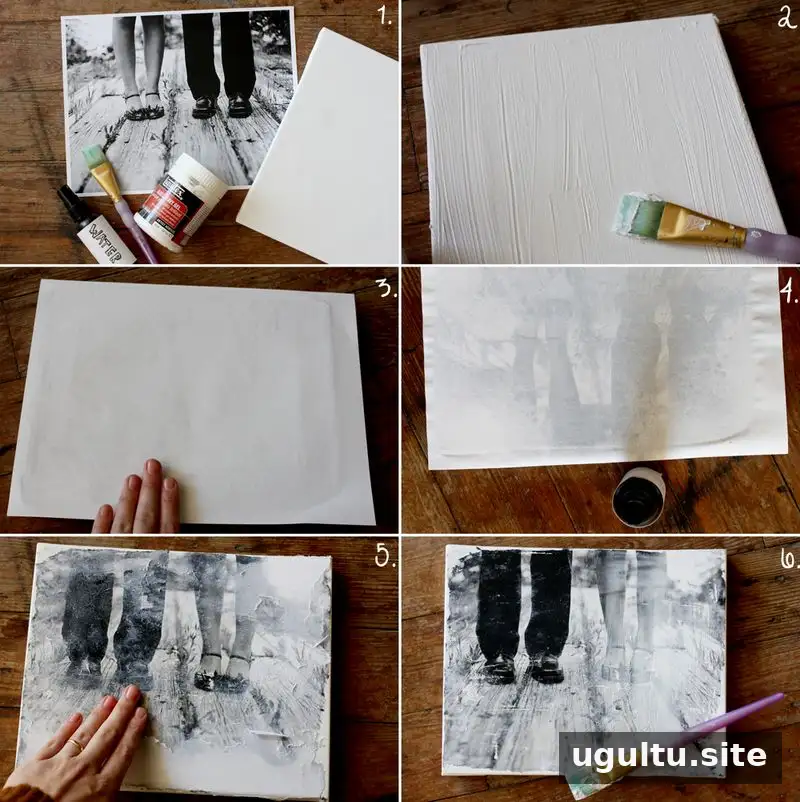
Supplies for a Photo Transfer to Canvas
- Stretched canvas, such as an 8×10-inch canvas
- Gel medium
- Paintbrush
- A laser copy of the image on regular printer or copy paper
- A spray bottle filled with water
Place your materials on a protected work surface before you begin. Check the image orientation first: the transfer will appear reversed, so mirror the image before printing if its direction or any text needs to read a particular way.
How to Transfer Photos to Canvas
- Apply the gel medium. Brush a generous, even coat over the canvas so the image area is covered.
- Position the printed image. Press the image face down onto the gel medium and smooth it into contact with the canvas. Let it dry for several hours or overnight; the paper should be completely dry before you add water.
- Dampen the paper. Use the spray bottle to wet the paper’s surface. Add enough water to moisten it without soaking the canvas.
- Rub away the paper gently. Use your fingertips to work across the damp paper until it begins to roll or lift away. As the paper comes off, the image will show through. This step can be messy and takes patience, so work gradually rather than scrubbing.
- Remove remaining paper. Continue dampening and rubbing lightly until the image is visible and the paper residue is gone. If parts of the image begin to lift, ease your pressure and take a short break before continuing.
- Seal the transfer. Apply another coat of gel medium over the image to seal and protect it.
Tips for a Better Result
Photo transfers are naturally imperfect. Small worn areas, especially near the edges, are common and contribute to the finished texture. Images with clear shapes and less fine detail are often easier to recognize after transfer. Each result can vary, so gentle handling is more useful than trying to remove every last paper fiber in one pass.
Frequently Asked Questions
Can I use photo paper?
Regular photo paper is not suitable for this method. Its coated, water-resistant surface does not rub away like ordinary paper, which is needed to reveal the image. Print on standard printer or copy paper instead.
Does the image need to be a laser copy?
Laser copies are the preferred option for this technique. An inkjet print on regular copy paper may also work, but avoid photo paper. Copy shops, offices, and public libraries may have machines that can make laser copies.
Can I use another craft adhesive instead of gel medium?
Results can vary with other products. In this method, gel medium is used both to attach the printed image and to seal the finished transfer. Substitutes may produce more visible wear or uneven results, so test an alternative on a small practice piece before using it on a keepsake.
Why is there a white film over the image?
A white film usually means paper remains on the surface. Lightly mist the area and rub gently to remove more of it. Some image wear is normal, so avoid pressing hard in an attempt to make the transfer look perfectly smooth. Once the paper is removed, apply the sealing coat while the surface is still slightly damp.
With a simple setup and careful rubbing, a photo transfer to canvas can turn a printed image into a handmade home keepsake or gift. Choose a photo that suits the intentionally imperfect finish, and allow enough time for the paper to dry before removing it.
Project notes by Elsie.