admin
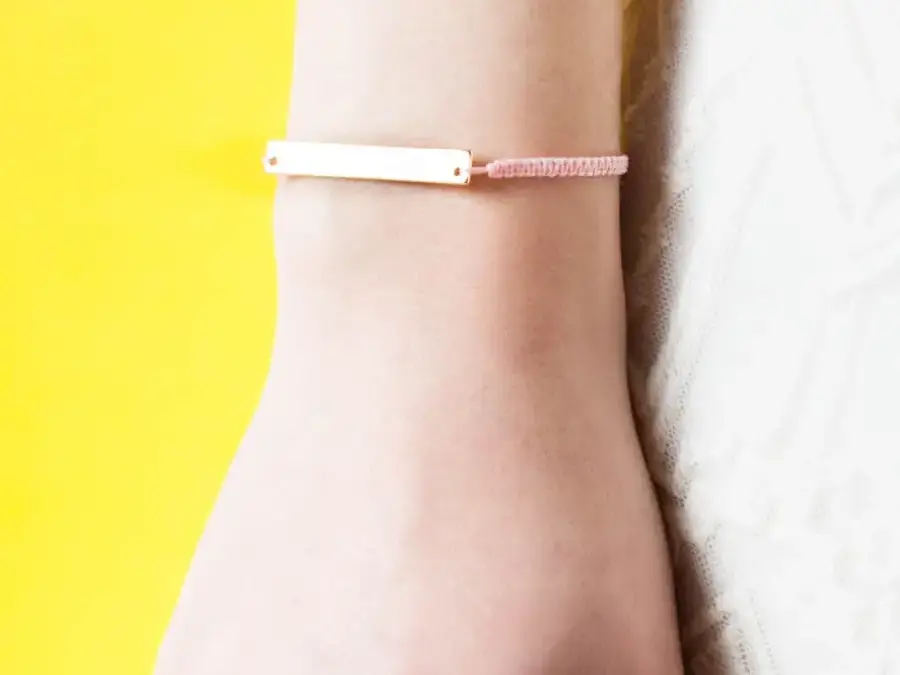
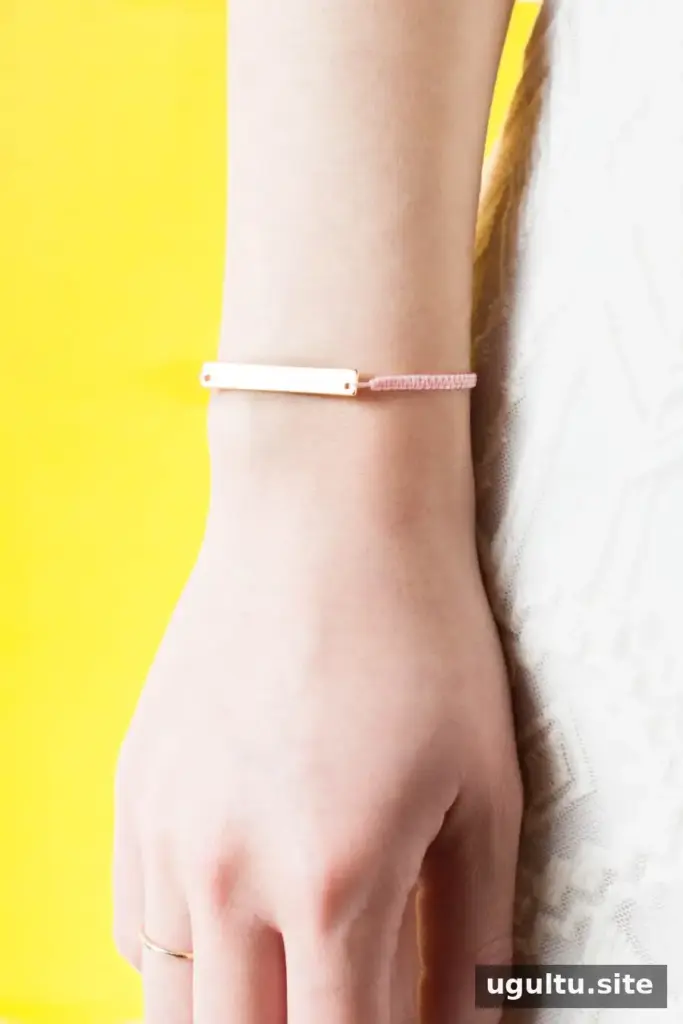
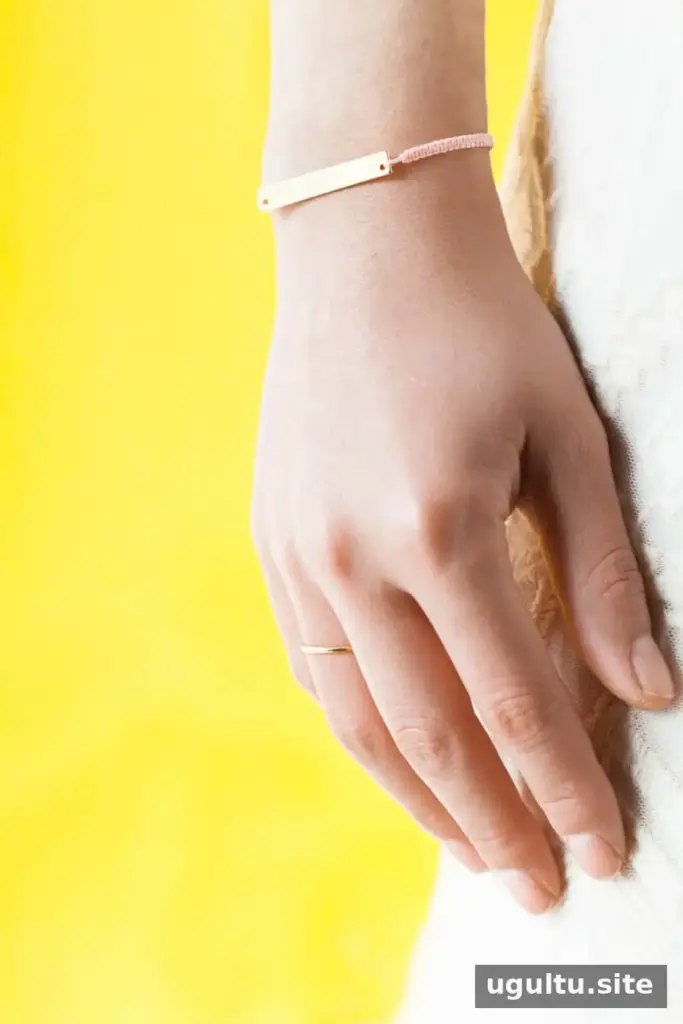
A DIY macrame bracelet is a simple way to learn basic knotting while making a piece of jewelry you can wear every day. This beginner-friendly design pairs delicate cord with a brass stamping blank or bead, and the adjustable sliding closure makes it easy to fit. You do not need previous jewelry-making experience, though taking your time with the first few knots will help keep the pattern neat.
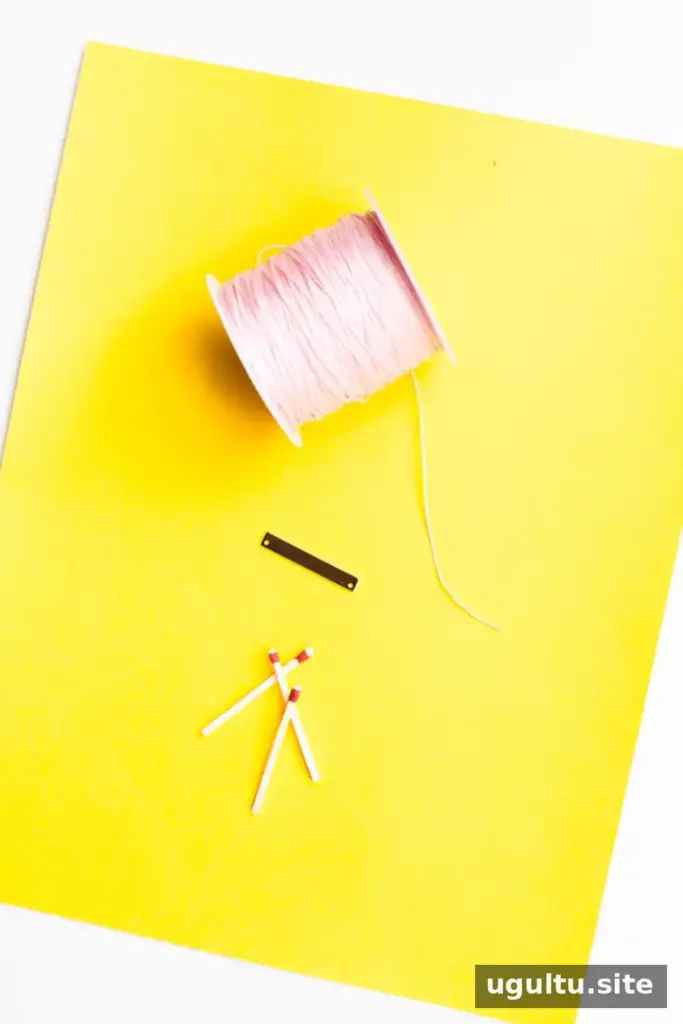
Supplies for a DIY Macrame Bracelet
Gather your materials before you begin so the cord stays organized while you work. The cord listed below is 0.5 mm; thicker cord can create a wider bracelet, but thinner cord may be more likely to break.
Supplies:
- 0.5 mm knotting cord
- A pre-drilled stamping blank or bead
- Scissors
- Matches or a lighter for finishing the cord ends
Check that the holes in your metal blank or bead are large enough for the cord to pass through. If you plan to melt the ends, first confirm that the cord material is suitable for heat; work carefully in a well-ventilated area, away from flammable materials, and keep a heat source away from children.
How to Make the Bracelet
1. Prepare the cords and center piece
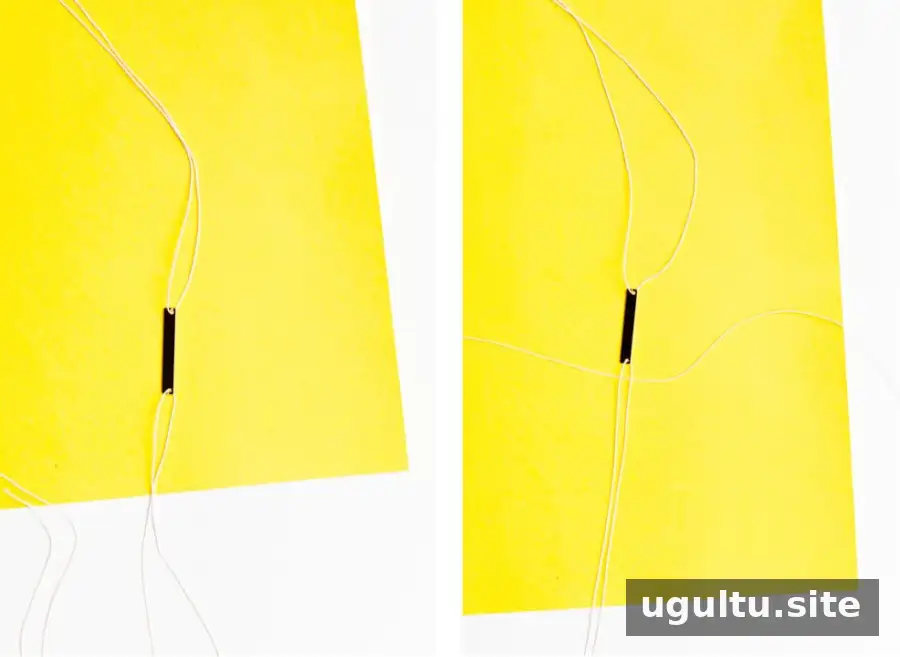
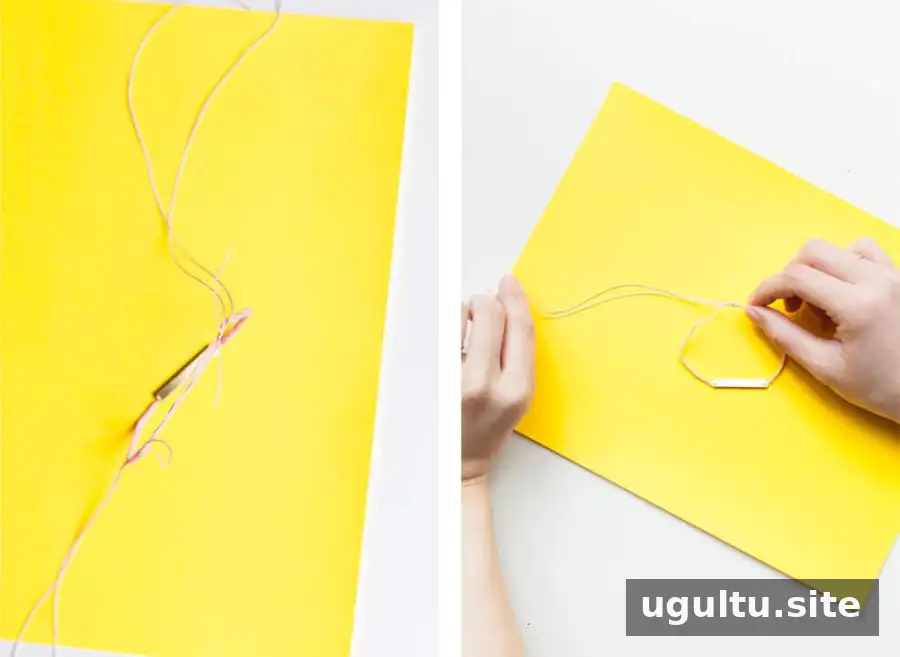
Cut two arm-length pieces of cord. Thread them evenly through the holes in the stamping blank so they form the middle strands. Cut another arm-length piece and center it underneath the middle strands. Its two ends will become the left and right working strands.
2. Tie the first square knot
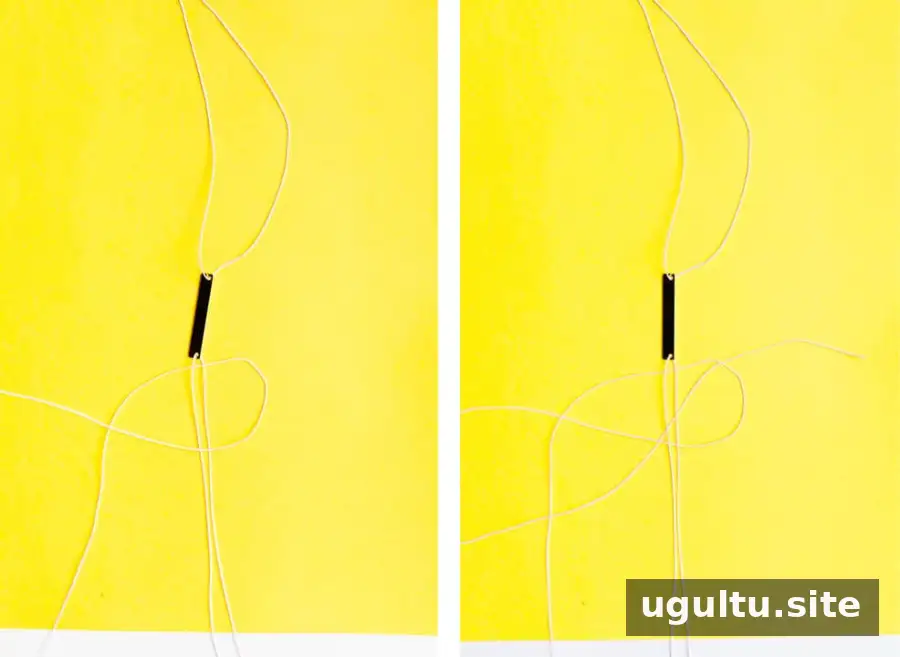
Take the right working strand across the front of the middle strands, then pass it underneath the left strand. Bring the left strand behind the middle strands and through the loop made by the right strand. Pull both ends evenly to tighten the knot, then slide it up toward the stamping blank.
3. Continue knotting one side
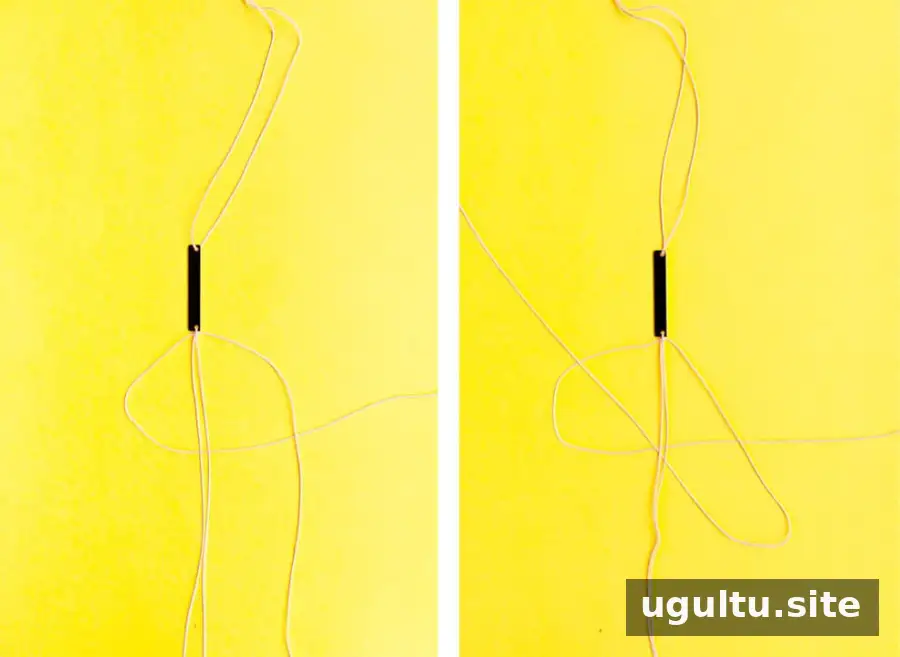
Reverse the movement to complete the square knot: pass the left strand over the middle strands and beneath the right strand, then guide the right strand through the loop. Tighten gently. Continue alternating the starting side—right, then left—to create a balanced row of square knots. Stop a few knots before the bracelet reaches your desired length, since the sliding closure will add some length.
4. Knot the other side and secure the ends
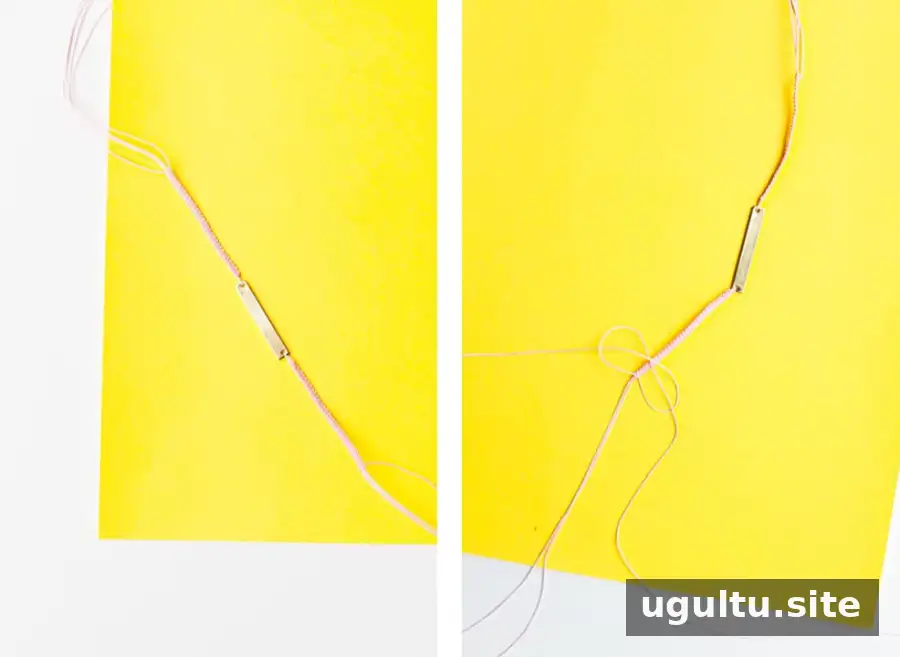
Repeat the same knotting pattern on the other end of the stamping blank. Tie off the left and right working strands with a simple loop. Carefully seal the ends with heat only if the cord is heat-safe, then trim the excess. Leave the middle strands intact on both ends; they will form the adjustable closure.
5. Make the adjustable sliding closure
Turn the bracelet over and lay the two sets of middle strands side by side. Adjust their length until the bracelet can pass over your hand while still fitting comfortably around your wrist. Temporarily secure the four strands together with scrap cord to hold them in place.
Cut another long piece of cord and use it to tie 6–10 square knots around the joined middle strands, alternating the starting side as before. Remove the temporary ties, secure and trim the remaining ends, and check that the middle strands slide through the closure. If they do not move freely, loosen the knots slightly and test again before wearing the bracelet.

Finishing Tips
Keep the working strands under steady, even tension as you knot; this helps the pattern look consistent. Before trimming any cord, test the closure and confirm the bracelet fits over your hand. A different metal bar or bead can change the look, while a longer knotted section can be used to adapt the design into a choker.
— Kayleigh