admin
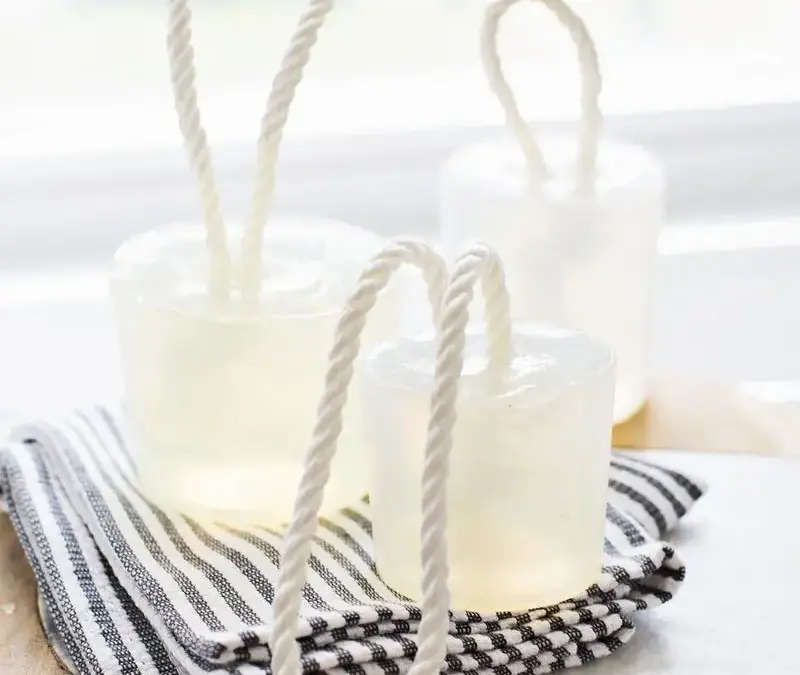
DIY soap on a rope is a simple craft project that turns melt-and-pour soap base, fragrance, and a piece of rope into a useful homemade soap. You can shape it in a clean household container, making it easy to adapt the project to the supplies you already have. Follow the steps below, and take care when handling knives, hot soap, and boiling water.
Supplies for DIY Soap on a Rope
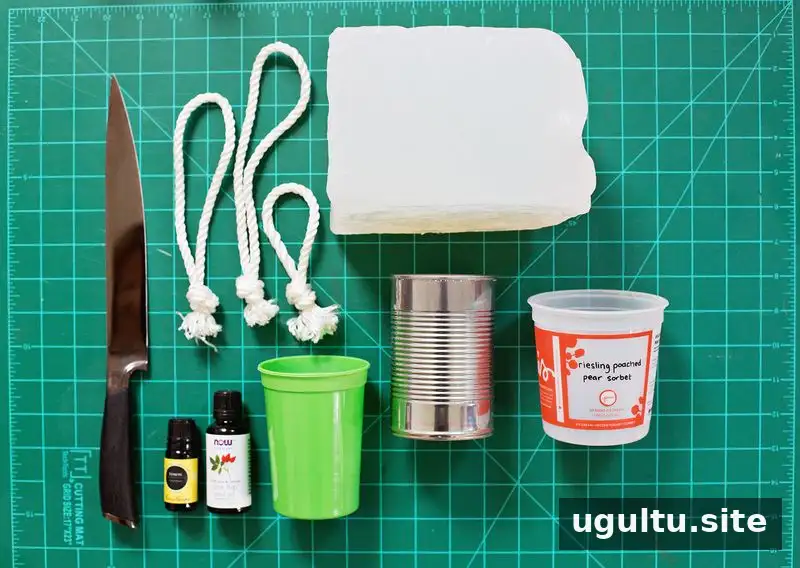
Gather these materials before you begin:
- Glycerin melt-and-pour soap base
- Essential oils
- Rope
- Clean household containers to use as molds
Choose a container based on the shape and size of soap you want. Check that it is clean and can safely hold warm, melted soap. Keep your rope and tools ready before melting the base, since the soap will begin to set as it cools.
Cut and Melt the Soap Base
Cut the soap base into cubes using a stable cutting surface and a sharp knife. Keep your hands clear of the blade and cut carefully; soap base can be firm, so avoid rushing or using the knife for anything other than cutting.
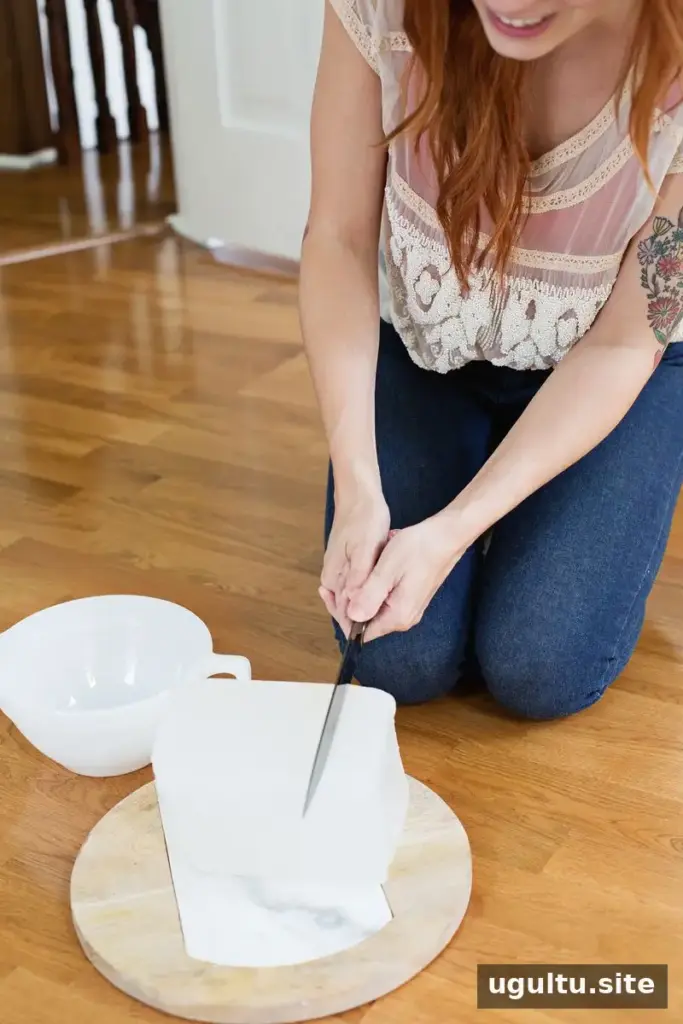
Estimate how much base you need before melting it. A small amount can fill more space than expected: for a pint-size container, about four or five cubes measuring 2 inches by 2 inches were used in this project. The amount needed will vary with the size and shape of your mold.
Melt the cubes in a microwave or with a double boiler on the stove. If using a microwave, heat in short intervals and check the soap between each one to reduce the risk of overheating. Follow any handling instructions provided with your soap base.
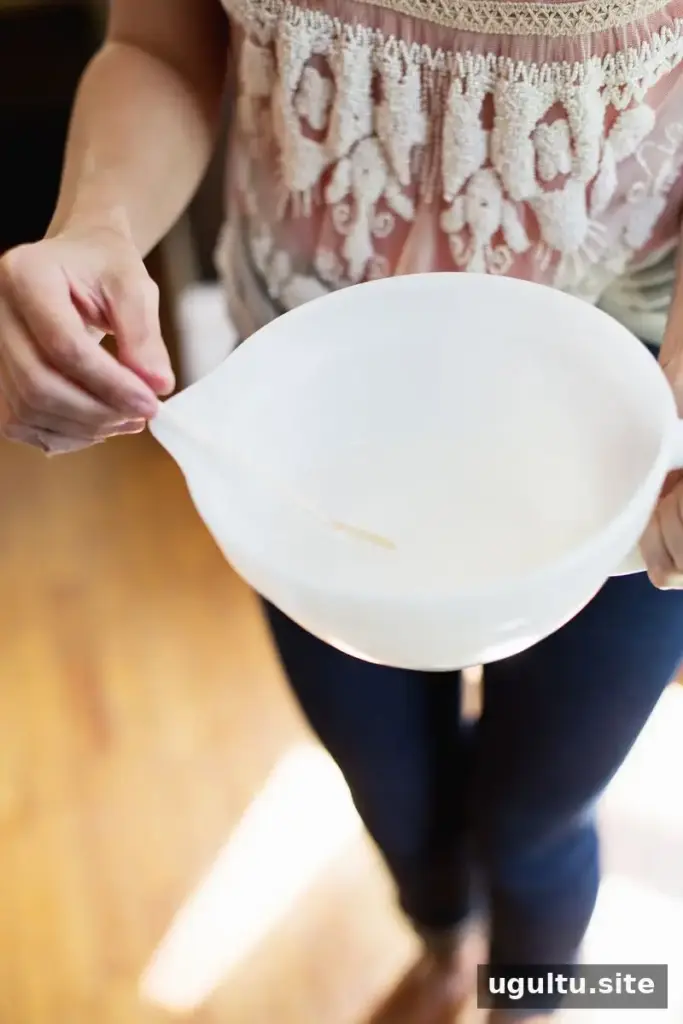
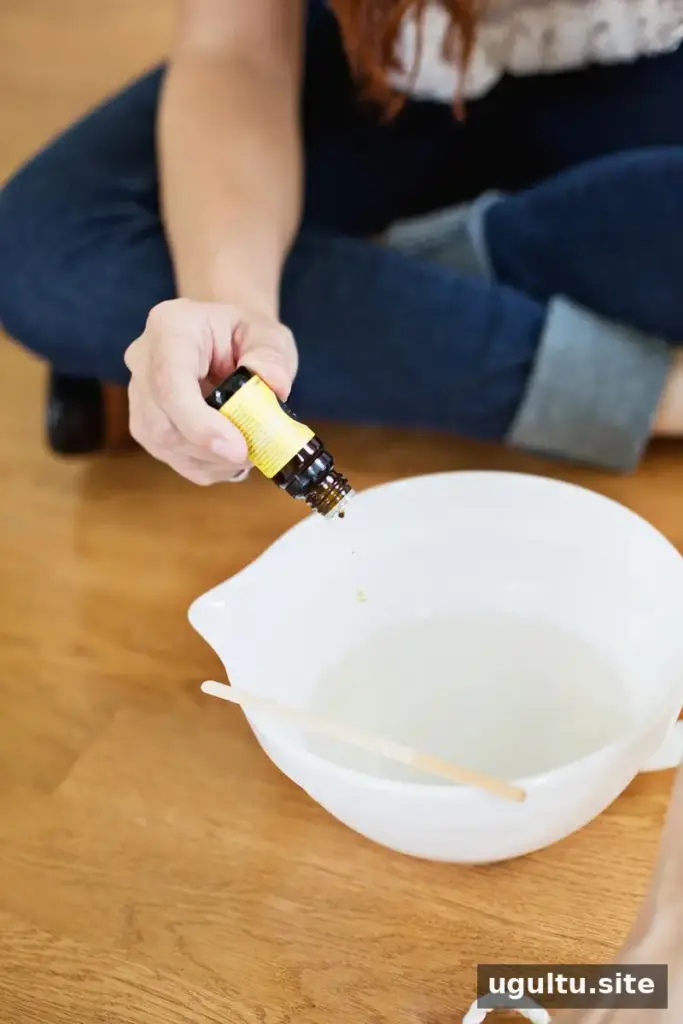
Add Essential Oils and Position the Rope
When the soap base has melted completely, stir in your chosen essential oil. This project used around 20–25 drops. Essential oils vary in strength, so check the product guidance for skin use and avoid adding more than recommended. Stir gently to distribute the scent evenly.
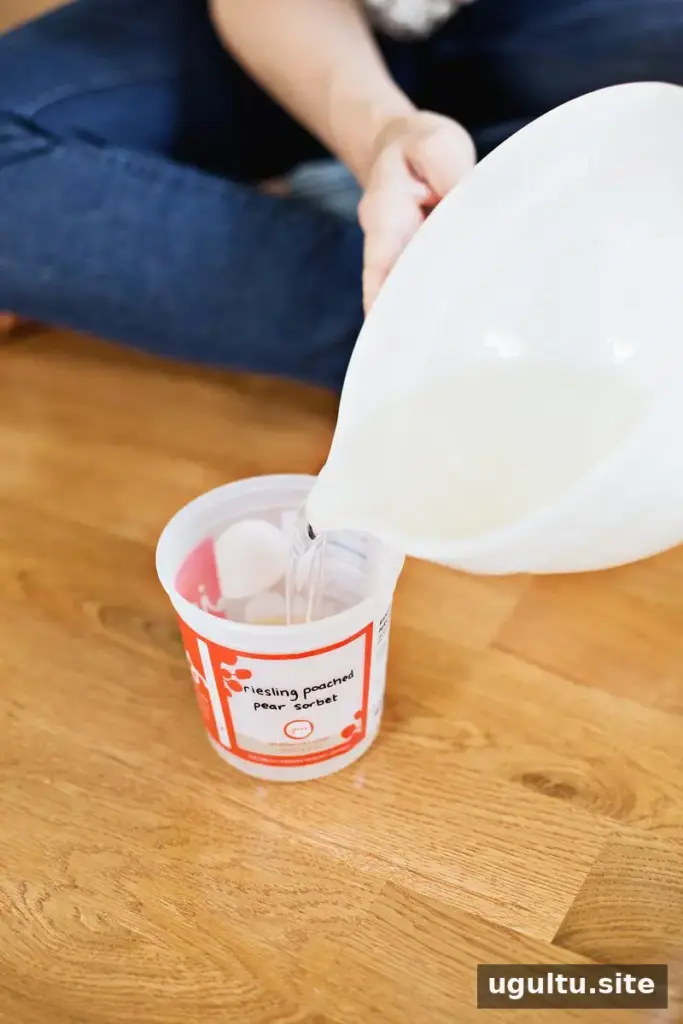
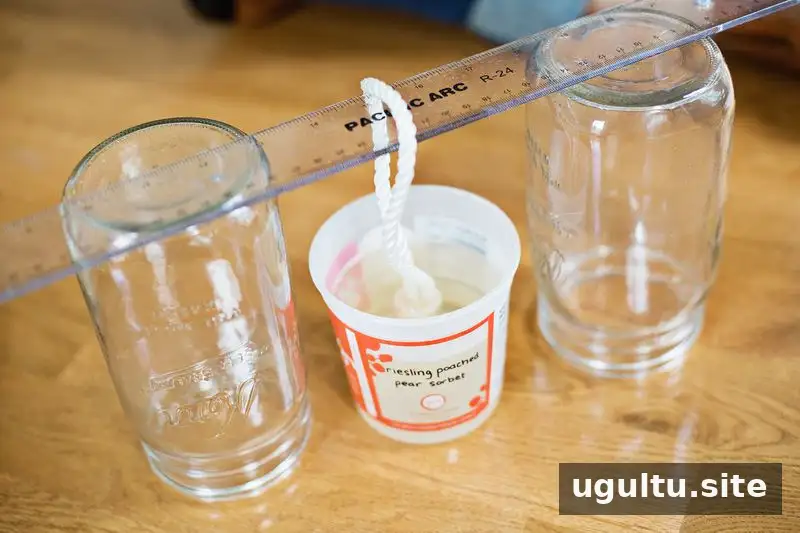
Set the rope in the container before pouring. Keep it centered so the finished soap hangs evenly. A ruler laid across the top of a jar can help hold the rope in position while the soap sets. Make sure the portion of rope intended for hanging remains outside the mold.
Let the Soap Set and Remove It from the Mold
Allow the soap to cool and harden completely. Leaving it undisturbed overnight is one way to give it time to set, though the required time can depend on the mold and the amount of soap used.
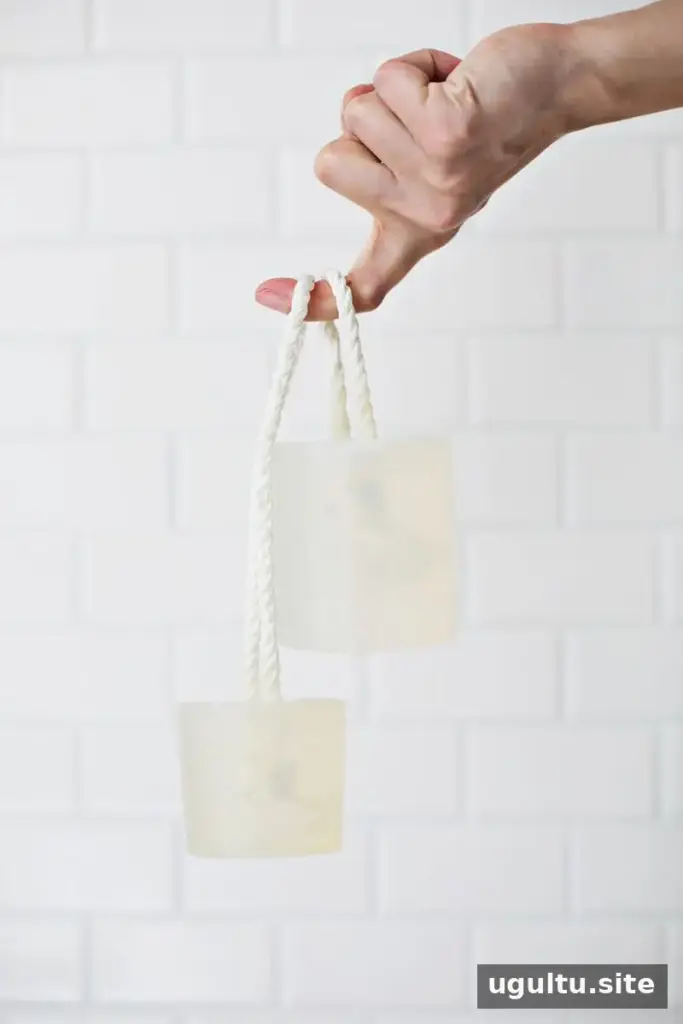
For plastic containers, placing the mold in the freezer for several hours may help the soap release. If it does not come out easily, avoid forcing it with a knife or other sharp tool, which could damage the soap or container.
A metal can may be more difficult to release. In this project, brief contact with hot water softened the outside enough for the soap to slide out. Use caution: boiling water and heated metal can cause burns. Wear an oven mitt, keep the container stable, and handle it carefully.
Enjoy Your DIY Soap on a Rope
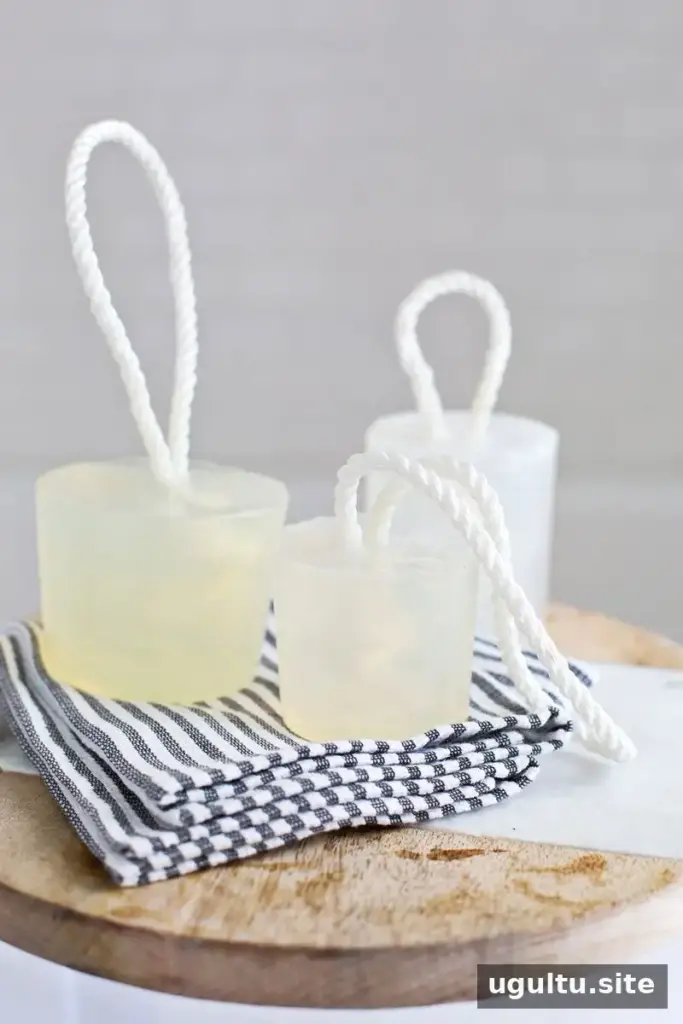
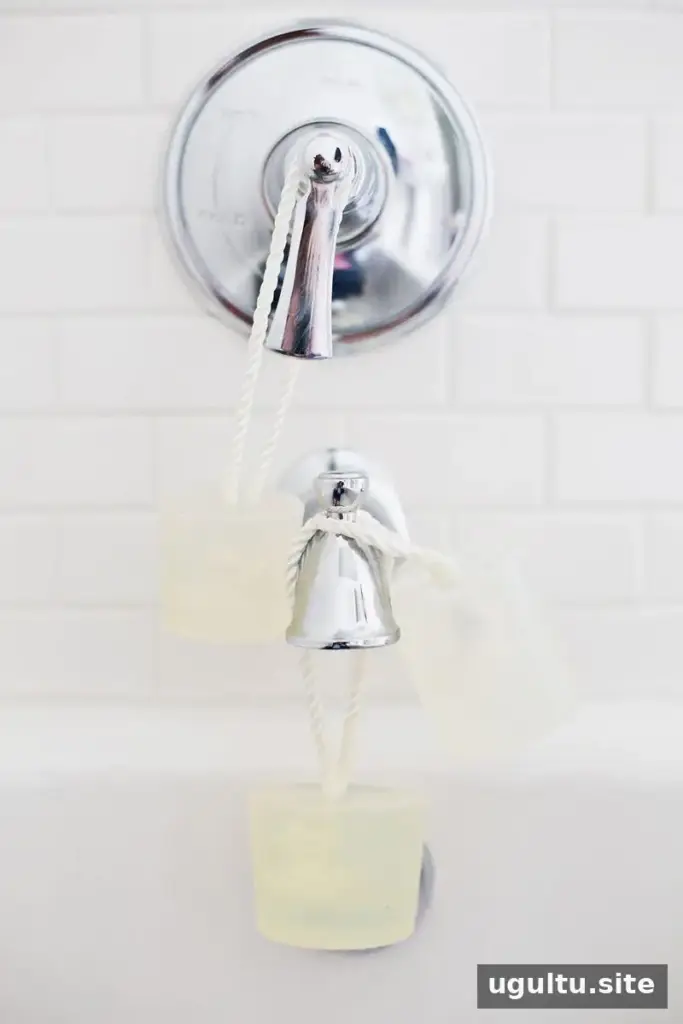
Once removed from the mold, your soap is ready to use. Hang it somewhere it can drain between uses, and allow it to dry rather than leaving it in standing water. DIY soap on a rope is an adaptable project: changing the mold changes the shape, while the rope makes the bar easier to hang and handle.
Project by Katie.