admin
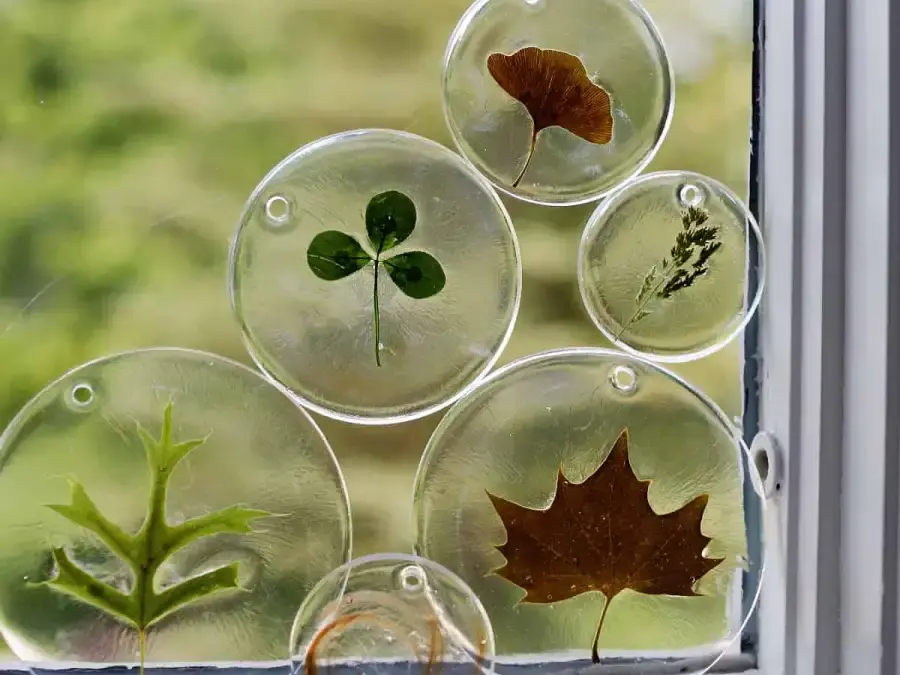
Resin art is a creative way to make decorative objects using epoxy resin, color, and small items such as pressed flowers or glitter. Projects range from jewelry and coasters to larger surfaces like tables. If you are new to resin art, start with a small mold-based project and follow the instructions supplied with your resin kit, since mixing ratios and curing times vary by product.
Resin Art Supplies for Beginners
Gather your materials before mixing. Epoxy resin begins to cure after its components are combined, so having everything ready helps you work within the product’s stated working time.
- Clear epoxy resin kit with resin and hardener
- A measuring cup used only for crafts, not for food
- Clean silicone molds suited to your project
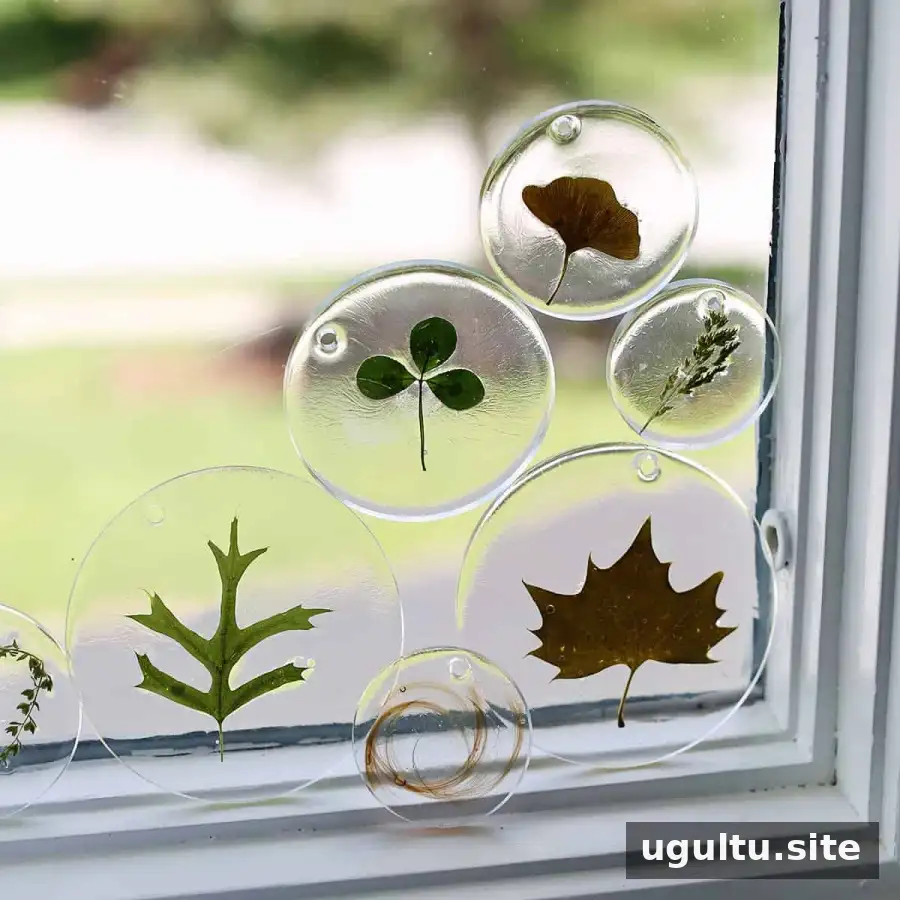
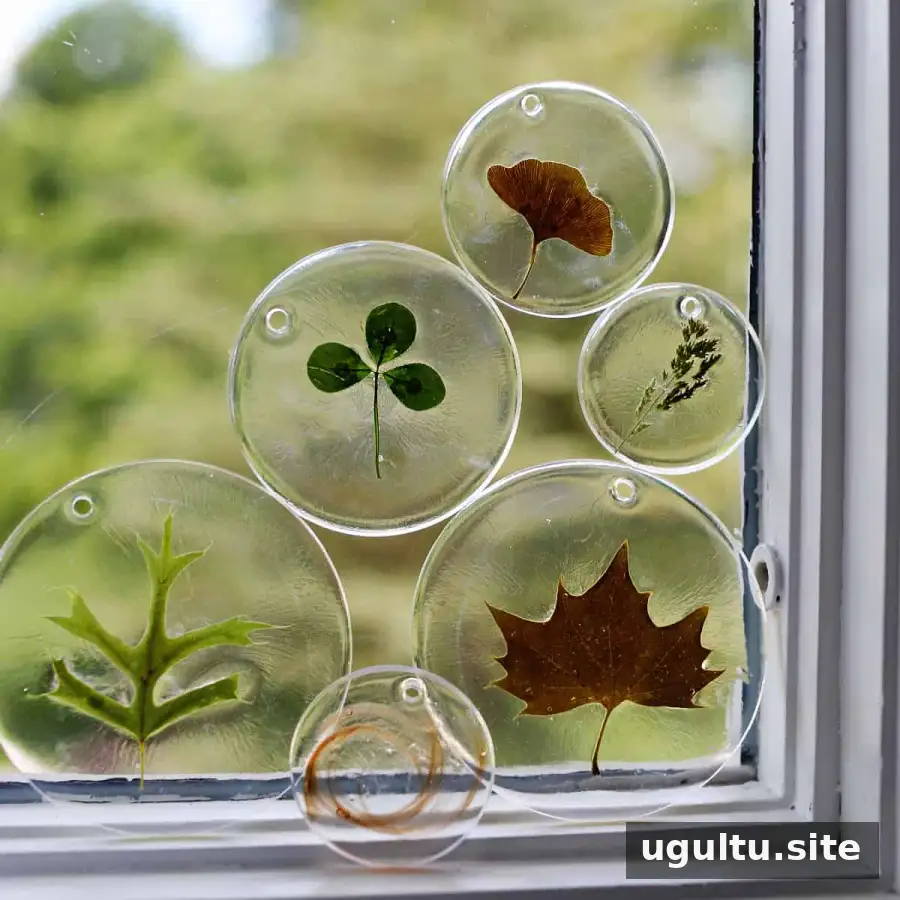
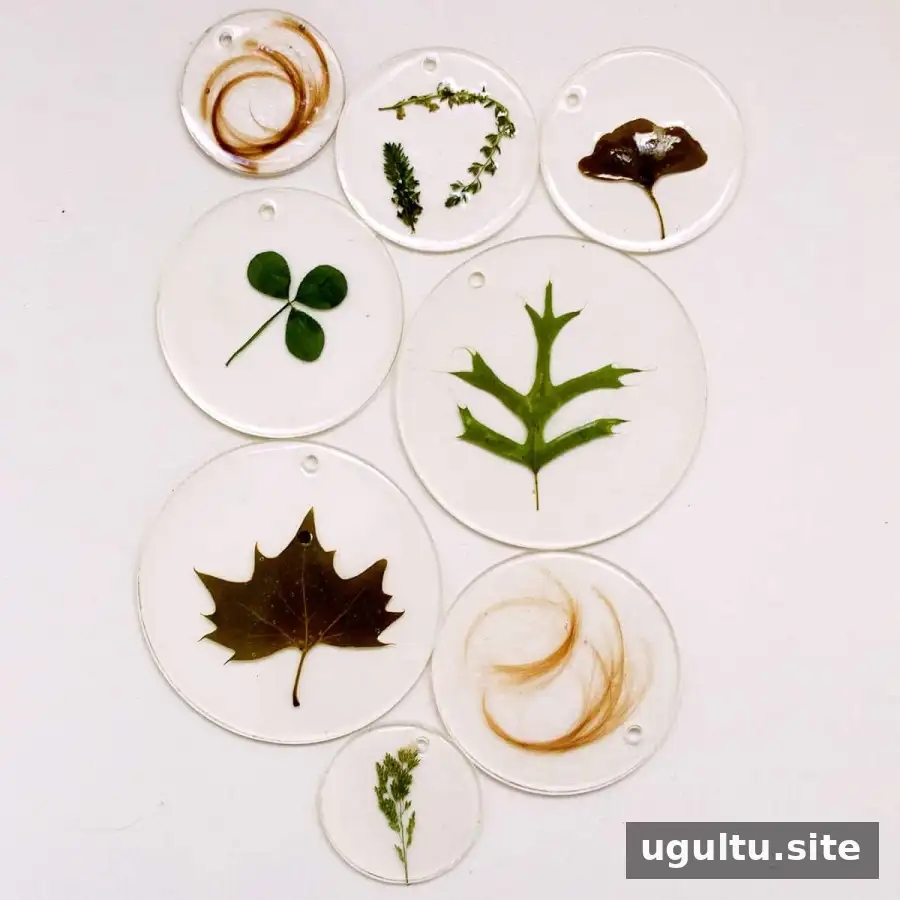
- Decorative elements such as pressed flowers, leaves, glitter, coins, or small photographs
- Disposable gloves and, where appropriate, protective eyewear
- Toothpicks for positioning inclusions and dealing with small bubbles
For larger projects, you may also need a bigger resin kit, suitable molds, and a tool for removing surface bubbles. Check the product label to confirm that the resin is intended for your project and mold material.
The video below demonstrates how epoxy resin can be used in a craft project.
How to Use Epoxy Resin
Always read the kit instructions before starting. Some products use a 1:1 ratio, but this is not universal; measure the resin and hardener in the exact proportions specified by the manufacturer.
- Prepare the workspace: Cover the work surface and make sure the molds and decorative items are clean and dry.
- Put on protective equipment: Wear gloves and follow the product’s safety directions. Work in a well-ventilated area, keep resin away from children and pets, and avoid direct skin contact.
- Measure and mix: Combine the resin and hardener as directed. Mix thoroughly, taking care not to introduce unnecessary air bubbles.
- Add decorations: Pour some resin into the mold, arrange your chosen elements, then add more resin as needed. Use a toothpick to position small pieces.
- Remove bubbles and cover: Deal with bubbles using a method recommended for your resin. Protect the project from dust while it cures.
- Allow it to cure: The source instructions describe a typical curing period of 10–24 hours, while other products may differ. Follow the label and avoid removing the piece before it is fully cured.
- Finish the piece: Carefully remove it from the mold and add any finishing details, such as ribbon or jewelry findings.
Choosing Resin and Project Materials
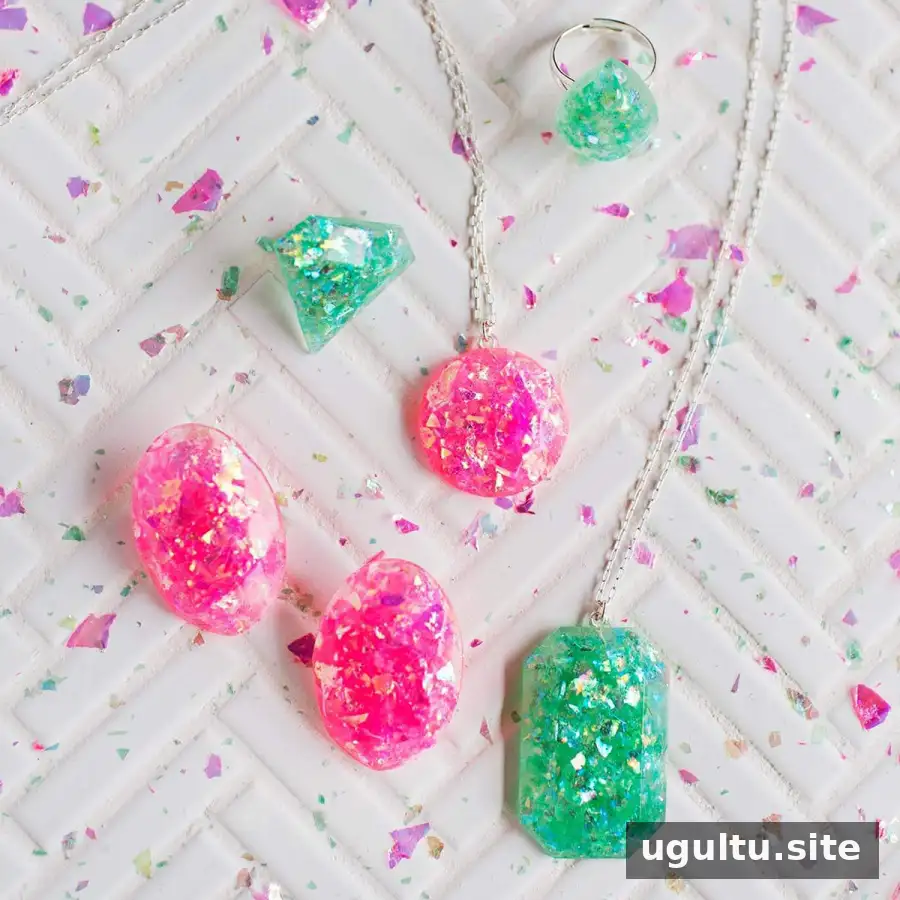
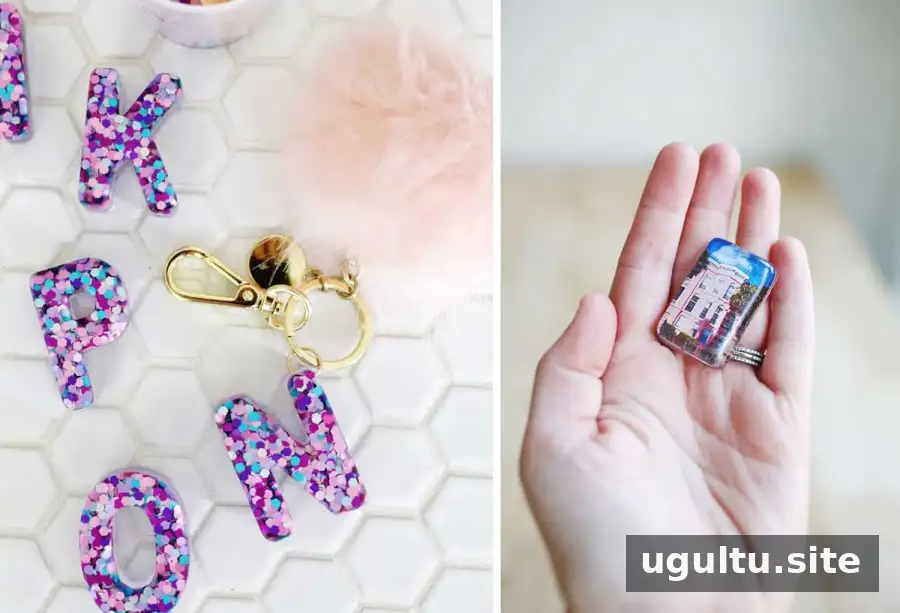
Epoxy resin is commonly used for small crafts and home projects. Many craft kits are designed for beginners and include the basic components, although molds are often purchased separately. Jewelry molds with a hole for a jump ring can make it easier to turn a finished casting into a wearable piece. Coaster molds are another useful option for practicing pours.
Different resin types have different properties. Epoxy is often chosen for crafts because it generally has a lower odor than polyester resin and may offer a working time of 20 minutes or less once mixed. Many epoxy products cure within about 24 hours, but the exact time depends on the product. Polyester resin has a stronger odor and cures very hard, which can make it suitable for pieces that will be sanded. Polyurethane resin can cure quickly and may be more sensitive to application conditions. Always consult the manufacturer’s directions and safety information before choosing or using a resin.
Resin Art Project Ideas
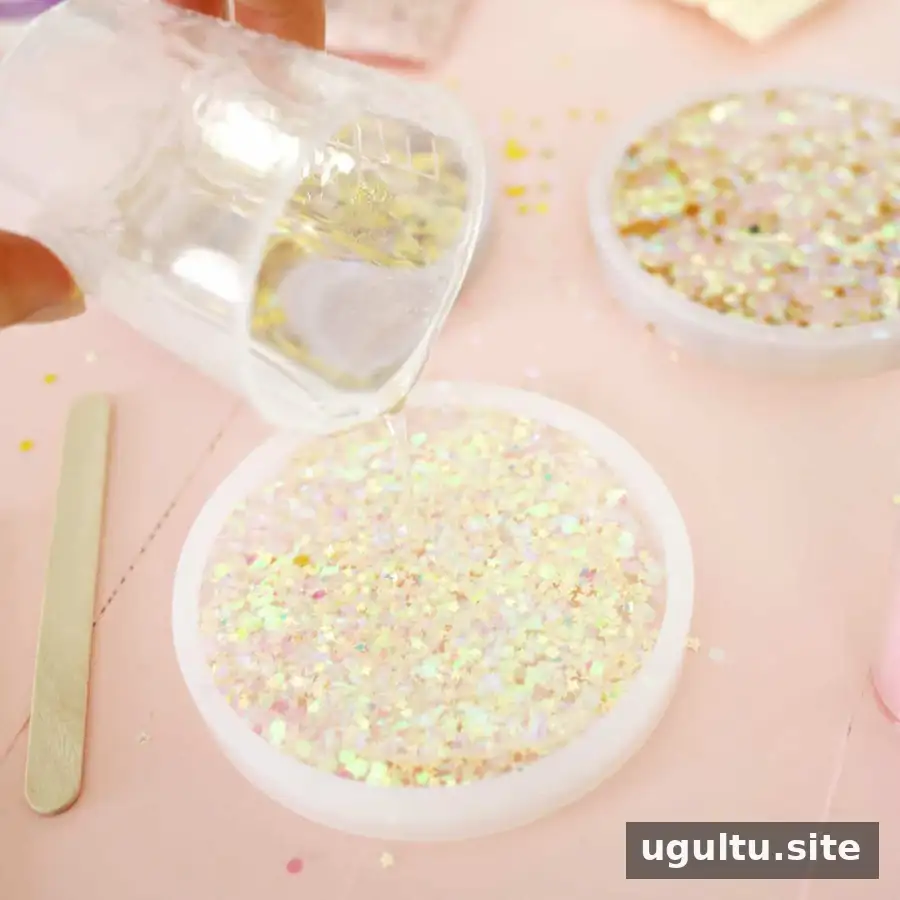
Once you have practiced measuring and mixing, try a project that matches your experience and the amount of resin you have. Smaller castings are a practical place to begin before moving on to furniture or counters.
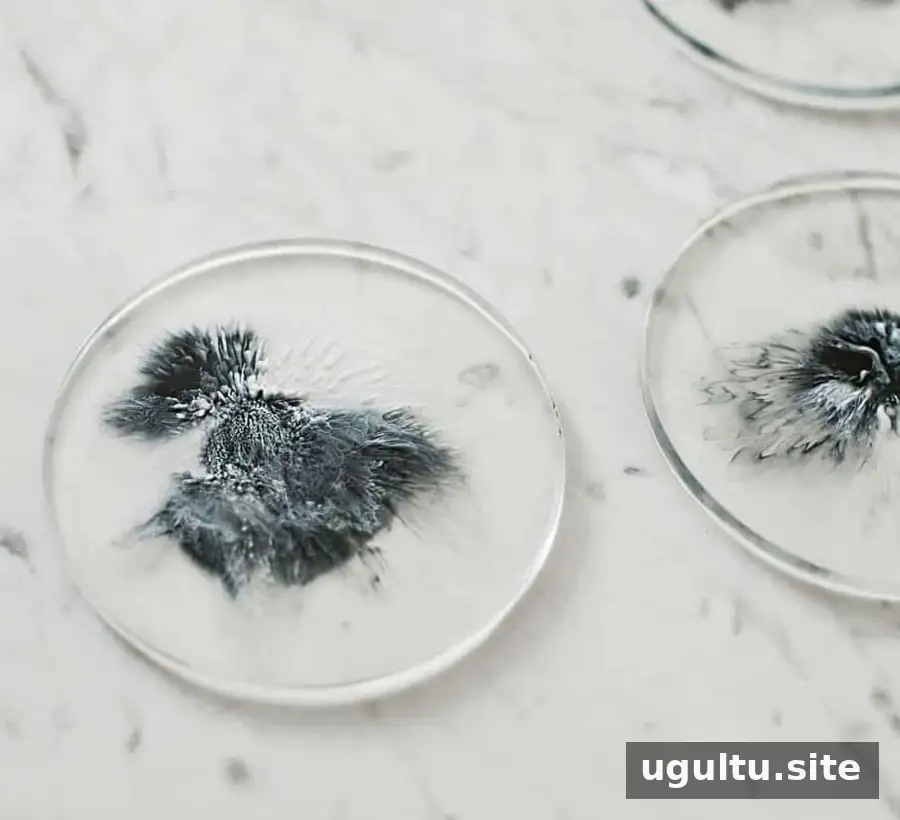
- Glitter coasters or alcohol-ink coasters
- Pressed-flower earrings
- Resin jewelry, including necklaces and keychains
- A decorative jewelry box
- A desk or coffee table with an epoxy-resin surface
- A faux-terrazzo countertop with a resin seal
For keepsake projects, make sure any natural materials or inclusions are suitable for embedding and fit inside the mold without touching its edges.
Tips for Better Resin Art Results
- Set out all tools and decorations before mixing, and work within the kit’s stated working time.
- Keep molds and inclusions free of dust and debris; particles can become trapped in the cured resin.
- Protect the surface beneath your project and cover the casting while it cures, without letting the cover touch the resin.
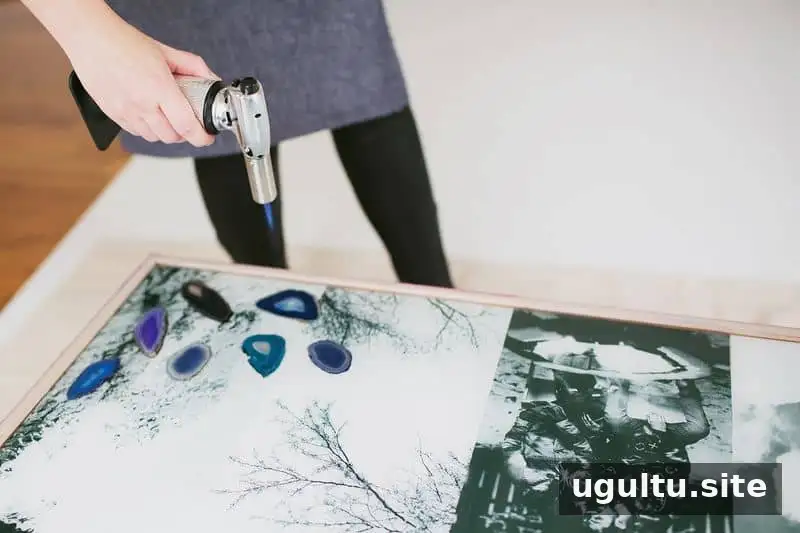
- Use a toothpick for bubbles in small pieces. For larger surfaces, use only a bubble-removal tool and method permitted by the resin manufacturer.
- Do not use kitchen measuring tools or reuse craft equipment for food.
- Follow the product’s ventilation, handling, and disposal instructions. Wear protective eyewear when the task or product guidance calls for it.
Frequently Asked Questions About Resin Art
Is resin art expensive?
Small projects such as jewelry and coasters can be relatively inexpensive because they use less resin. Larger pieces require more material and may need additional tools, so costs can increase with project size.
Is resin art difficult for beginners?
Basic mold projects can be approachable for beginners when measurements and instructions are followed carefully. Because epoxy products contain chemicals, children should not handle them; supervise any craft activity and follow the product’s safety guidance.
Can you paint on epoxy resin?
Many cured epoxy surfaces can be painted, but compatibility depends on the resin and paint. Check the product instructions before applying paint. Some resins can also be tinted, using colorants recommended for that product.
Simple Epoxy Resin Ornament or Coaster How-To
This basic method can be used with a suitable ornament or coaster mold. The listed preparation time is 5 minutes, the curing time is 12 hours, and the total time is 12 hours and 10 minutes. Actual curing time depends on the resin kit, so use its instructions if they differ.
Supplies
- 1 clear epoxy resin kit
- 1 measuring cup reserved for craft use
- Pressed flowers or plants
- 1 pair of disposable gloves
Instructions
- Clean the mold and protect the work surface.
- Put on gloves and measure the resin and hardener according to the kit directions. A 1:1 ratio is common in some kits, but check your product before mixing.
- Mix the components, add the pressed flowers or plants, and fill the mold.
- Use a toothpick to arrange the inclusions and remove small bubbles where possible.
- Leave the project undisturbed to cure for the time specified by the manufacturer. The listed example uses a 12-hour cure.
- Once fully cured, remove the piece from the mold and add finishing details if desired.
Resin art is easiest to learn through small, well-prepared projects. Choose a suitable kit, follow its safety and mixing directions, and allow each piece to cure fully before handling or using it.