
 admin
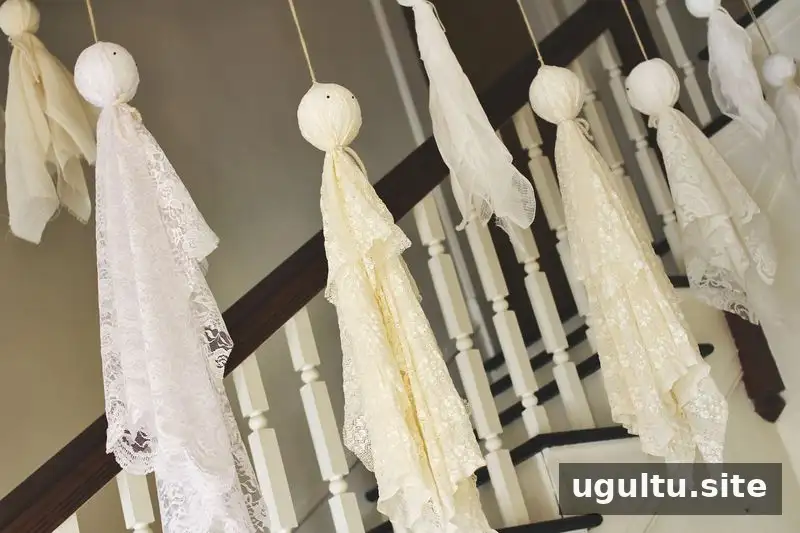
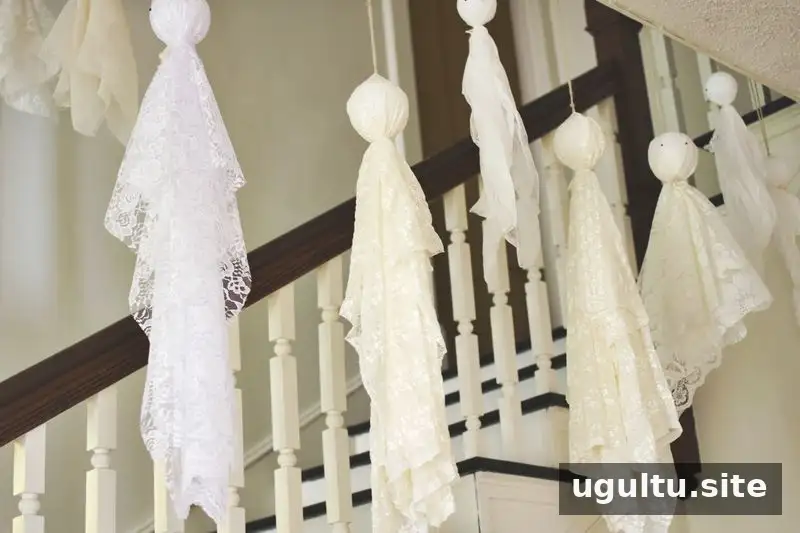
Hanging ghost decorations are a simple way to add a playful Halloween touch to an entryway, staircase, or other suitable spot at home. This project uses a few basic supplies to create a small ghost family, and you can make several decorations in about 30 minutes.
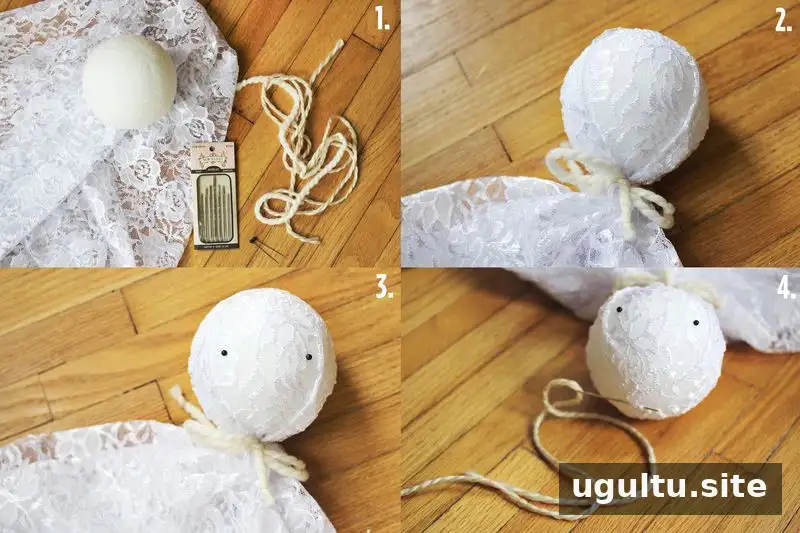
Supplies for Hanging Ghost Decorations
Gather the materials before you begin. Each ghost is made from a foam ball covered in lace fabric, with yarn or twine used to secure and hang it.
- Foam balls
- Lace fabric
- Black sewing pins
- Tapestry needle
- Yarn or twine
Choose enough fabric to cover each foam ball and drape around it. For a coordinated display, use similar-sized foam balls and matching lengths of yarn or twine.
How to Make the Ghosts
- Cover the foam ball: Place a piece of lace fabric over a foam ball so the fabric hangs down around it like a ghost’s body.
- Secure the neck: Tie yarn around the fabric just below the ball. This gathers the lace and holds it in place.
- Add the eyes: Use two black sewing pins to make the ghost’s eyes. Position them on the front of the covered ball.
- Attach a hanging loop: Thread yarn or twine through a tapestry needle, then stitch through the top of the ghost. Tie the ends securely to create a loop for hanging.
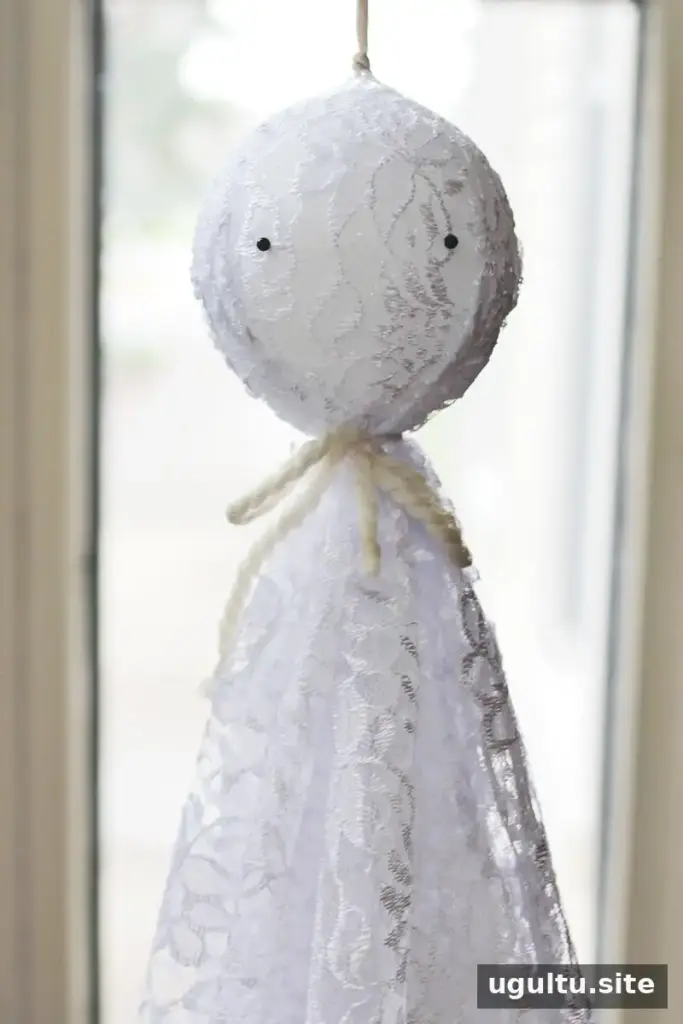
Repeat these steps for each ghost. Making a batch can take about 30 minutes, depending on how many you create. Vary the fabric drape or the spacing between the eyes to give each one a slightly different look.
Displaying Your Halloween Ghosts
Hang the finished decorations along an entryway or staircase for a welcoming seasonal display. Before placing them, check that the hanging points are secure and that the ghosts will not obstruct a walkway, door, or handrail. Keep them away from candles, heaters, and other sources of heat or flame.
Because sewing pins are sharp and small, keep the materials and finished decorations out of reach of young children and pets. If children are helping, an adult should handle the pins and tapestry needle.
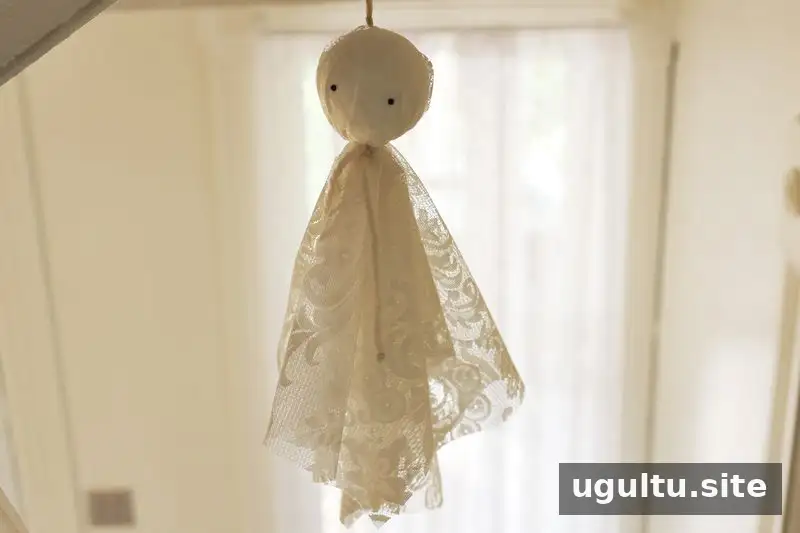
A Simple Seasonal Craft
These hanging ghost decorations use straightforward materials and require only a few steps: cover, tie, add eyes, and attach a loop. Prepare the supplies first, then make several together for a coordinated Halloween display. Design by Elsie.


