
 admin
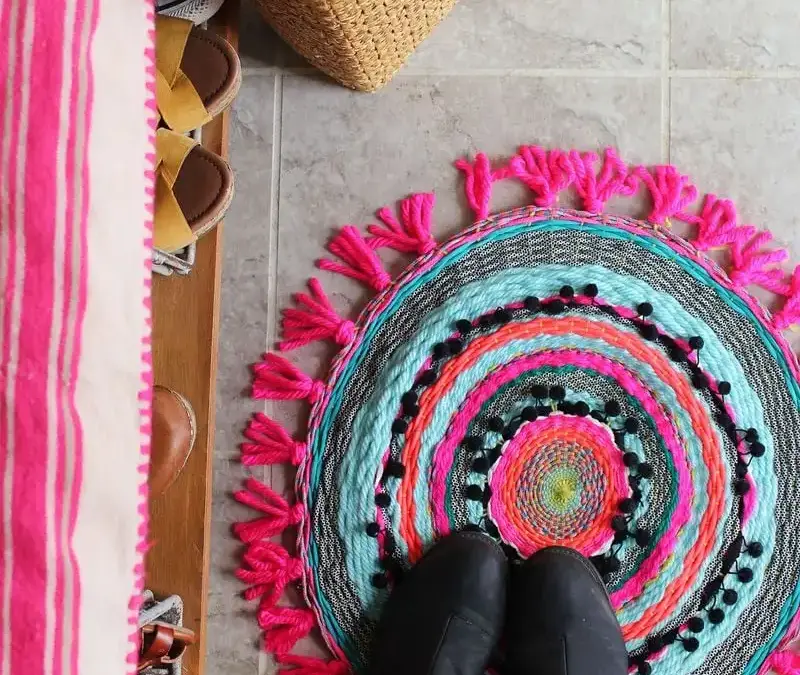
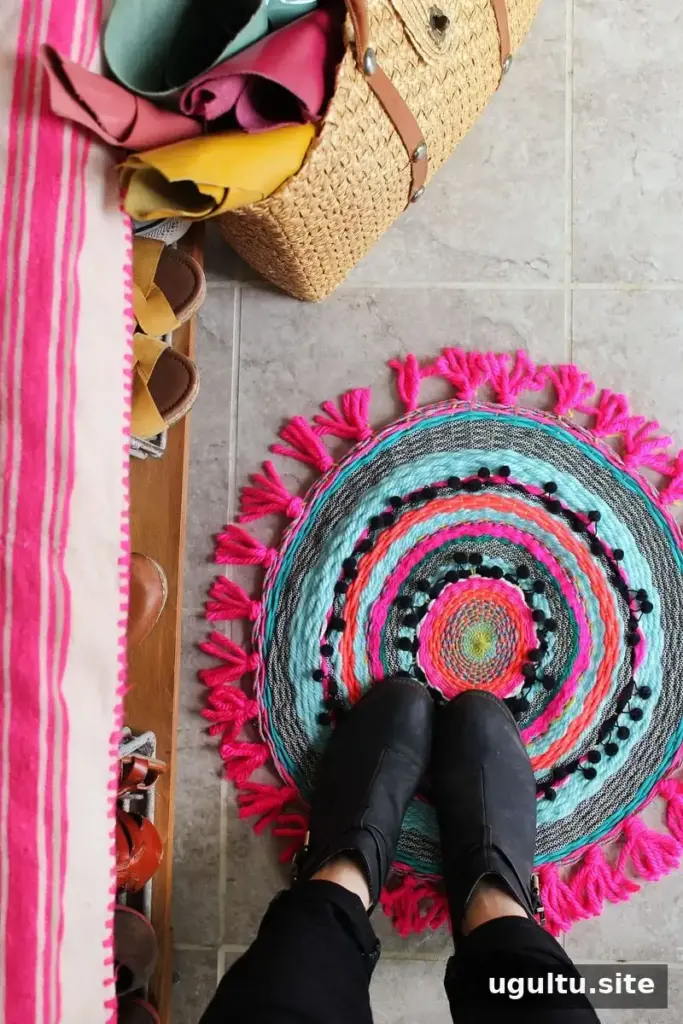
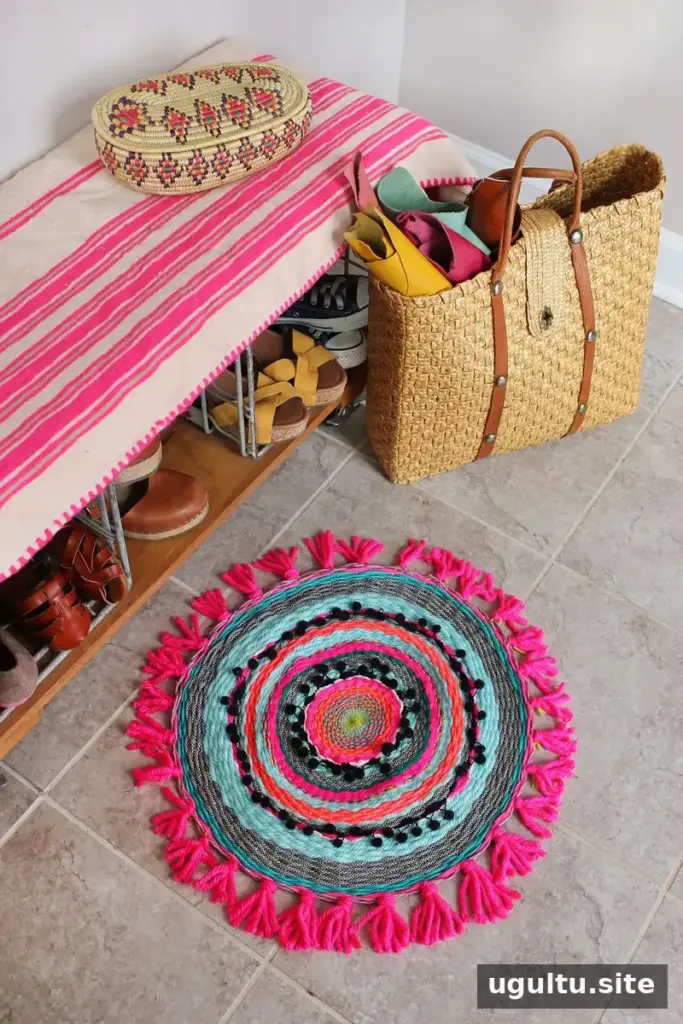
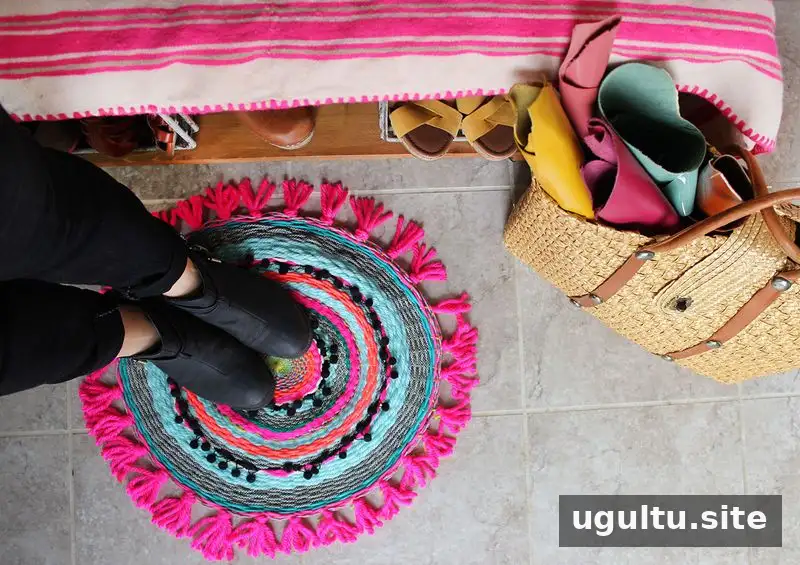
This woven circle mat DIY project turns yarn, cord, and other leftover materials into a colorful round mat. A simple cardboard loom makes it possible to create the circular shape without specialized equipment, while mixing materials adds texture and visual interest. The finished mat can brighten a studio or another low-traffic spot at home.
Materials for a Woven Circle Mat DIY
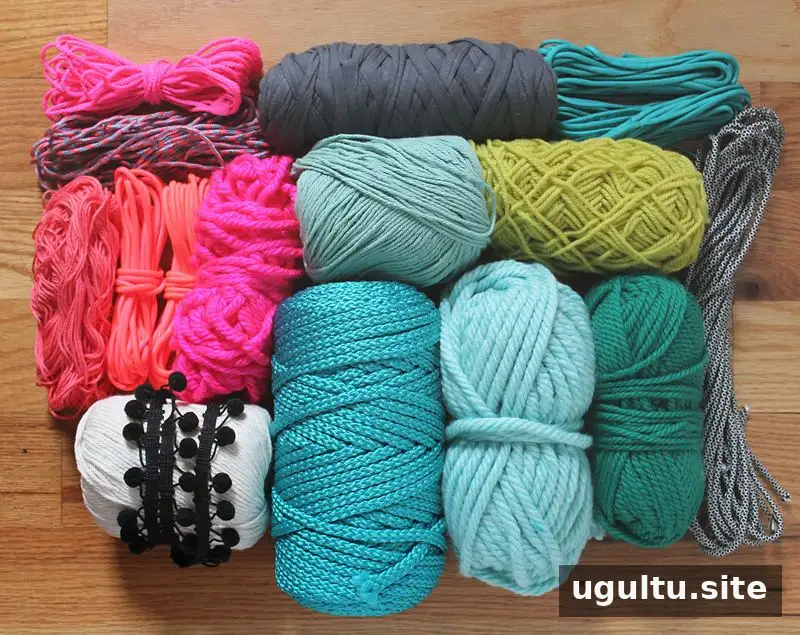
The loom in this project is made from cardboard or foam board at least 22 inches in diameter. The example uses 60 warp lines rather than 32, creating a tighter weave around the edges. A variety of materials can be used to build the woven pattern.
- Yarn, paracord, twine, rope, fabric strips, or pom-pom trim
- Cardboard or foam board at least 22 inches in diameter
- Scissors or an X-Acto knife
- A pen and ruler
- Yarn for marking the circle, if needed
Paracord offers a range of colors and patterns and is a sturdy option for a mat that may receive some foot traffic. Pom-pom trim is decorative; consider leaving it out if the mat will be used in a high-traffic area. Before starting, sort your materials by thickness so it is easy to choose thinner yarn for the center and bulkier pieces for the outer rows.
Make the Cardboard Loom
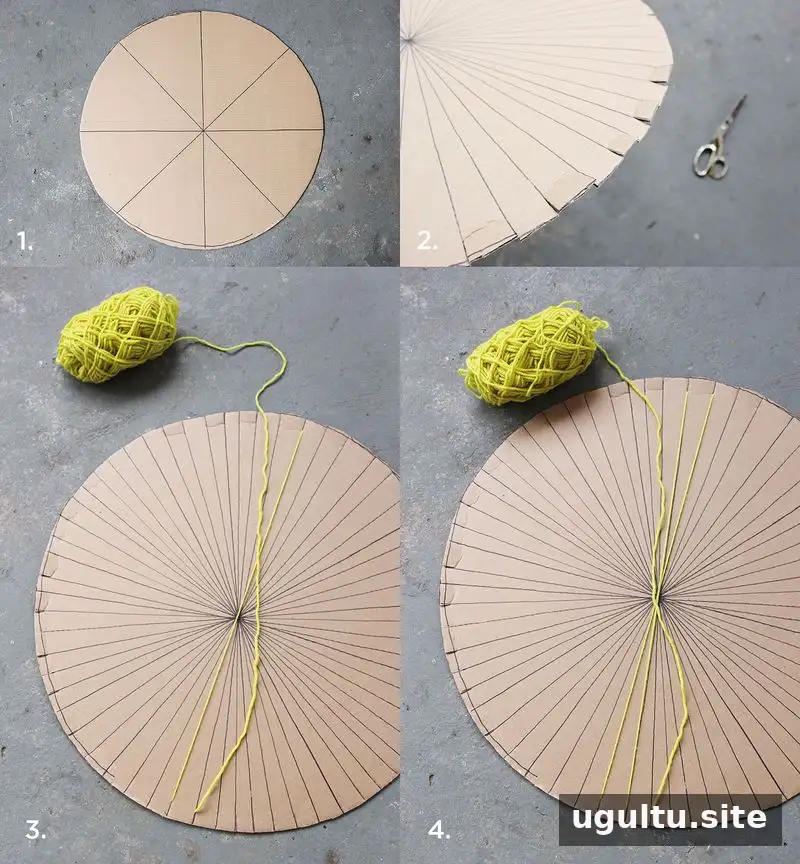
Draw and cut the circle
Cut a circle from the cardboard or foam board. To mark a large circle, tie yarn to a pen, hold the free end at the center of the board, and use the stretched yarn as a guide while drawing around the edge. Cut out the shape with scissors or an X-Acto knife.
Draw a vertical line and a horizontal line through the center. Then add diagonal lines, using a ruler to keep them straight. The example has 30 lines that pass through the center and continue to the opposite side, creating 60 lines radiating from the center.
Cut the warp slots
Make a slit about 1 inch deep at the edge of the circle wherever a line reaches the rim. These slots hold the warp yarn in place as you weave. Check that the cuts are deep enough to grip the yarn without cutting too far into the board.
Set Up the Warp and Weave the Center
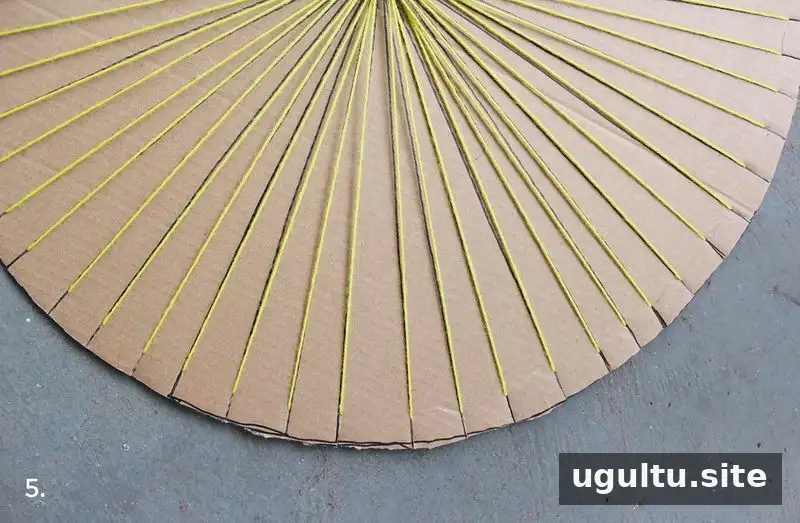
Tape the loose end of the warp yarn to the back of the loom near its center. Push the yarn into a slit, bring it across the front to the opposite edge, and guide it through the matching slit. Wrap it around the back and bring it to the front through the next slit to the right of the starting point. Continue across to the opposite edge and pass it through the slit to the left of the first one. Keep wrapping counter-clockwise until the full circle is covered, then tape the yarn end to the back. Each drawn line should have a matching strand of warp yarn.
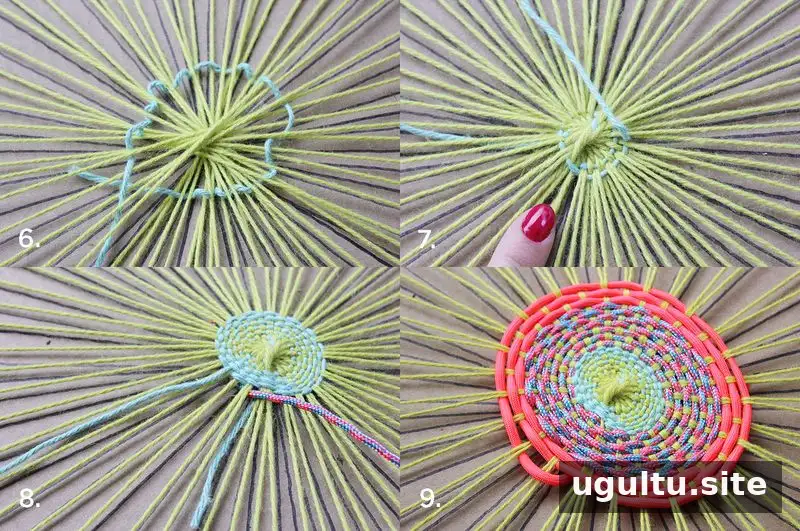
The spaces between warp strands are narrowest near the center, so begin with a thin yarn. Cut a length of about 4 feet. Tuck one end under the warp, leaving a tail of about 4 inches, and weave the working end over and under every two warp lines until you return to the starting area.
At the join, pass over or under four lines instead of two. This positions the yarn for the next row and reverses the over-under pattern. Pull each pass snugly to keep the center firm, but avoid pulling so tightly that the cardboard loom bends.
Add Color and Build the Circular Pattern
When a weaving strand runs out, tuck its final 4 inches under the woven section. To add another strand, tuck about 4 inches of its end beneath the point where the previous strand would have emerged. Alternating colors and thicknesses creates circular stripes. Continue using the over-under pattern, remembering to reverse it from one row to the next.
Once the woven area is about one-third complete, change from weaving through every two warp lines to weaving through every other line. At this stage, the strands can be spread out to make room for thicker materials. When you reach the section where the rows meet, reduce the pass from four lines to two. This is also where thicker cord, yarn, or pom-pom trim can be added.
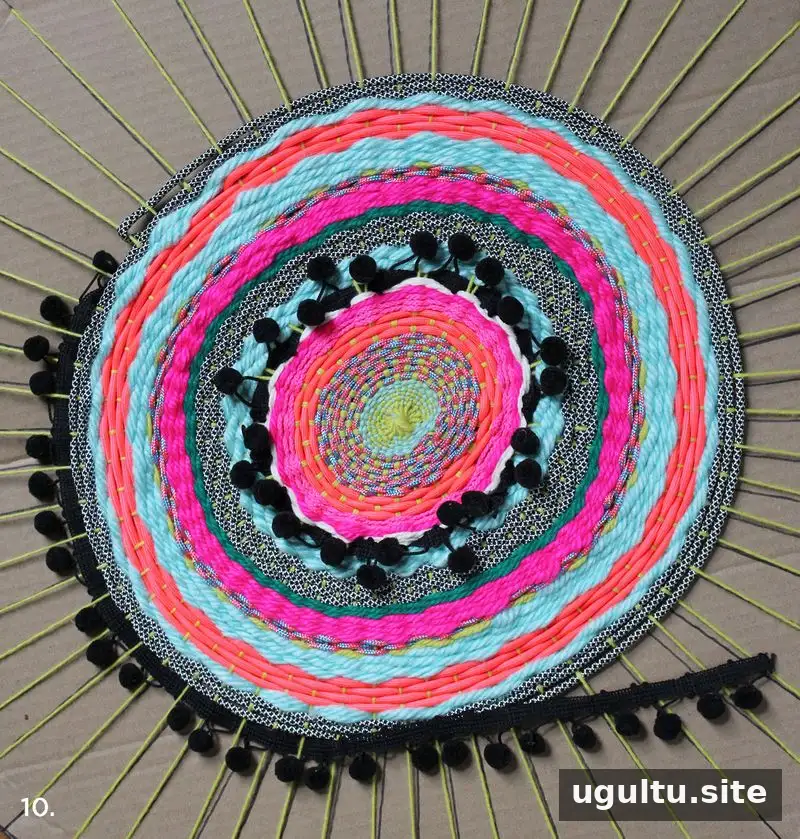
Keep weaving until the mat reaches the width you want. Working near the outside edge can be more difficult because the available space narrows, so use thinner material if a bulky piece is hard to pass through.
Remove the Mat and Add Fringe
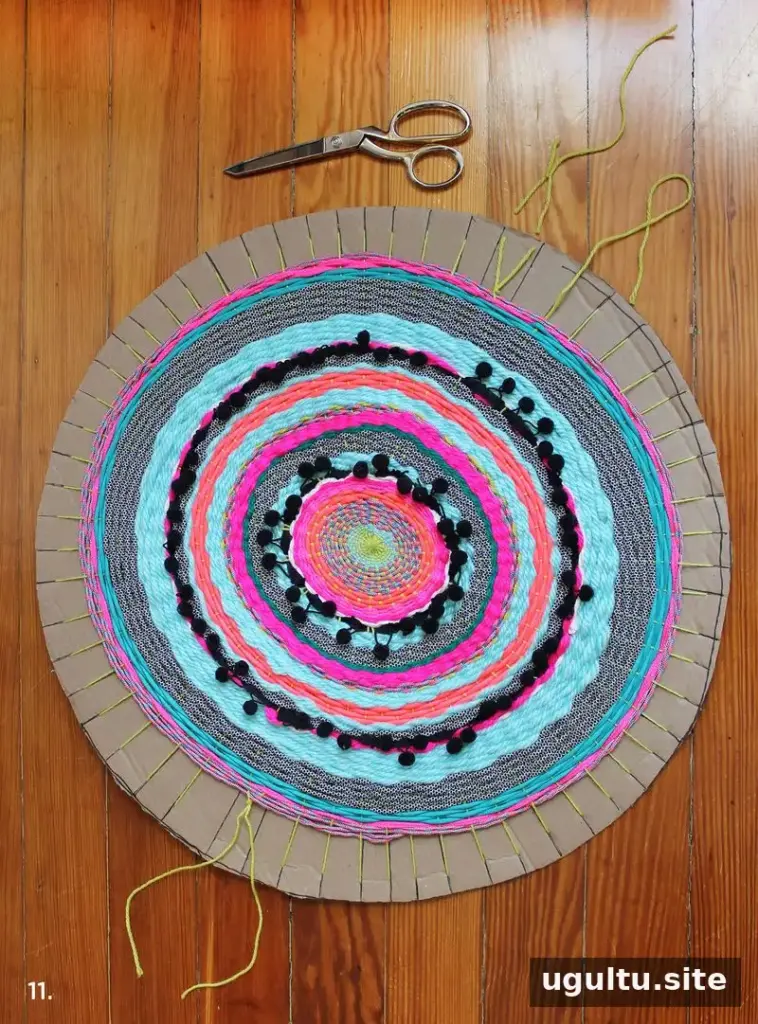
Turn the loom over and carefully cut two warp strands at a time. Tie each pair next to one another, leaving about 1/4 inch between the knots and the edge of the weaving. Continue around the circle, then gently lift the mat off the cardboard. Take care not to cut the woven sections while freeing the warp.
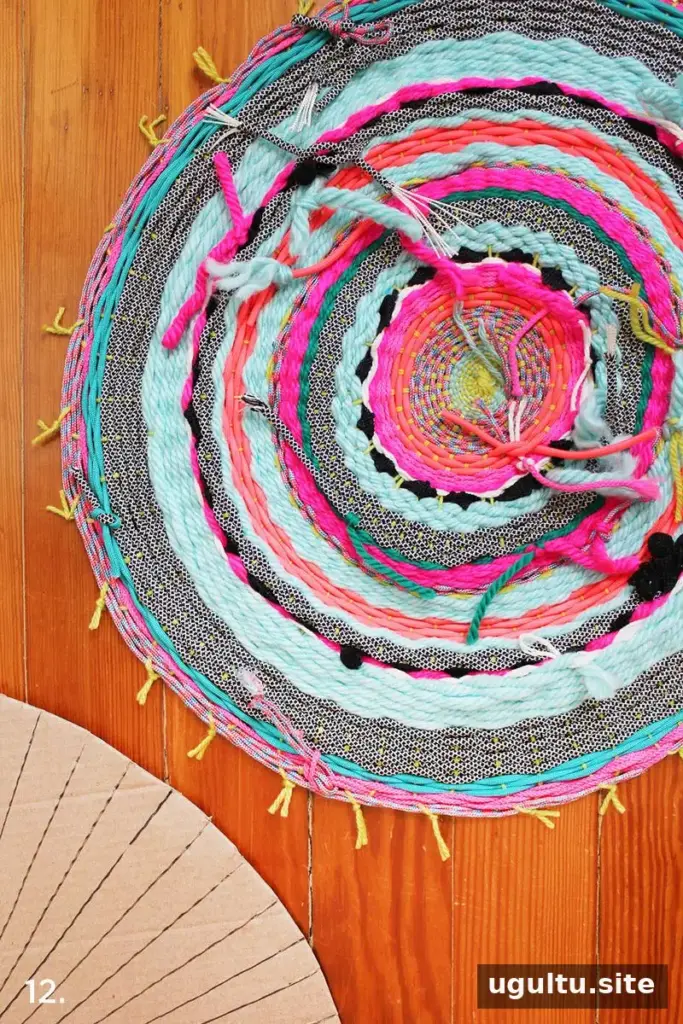
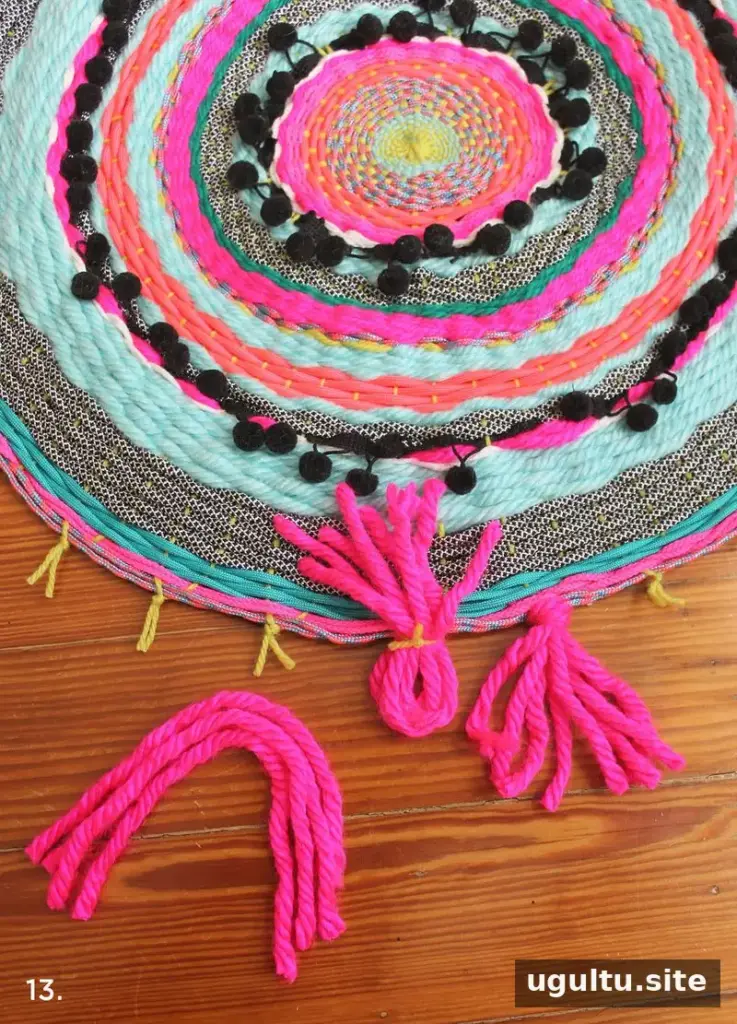
The back may have loose ends. Tie them together gently or stitch them to the back of the mat with thread to help keep the finish tidy. Trim the warp knots, then prepare the fringe by cutting three or four yarn strips, each about 7 inches long. Fold the strips in half and tuck the folded end through a knot. Pull the loose ends through the loop and tighten gently. Trim the fringe evenly and repeat around the mat.
Finishing Tips for Your Woven Circle Mat DIY
A mix of colors and textures gives the mat a playful, handmade look, while a consistent weaving rhythm helps keep the shape balanced. Check the tension as you work, especially near the center and outer edge. For a more closely woven result, follow the 60-line layout and keep the center rows snug.
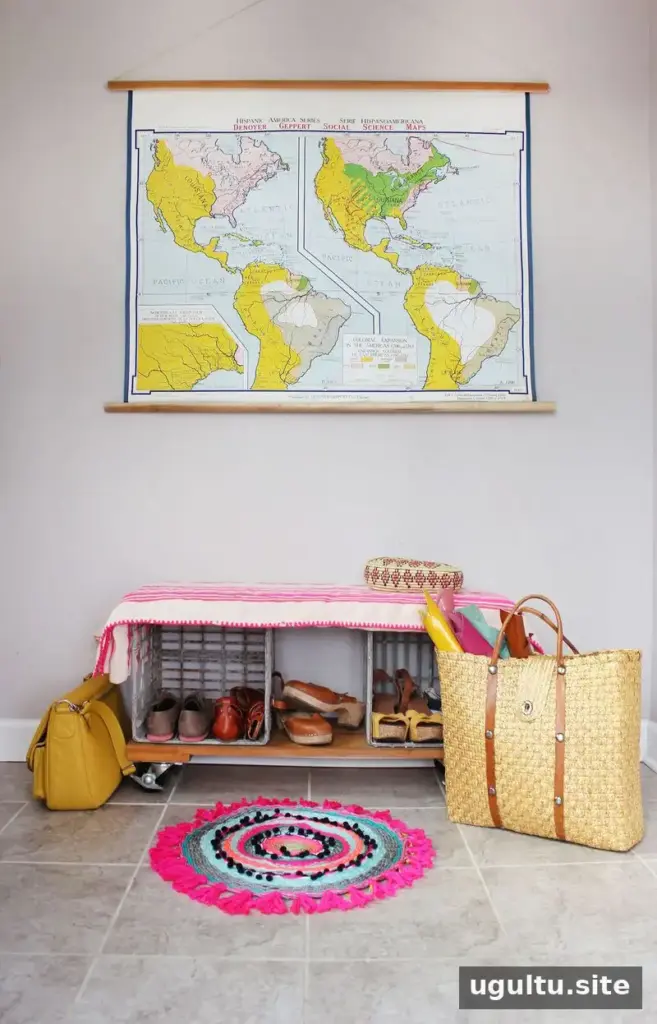
This woven circle mat DIY is a flexible way to use different cords and yarns to make a distinctive home accent. Choose materials with the intended location in mind, and skip pom-pom trim where it may catch or wear quickly. —Rachel


