
 admin
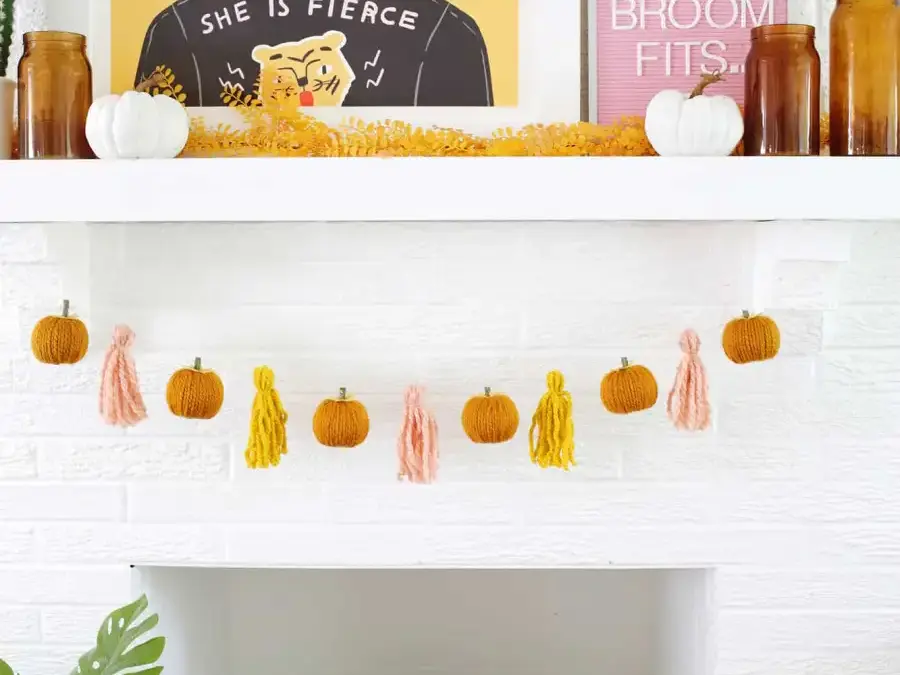
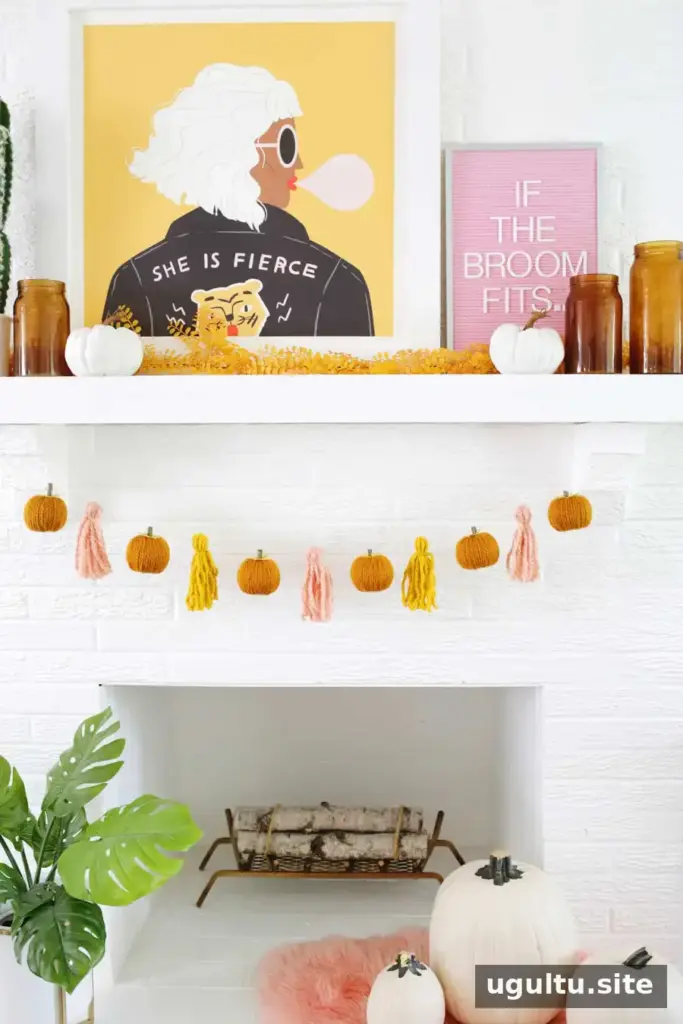
A yarn pumpkin garland is a simple way to add handmade fall decor to a room. This project wraps yarn around small foam balls to create three-dimensional pumpkins, then strings them together with twine. The finished pumpkins can also be removed and displayed in a bowl or tray when you want to change the arrangement.
The instructions below make six pumpkins using 3-inch Styrofoam balls. Adjust the amount of yarn and twine to suit your chosen colors and the length of garland you need.
Supplies for a Yarn Pumpkin Garland
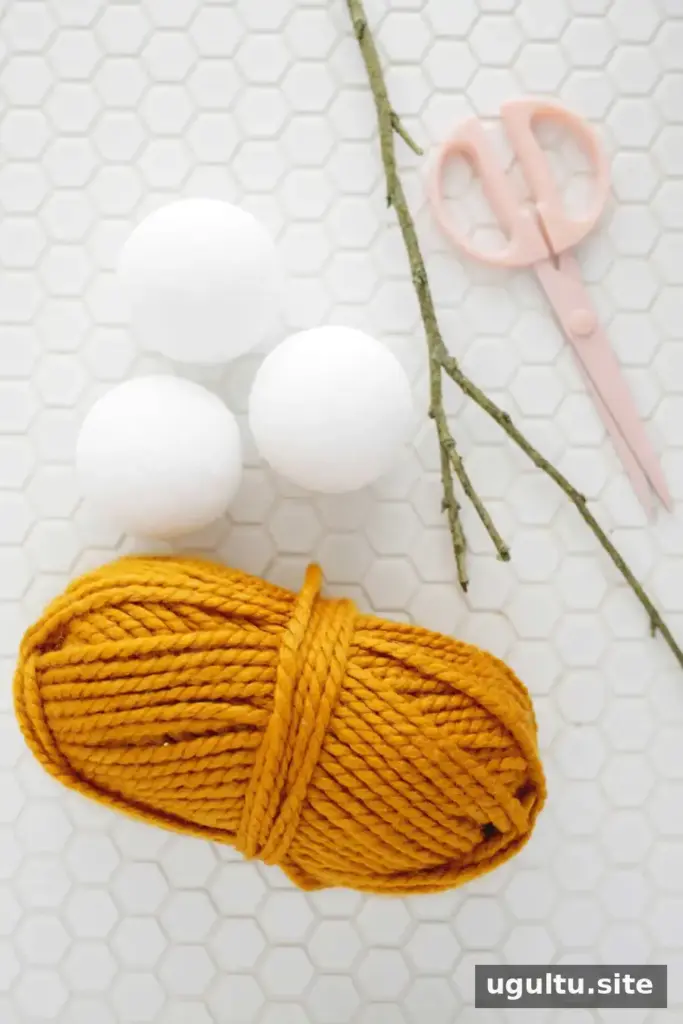
- Orange yarn, plus additional colors if you want to make tassels
- Six 3-inch Styrofoam balls
- Tan felt and fabric scissors
- Drill with a 1/2-inch bit and a smaller bit for the stems
- 1/2-inch-thick stick
- Hot glue
- Twine
- Serrated knife
- Wooden skewer
Before starting, set up a stable work surface. Use care with the serrated knife, drill, and hot glue, and keep fingers clear of cutting and drilling areas.
How to Make a Yarn Pumpkin Garland
1. Shape the foam pumpkins
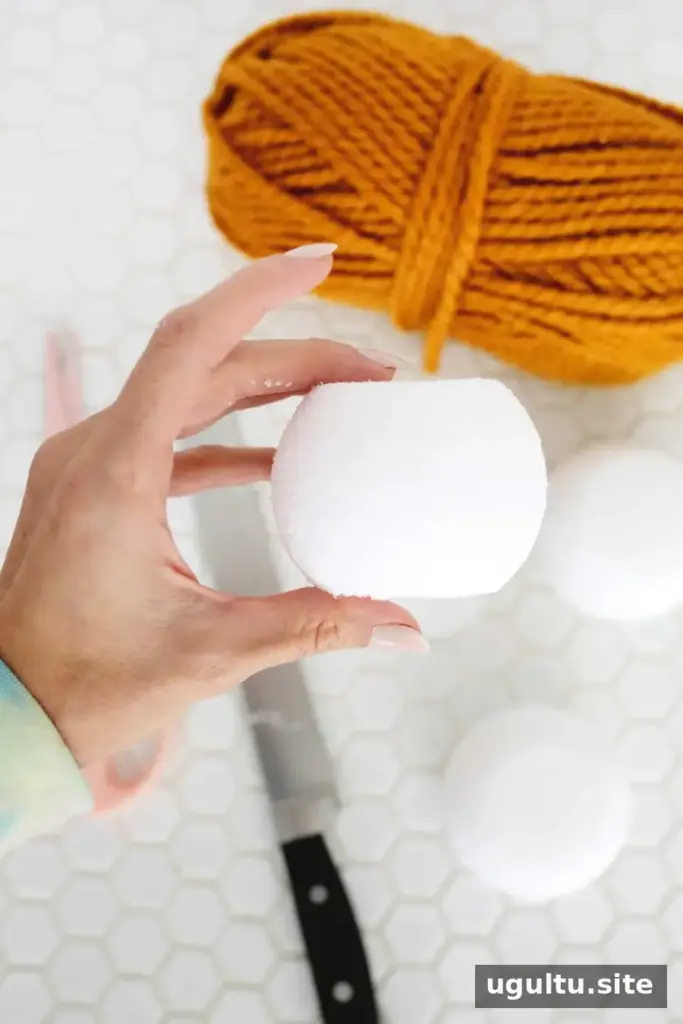
With a serrated knife, carefully trim a small amount from the top and bottom of each foam ball. Flattening these areas gives each pumpkin a more stable shape and creates a place for the stem.
2. Drill a center hole
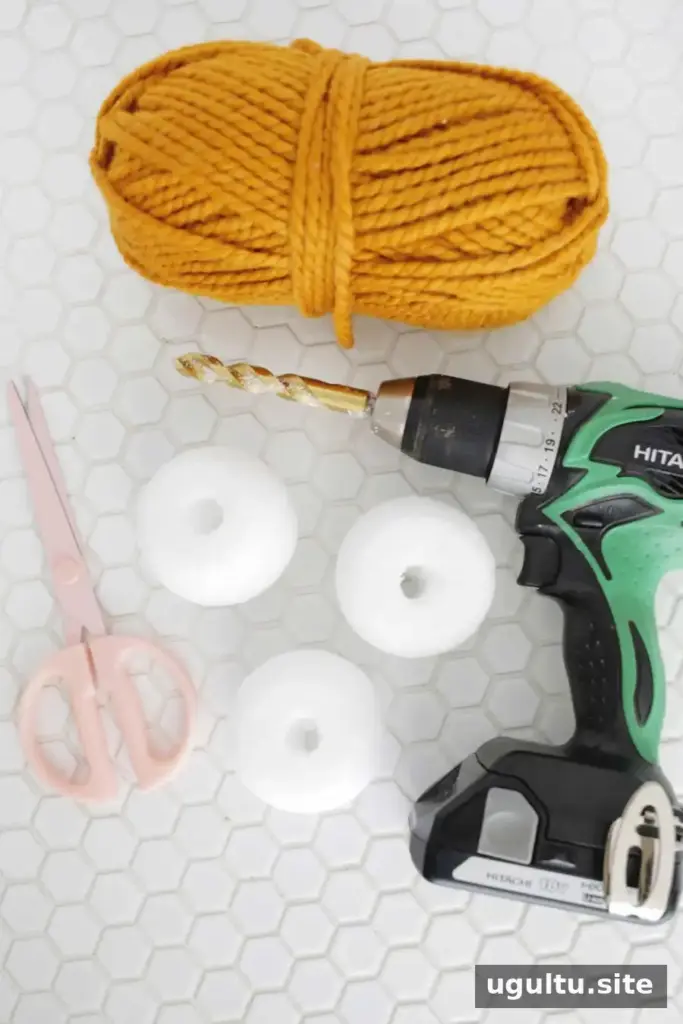
Drill through the center of each flattened ball using a 1/2-inch bit. The yarn will pass through this opening as you wrap the foam. If you are using chunky yarn, gently widen the hole by moving the drill bit slightly as you work. A thinner yarn may fit through the hole made by the bit without adjustment.
3. Cover each ball with yarn
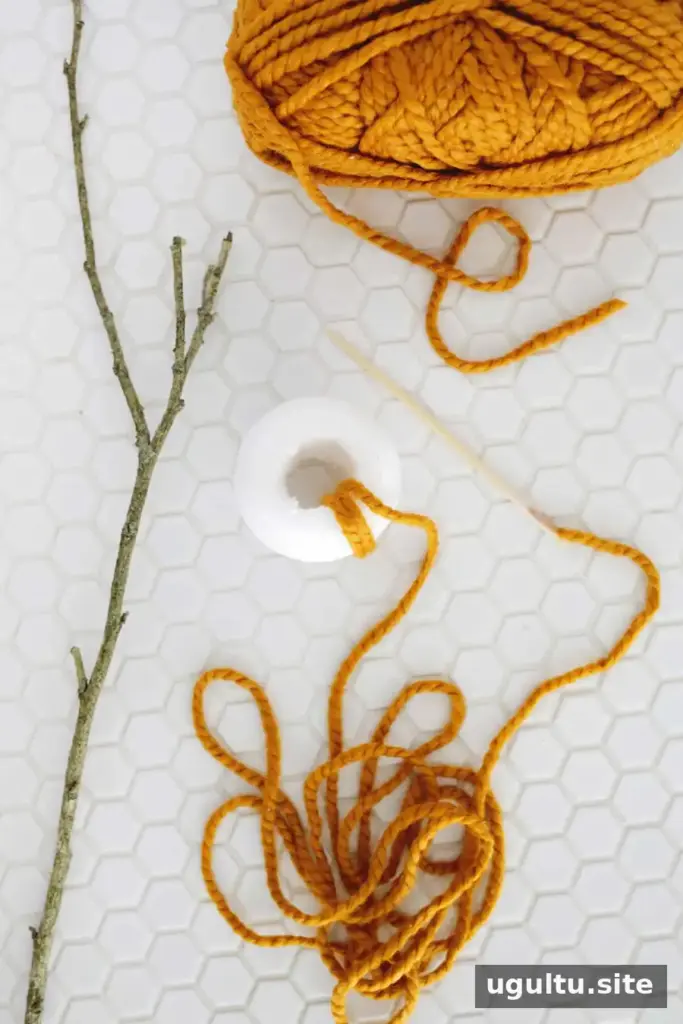
Cut a long length of yarn and secure one end to half of a wooden skewer with tape. Use the skewer as a needle to guide the yarn through the hole and around the foam ball. Continue wrapping until the foam is covered.
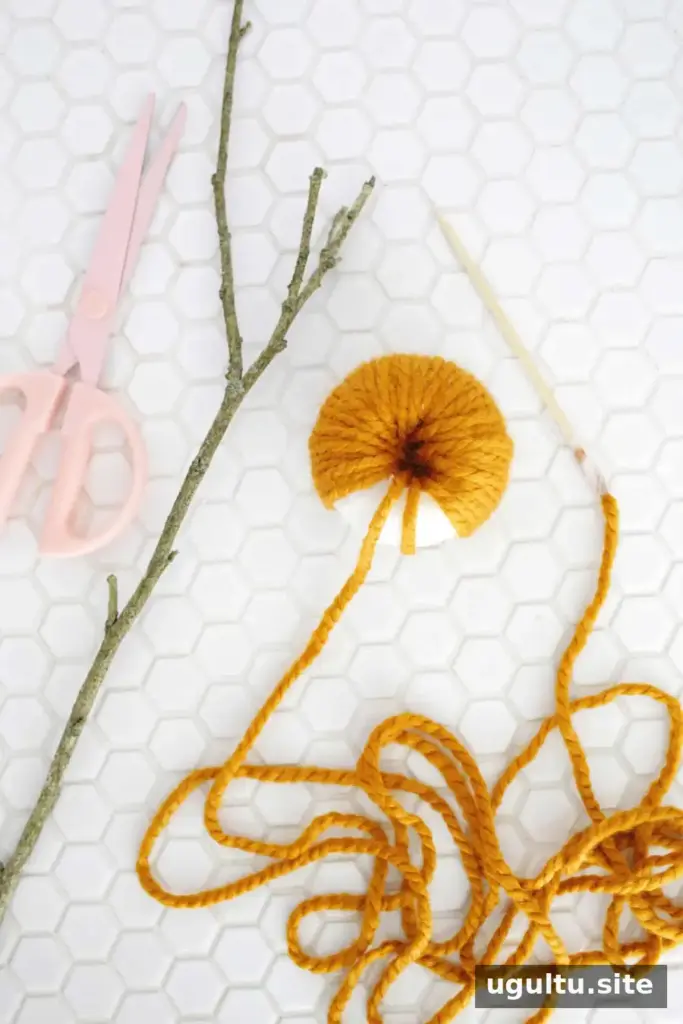
If you need to join another length of yarn, tie the ends together and position the knot inside the center opening so it is concealed. Once the ball is fully covered, cut the yarn, leaving a short tail to tuck away when you attach the stem.
4. Prepare and attach the stems
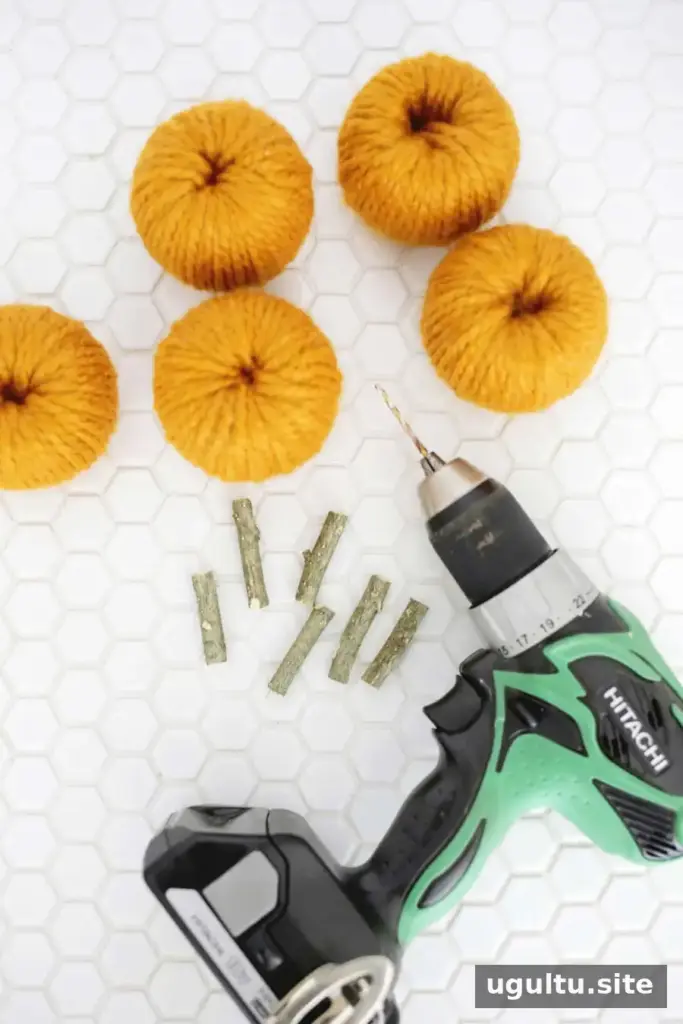
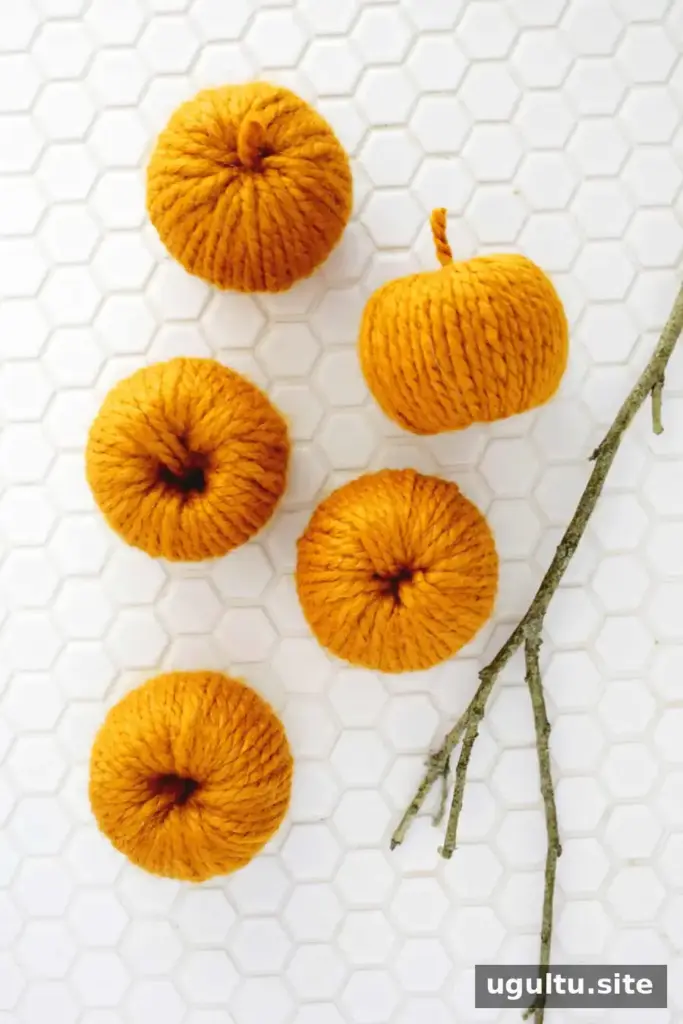
Cut the stick into 2-inch pieces using a small handsaw or handheld yard clippers. Drill a hole near the top of each piece with a small bit that is slightly wider than the twine. This opening lets the finished pumpkins slide onto the garland.
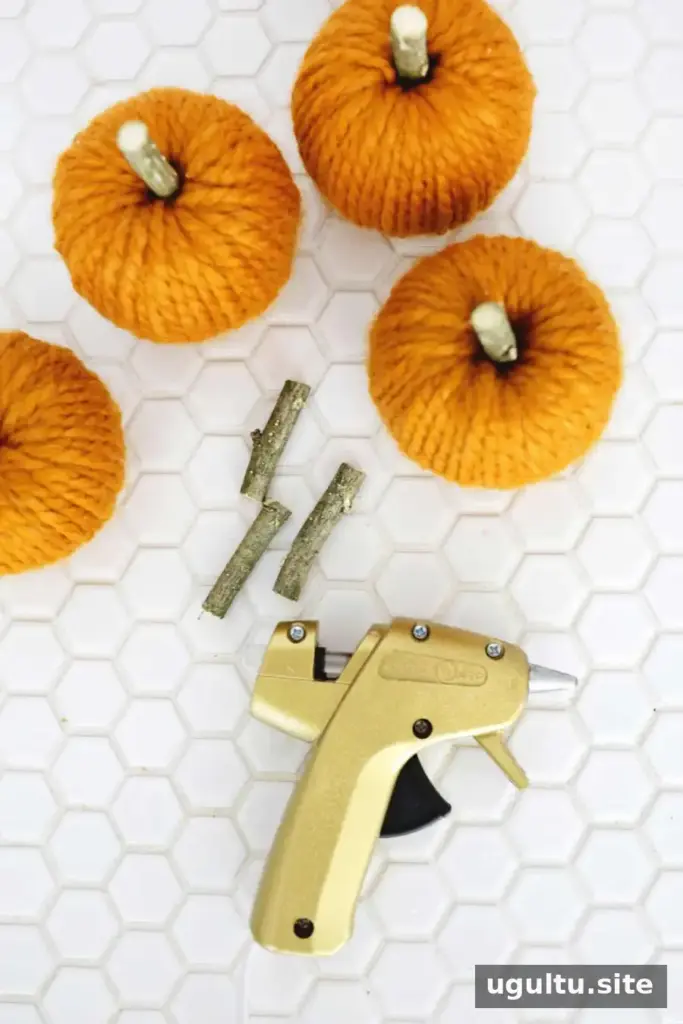
Add hot glue to the bottom of each stick and press it into the opening at the top of a yarn-covered pumpkin. Let the glue set before handling or threading the pumpkin.
5. Add felt collars and assemble the garland
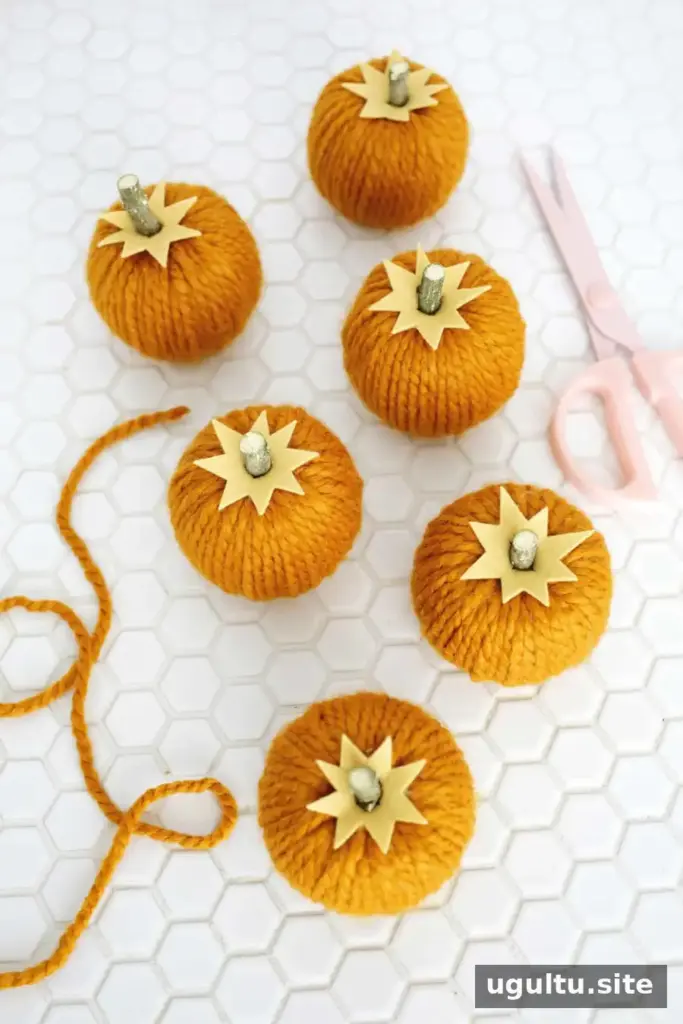
For a decorative collar, cut an eight-pointed star from tan felt and snip a small X in its center. Fit the felt over the stem and, if needed, secure it with a little glue. You can also leave the pumpkins plain for a simpler look.
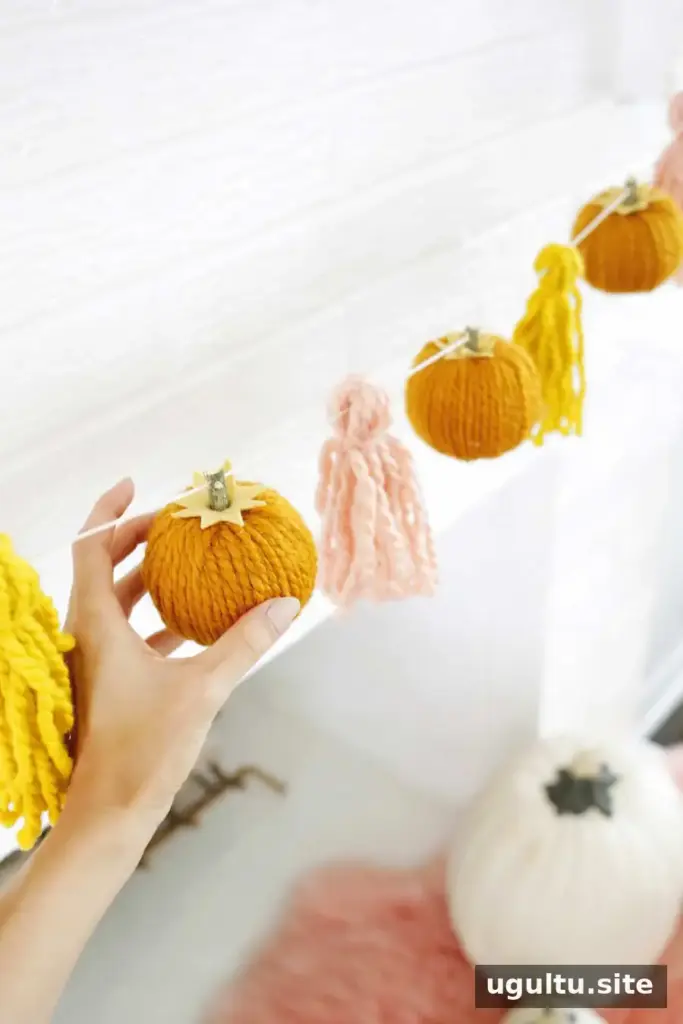
Thread the pumpkins onto twine or yarn through the holes in their stems. For extra color and texture, add yarn tassels between the pumpkins. Check the spacing as you go so the garland hangs the way you want.
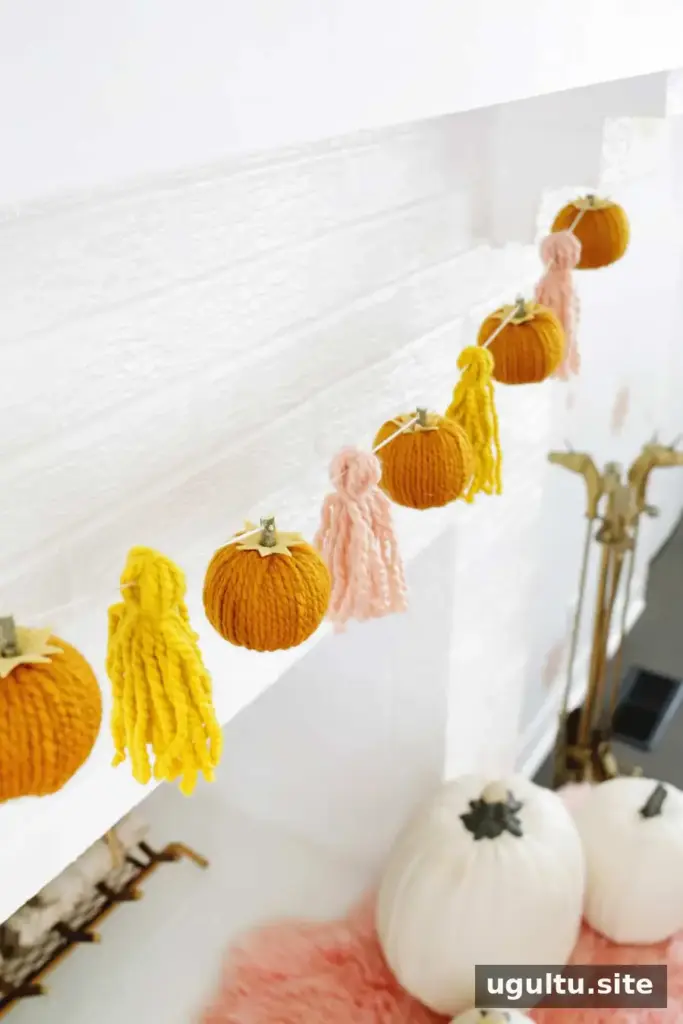
Hang the finished garland in your chosen spot. Make sure the hanging point can support its weight, especially if you are using several pumpkins.
More Ways to Display the Yarn Pumpkins
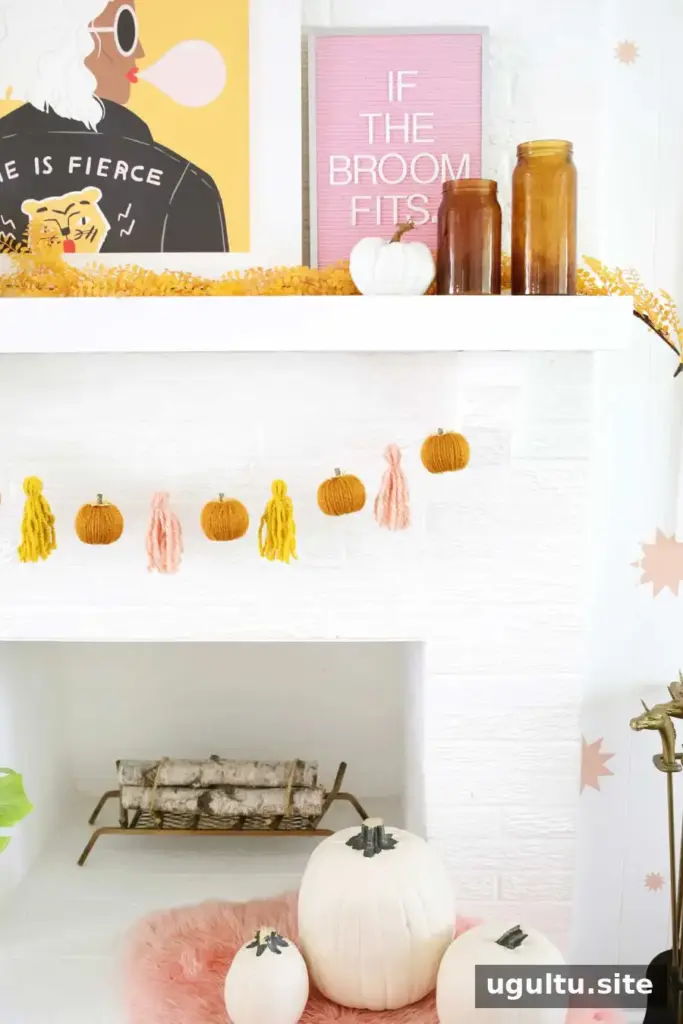
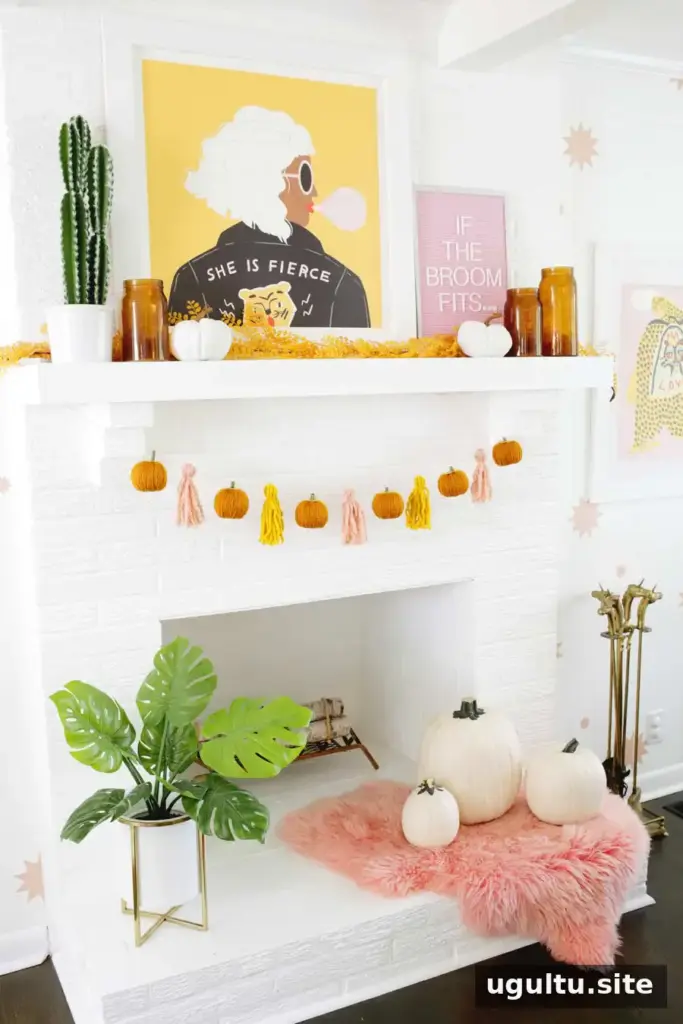
The pumpkins can be taken off the string and arranged in a bowl or tray when you no longer want a hanging display. For a Halloween variation, add black felt pieces to create jack-o’-lantern faces. Keep any small decorative pieces securely attached if the pumpkins will be handled often.
This yarn pumpkin garland is easy to customize with different yarn colors, optional tassels, and felt details. Whether you hang it for fall or reuse the individual pumpkins as tabletop decor, store the pieces in a dry place between seasons to help keep the yarn and felt in good condition.
Craft by Laura.


