admin

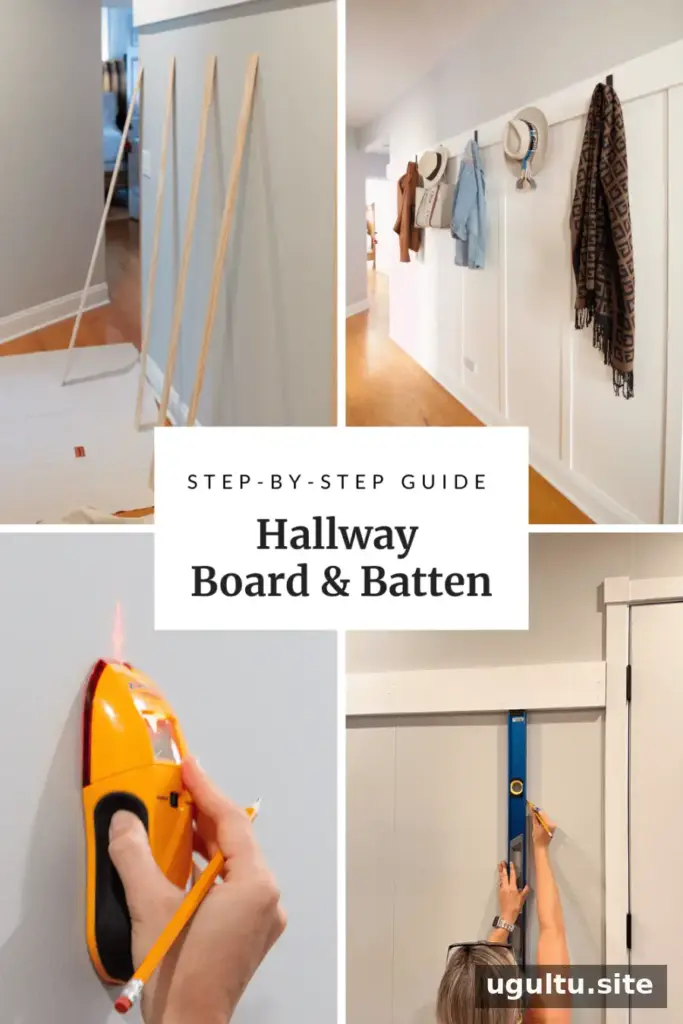
A board and batten hallway treatment can bring visual interest and useful storage to a plain entryway. This project combines a horizontal pine board, vertical lattice strips, paint, and five hooks to make better use of an often-overlooked wall. Before starting, measure the space and plan around corners, switches, outlets, and existing trim so the finished layout feels intentional.
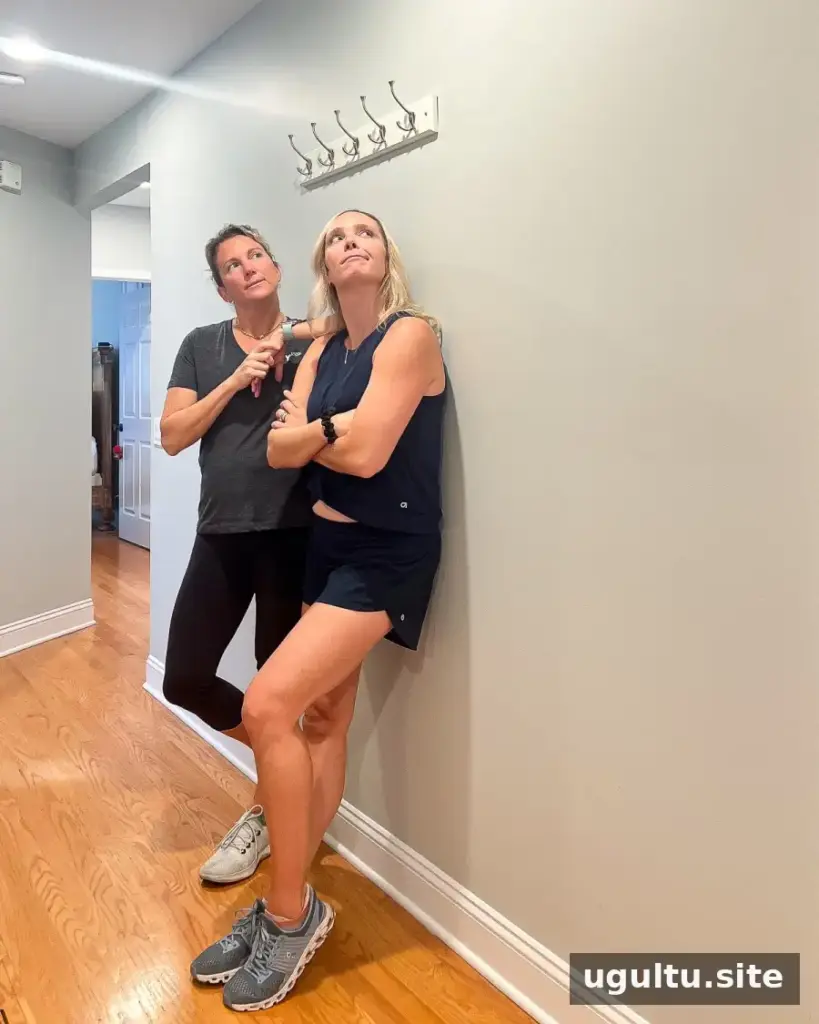
A flexible plan is especially helpful if the hallway has awkward dimensions or features that affect where the battens can go. Check the wall carefully before purchasing materials, and adjust the spacing or design to suit the space rather than forcing a standard layout.
Choose Materials for a Board and Batten Hallway
The design uses a 5 1/2-inch primed pine board across the top and 2-inch pine lattice for the vertical battens. The wider top piece creates a clear horizontal edge, while the narrower strips provide a repeating pattern below it. Inspect boards for warping before installation. If long pieces are difficult to transport, arrange to have them cut into manageable lengths.
Prepare a Textured Wall
Trim is generally easier to install against a smooth surface. If the hallway wall is textured, consider covering the treatment area with 1/8-inch panel board, such as plywood or hardboard. These panels are commonly sold in 4-by-8-foot sheets and can be cut to fit the wall. Fasten the panels appropriately for the wall construction before attaching the decorative trim.
Measure the area first and account for openings and edges when planning panel cuts. Always follow the panel and fastener manufacturers’ guidance for installation.
Materials and Tools
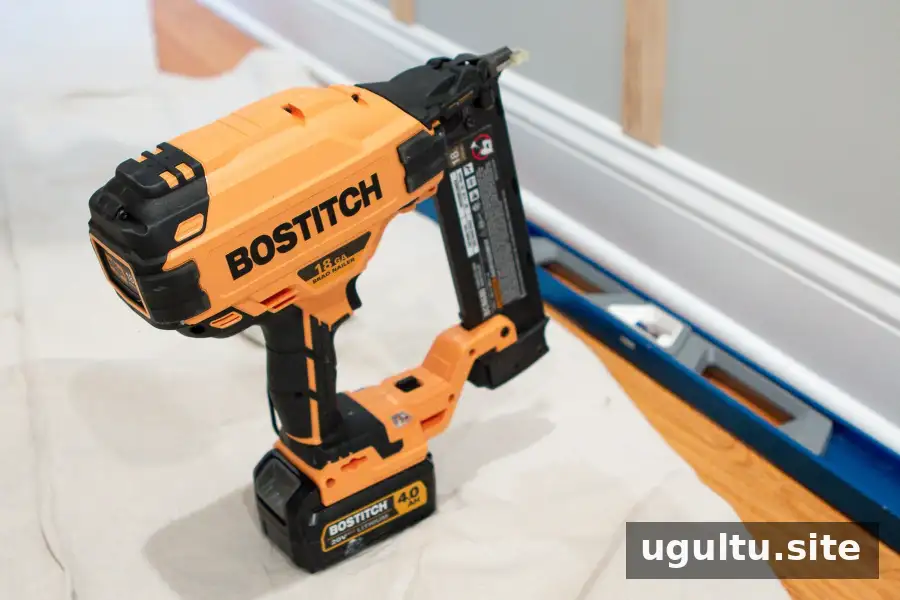
Gather the materials and tools before work begins to avoid interruptions. The project used:
- 5 1/2-inch primed pine boards and 2-inch pine lattice
- Safety gear, a tape measure, spirit level, protractor, speed square, and stud finder
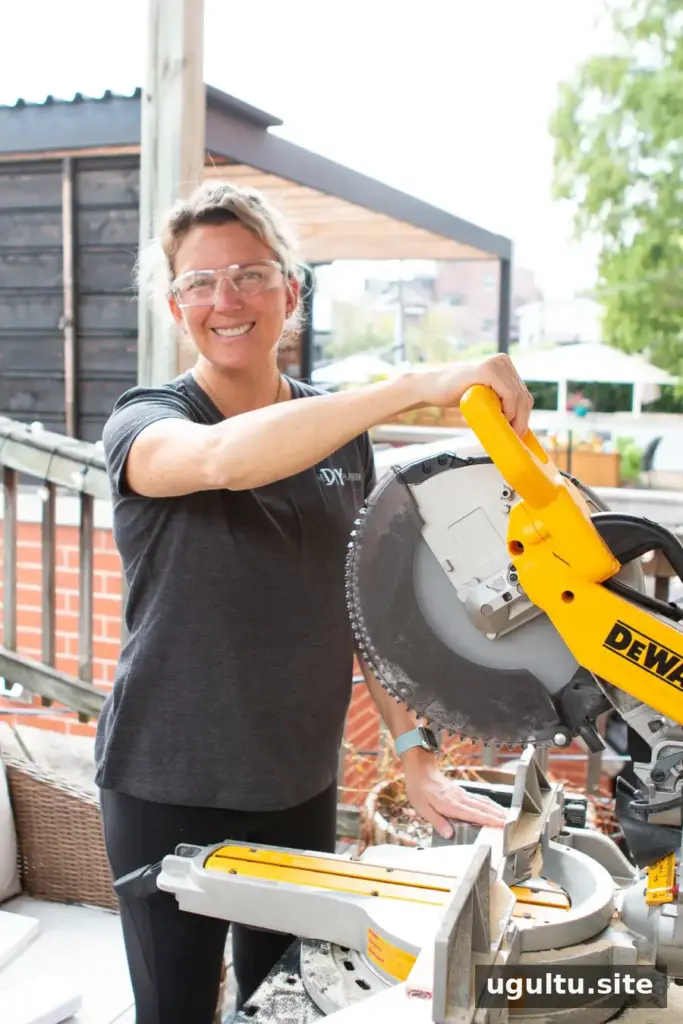
- Power drill and bits, miter saw and stand, cordless shop vacuum, and brad nailer
- 2-inch brad nails, construction adhesive, paintable white caulk, and caulk gun
- Primer, painter’s putty, paint, paintbrush, roller, tray, and paint pail with liner
- Painter’s tape, drop cloths, and five hooks
Wear suitable eye and hearing protection when cutting or fastening wood. Follow the safety instructions for each tool, adhesive, primer, and paint, and keep the work area clear of offcuts and dust.
Day One: Plan and Install the Wood
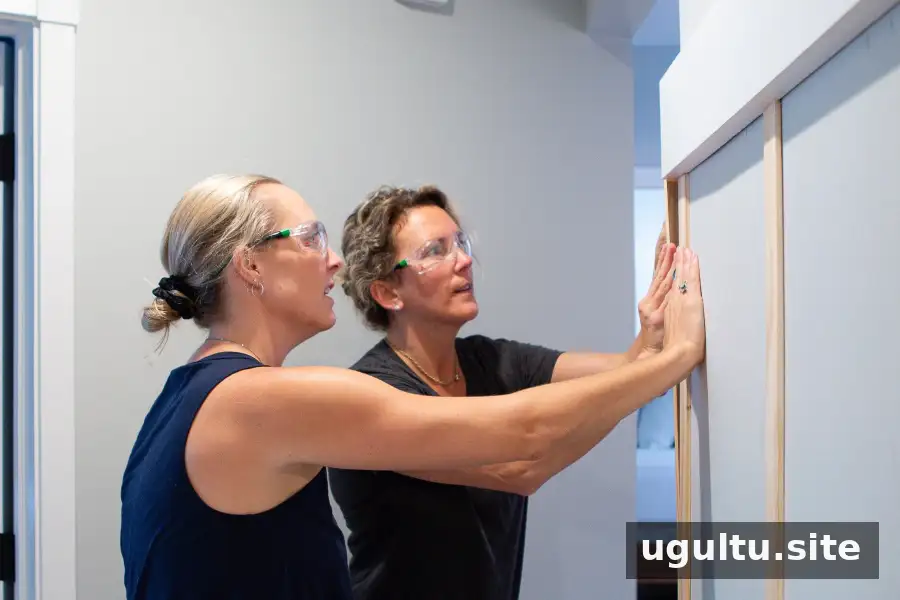
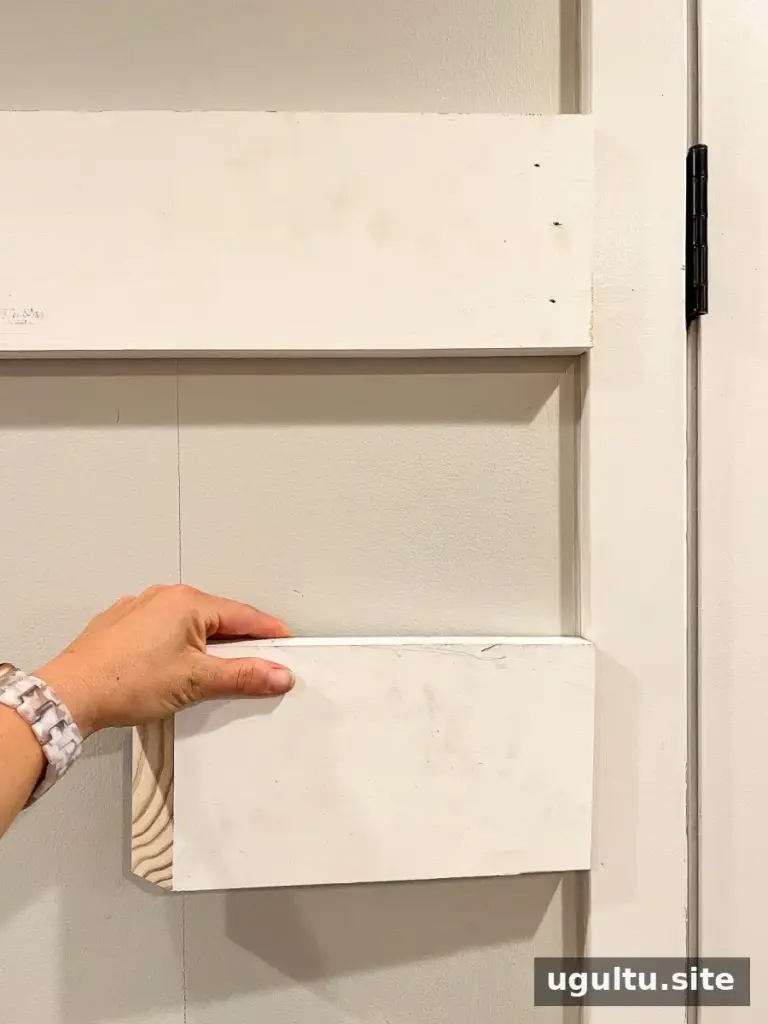
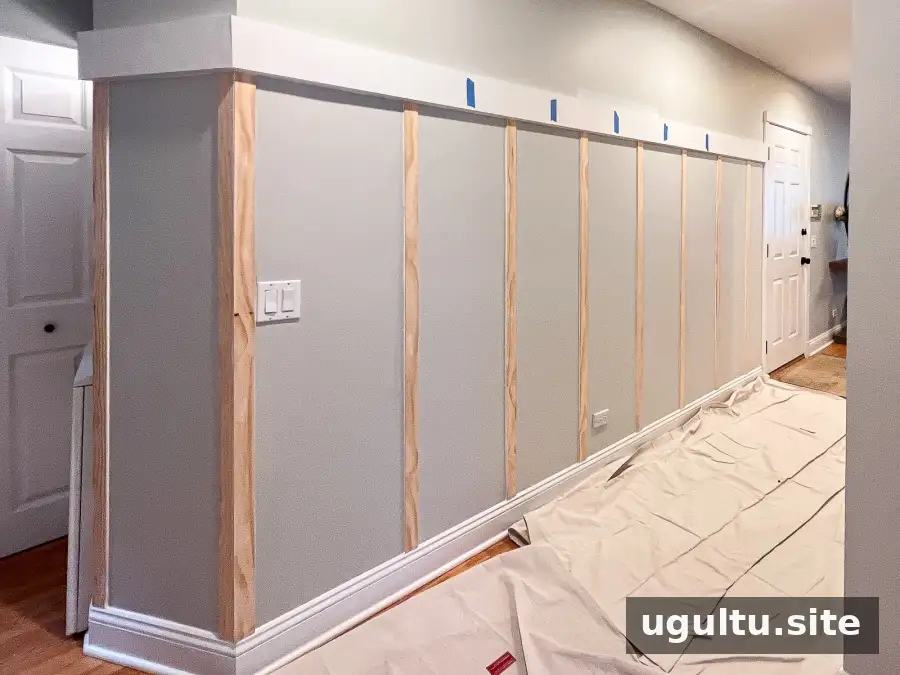
The initial layout included two horizontal boards, but the thicker pine appeared too heavy for the hallway. The finished plan used one board across the top, retained the existing baseboard, and continued the treatment around an outside corner toward the laundry closet. Reviewing the proportions before cutting helped the trim end naturally rather than stopping abruptly.
Find the Studs and Mark a Level Line
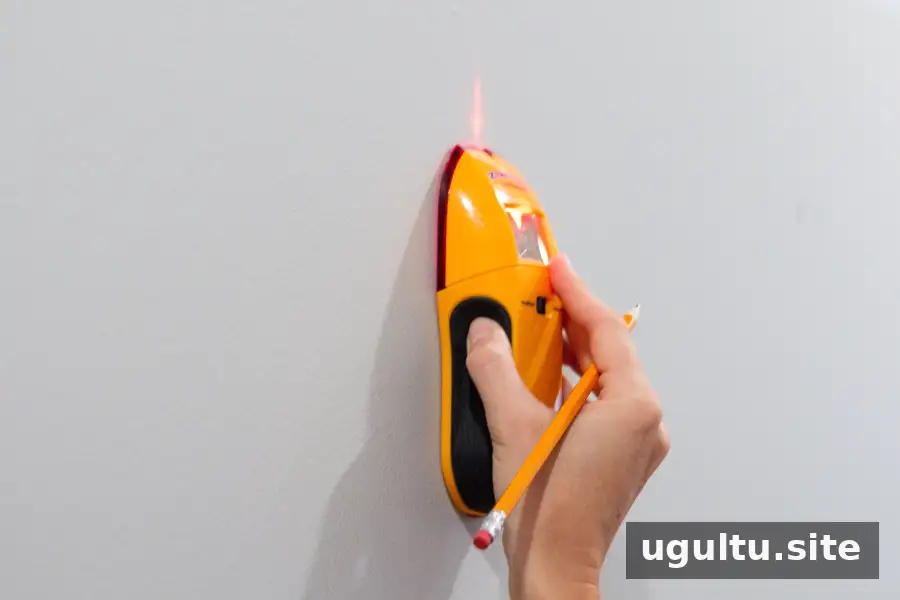
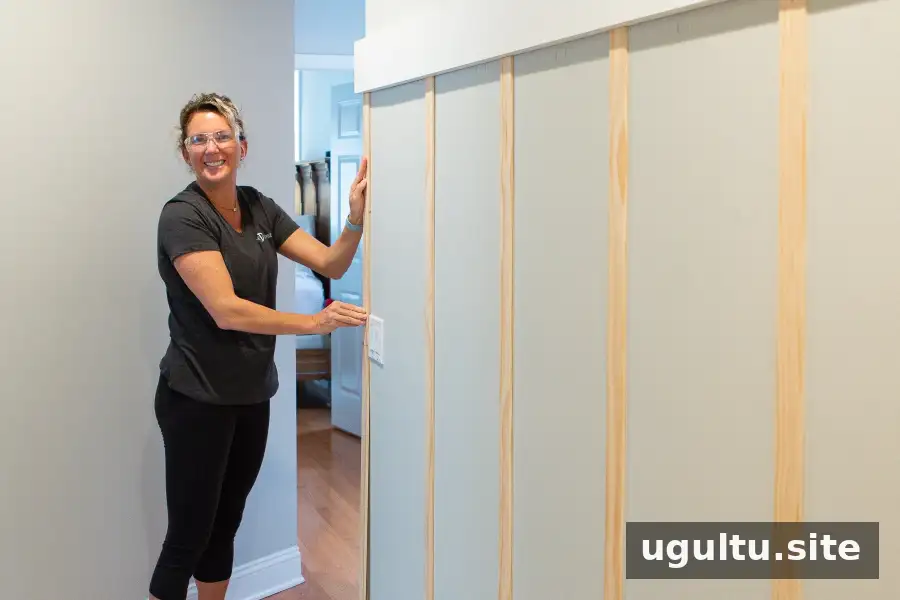
Use a stud finder to locate and mark the wall studs so the horizontal board can be securely fastened. Choose the board height, then mark a level line across the wall and around the corner. In this project, the top board aligned with a horizontal detail on the door at about 72 inches from the floor. Use nearby doors, trim, and the overall hallway proportions to guide the height.
Measure the Outside Corner
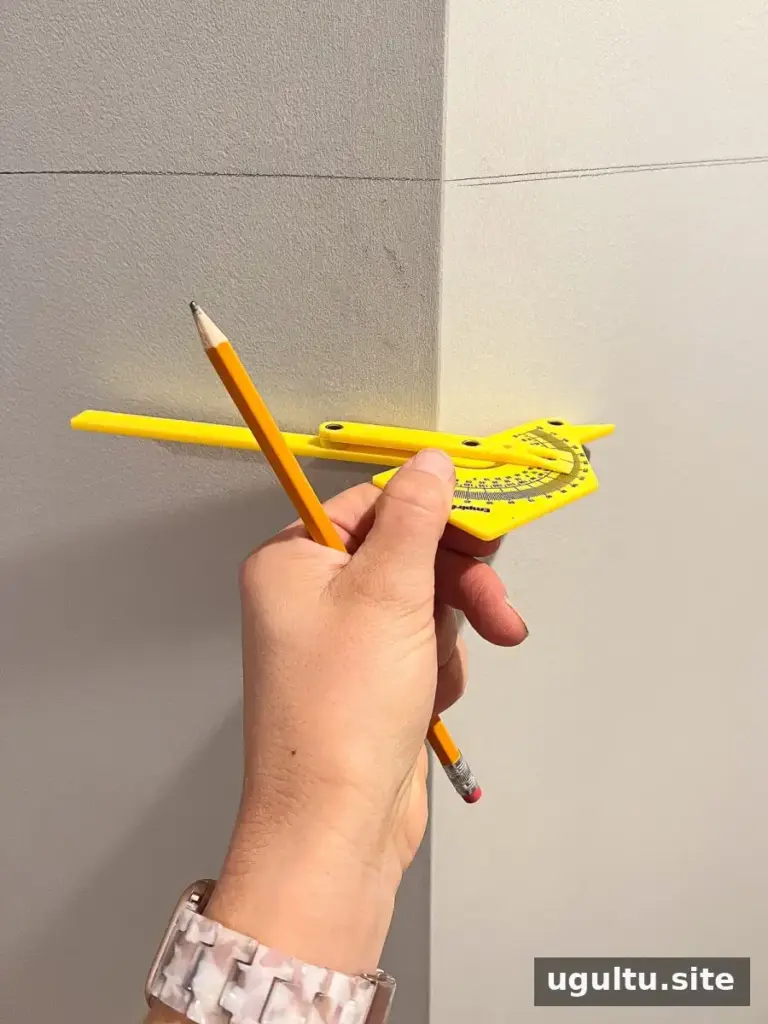
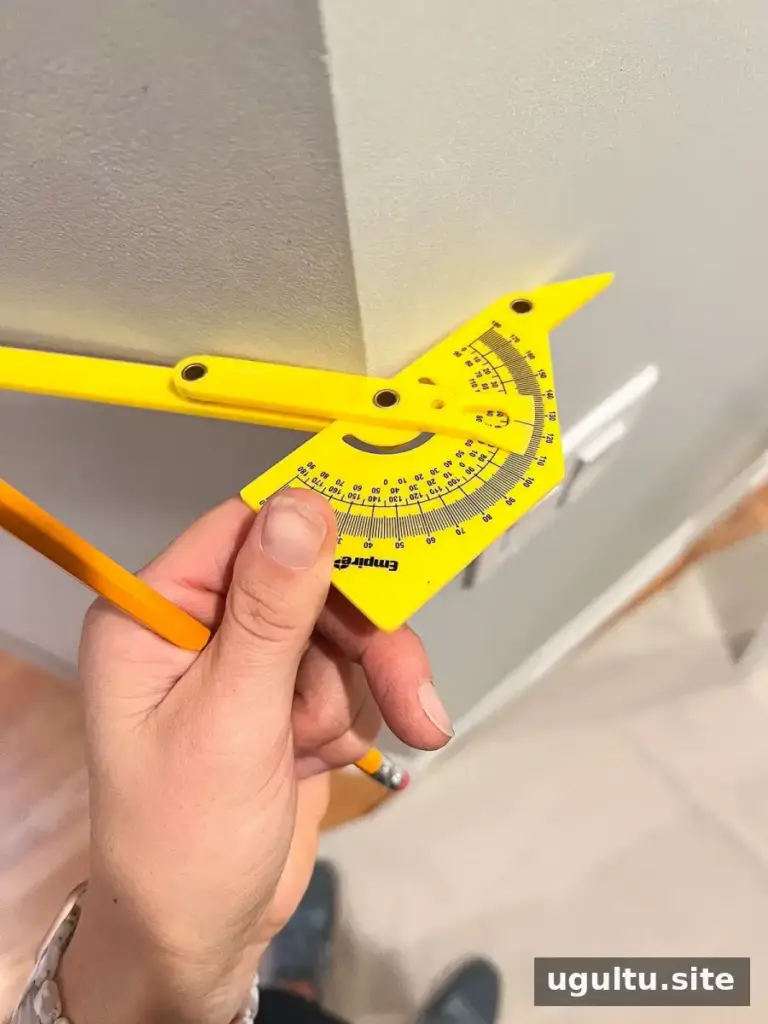
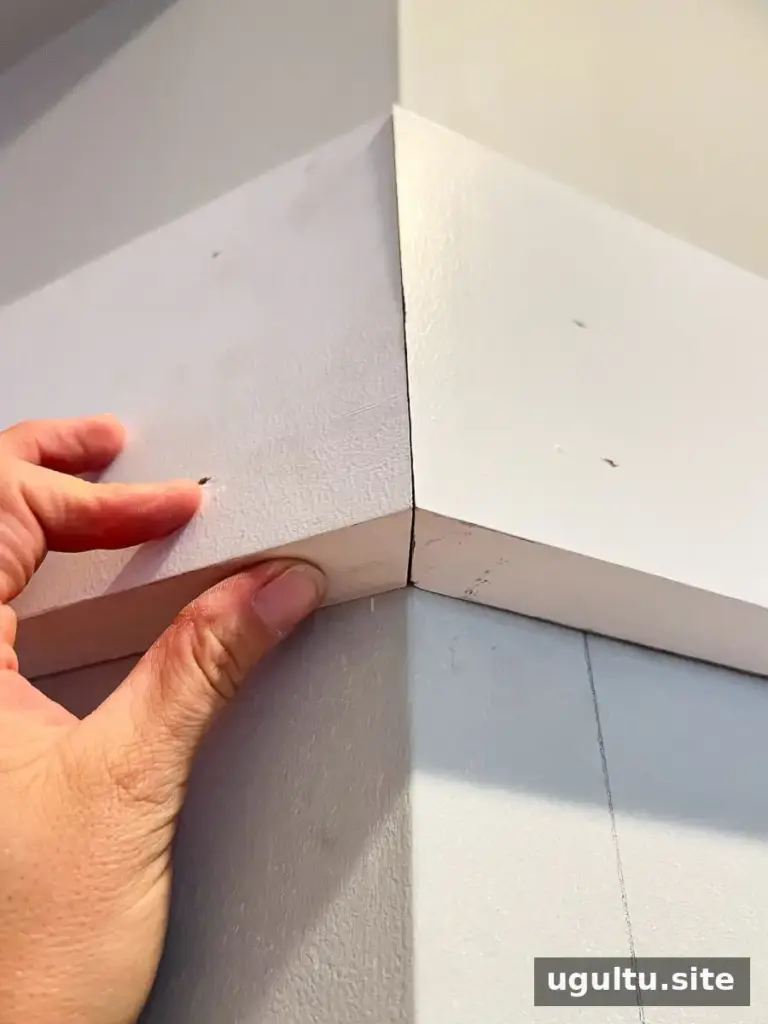
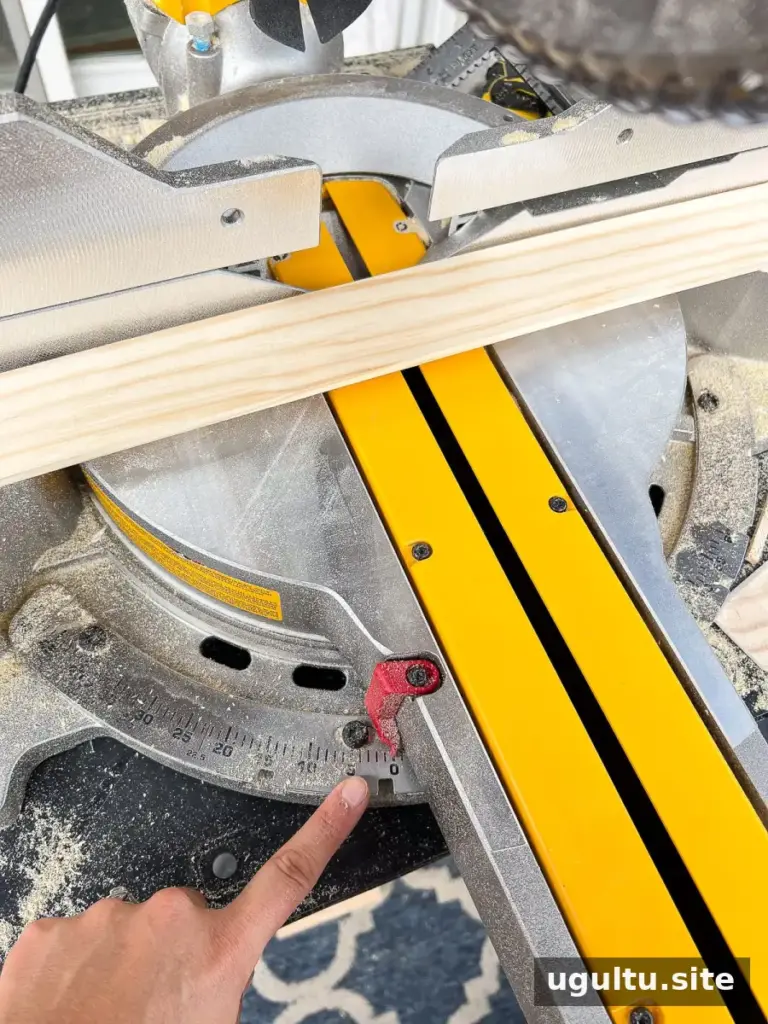
If the top board continues around an outside corner, measure the angle with a protractor. The corner in this project measured 126 degrees. Subtract that figure from 180 degrees and divide the result by two to calculate the matching cut angle for each piece:
- 180 − 126 = 54 degrees
- 54 ÷ 2 = 27 degrees for each piece
Check the saw’s capacity before cutting. A 10-inch miter saw may not have enough capacity to cut a 5 1/2-inch-wide board positioned vertically. Use suitable equipment and make a test cut or test fit before trimming the board to its final length.
Cut and Attach the Top Board
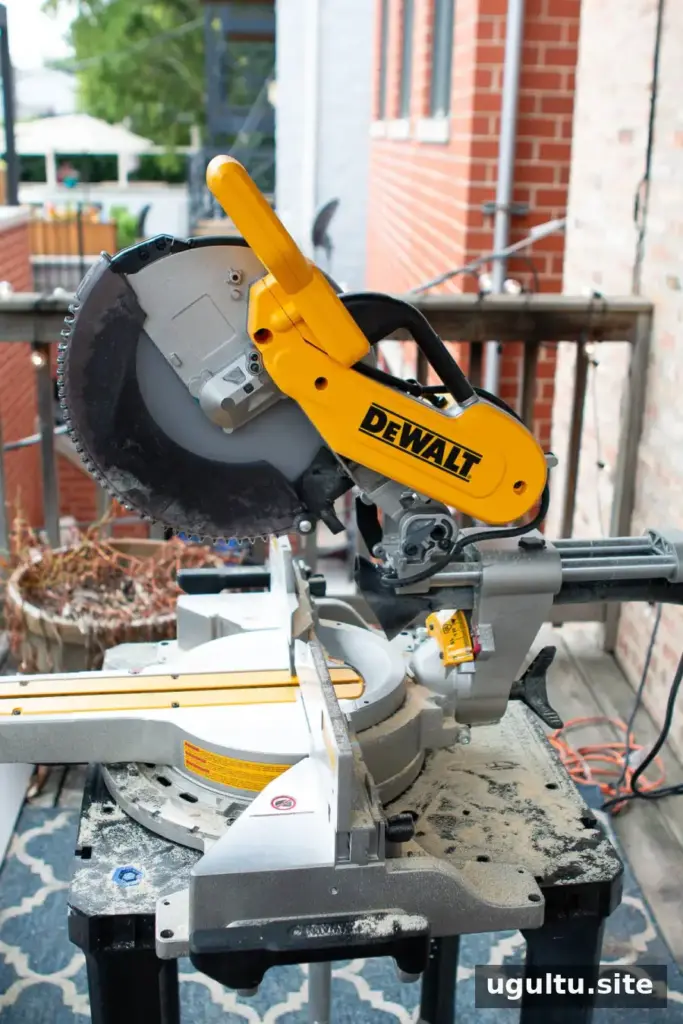
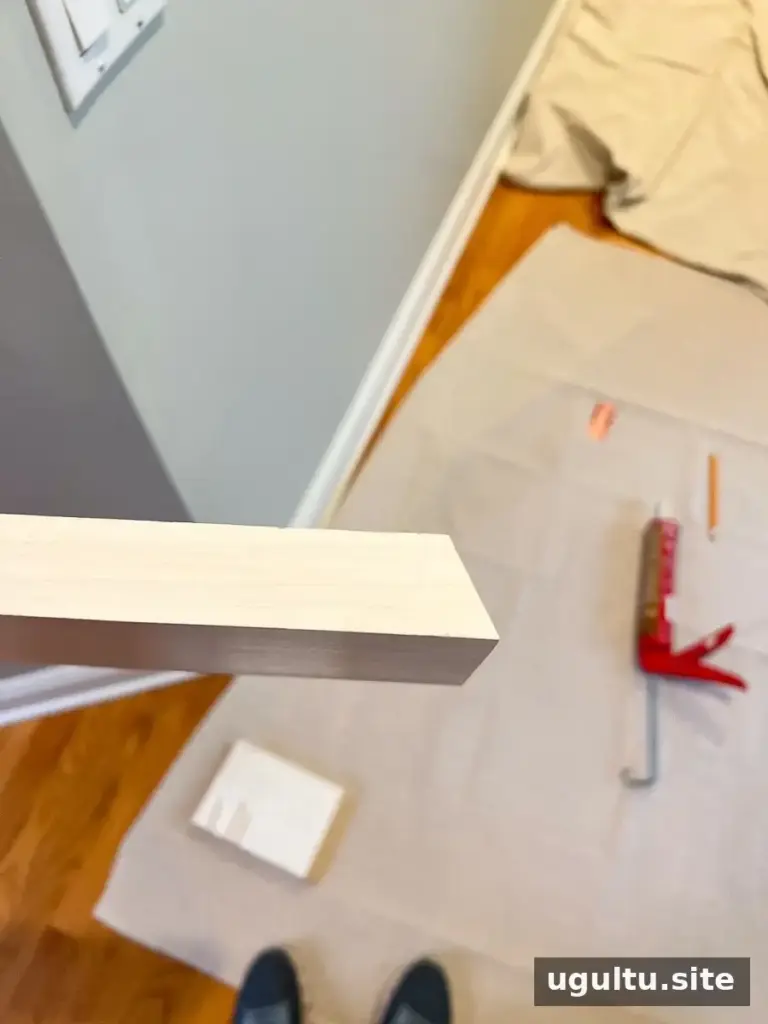
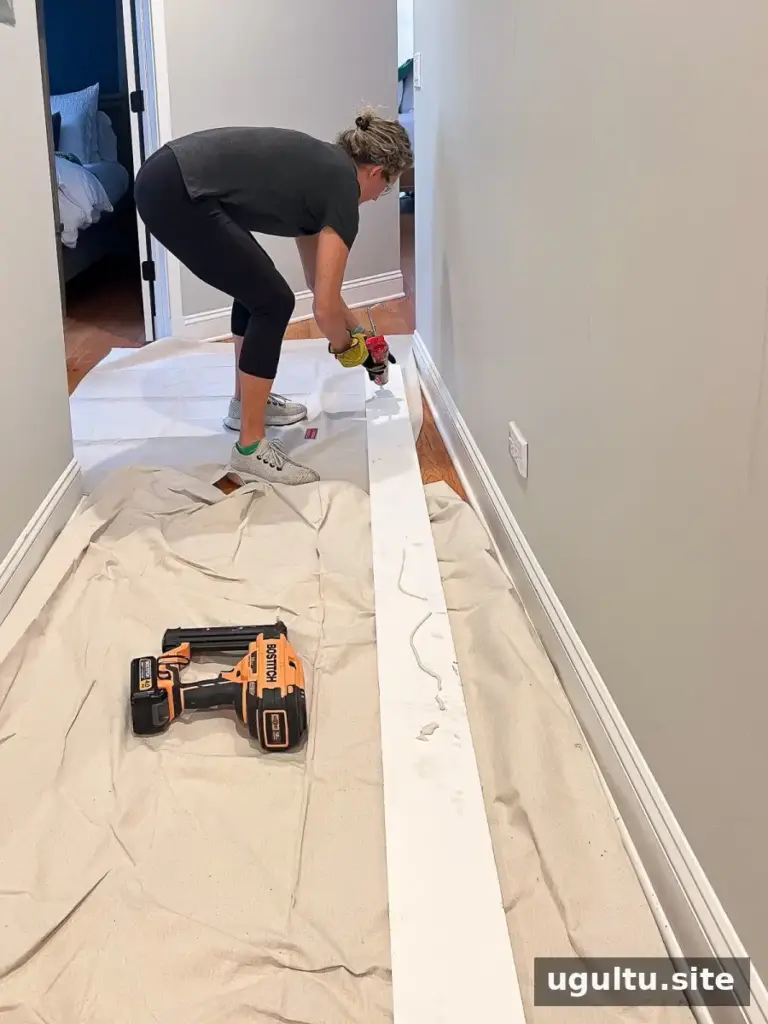
Cut the angled end first, then measure and trim the opposite end to length. This leaves the straight cut easier to adjust if necessary. Have another person support the board while you apply construction adhesive and fasten it into the marked studs with a brad nailer. Keep the board aligned with the level line as you work. For the return around the corner, cut the matching angle in the opposite direction.
Plan and Install the Vertical Battens
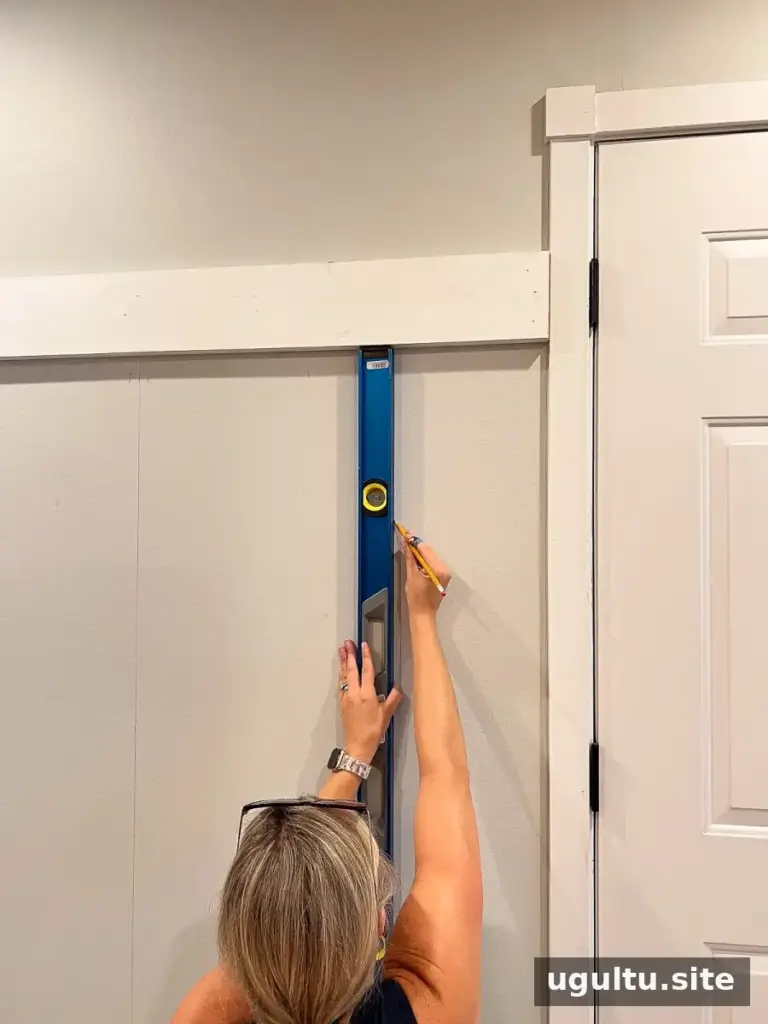
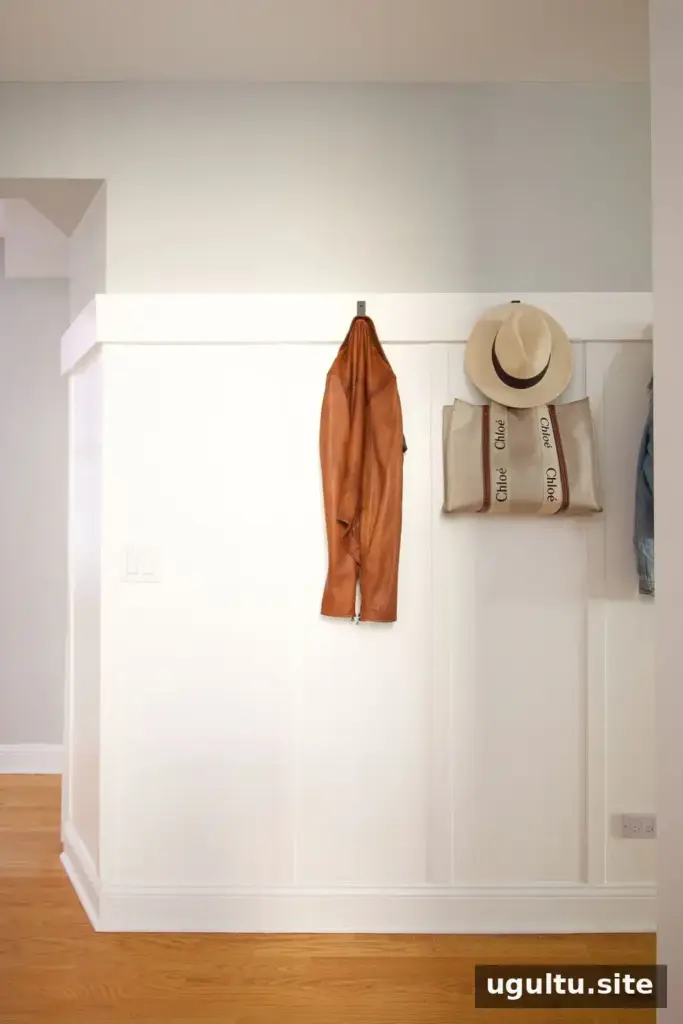
Batten spacing depends on the look and dimensions of the hallway. Here, 2-inch lattice strips were installed every 16 inches. Plan their positions around outlets and light switches before marking the wall. Use a level to draw a plumb guide for each strip, and consider making a spacer to keep repeated measurements consistent.
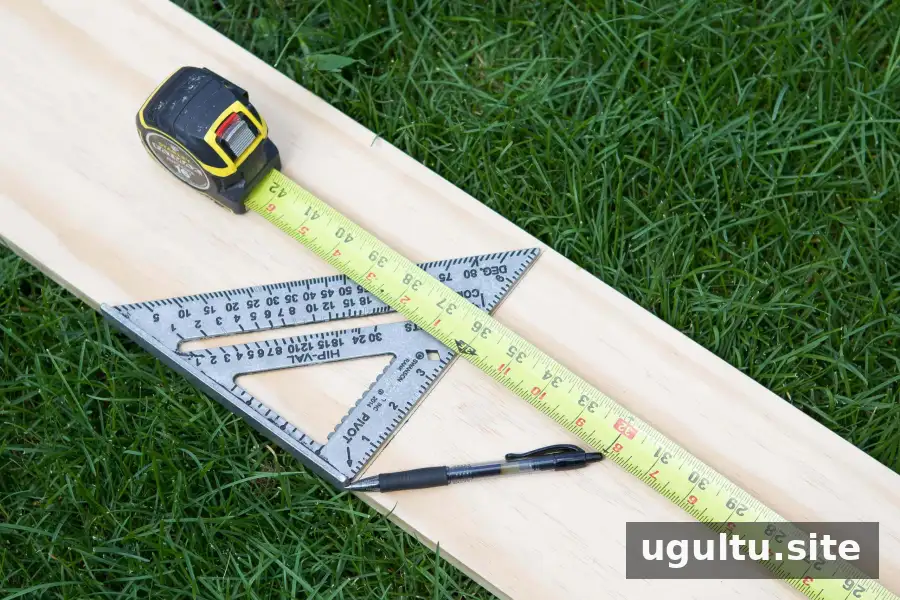
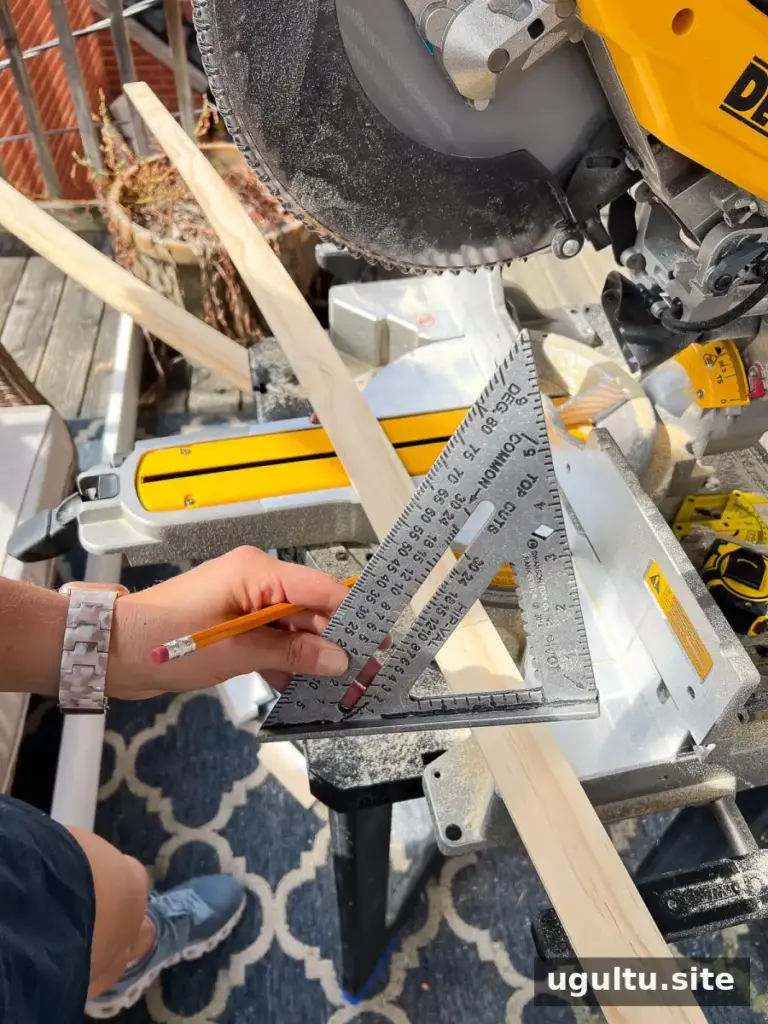
Measure each batten individually from the top board to the baseboard. Floors may not be perfectly level, so identical cut lengths can leave uneven gaps. Mark straight cuts with a speed square and test-fit each piece before fastening it.
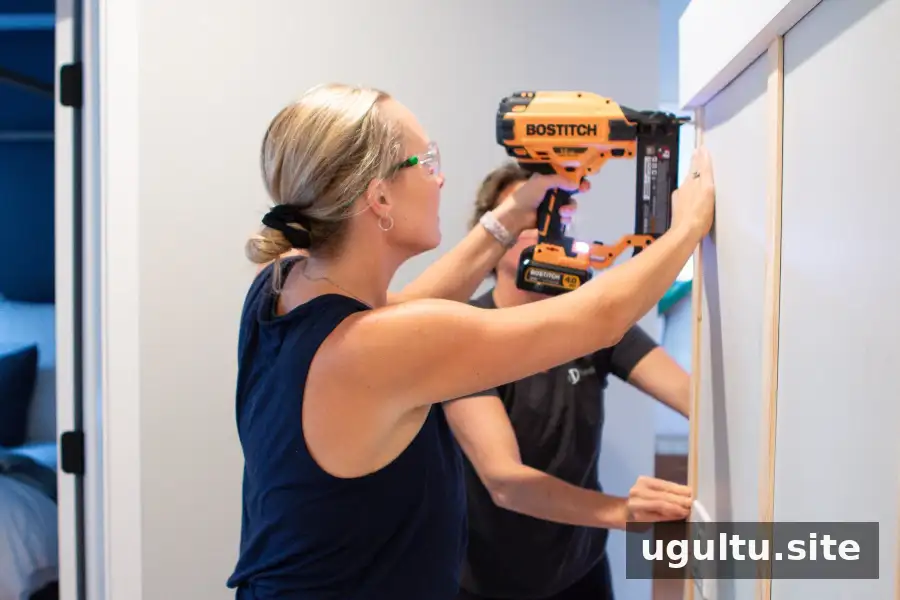
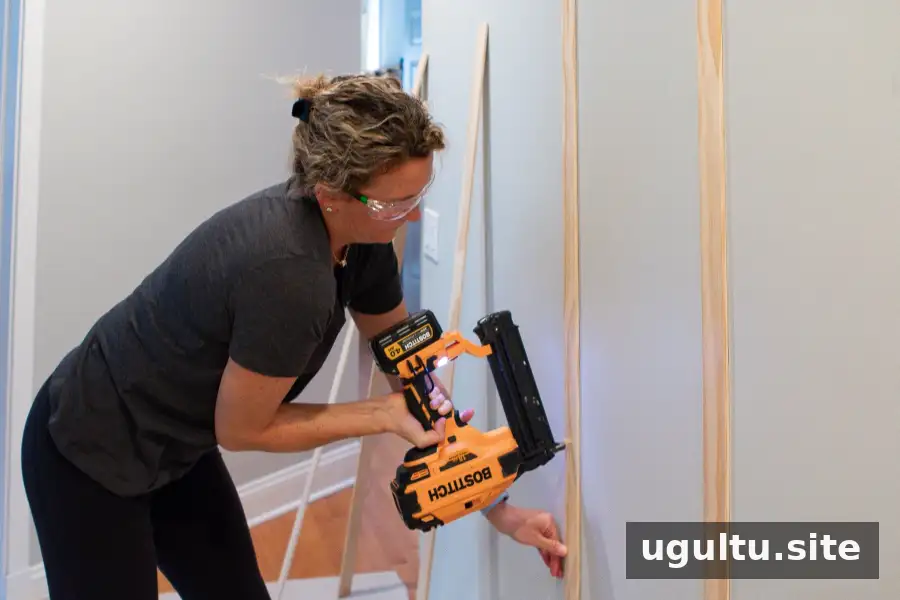
Apply construction adhesive to the back of each batten and attach it in place. Some strips may not align with studs. Where appropriate, angled brad nails can help hold trim against the wall; first confirm the wall construction and choose fasteners suitable for the materials.
Fill Nail Holes and Caulk the Seams
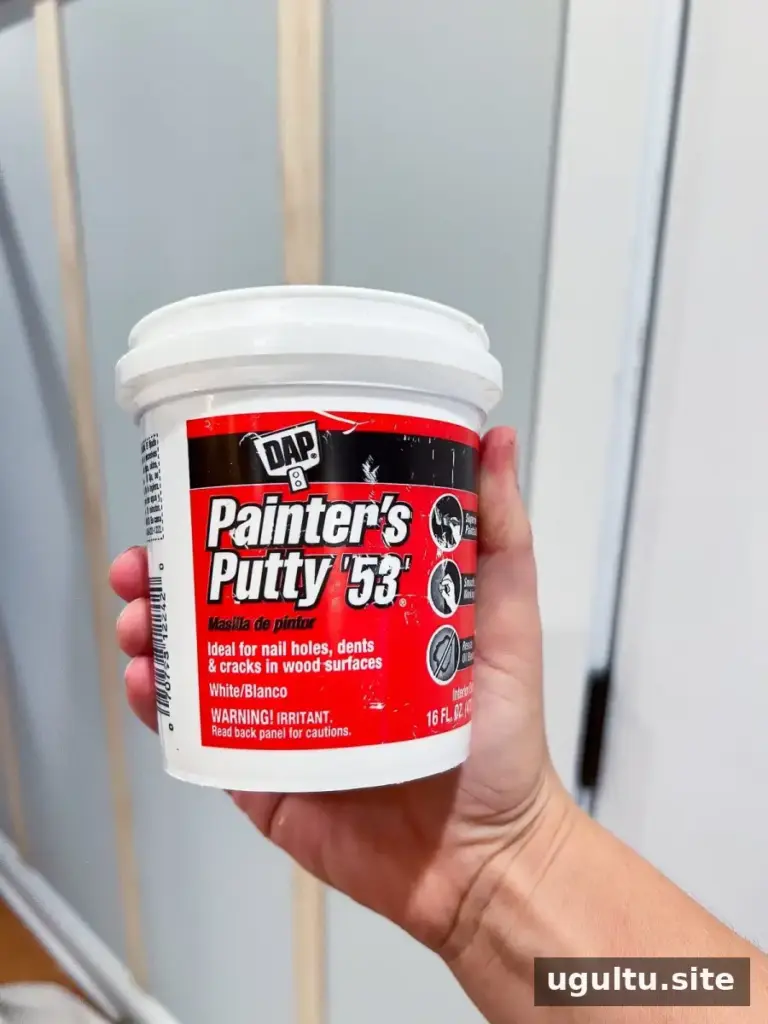
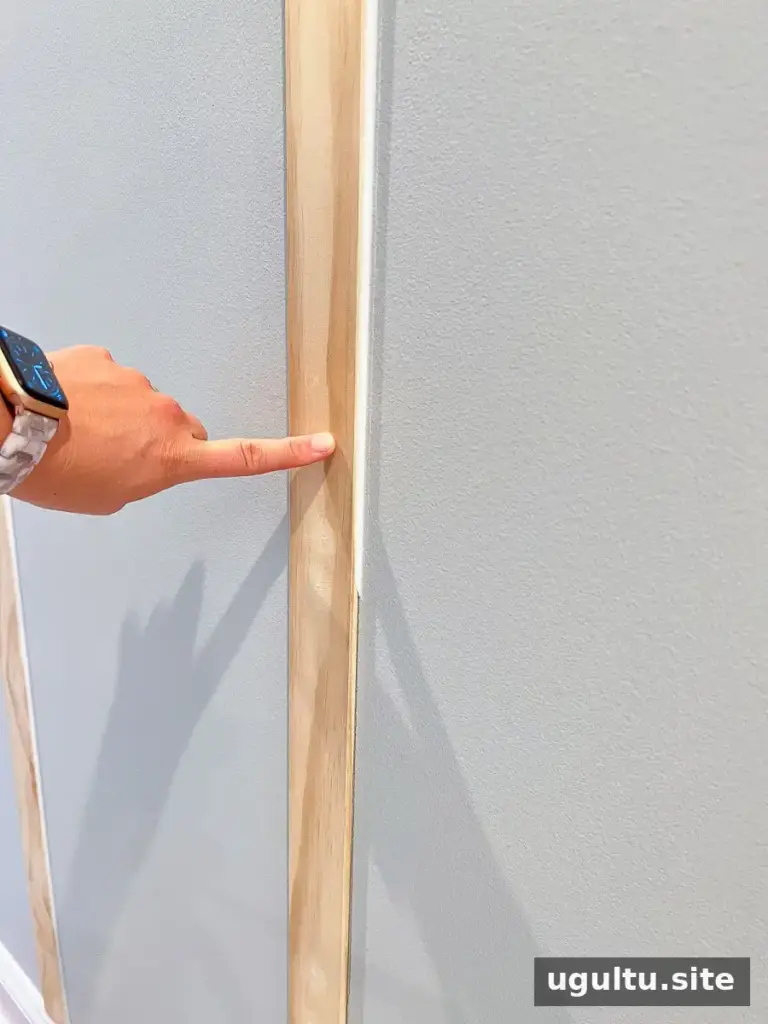
Fill the nail holes with painter’s putty, allow it to dry, and sand the surface smooth. Apply another layer if a hole is still visible. Use paintable caulk along gaps and seams to create a clean transition between the trim and wall. Follow the product’s drying directions before applying primer or paint.
Day Two: Prime and Paint
Wait for the caulk to dry completely before painting; this project allowed at least eight hours. Although the top board was pre-primed, the other wood and drywall surfaces received a light coat of primer to create a more consistent base. Check the primer label to confirm surface compatibility and drying times.
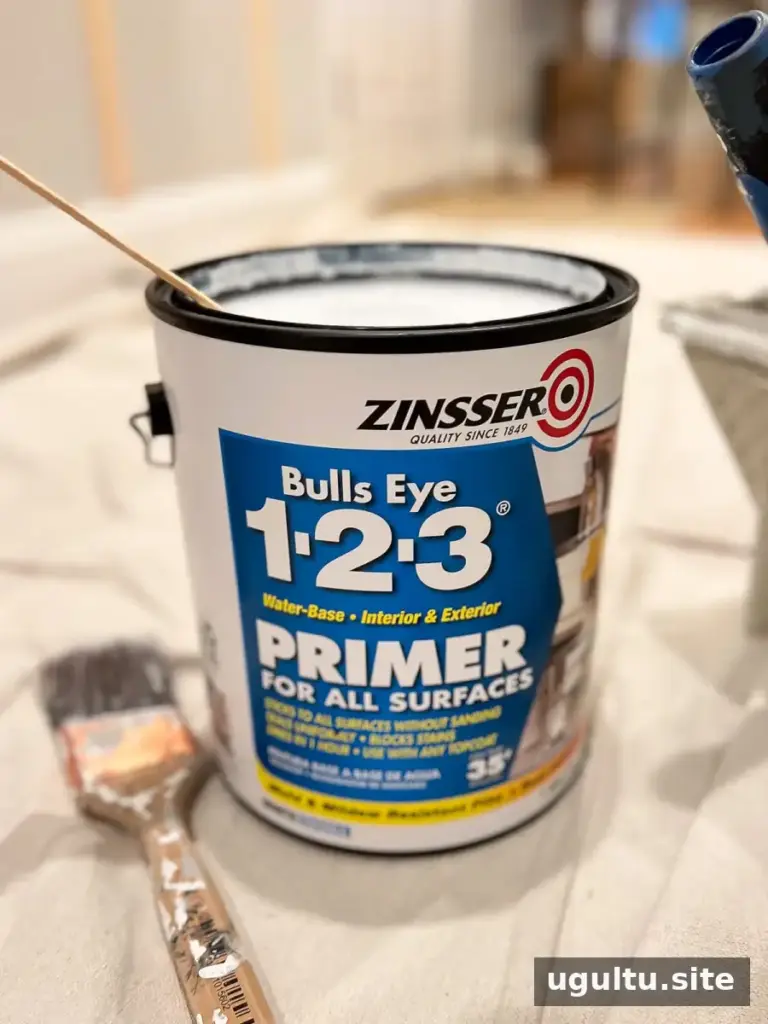
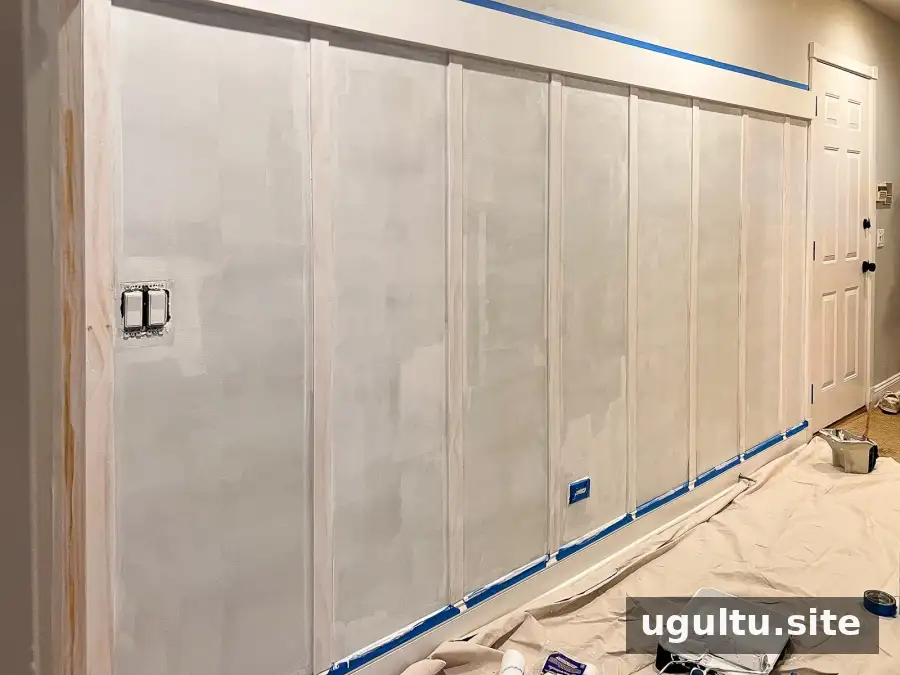
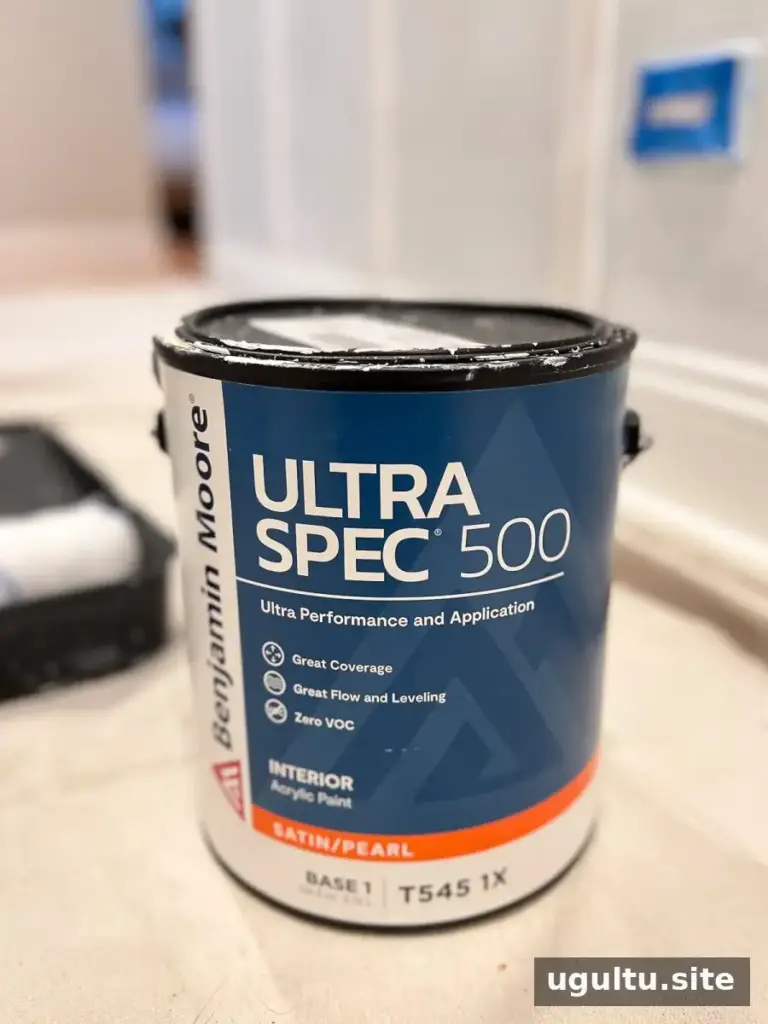
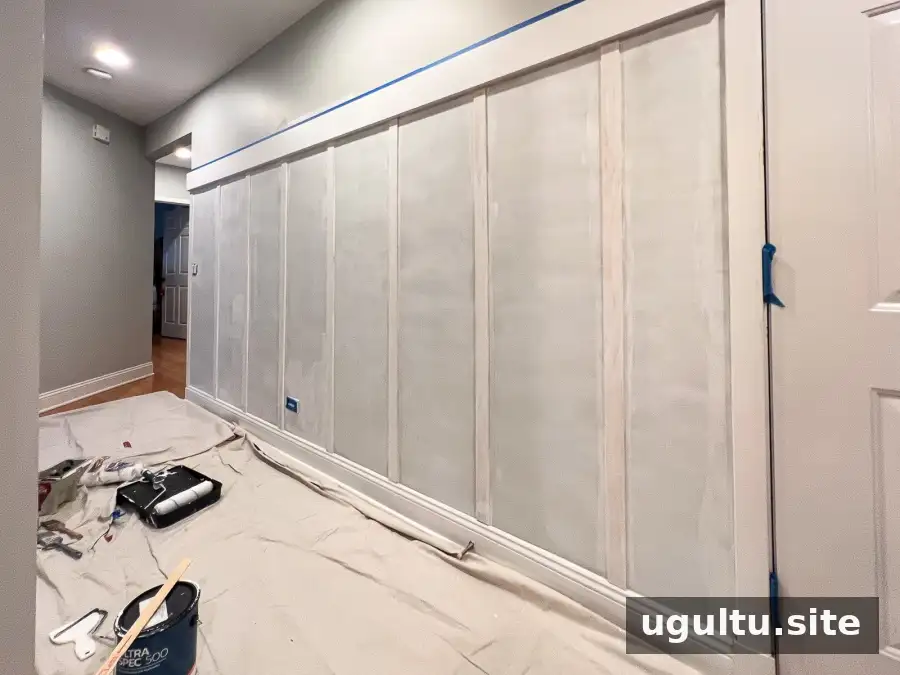
Painting began once the primer was dry to the touch, which took about an hour in this project. Satin-finish white paint was chosen to coordinate with the existing doors and trim. Use a brush around edges, seams, and corners, then roll the larger areas while the brushed paint is still workable. Three light coats provided full coverage here, but the required coats and drying time can vary depending on the paint and surface.
Add Hooks and Finish the Hallway
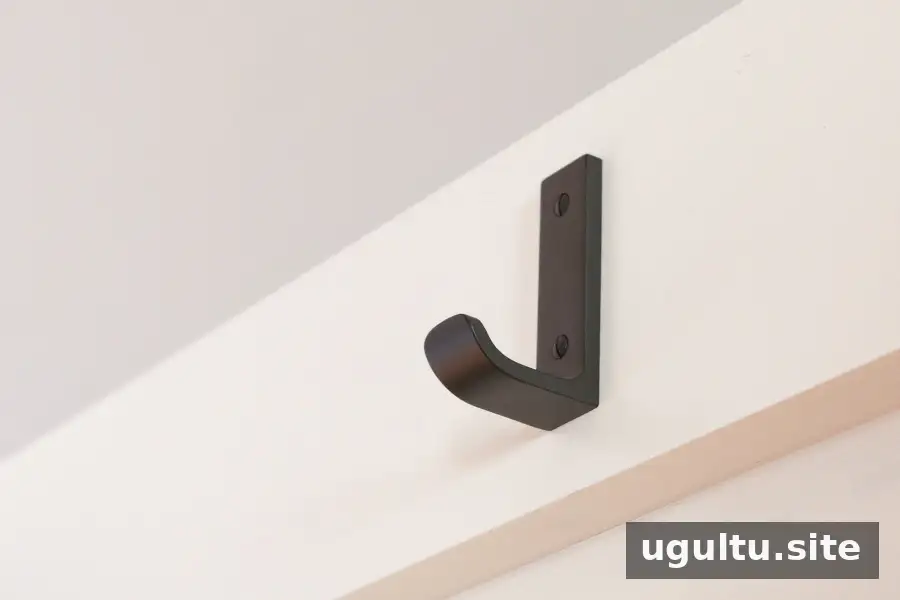
Five black hooks make the entryway more useful for coats, bags, and umbrellas. Mark the positions before drilling and check that the hooks are evenly spaced. Drill pilot holes through the wood, then secure each hook with its screws. Choose fixings that suit the wall and the weight the hooks are expected to carry.
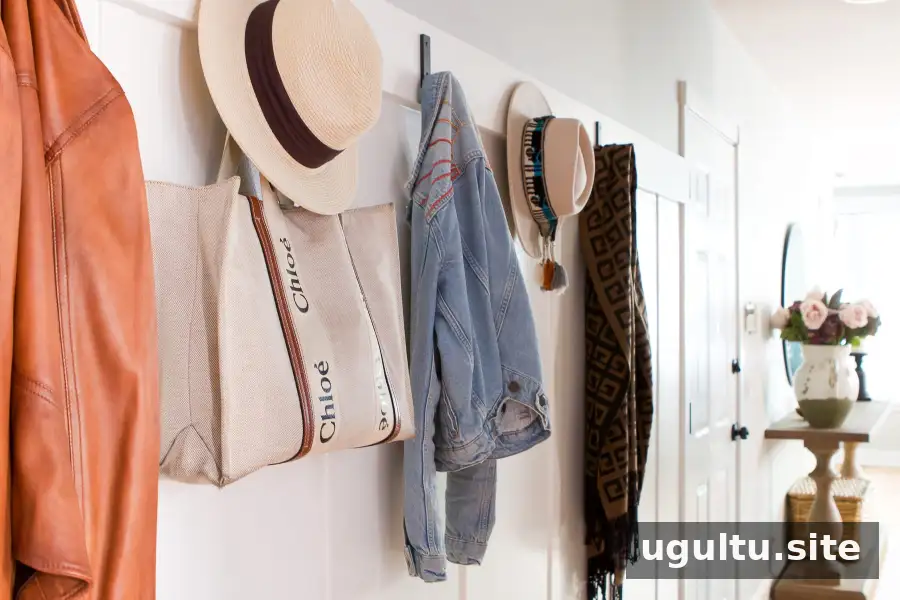
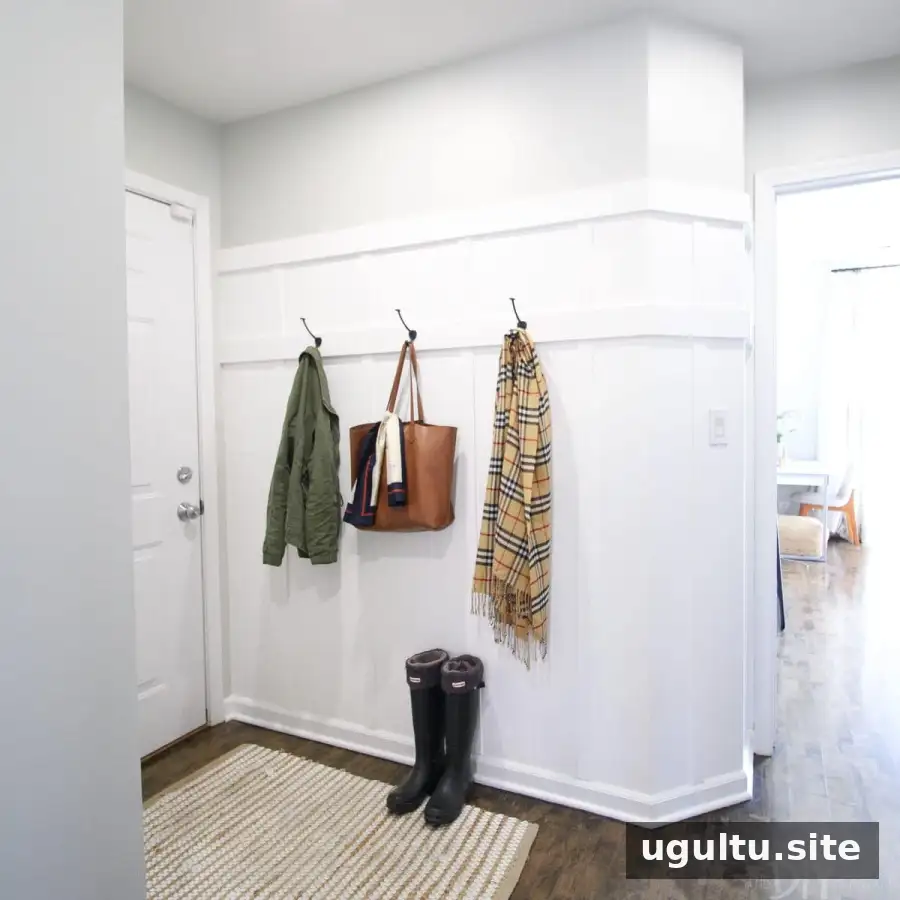
Board and Batten Hallway: Before and After
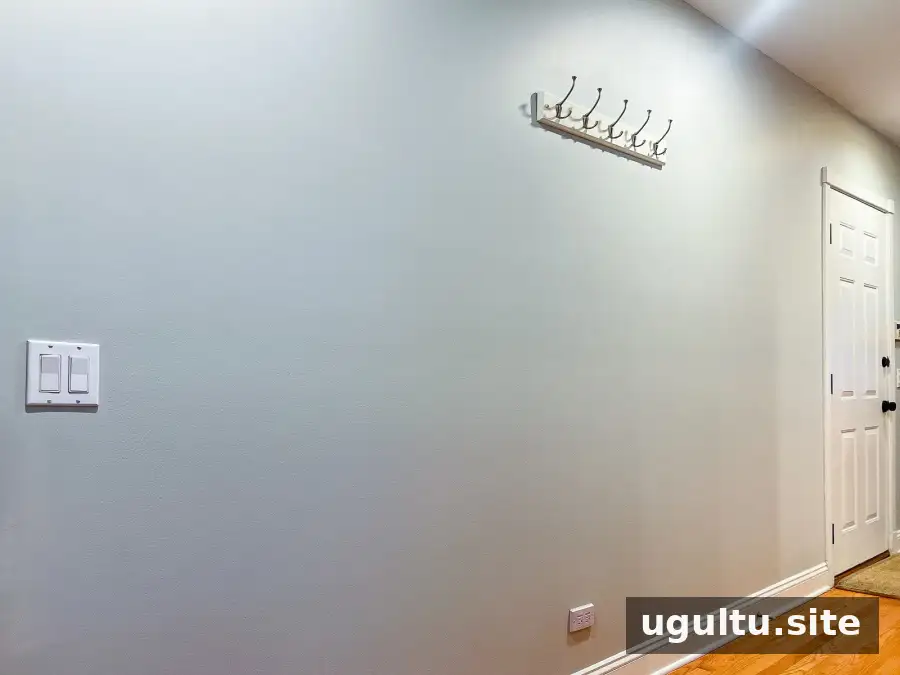
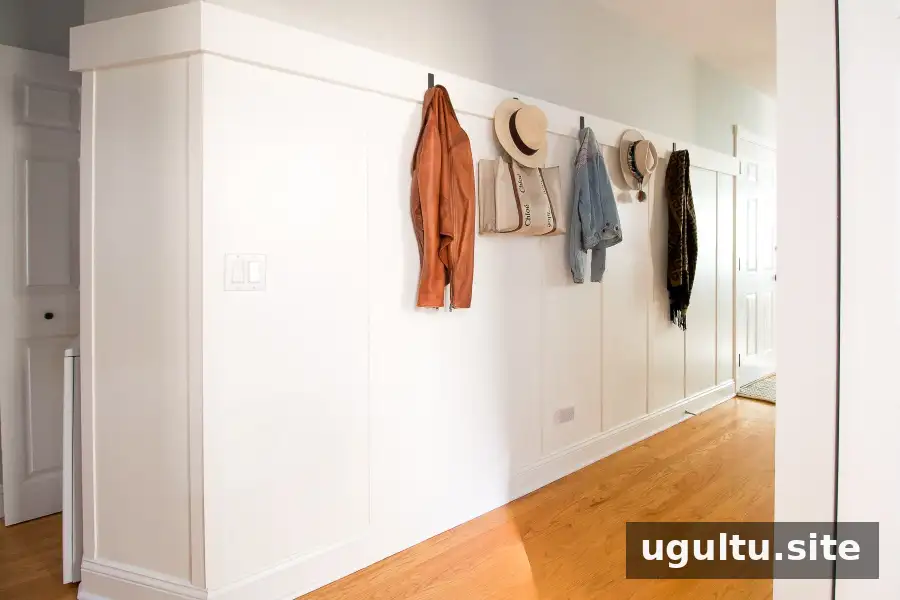
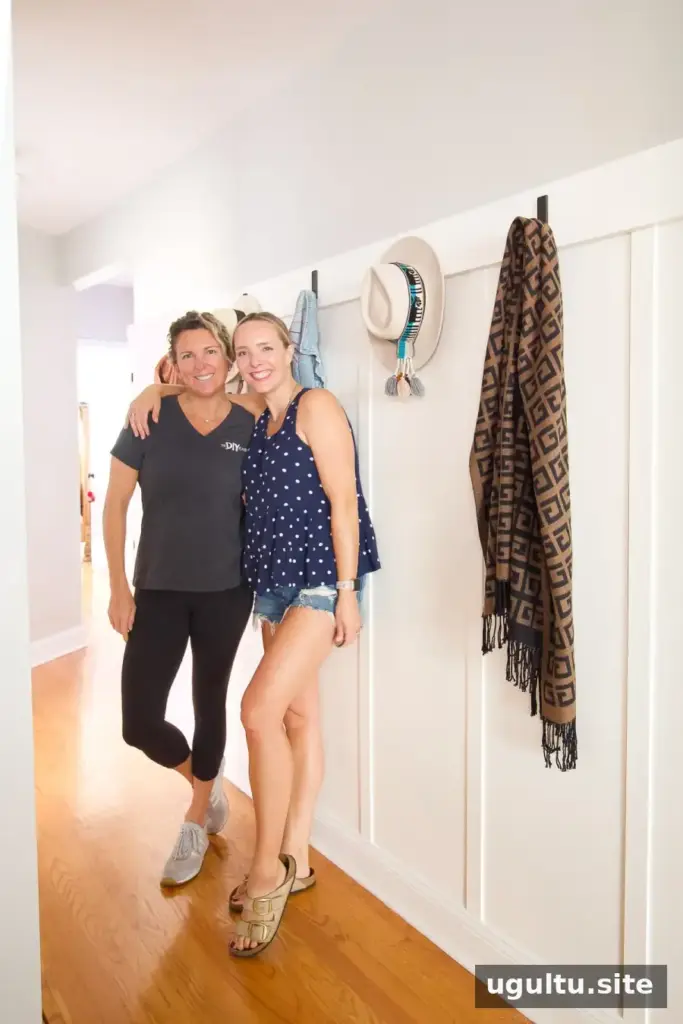
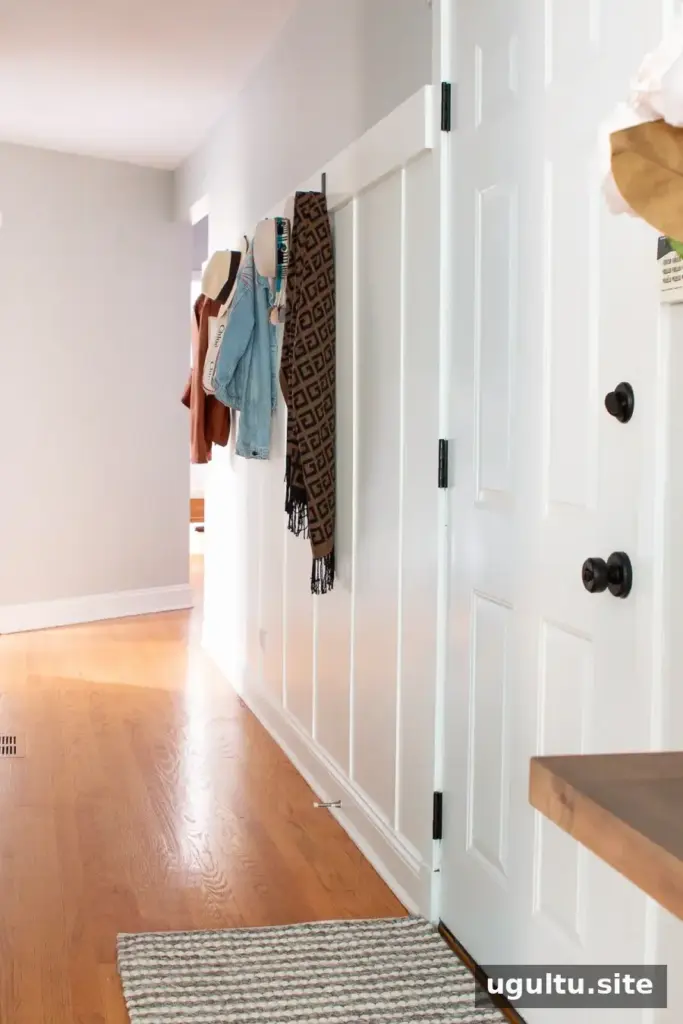
The completed treatment adds detail to a previously plain hallway while making wall space available for everyday items.
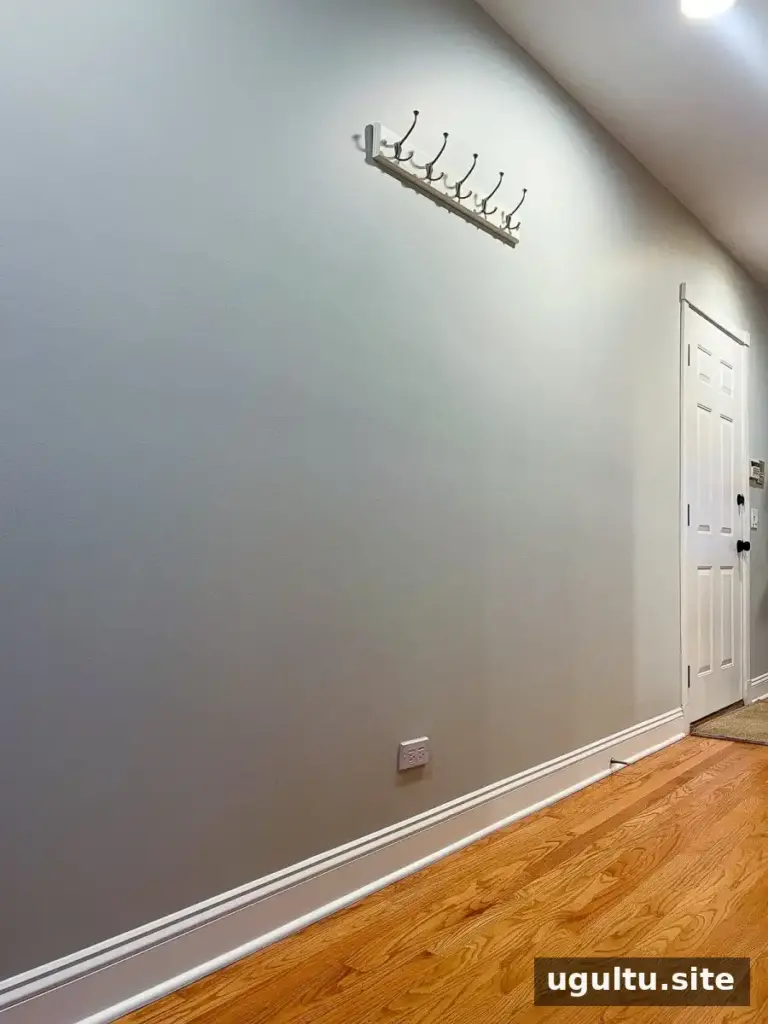
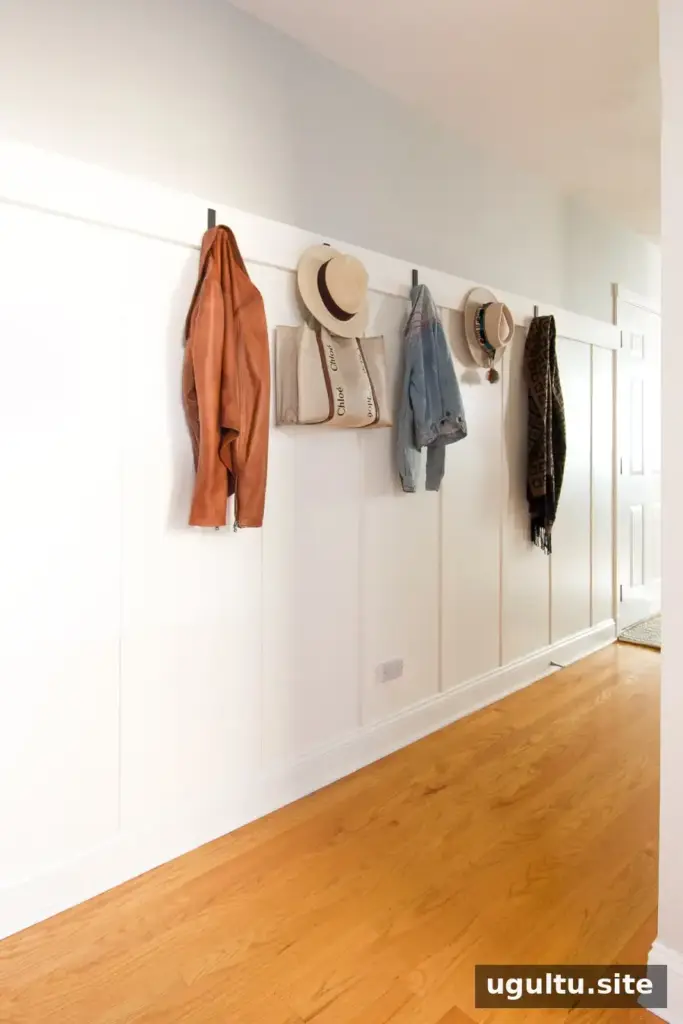
Keeping the existing baseboard and continuing the trim around the outside corner help the design connect with the surrounding space. When planning a similar project, consider how the new treatment will meet nearby door frames, closets, and other trim.
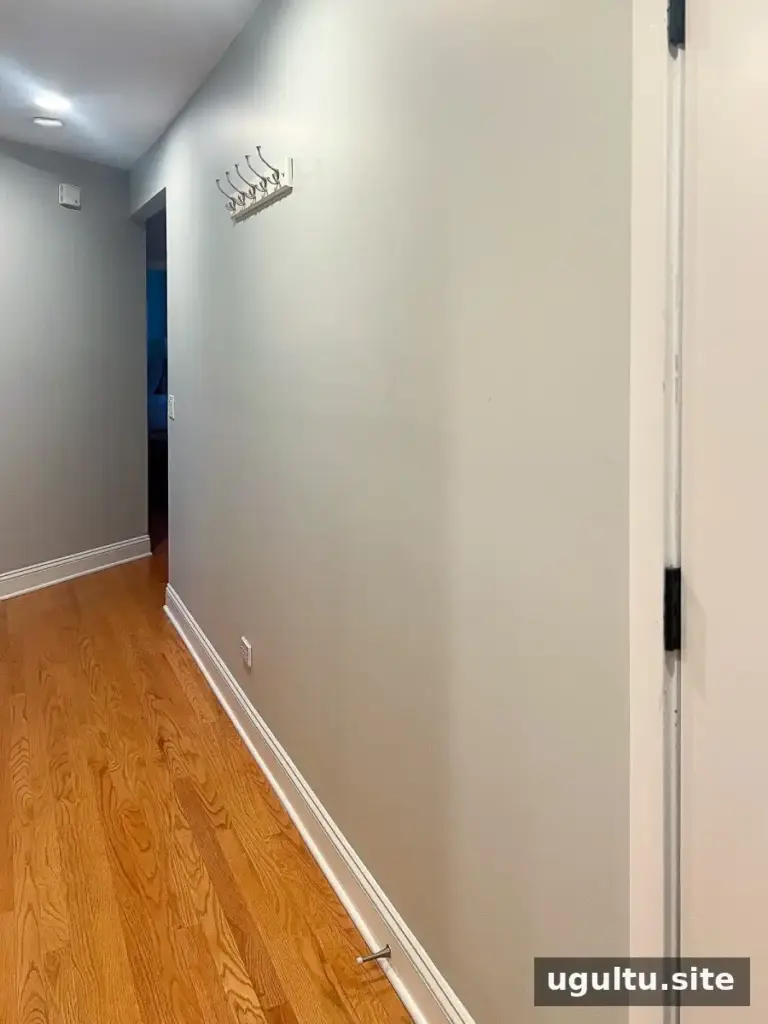
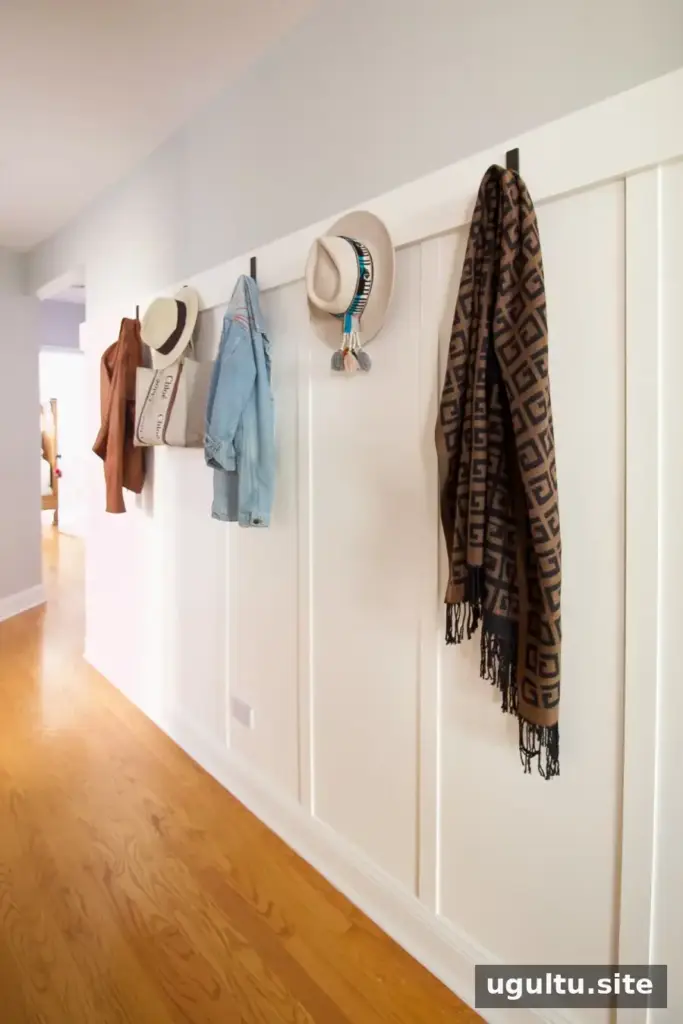
A simple wood treatment can refresh a hallway without a full renovation. Careful spacing, clean cuts, filled nail holes, and properly prepared surfaces all contribute to a neater finish.
Create a More Functional, Finished Entryway
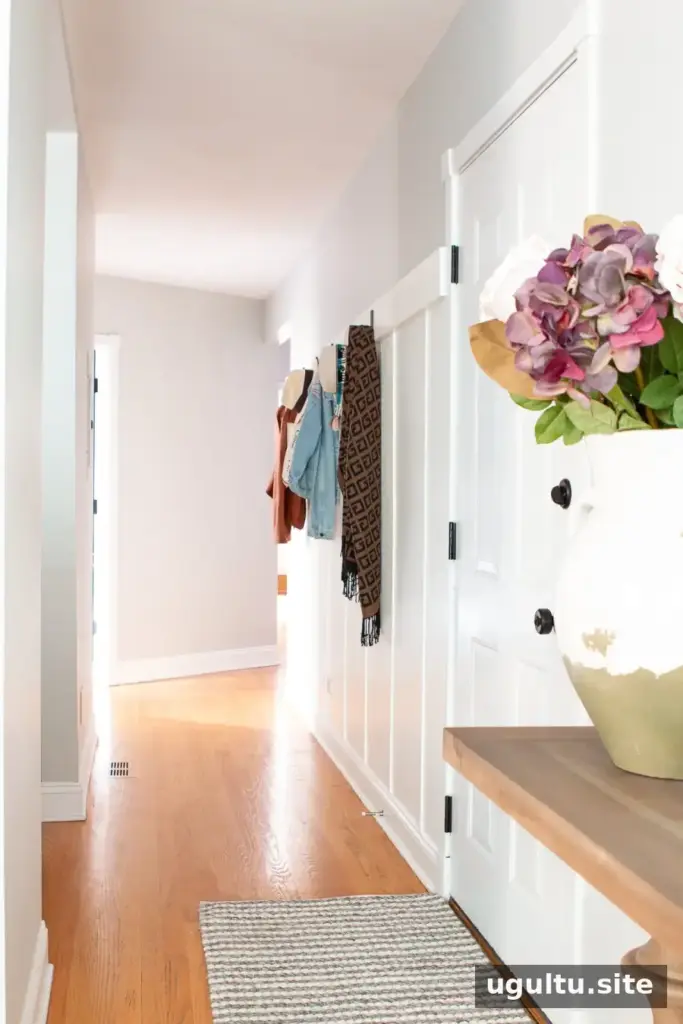
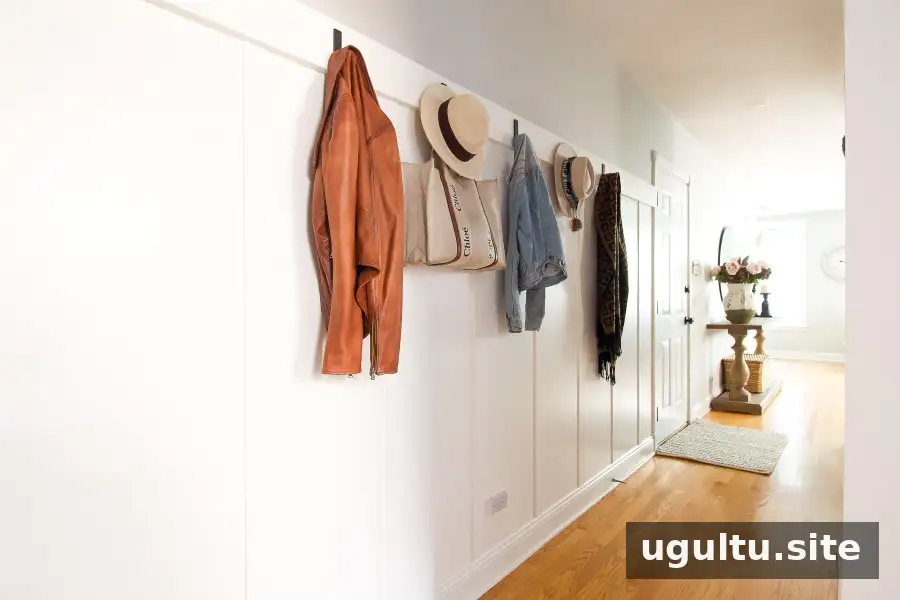
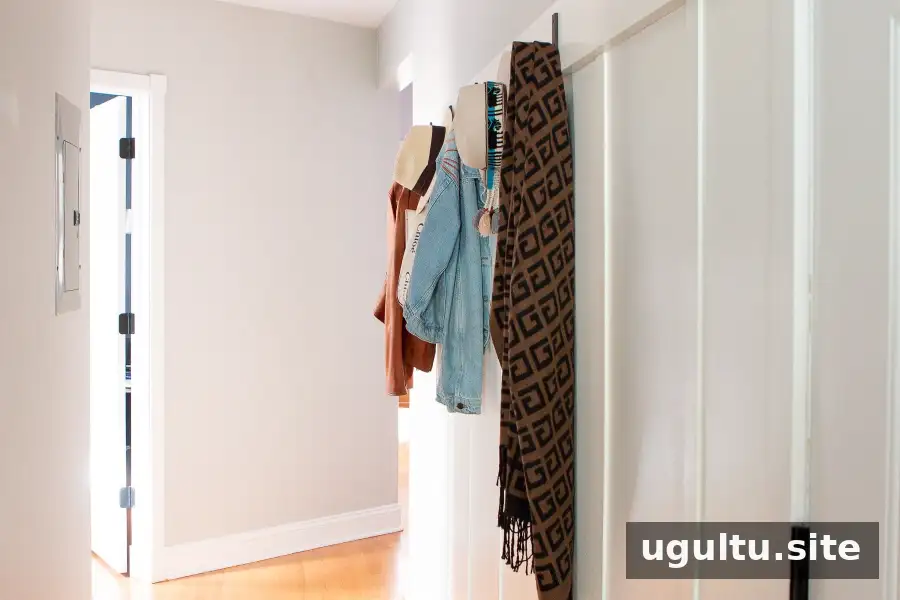
This board and batten hallway pairs a decorative wall detail with a practical place to hang frequently used items. Measure the space, account for existing features, and test-fit cuts before attaching the trim. These steps can help a small entryway feel more considered and easier to use.
With thoughtful planning and careful preparation, a board and batten hallway can add character and function to an otherwise overlooked part of the home.