admin
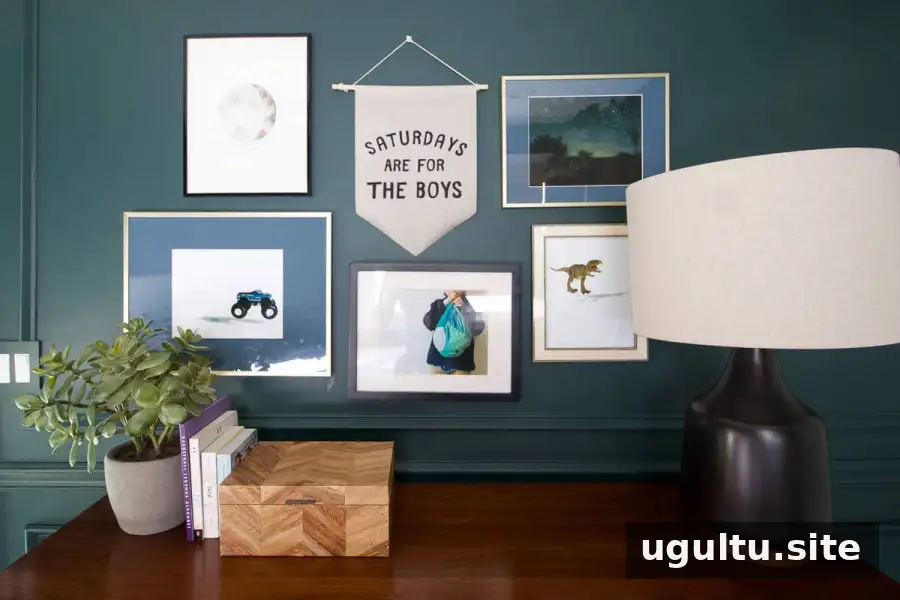
DIY toy wall art is a simple way to make a child’s room feel personal without relying on generic prints. Photographing favorite toys turns familiar dinosaurs, trucks, and stuffed animals into meaningful artwork. With a little natural light, a basic background, and affordable frames, you can create a gallery that reflects what your child loves.
This project works well above a dresser, in a playroom, or anywhere you want to display a child’s interests. The artwork can also change as their favorite toys and themes evolve. Before you begin, choose a few toys that photograph clearly and consider colors that will complement the room.
How to Make DIY Toy Wall Art
Choose and Photograph Favorite Toys
Start by gathering a small selection of well-loved toys, such as stuffed animals, dinosaurs, or vehicles. Choosing items the child plays with often makes the finished display feel more personal. A shared color palette, such as blue and green, can help the images look coordinated when they are hung together.
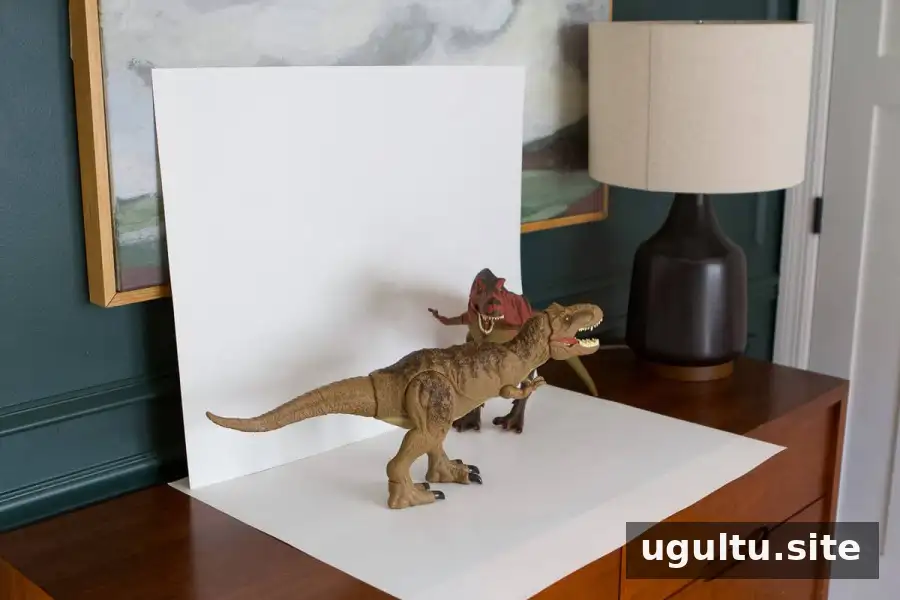
Set up a simple photo area at home near a window. Two sheets of white poster board can create a clean background: place one beneath the toy and prop the other behind it. Natural daylight usually gives an even, clear result, so avoid harsh direct sunlight if it creates strong shadows.
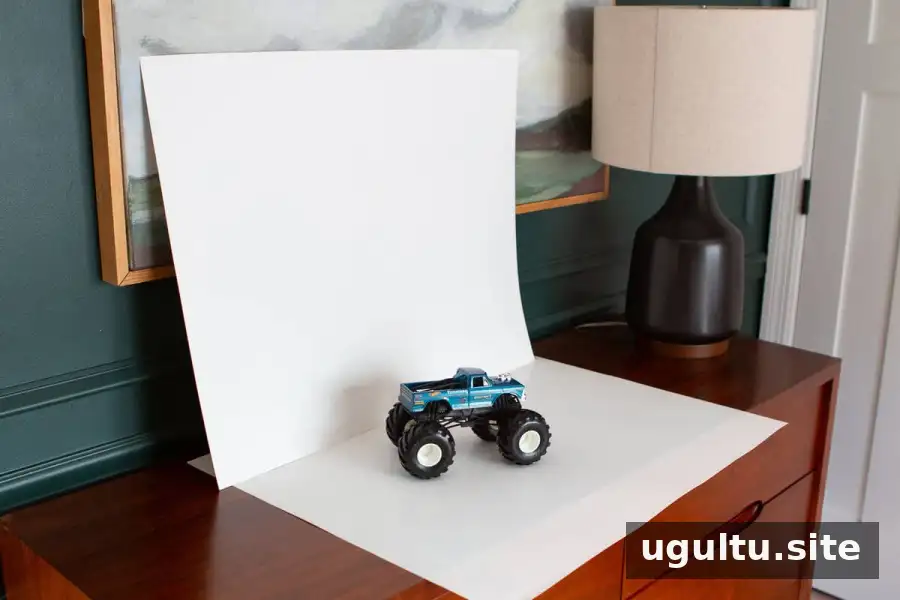
A DSLR camera is not essential; a phone can work well too. Wipe the camera lens before taking pictures, keep the toy in focus, and try portrait mode if you want a softly blurred background. Take several shots from different angles so you have options during editing. For a more playful look, use colored paper or wrapping paper as a backdrop.
Edit the Photos for a Consistent Look
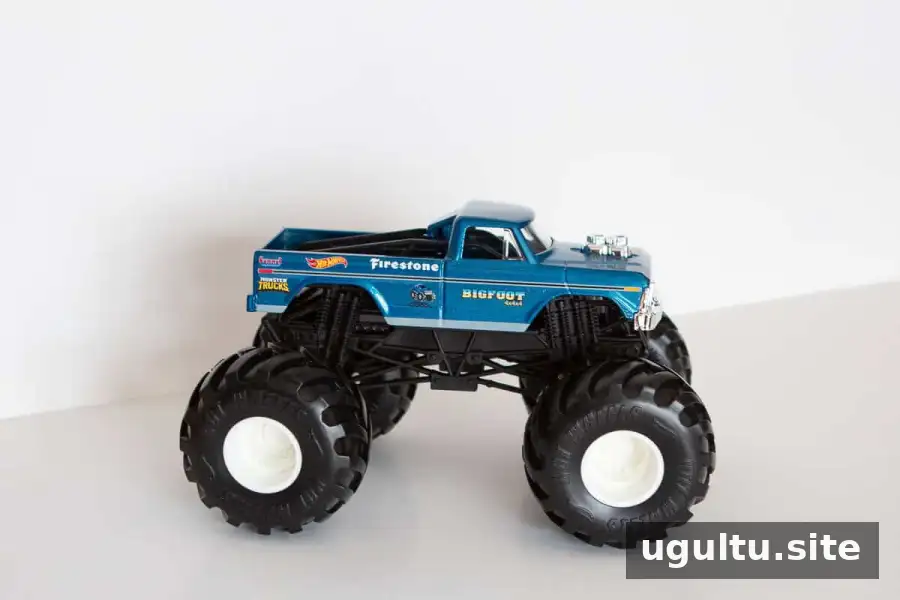
Monster truck before editing
After photographing the toys, place the selected images in a photo-editing or design app. Adjust the photos so their brightness and background treatment feel consistent. A matching style helps the finished gallery look intentional, even when the toys differ in shape and color.
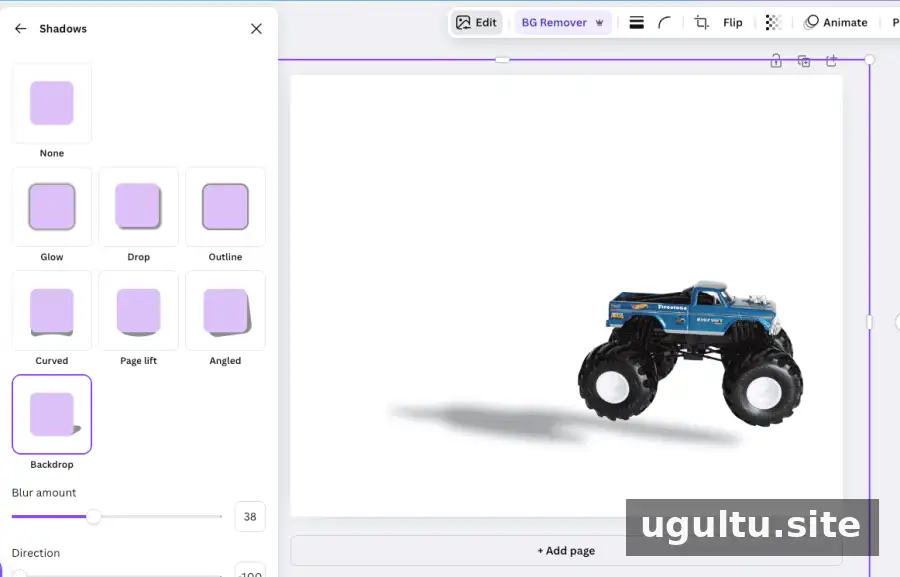
Removing the background and adding shadows in a design app
If your editing app offers background removal, you can isolate each toy against a plain backdrop. This feature may require a paid plan. A light shadow can add depth, but keep the effect subtle so the toy remains the focus. Review each image at full size before printing to catch rough edges or details that look unnatural.
Print Your Pictures
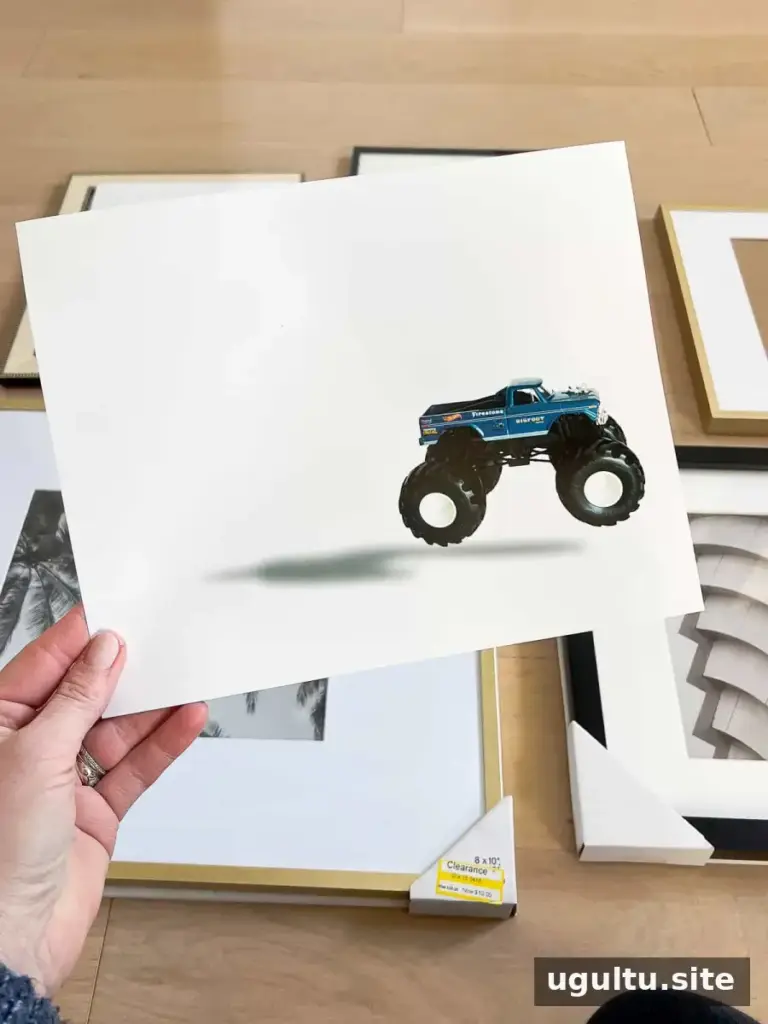
Choose a print size that suits the wall and the frames you plan to use. For this gallery, 8×10 prints worked well above a dresser. Larger images can anchor the arrangement, while smaller prints may be useful when the wall has limited space. Check the crop before ordering so important parts of each toy are not cut off.
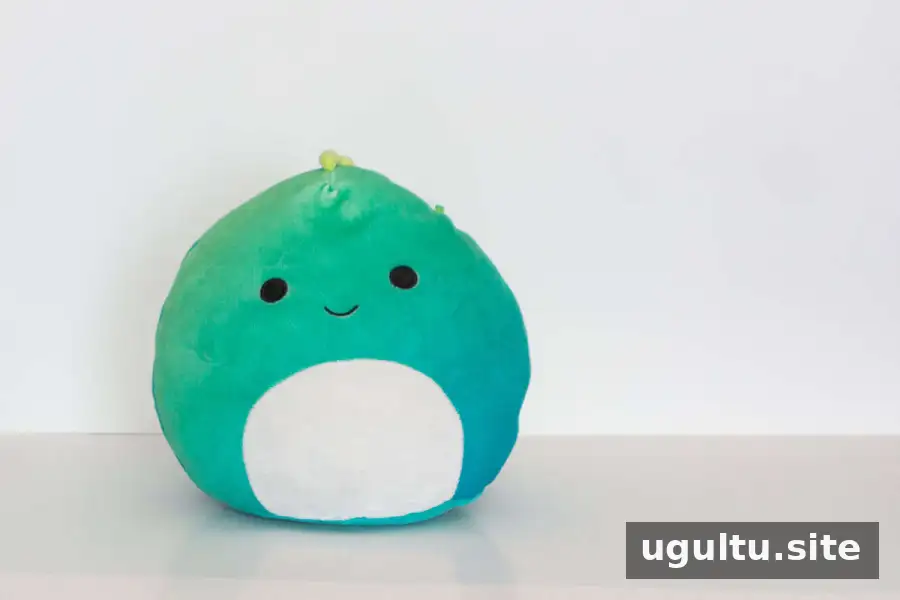
The first stuffed-toy image did not work well, so it was photographed again
Some toys may be difficult to photograph on their own. A stuffed character can look oddly shaped or seem to float against a plain background. If a picture does not feel right, try another angle or place the toy in a more familiar setting.
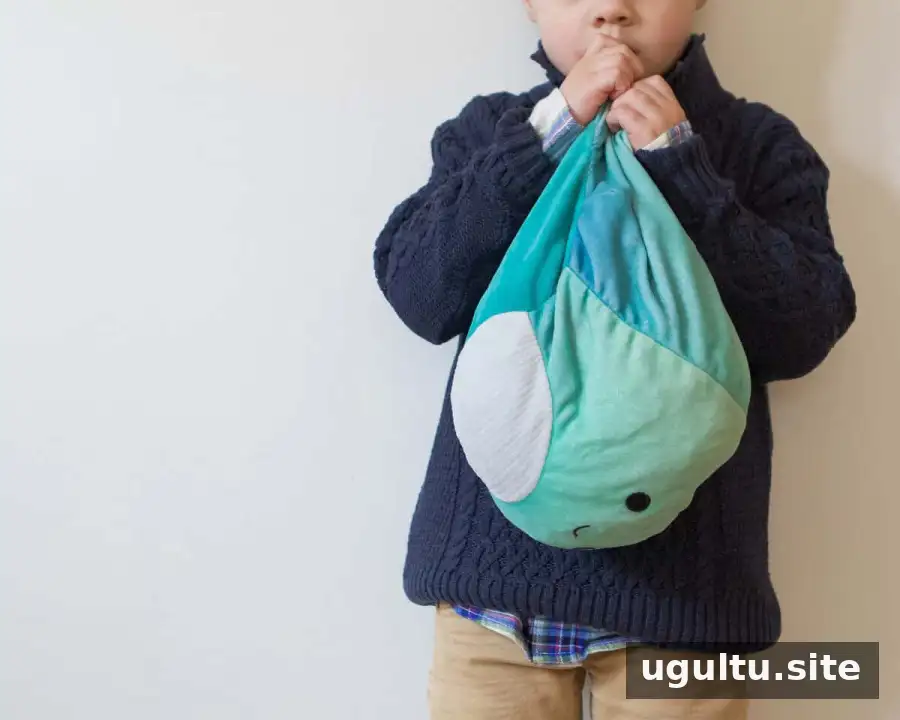
For a more natural portrait, have the child hold the stuffed animal. This can show the toy in context and add a warm, personal element to the artwork. Experiment with a few arrangements before settling on the final image.
Choose Frames That Suit the Room
Frames help connect the prints to the room’s existing decor. A mix of black and gold frames can create contrast while keeping the display cohesive; wood or metal frames offer other options. Thrift stores can be a useful place to look for affordable frames, but check that each one is sturdy and that its dimensions match the print.
For a balanced gallery, consider using a few larger frames rather than many tiny ones. An 8×10 print is a practical minimum for this style of display, and a mat can give the image extra breathing room. Before buying frames, measure the available wall space and account for the outer frame dimensions, not just the size of the print.
Plan the Gallery Wall Layout
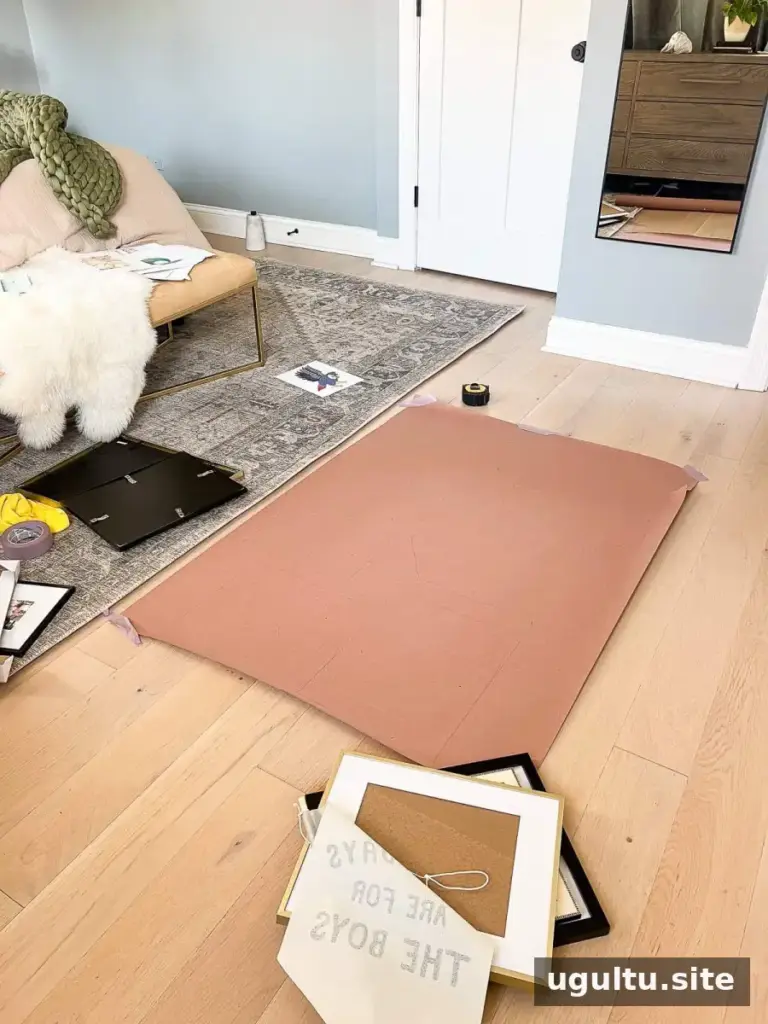
Try several arrangements on the floor before putting anything on the wall. A paper template makes it easier to adjust the layout and mark nail positions without repeatedly measuring the wall.
- Combine at least two frame materials or finishes, such as black and gold.
- Use a range of frame sizes, with larger pieces helping anchor the arrangement.
- Mix horizontal and vertical prints for visual variety.
- Consider mats to create space around the images and make them stand out.
- An odd number of frames can be a useful starting point for an informal arrangement.
- Keep frames about three inches apart or less to help the display read as one gallery.
- Arrange the frames on wrapping paper or rosin paper, trace their outlines, and mark the hanging points.
Once the layout looks right, secure the paper template to the wall and use a level to check its position. Step back and review the spacing from across the room before marking any holes. A little planning can prevent unnecessary wall damage and make hanging faster.
Hang and Secure the Frames
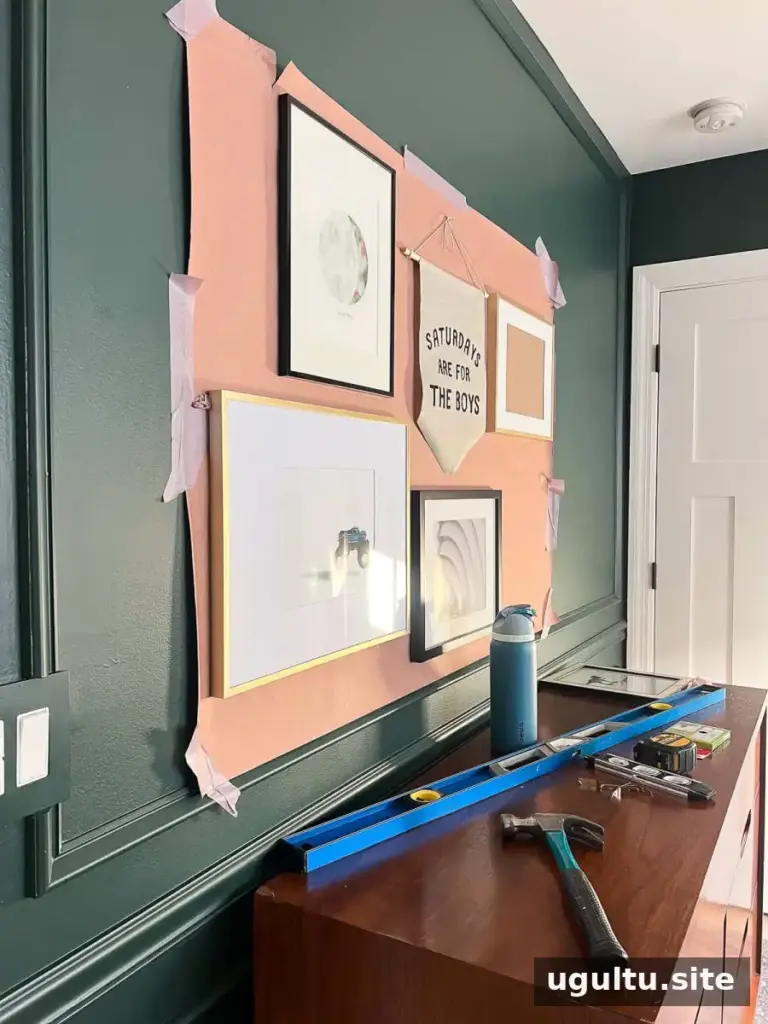
Gather the supplies before you start: painter’s tape, rosin or wrapping paper, a pencil, measuring tape, assorted nails, a hammer, a level, removable hanging strips if appropriate, and museum wax. Choose hanging hardware that suits the frame’s weight and your wall type. If using adhesive products, follow their instructions and check that they are suitable for the surface.
Use the template to mark each hanging point, then remove the paper and hang the frames. Check that every frame is level as you go. Museum wax on the lower corners can help reduce movement and keep frames aligned, particularly in a busy room. Keep small hardware and tools out of children’s reach during the project.
A Personal Gallery Made From Favorite Toys
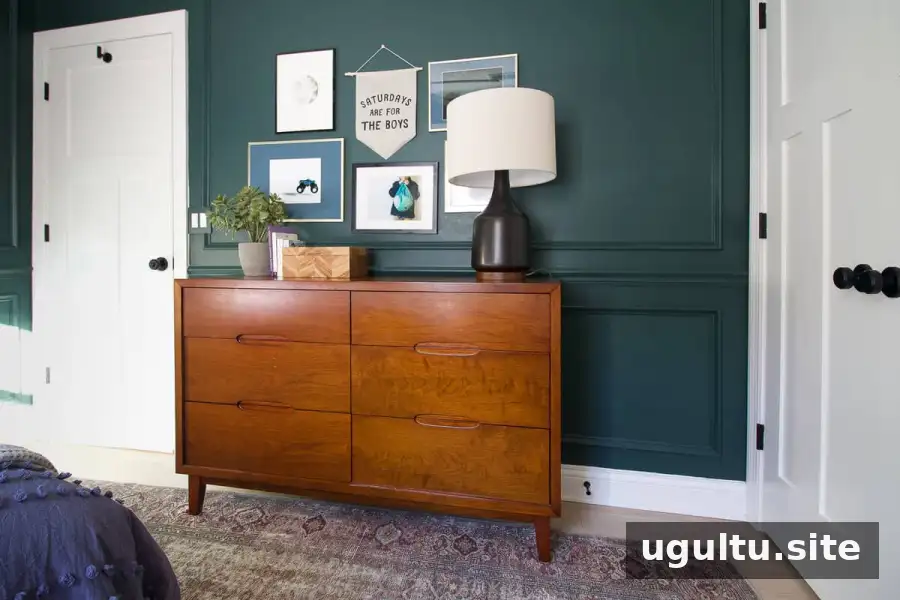
The finished gallery turns everyday toys into a display that feels unique to the child. Because the main images are made at home, the project can be an affordable alternative to purchasing a complete set of themed artwork. Printing and framing still have costs, so choose sizes and materials that fit your budget.
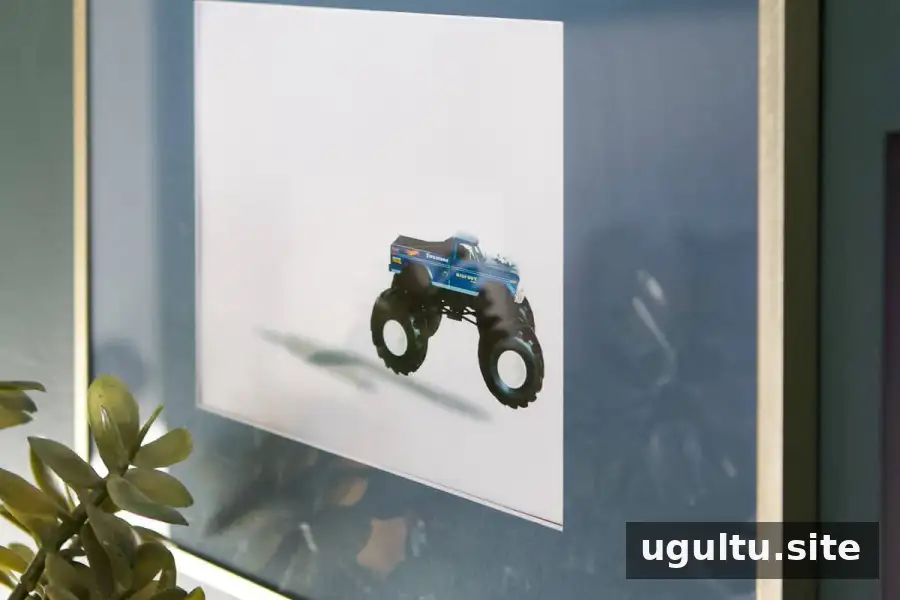
Children may especially enjoy recognizing their own toys in the pictures. Involving them in selecting the toys or choosing between photo arrangements can make the finished wall feel even more meaningful.
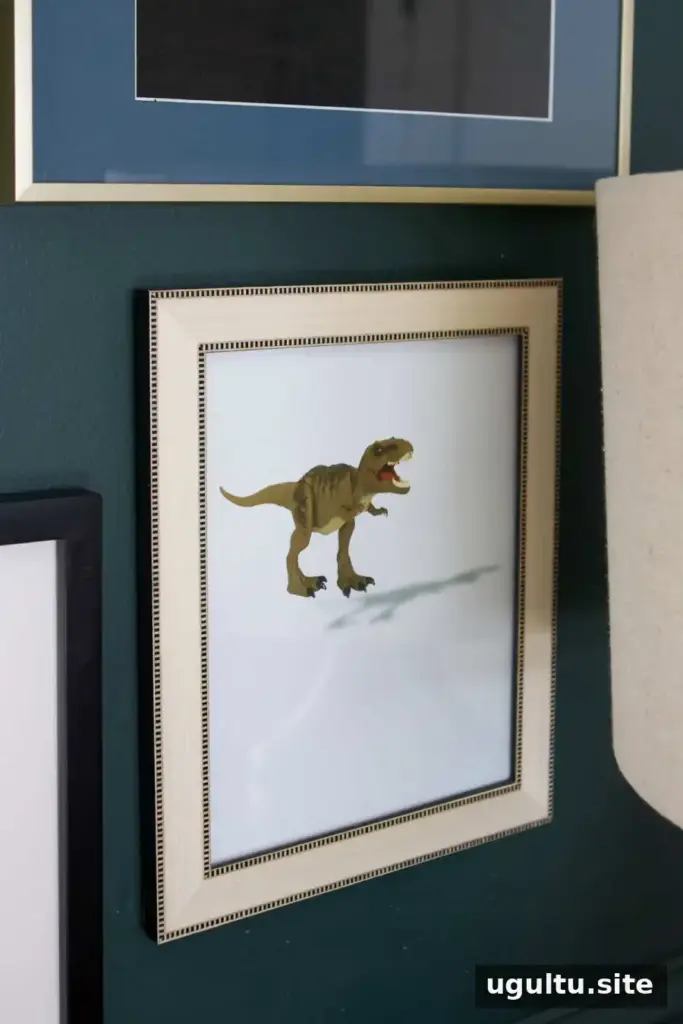
This idea also suits a playroom or a shared bedroom. You could create a symmetrical arrangement, include several children’s favorite toys, or add their own artwork for a mixed display.
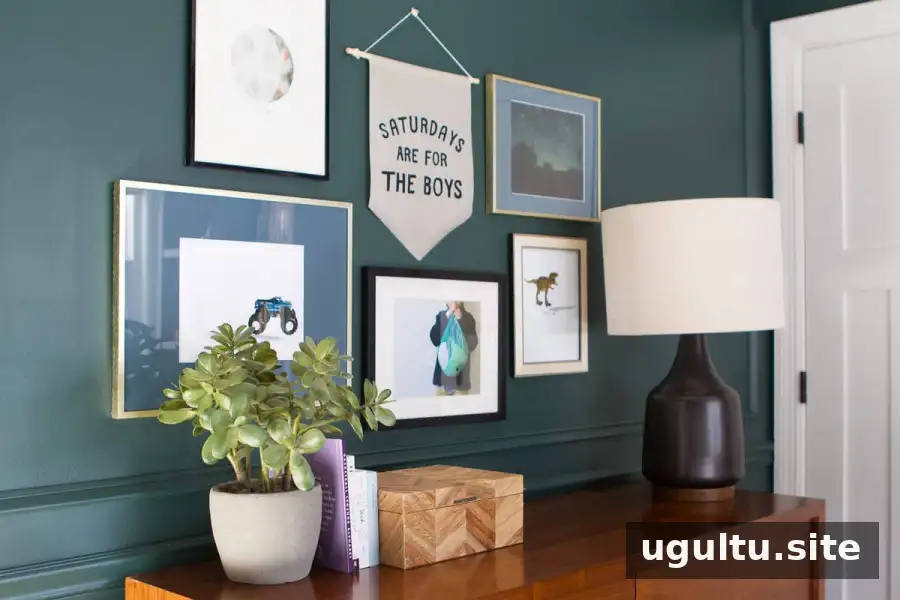
The best part of DIY toy wall art is that it highlights objects with personal significance rather than relying on generic decorations. Keep the arrangement flexible so prints can be replaced as interests change.
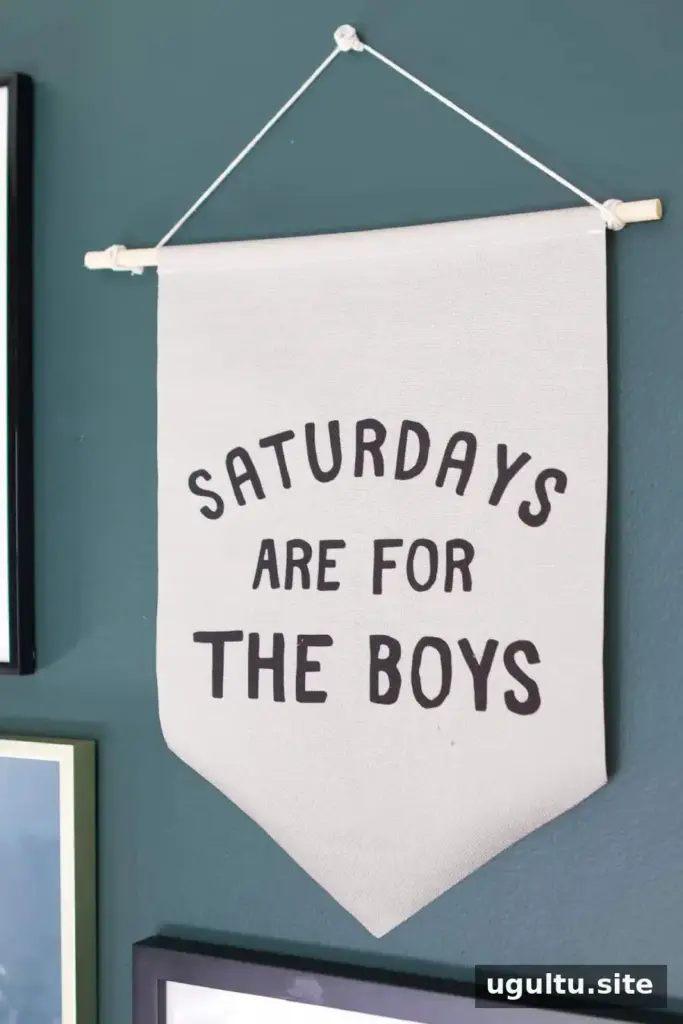
Final Tips for DIY Toy Wall Art
DIY toy wall art can bring personality to a child’s room with a straightforward photo setup and thoughtful framing. Use natural light, keep the editing style consistent, and test the layout before hanging. For a polished result, check print crops and frame spacing in advance; for a personal touch, choose toys your child genuinely loves. These small steps help create a gallery that is both practical and memorable.