admin
Paste the wall wallpaper can make a decorating project easier to manage, especially when working in a small room or around awkward corners. Unlike peel-and-stick paper or wallpaper that must be pasted and folded before hanging, this type is applied by spreading adhesive directly onto the wall. A space-themed closet mural is a useful example: careful preparation, a straight starting line, and time to adjust each panel can help create a neat result.
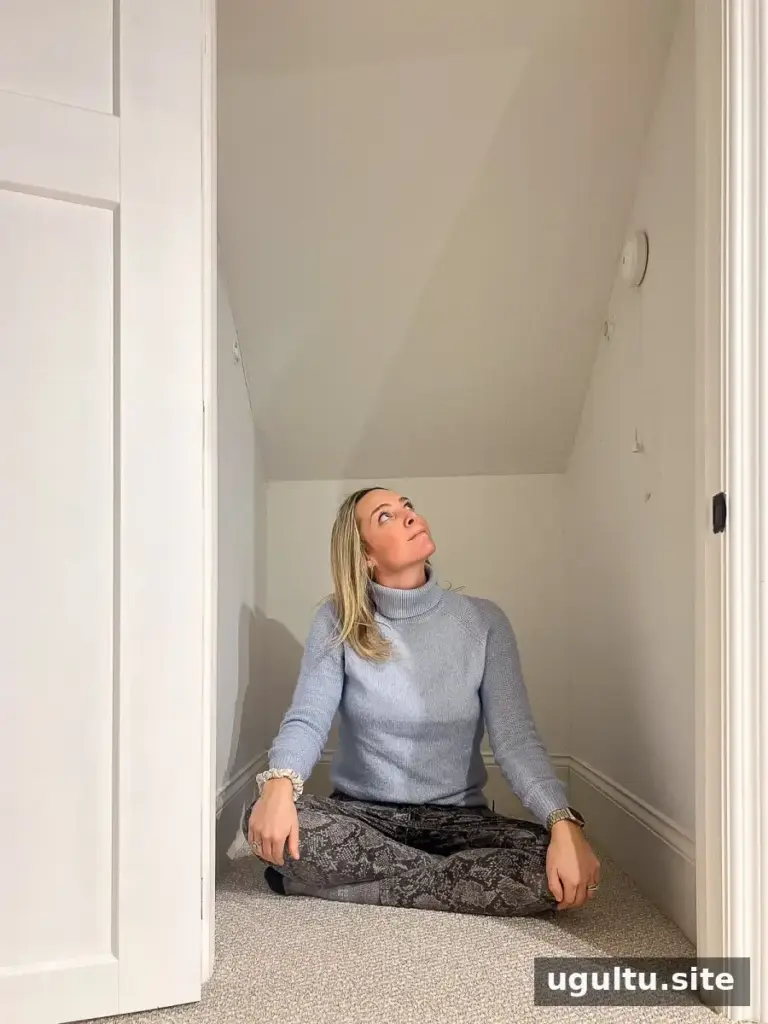
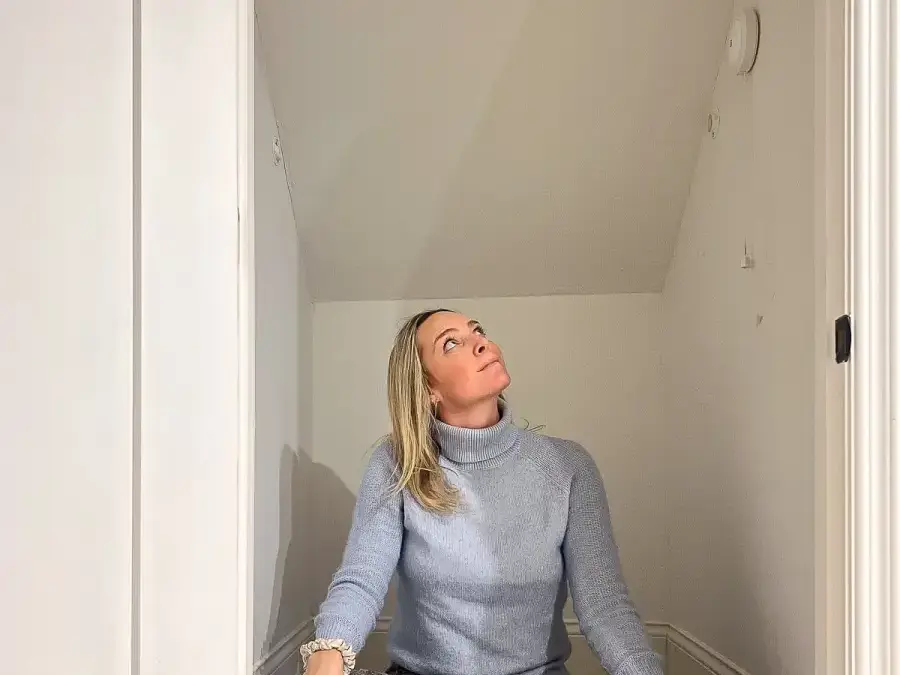
For a closet beneath the stairs being turned into a play area, the plan was to cover three walls and continue the design up a slanted ceiling. The project highlights the practical differences between wallpaper installation methods and the steps that help a mural sit smoothly.
Why Choose Paste the Wall Wallpaper?
Wallpaper installation methods vary in how the adhesive is applied and how much adjustment is possible during hanging. The options below are arranged from more challenging to easier based on the project experience described here; results can vary depending on the paper, wall condition, and installation instructions.
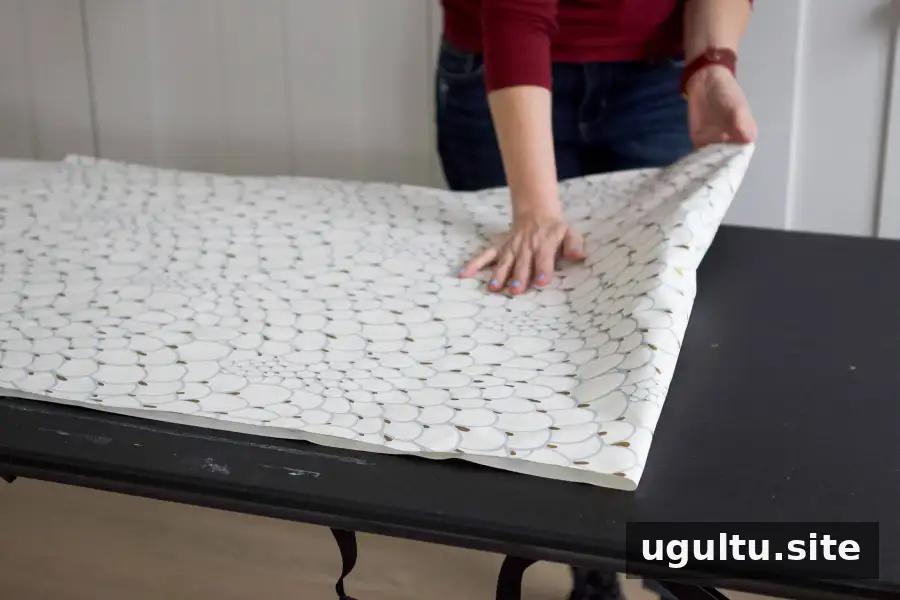
Booking is the process of folding pasted wallpaper paste-to-paste and letting it rest briefly so the paper can relax before it is hung.
- Peel-and-stick wallpaper: This paper has an adhesive backing covered by a removable liner. It can be repositioned, but the adhesive may grab the wall quickly, leaving less room to adjust a panel. Check the manufacturer’s instructions before choosing it for a rental or removable project.
- Pre-pasted wallpaper: Adhesive is already on the back and is activated with water. Follow the specified soaking time and use a clean work area, since excess water can drip or make handling messy.
- Paste-the-paper wallpaper: Adhesive is applied to the back of the wallpaper, which is then booked before hanging. Booking gives the paper time to relax and can be useful for certain papers or detailed installations.
- Paste the wall wallpaper: The back of the paper is unpasted. Adhesive is applied to the wall, and the dry paper is placed directly onto it. This can make handling more manageable and allows the installer to adjust the paper while the adhesive is workable.
Always check the instructions supplied with the wallpaper. Adhesive type, booking requirements, and drying times differ by product. Wallpaper is also best applied to a clean, dry, smooth surface. Textured walls may need additional preparation, such as skim coating, before paper can be installed successfully.
Earlier Wallpaper Projects and Planning Tips
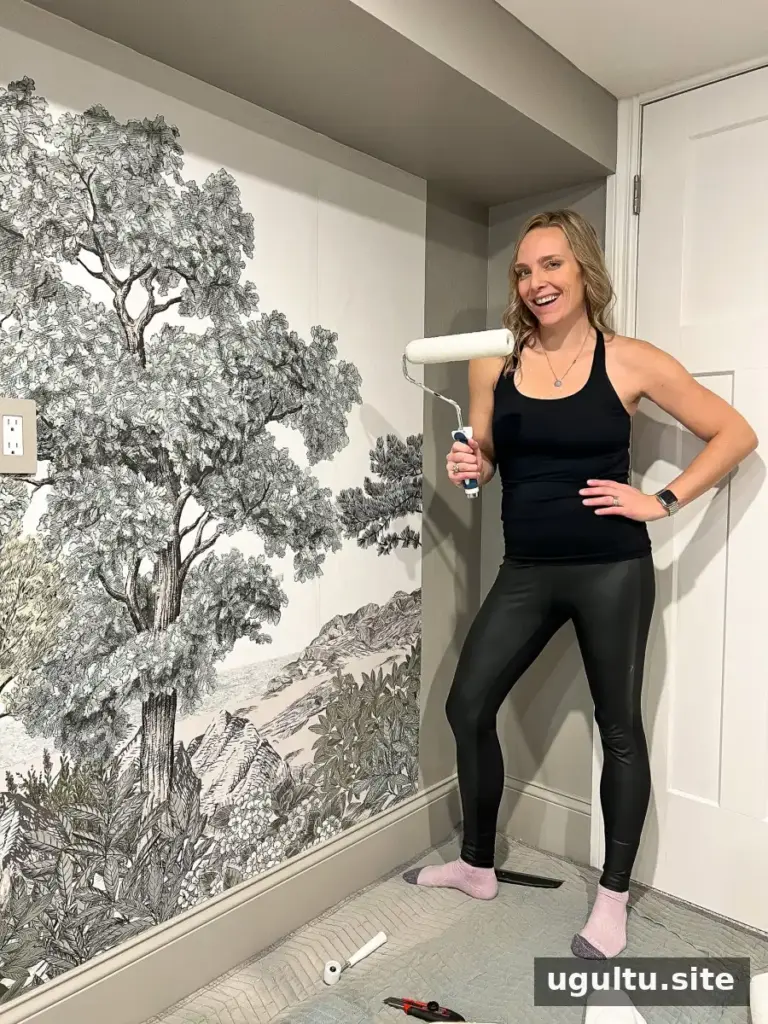
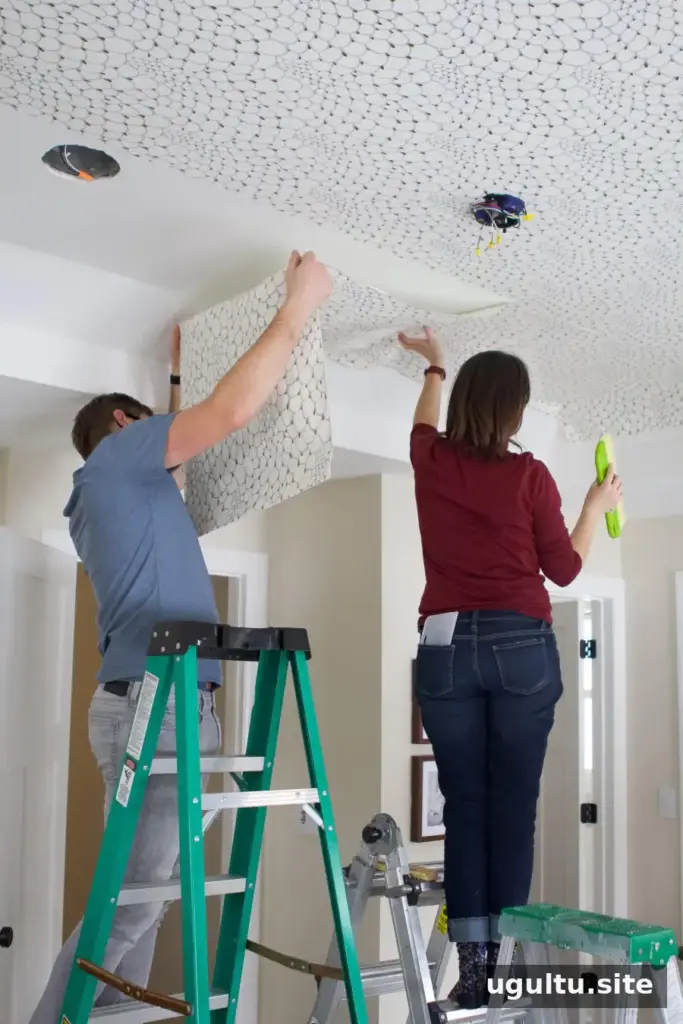
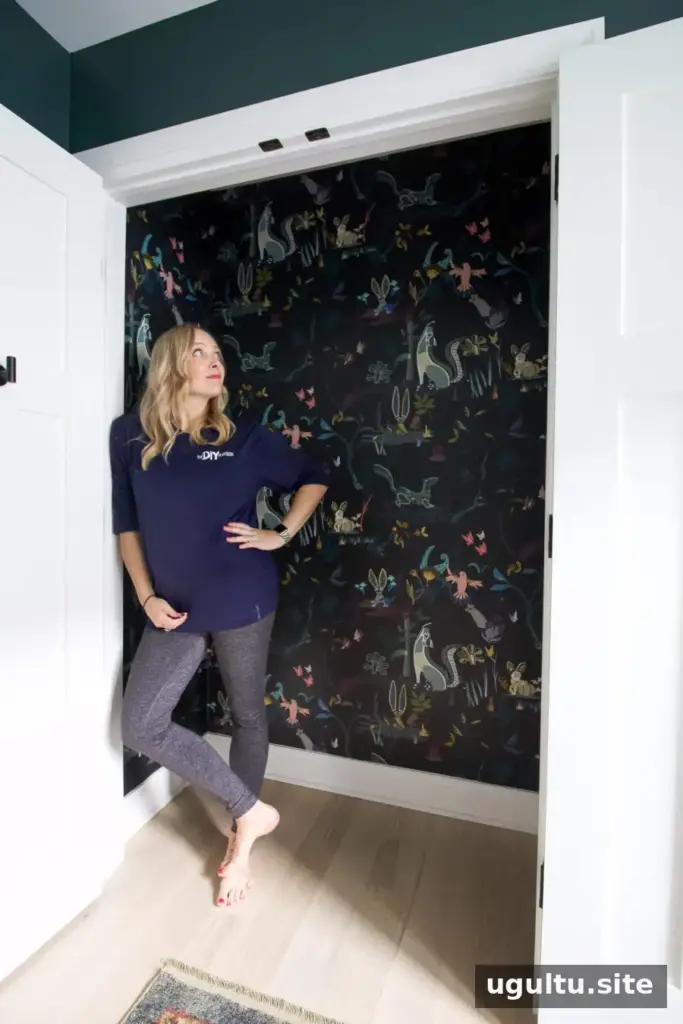
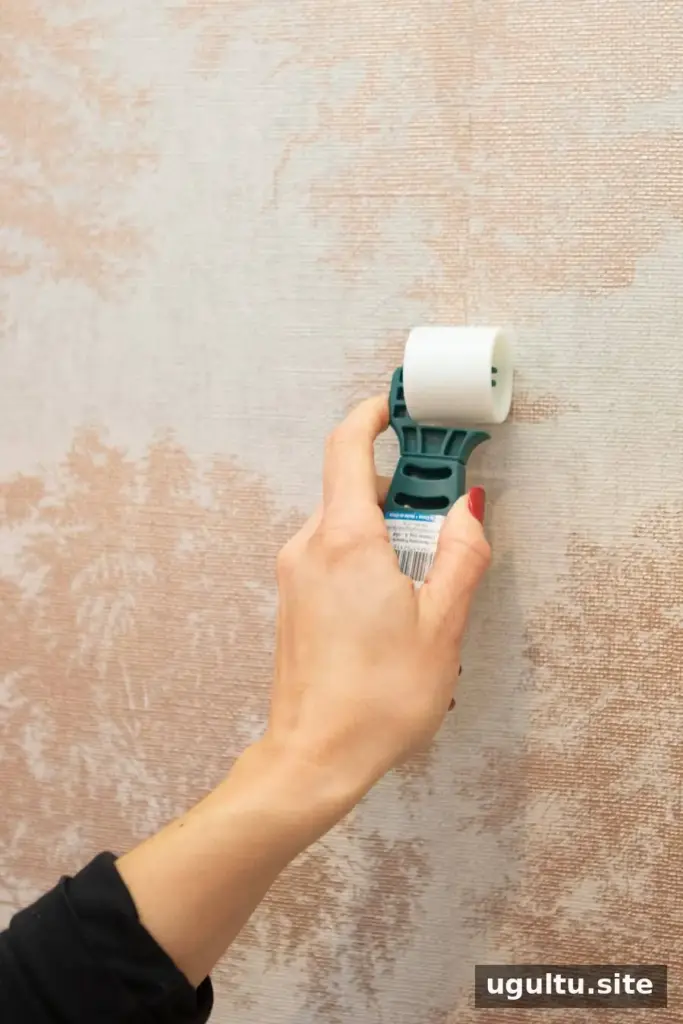
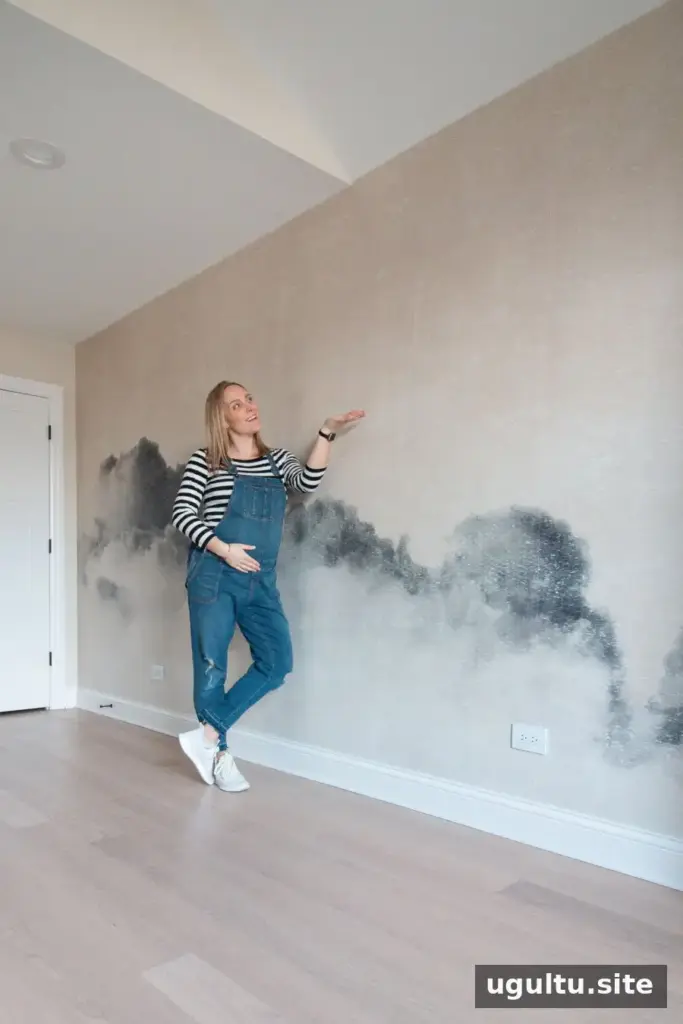
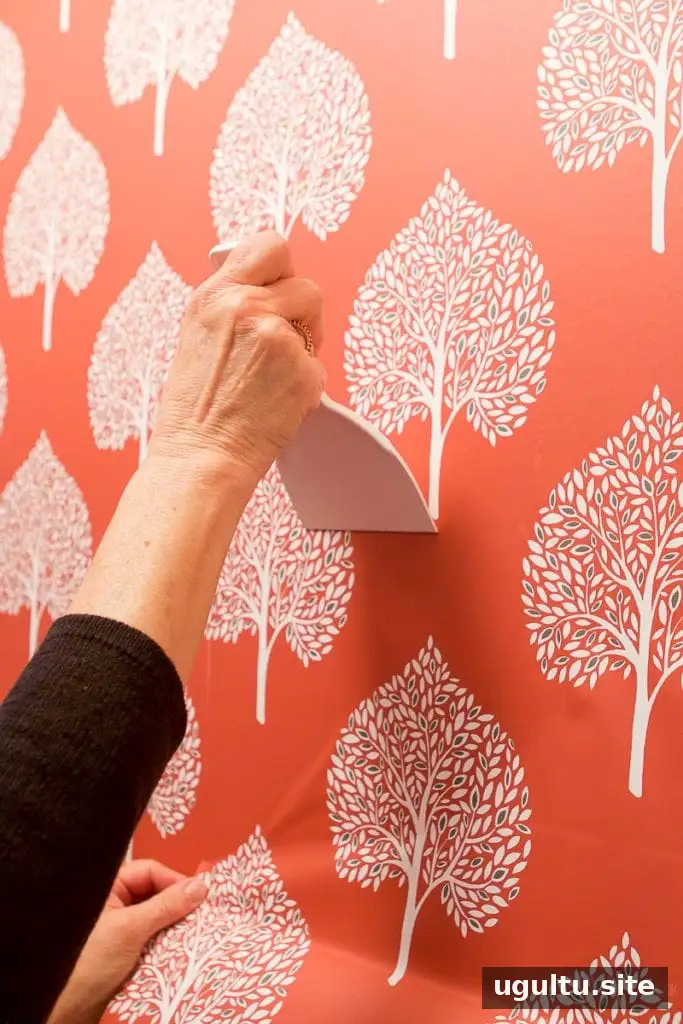
Previous projects can be useful references when planning a new installation. Topics to explore include peel-and-stick wallpaper, a nursery closet, a home-office mural, a bedroom ceiling, a basement mural, and wallpaper removal. For any project, measure carefully, read the paper’s instructions, and allow enough time to prepare the surface before hanging.
Wallpaper installation is a manageable DIY task when approached methodically. If a panel is out of position, many paste-the-wall papers can be lifted and shifted while the adhesive remains wet. Work slowly, avoid pulling hard on the paper, and check the product guidance to prevent stretching or damage.
Choosing a Space-Themed Wallpaper for a Closet
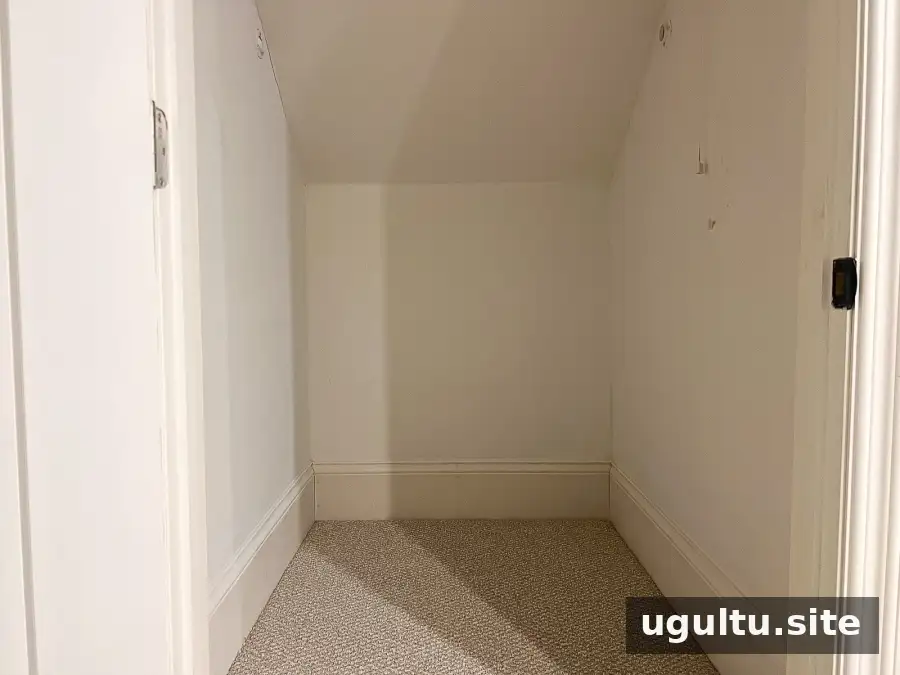
The closet in this example had three walls and a slanted ceiling. Covering only the lower walls would have required less material, but carrying the star pattern onto the ceiling helped create a more unified space-themed look.
A repeating wallpaper pattern can be harder to align where walls meet a sloped ceiling. A mural can be a helpful alternative because its overall image is designed to span a larger area. The planned layout ran across the left wall, up the back wall and ceiling, and onto the right wall.
When ordering a mural, provide measurements for the entire surface it will cover. The height needed for the central section running from the lower wall up the ceiling was 10 feet. That size increased the cost and left extra paper to trim, but it allowed the design to cover the full span. Many wallpaper suppliers provide calculators to estimate the number of rolls or the mural dimensions needed.
Tools and Materials
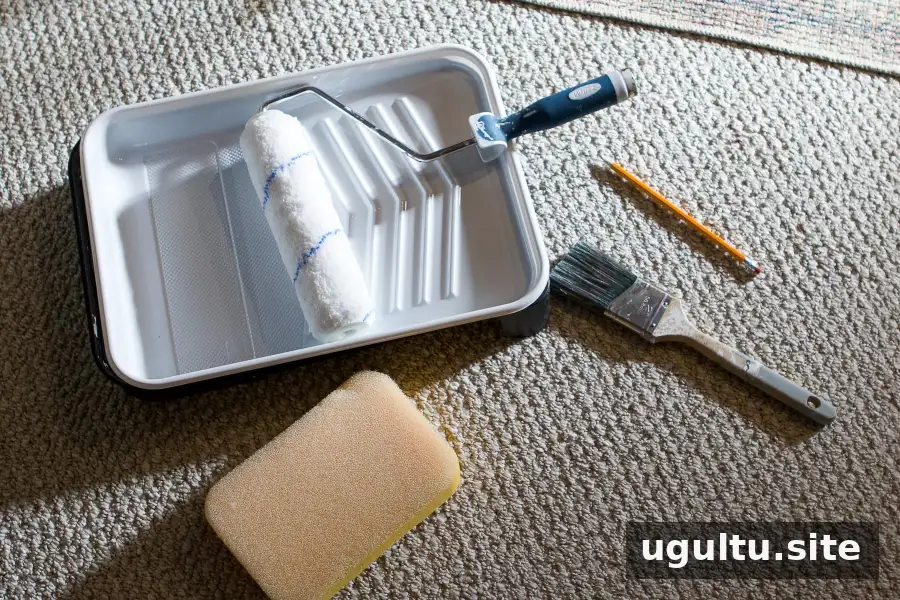
Gathering tools before starting helps reduce interruptions while the adhesive is wet. Use the wallpaper manufacturer’s recommended adhesive and equipment where specified.
- Wallpaper or mural
- Wallpaper adhesive, if not included
- Paint tray and roller
- Paintbrush
- Tape measure and pencil
- Spirit level
- Metal smoothing tool
- Wallpaper brush
- Snap-off utility knife
- Sponge and bucket
- Seam roller
- Wallpaper primer
- Scissors
- Drywall spackle kit
Prepare the Walls
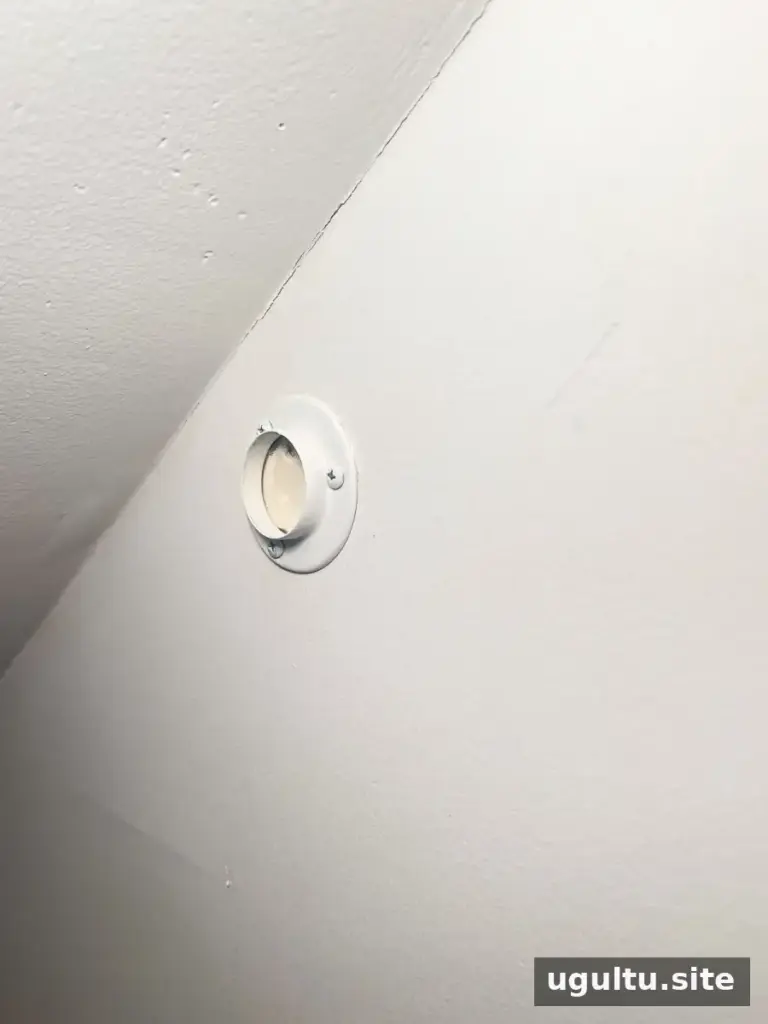
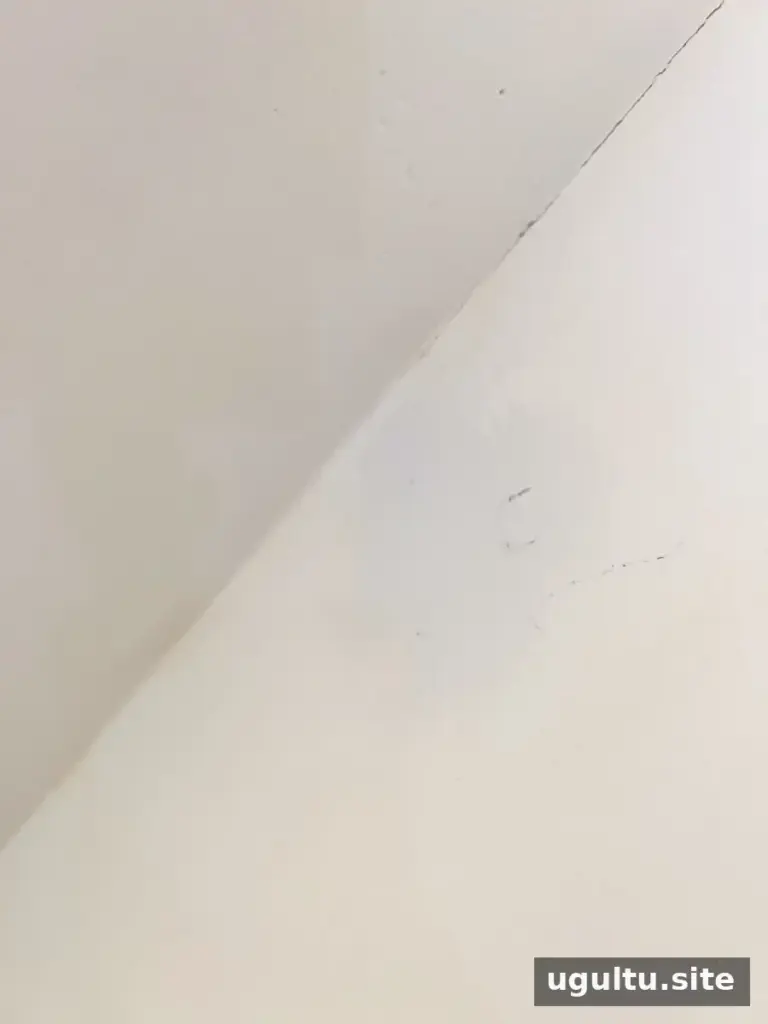
Walls should be smooth, clean, and dry before adhesive is applied. Remove hardware that could get in the way, fill holes with suitable wall filler, and sand the repaired areas once they are fully dry. Dust the surface afterward so loose particles do not interfere with adhesion.
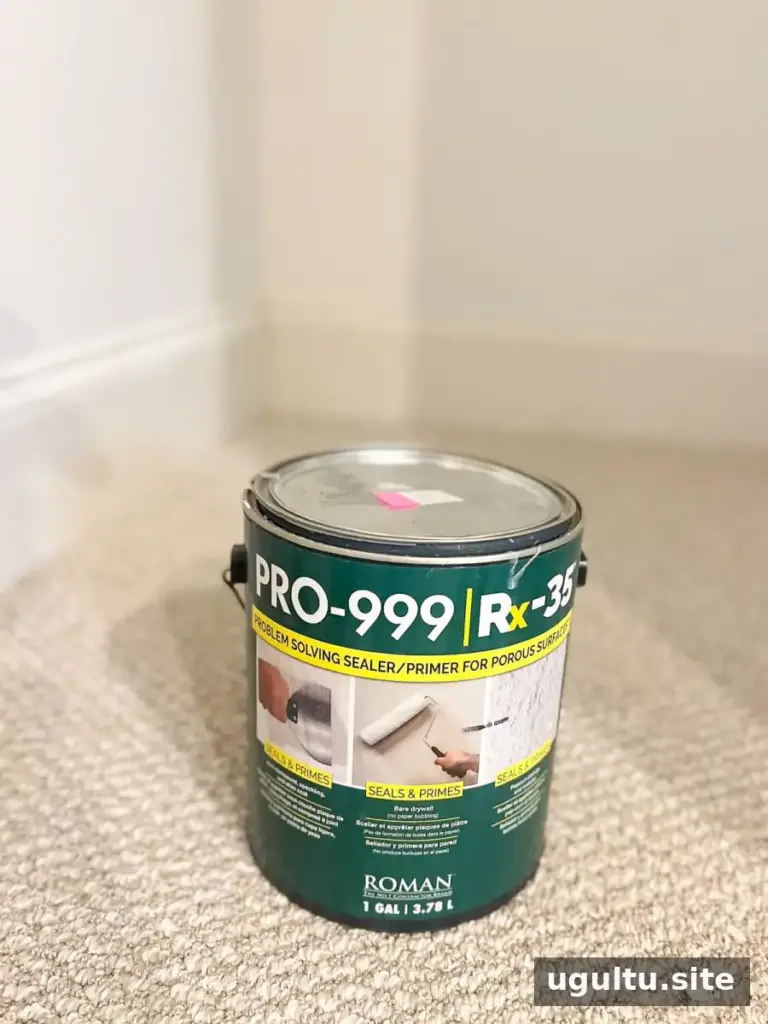
Wallpaper primer can help prepare the surface and make future removal easier, depending on the product. Apply it according to its instructions and allow it to dry completely. In this project, primer was left to dry for about a day before wallpapering.
For dark wallpaper, a dark wall color beneath the paper may help conceal small light gaps at seams or edges. This is an optional preparation step, not a substitute for careful panel alignment. Test any paint and primer combination on the wall and let it dry fully before installing the wallpaper.
Mix the Adhesive
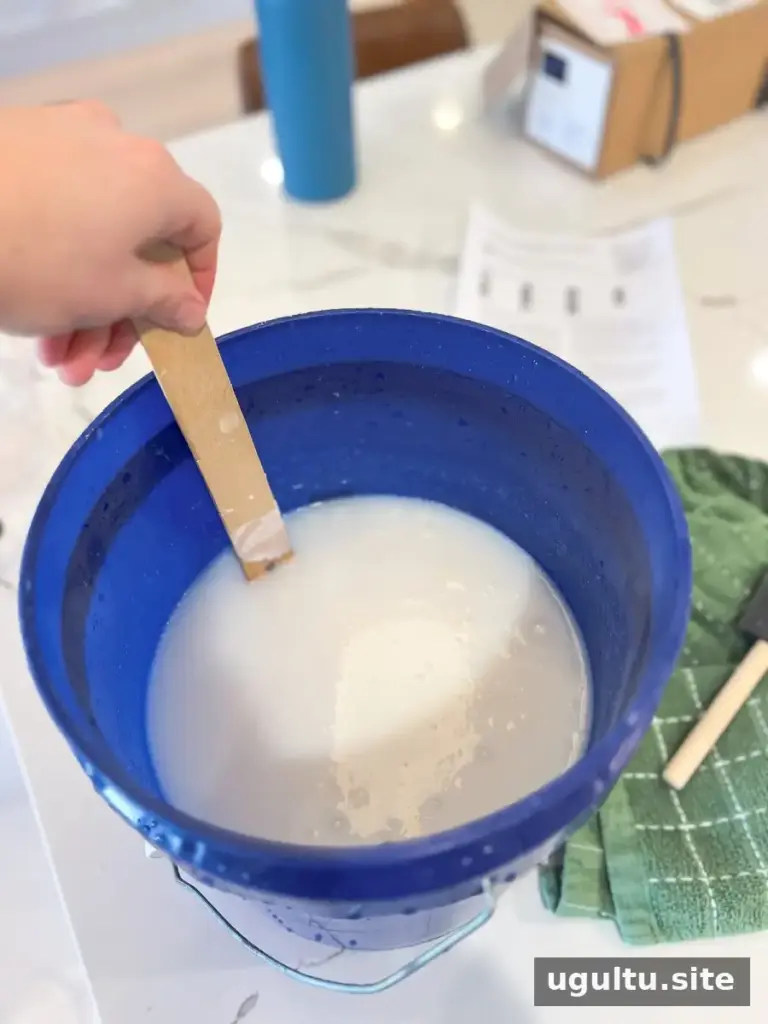
The mural used in this example came with powdered paste, which was mixed with cold water. The mixture looked thin at first and thickened after about five minutes. Follow the package directions for the correct water amount, mixing method, and waiting time; different adhesives may behave differently.
Measure the Paper and Draw a Plumb Line
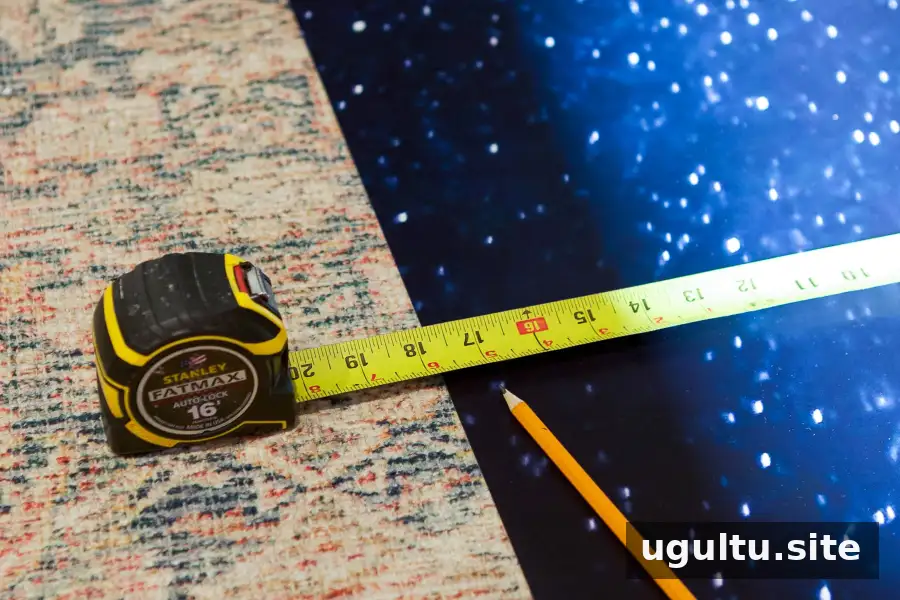
Before applying adhesive, measure the width of the first panel and mark its position from the starting corner. In an older home where walls may not be perfectly straight, allowing about 1/2 inch of extra coverage at the corner can help prevent a visible gap.
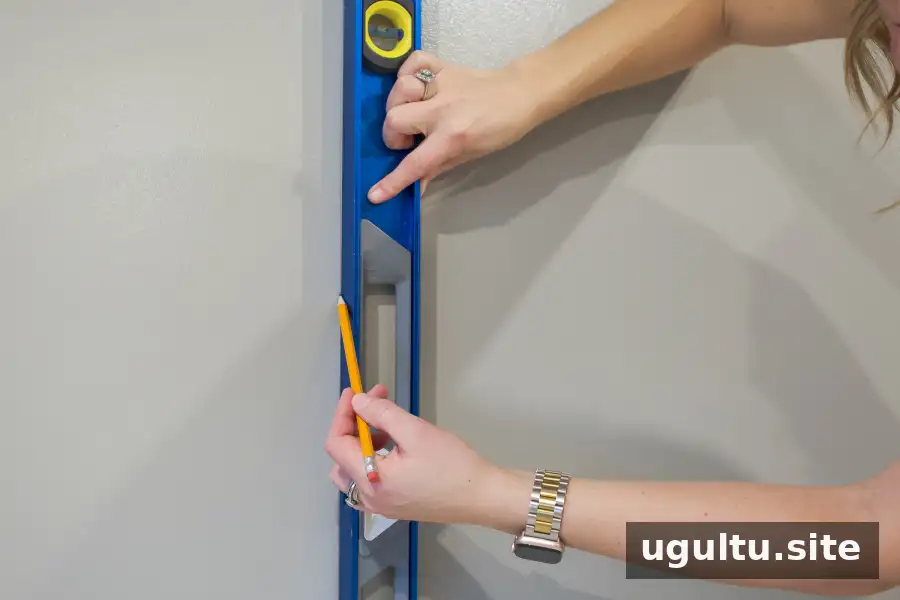
Use a level to draw a vertical plumb line for the first panel. Do not assume the corner itself is straight. The first strip sets the alignment for the panels that follow, so take time to make this line accurate.
Apply Paste to the Wall
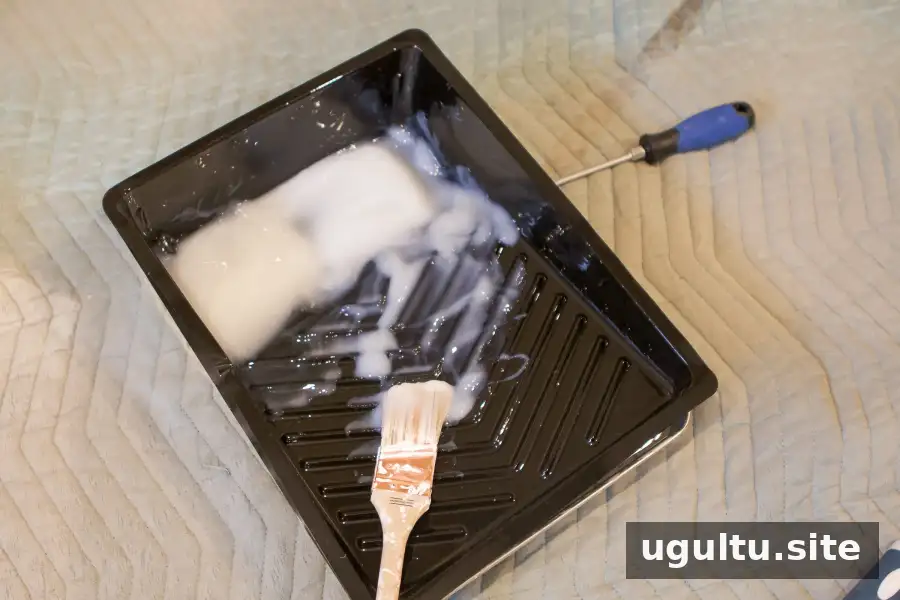
Use a roller to spread adhesive over the section where the next panel will go, and a brush to reach corners and edges. Apply an even coat, following the wallpaper instructions. Too little paste can make repositioning difficult or cause edges to lift, while excess adhesive should be cleaned promptly to protect the wallpaper’s surface.
Hang the First Panel
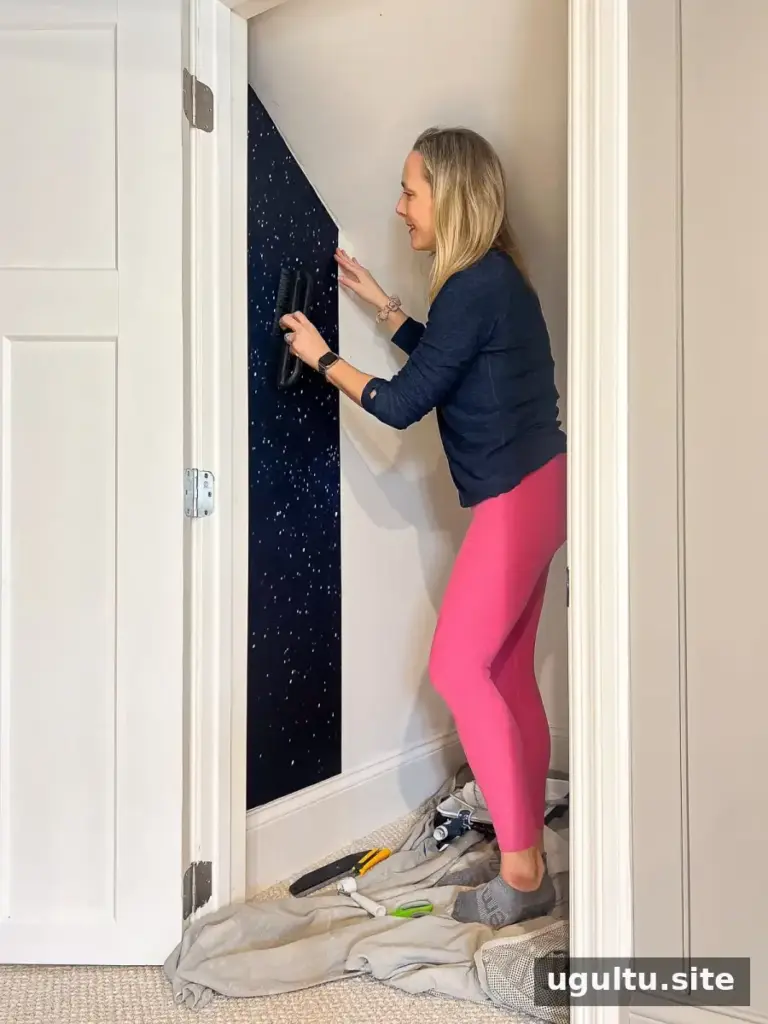
Align the first strip with the plumb line and work from top to bottom. Use a wallpaper brush or smoothing tool to press the paper into place and move air bubbles toward the edges. Check alignment as you go. If the strip shifts, lift it gently and reposition it while the adhesive is still workable.
Trim the Excess Paper
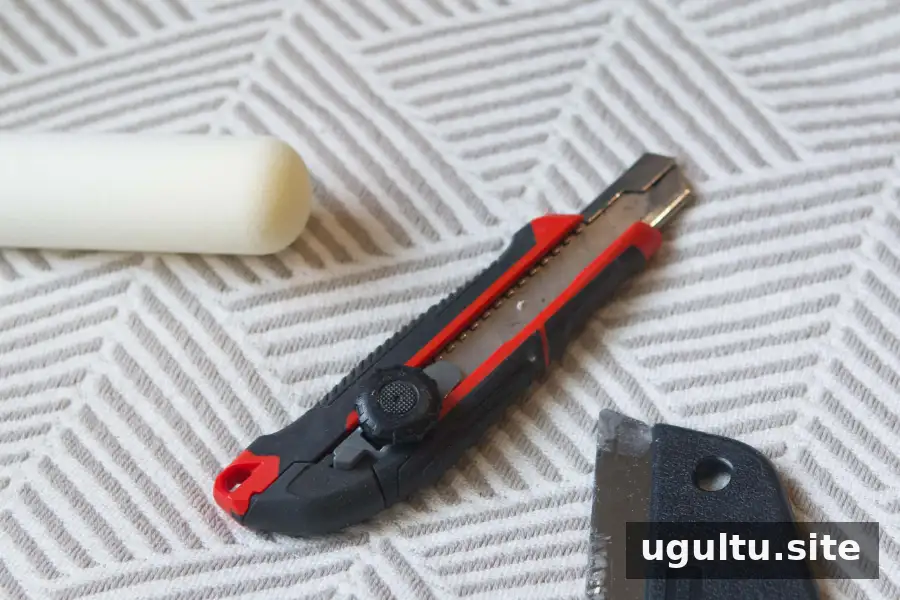
Use a metal straightedge and a sharp snap-off utility knife to trim excess paper at the ceiling, floor, and corners. A fresh blade makes cleaner cuts and reduces the risk of tearing; replace it regularly as it becomes dull. Keep the straightedge firmly in place and cut carefully, especially near finished surfaces.
If the wall has switches or outlets, turn off power at the circuit before working around them. Make small, careful cuts and avoid cutting beyond the area that will be covered by the fixture plate.
Match the Pattern on the Next Panel
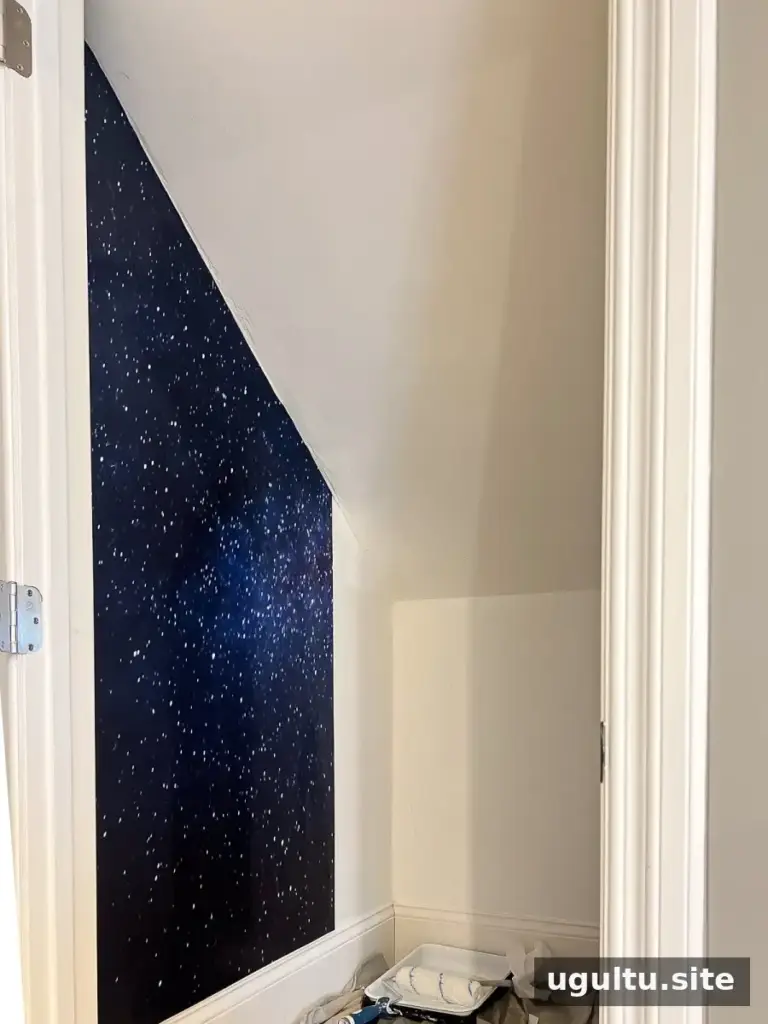
Matching a mural can be challenging when part of the design must be trimmed to fit a sloped ceiling. Position the next panel beside the first and align the image as closely as possible before smoothing it down.
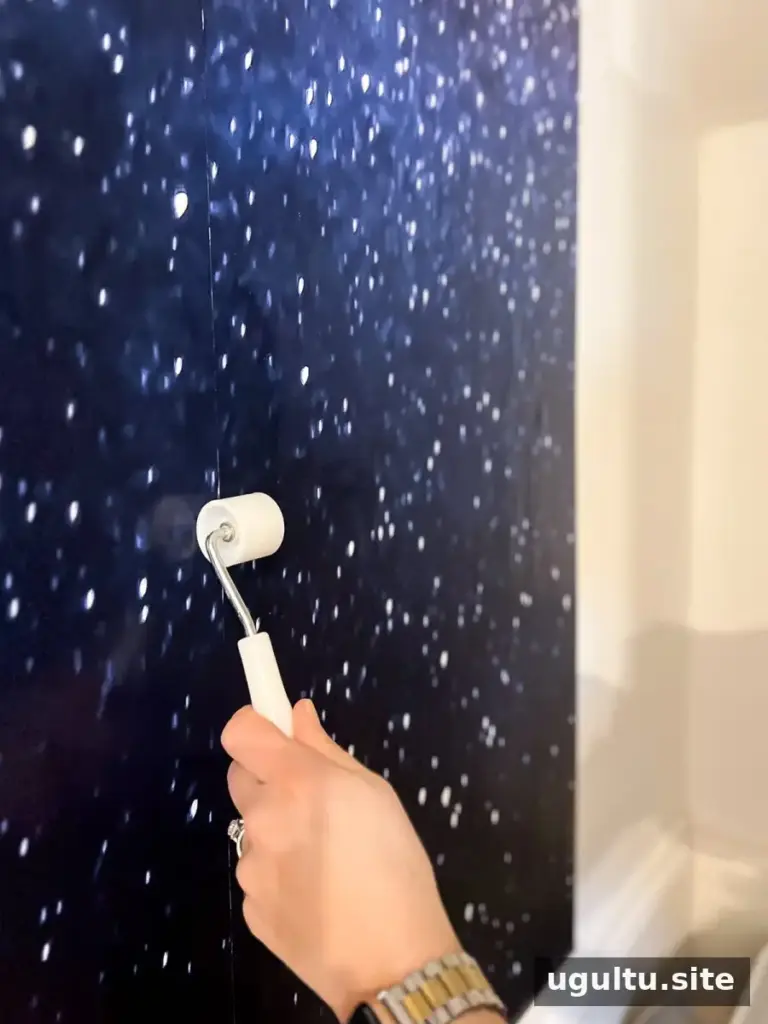
Place the panel edge directly beside the previous one without leaving a gap or overlapping the paper, unless the product instructions specify otherwise. A seam roller can help press the edges into place. If an edge needs more adhesive, carefully lift it and apply a small amount underneath.
Use a damp sponge to remove adhesive from the wallpaper as soon as it appears. Avoid scrubbing, which can damage some printed surfaces, and follow the manufacturer’s cleaning advice.
Help Conceal Light Edges on Dark Wallpaper
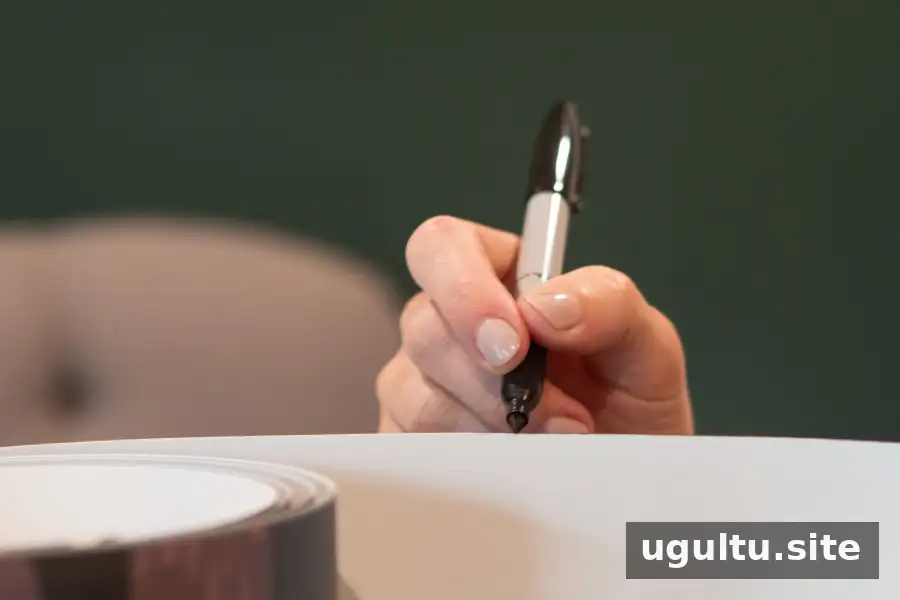
With dark wallpaper, a pale edge may be noticeable where two panels meet. One possible fix is to carefully color the exposed paper edge with a dark, water-resistant marker before installation. Test it on a spare piece first, keep ink away from the printed surface, and do not use this method unless it is compatible with the wallpaper material.
Working Around the Back Wall and Slanted Ceiling
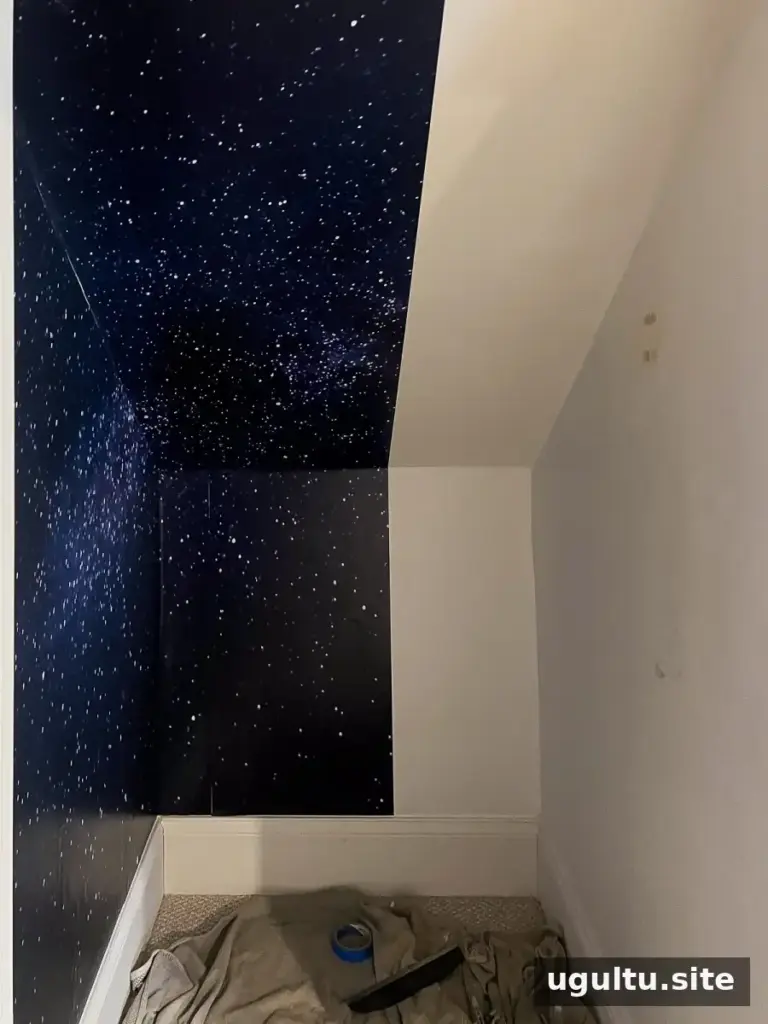
The third panel in this layout had to finish the left wall, wrap around a corner, and continue across the back wall and ceiling. Temporary painter’s tape helped support the section on the ceiling while the lower part was positioned. Use tape only if it will not mark or damage the wallpaper or painted surface.
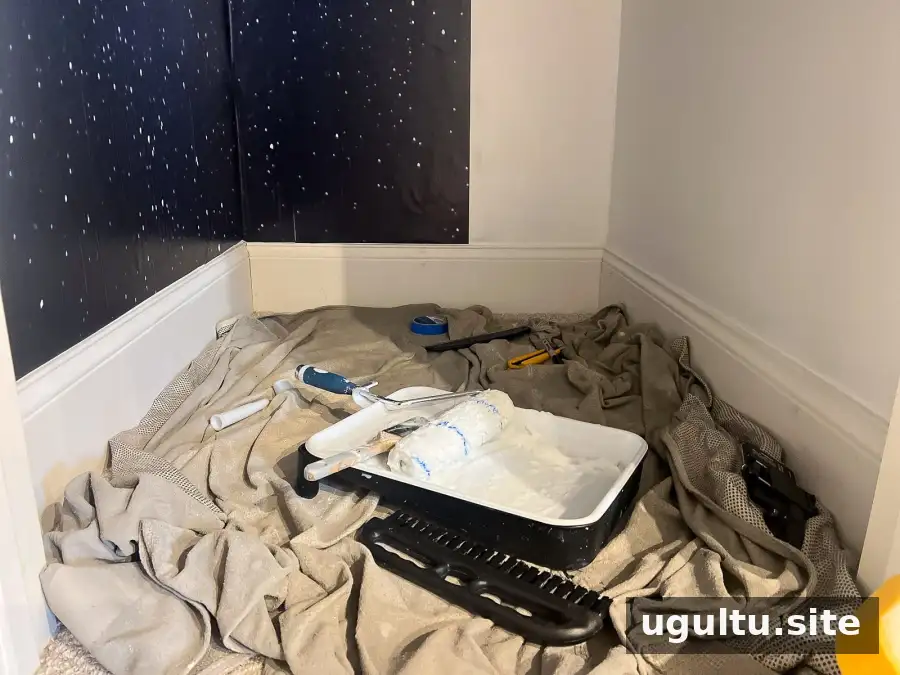
This is where paste the wall wallpaper can be especially helpful: the paper can be lifted and adjusted while the adhesive is workable. Stay patient, add adhesive where needed, and avoid forcing a panel into place. Check the image alignment and smooth the paper gradually as you move across the surface.
The Finished Space-Themed Closet
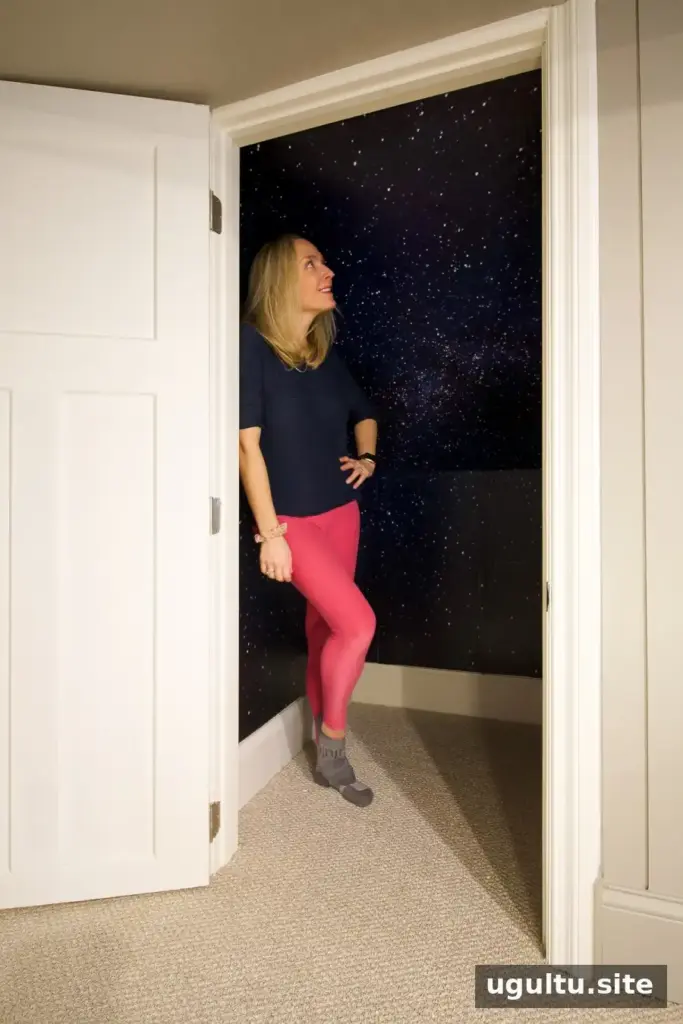
The wallpaper took about half a day to install. The finished closet used a deep blue and purple galaxy design, transforming a small white space into a more immersive playroom feature.
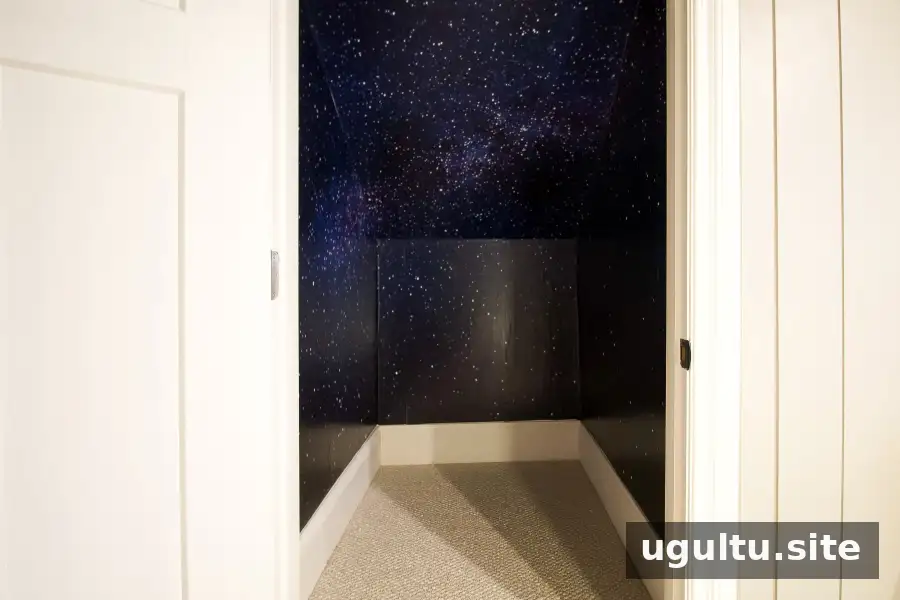
Dark colors can make a small area feel cozy, but they may also make it harder to see while working. Ensure the space is well lit during installation, and plan suitable lighting for everyday use.
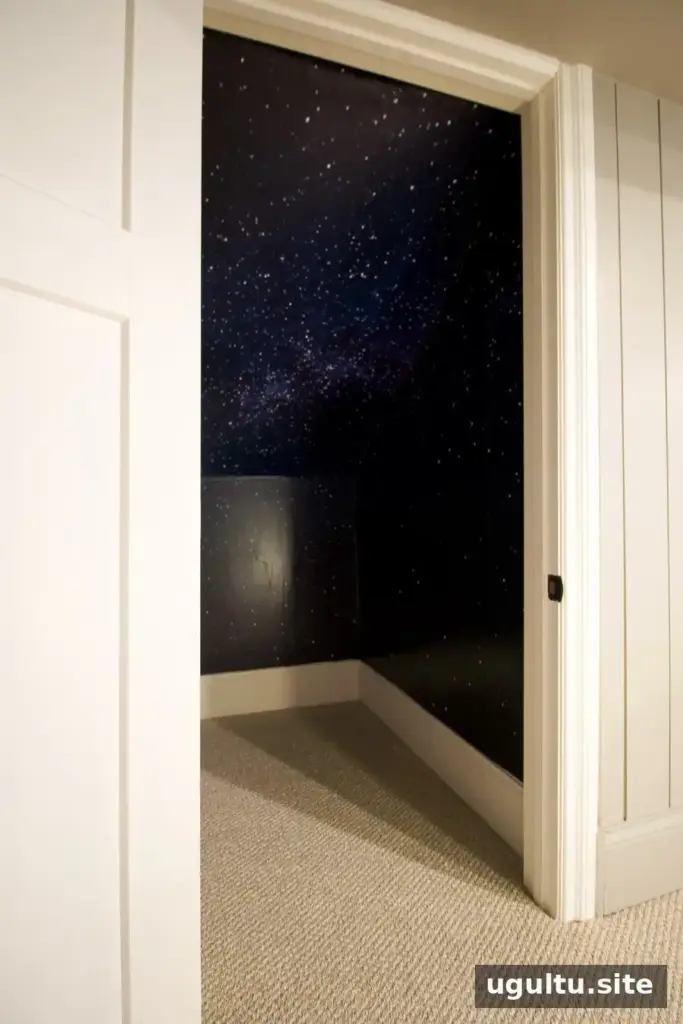
Before adding lighting or other fixtures, allow the wallpaper and adhesive to dry according to the product instructions. This helps protect the finished surface while the rest of the room comes together.
Next Steps for the Room
Painting the baseboards and interior trim a dark blue that coordinates with the mural can help the edges feel more integrated. Test color samples beside the wallpaper and let them dry before choosing a final shade.
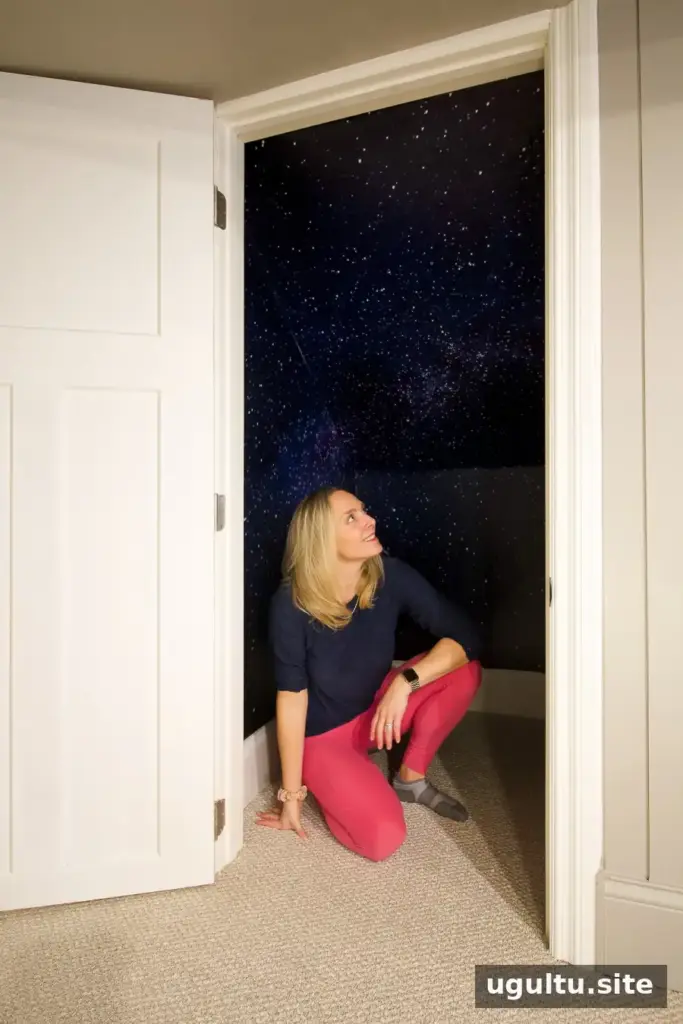
Lighting can add atmosphere and make a closet play area more practical. Choose fixtures and LED strips appropriate for the location, follow electrical safety instructions, and avoid placing lighting where heat or wiring could damage the wallpaper.
Conclusion: Is Paste the Wall Wallpaper Right for You?
Paste the wall wallpaper is a practical option for DIY installations because the adhesive goes directly onto the wall and the paper can often be adjusted before the glue sets. A smooth, properly prepared surface, an accurate plumb line, careful seam matching, and prompt cleanup all contribute to a better finish. Check the wallpaper instructions before starting, especially when working around corners, slanted ceilings, outlets, or textured walls.