admin

Adding sconces without electrical wiring can give a bedroom the look of wall-mounted lighting without opening the drywall for new cables. In this bedroom refresh, the planned locations did not have suitable wiring for both fixtures, so battery-powered LED puck lights offered an alternative for ambient light. This approach can work for renters and homeowners, but it is important to check the fixture, mounting method, and light components before starting.

The room was being updated with new nightstands and other bedroom furnishings. The lower-profile nightstands suited the bed better than the previous ones, and their placement helped determine where the sconces would go.
Why the Original Electrical Plan Changed
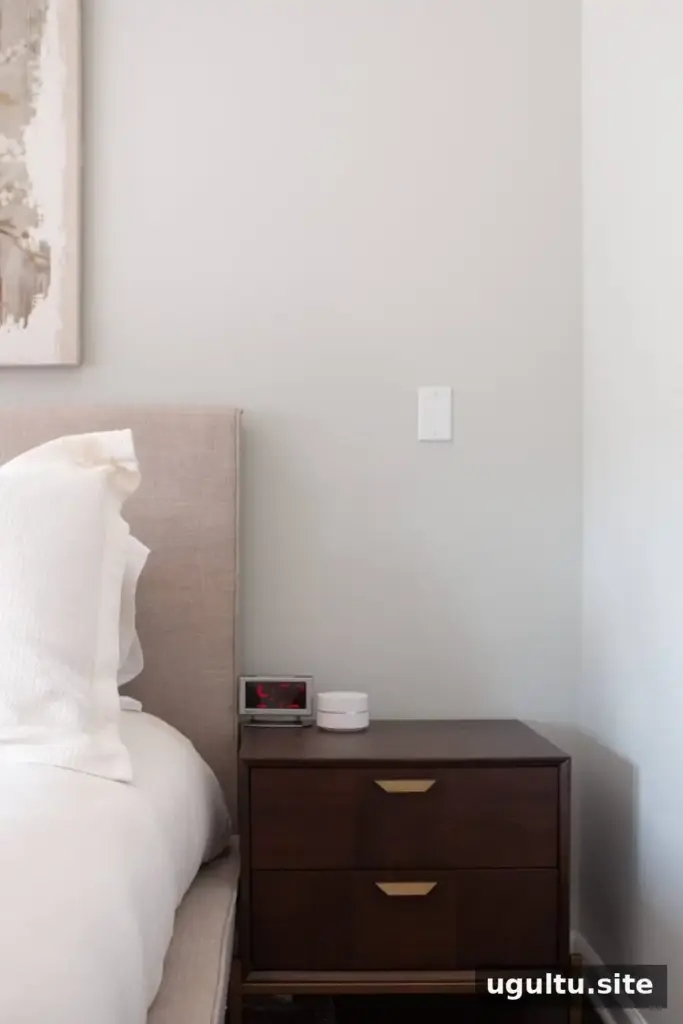
A loose outlet cover on one wall initially looked like it might provide access to electrical wiring. On inspection, it contained only low-voltage speaker wiring, so it could not be used to power a light. An electrician also found that installing a second wired sconce and a switch would require cutting paths through the drywall and later repairing and painting the wall.
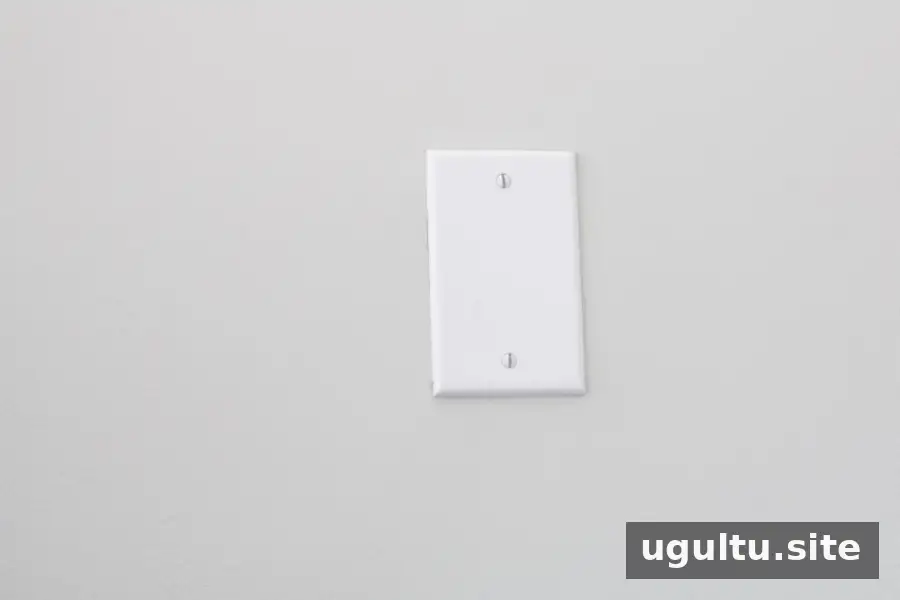
There was an electrical outlet behind one nightstand, but that did not solve the wiring needs for both fixtures. If a project requires new wiring, a switch, or changes to an electrical box, consult a qualified electrician rather than attempting electrical work without the right expertise.
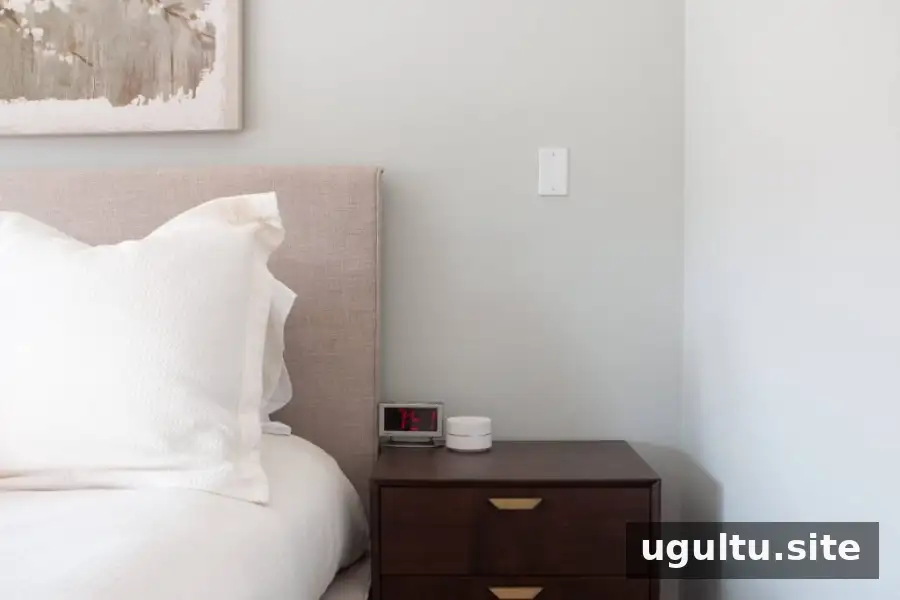
A Sconce Hack Without Electrical Wiring
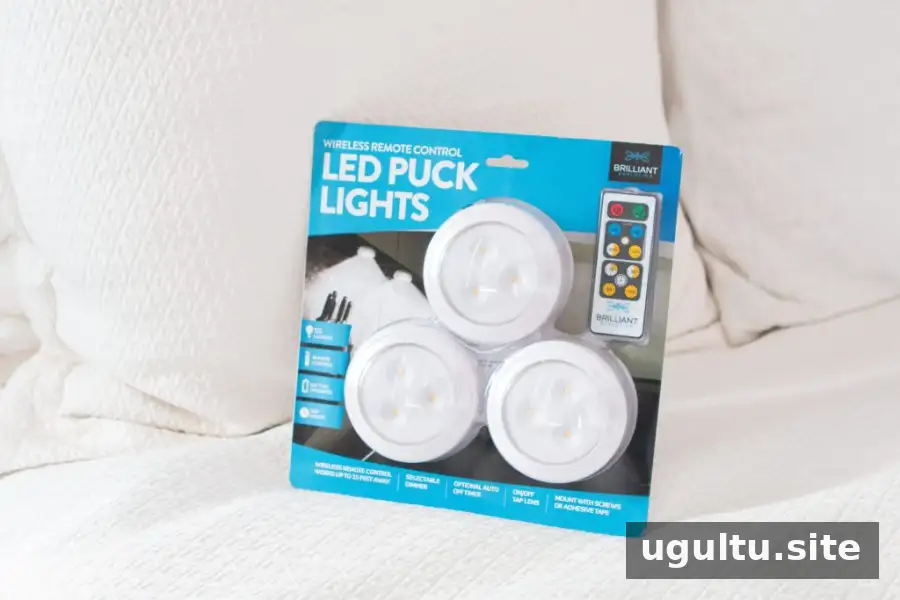
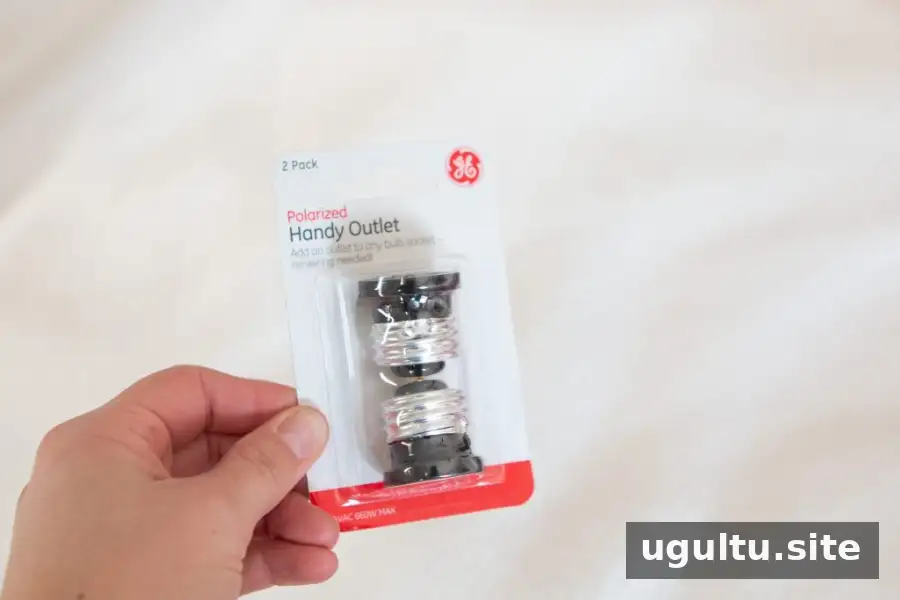
Instead of hardwiring the sconces, the project used battery-operated LED puck lights to create a soft glow inside the fixtures. The sconces were mounted to the wall, while the puck lights were attached to light-bulb adapters and controlled with a remote. This provides decorative and ambient lighting, but it is not a substitute for properly wired lighting or a strong general light source.
Supplies for Sconces Without Electrical
- Wall sconces
- Tape measure
- Stud finder
- Drywall anchors, if needed
- Drill and screwdriver
- Battery-operated LED puck lights
- Light-bulb adapters compatible with the fixture
Check the sconce’s mounting instructions and the puck-light and adapter specifications before buying supplies. Make sure the chosen components fit together as intended, and use mounting hardware suitable for the wall and fixture weight.
How to Add Sconces Without Electrical
Start by choosing the height and position for each fixture. A useful placement check is to sit on the bed as you normally would to read. Position the light so the bulb or puck is not directly in your line of sight, which can help reduce glare.
In this bedroom, the fixtures were positioned to help cover an existing wall cover. The final placement was 14 inches from the sides of the bed and 20 inches above the nightstand. Treat these measurements as specific to this room: adjust for your bed, nightstand, fixture size, and preferred reading position.
Secure the Sconce Backplate
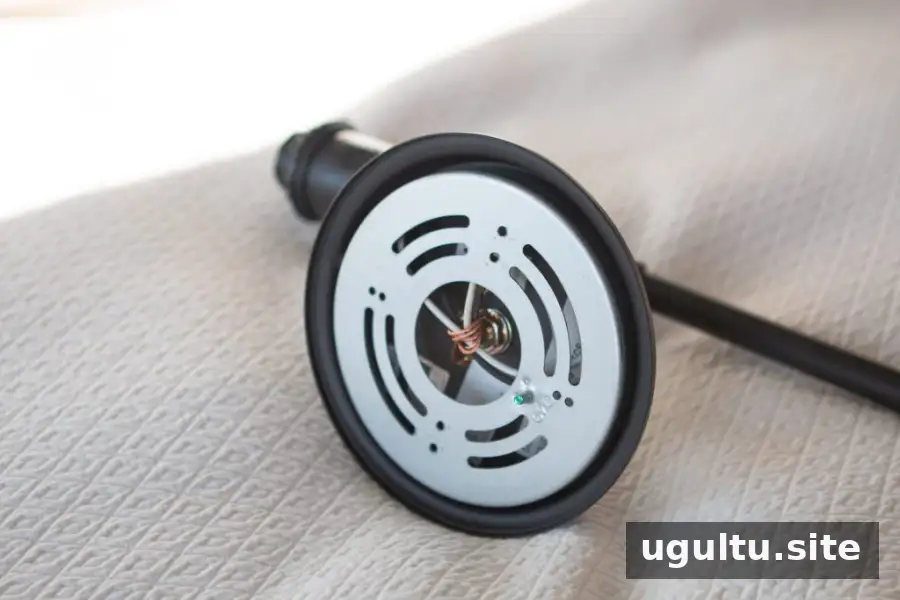
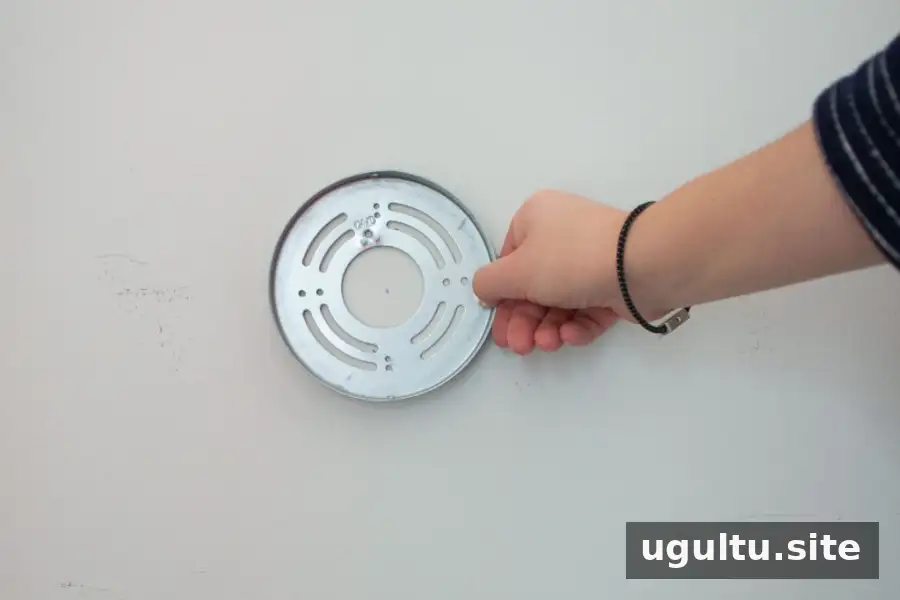
The sconces used in this project were designed for hardwiring and had metal backplates intended to attach to an electrical box. For wall mounting, the backplate was removed from the fixture and used as the mounting plate.
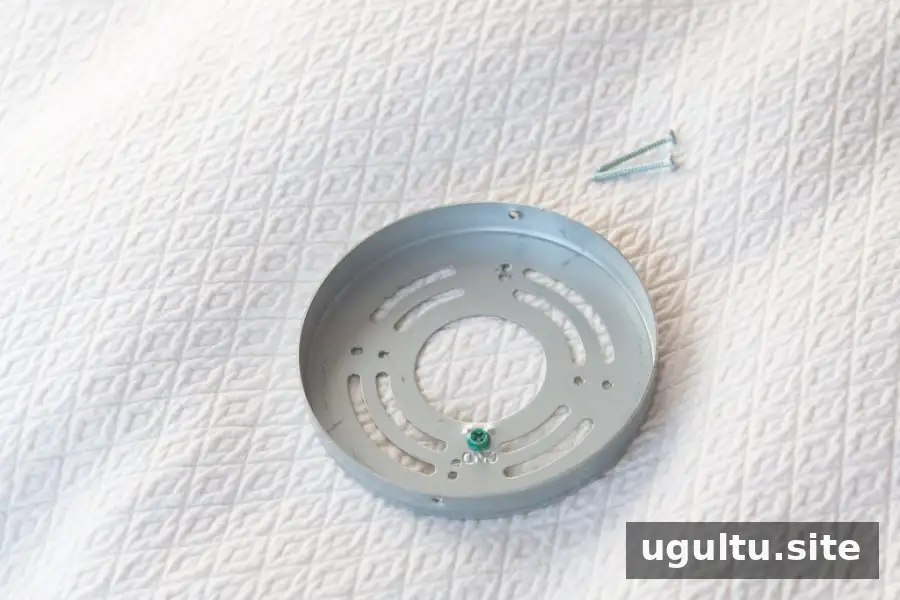
Locate wall studs before drilling. One backplate aligned with a stud; drywall anchors were used at the other location. Follow the anchor manufacturer’s directions and make sure the fasteners are appropriate for the wall and the fixture. Do not rely on a single screw or an unsuitable anchor to support a wall fixture.
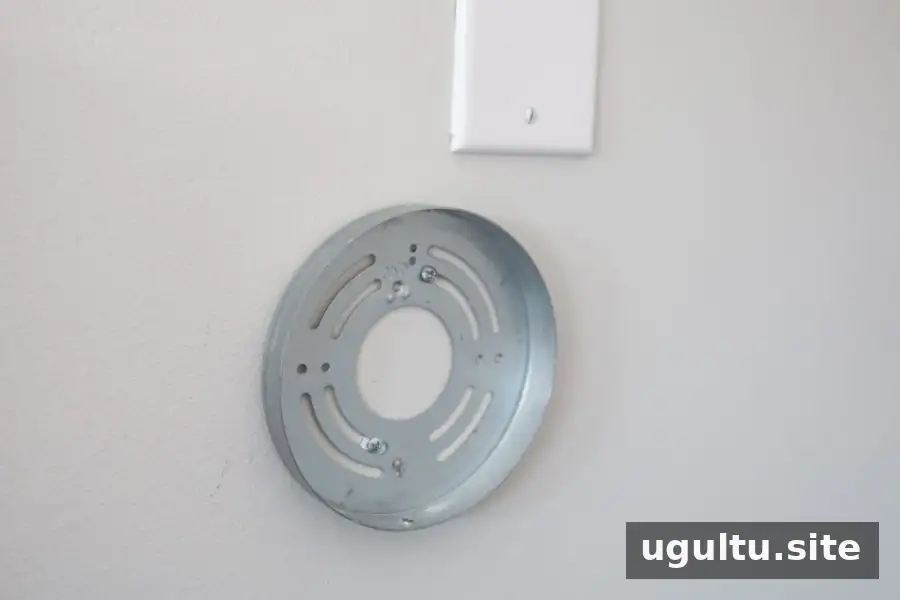
Two screws secured each backplate in this installation. Once mounted, check that the plate does not shift before attaching the sconce.
Attach the Sconce
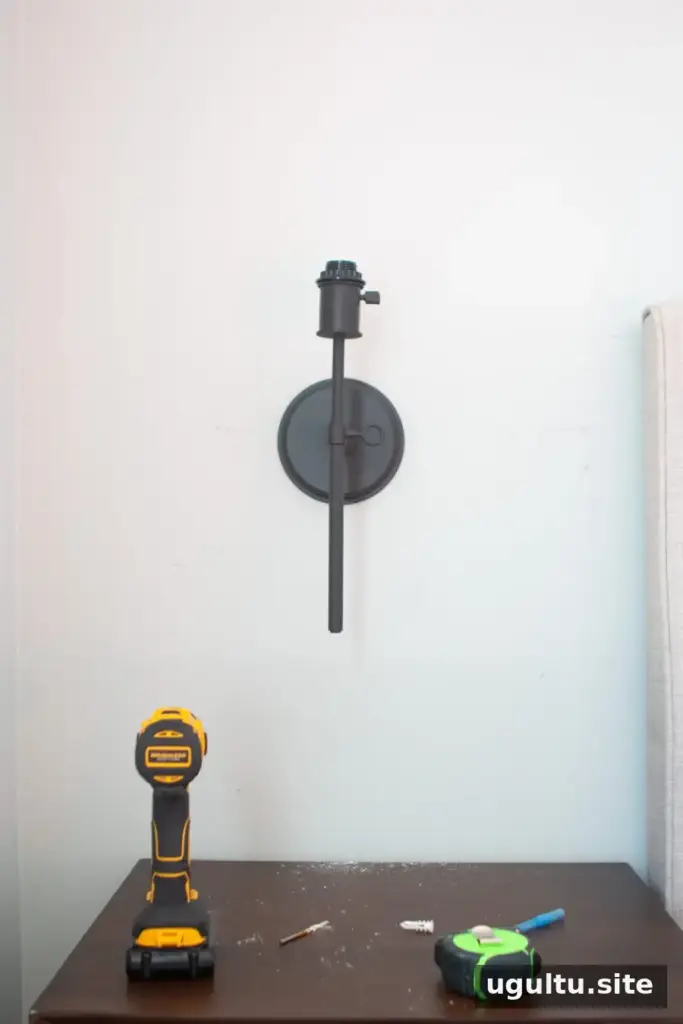
With the backplate firmly secured, the sconce was fastened to it according to the fixture’s instructions. Repeat the process for the second fixture and confirm that both are stable before adding the lights.
Because these sconces were designed for hardwiring, do not connect or leave wiring exposed as part of a battery-light setup. If the fixture has wires or you are unsure how to make it safe for this use, ask a qualified electrician for guidance.
Prepare the Battery-Powered Lights
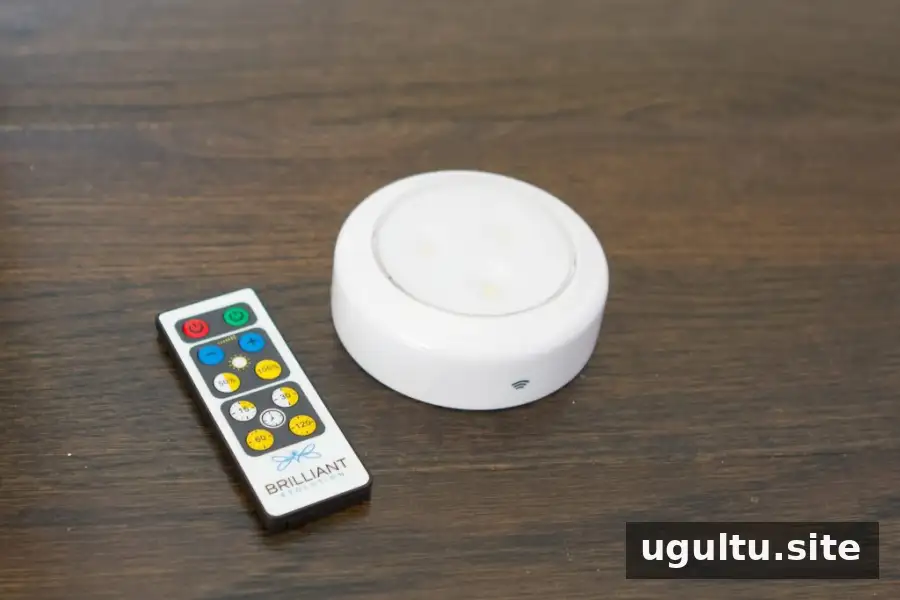
The LED puck lights used for the project were rated at 55 lumens and came with a remote control. The remote could turn the lights on and off, adjust brightness, and set a timer. Lumens indicate the amount of light produced, so consider whether that output suits the intended use.
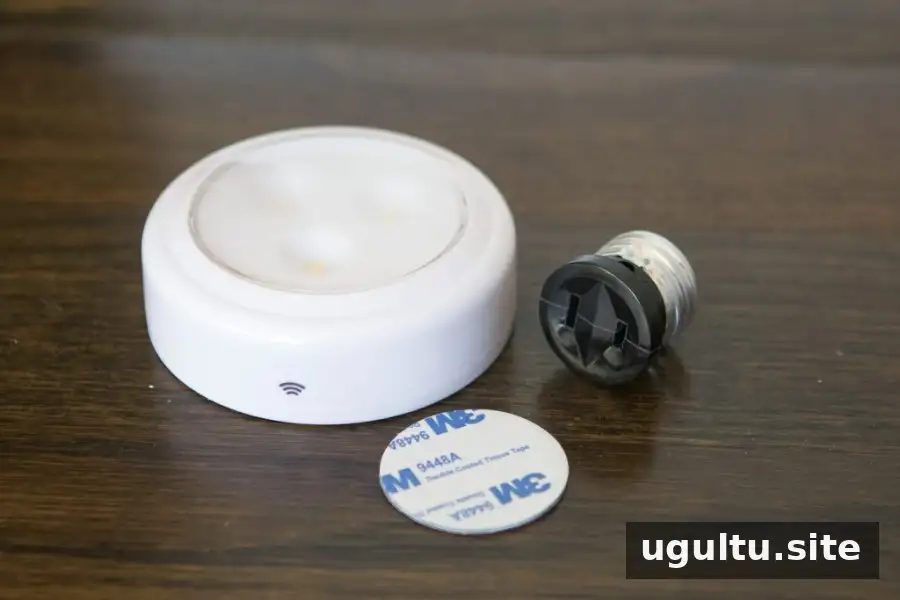
The puck lights included round adhesive strips. One strip was attached to the back of each puck, and the puck was then placed on top of its light-bulb adapter. Use the adhesive supplied with the light and follow its directions; check periodically that the puck remains firmly attached.
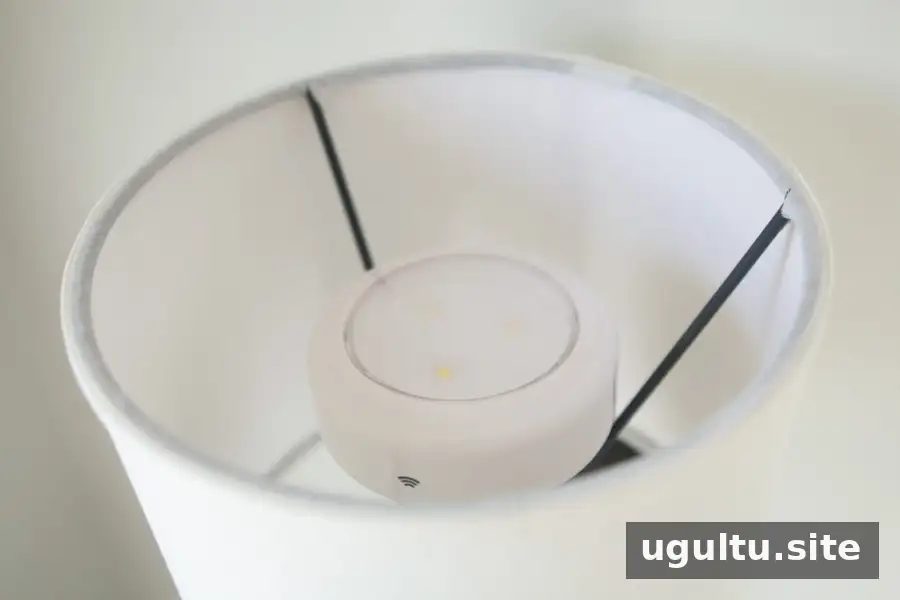
The adapter-and-puck assembly was then fitted into the sconce’s bulb socket. Check that the adapter is suitable for the fixture and does not strain or damage the socket. Keep the puck light accessible so its batteries can be replaced when needed.
How the Finished Sconces Perform
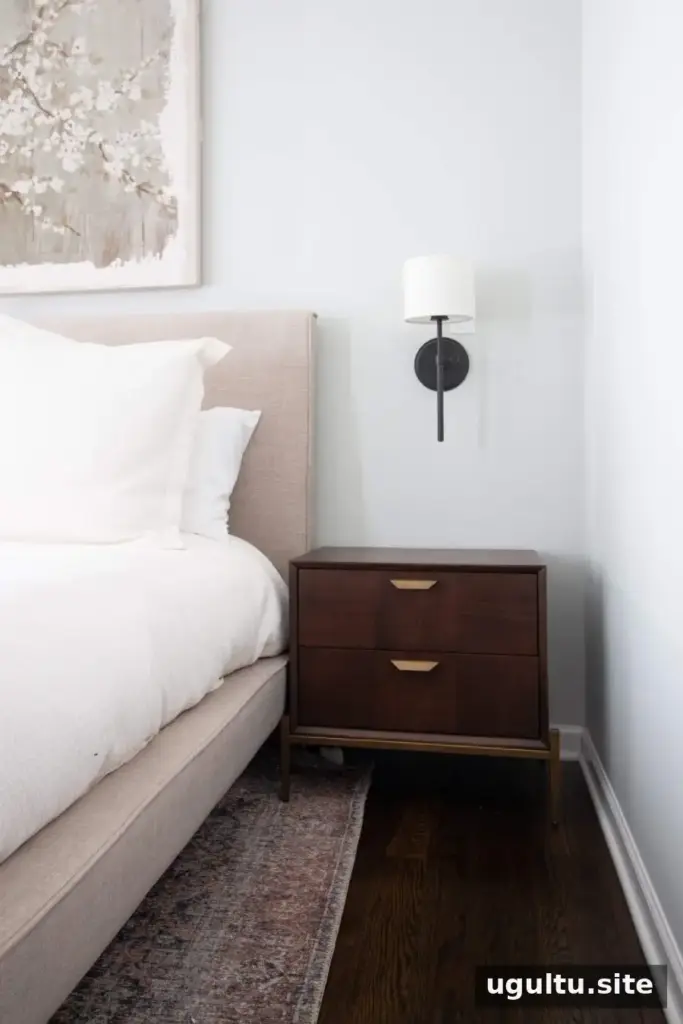
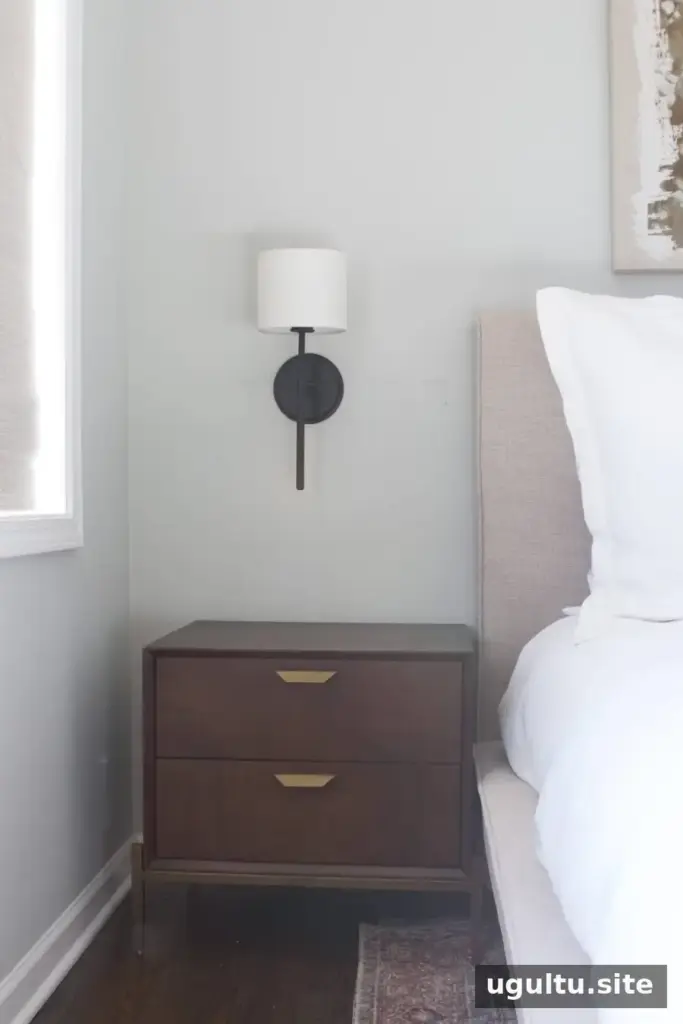
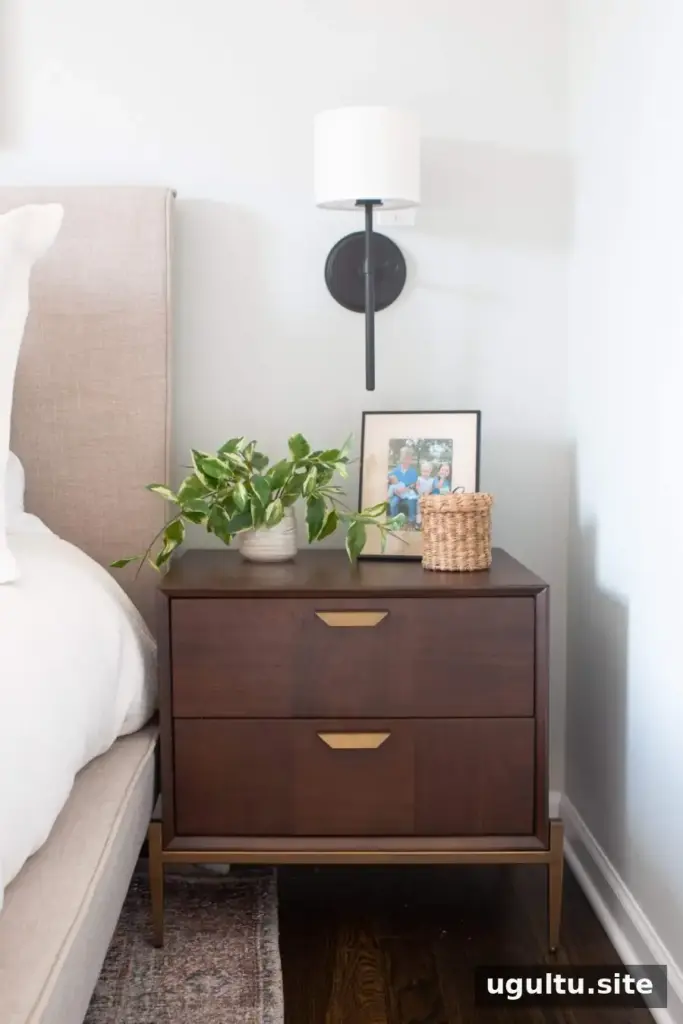
The finished sconces provided the desired wall-lighting look and helped conceal the existing wall cover. The wall cover was also planned to be painted to match the wall, which would make it less noticeable.
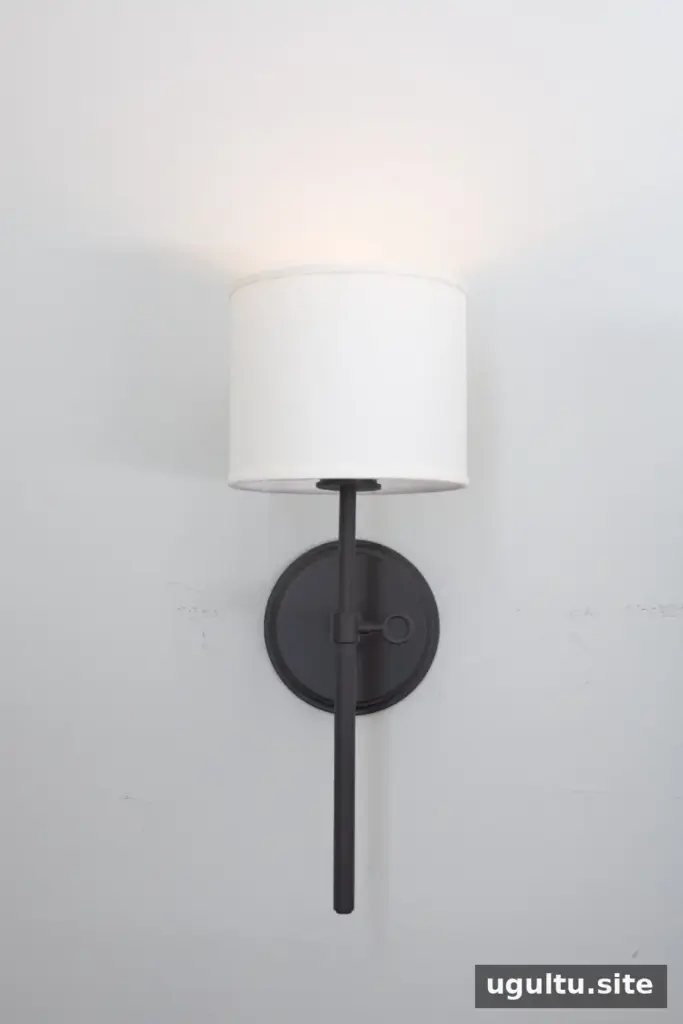
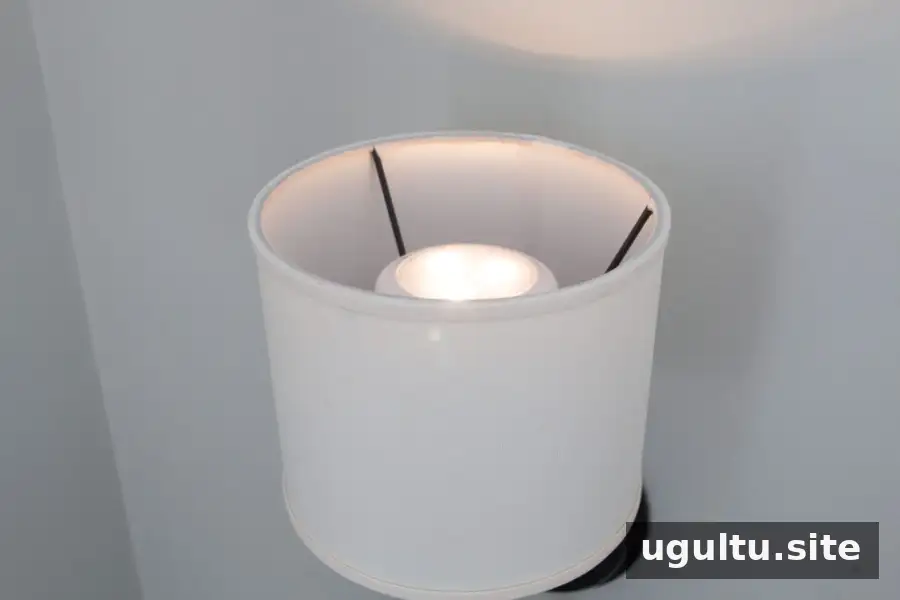
The 55-lumen puck lights worked for ambient lighting in the evening, but they were not intended to be the room’s only light source. For reading, relaxing, or general bedroom use, consider how much light you need and keep another suitable light source available if the puck lights are not bright enough.
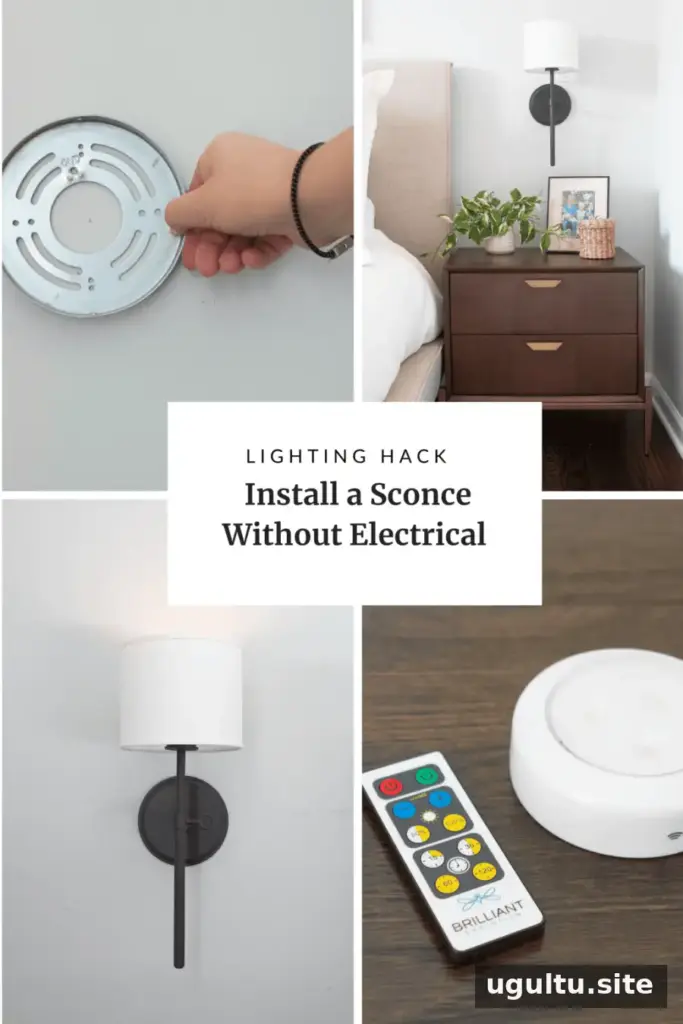
This approach avoids running new wiring through the wall and may be convenient for renters who want a removable decorative fixture. Before installing anything in a rental, check the lease and get permission if required. When moving out, remove the sconces carefully and repair any wall holes according to the property’s requirements.
Final Tips for Sconces Without Electrical
Sconces without electrical wiring can be a practical way to add decorative, low-level lighting when hardwiring is not feasible. Plan the height carefully, use secure wall anchors or studs, and confirm that the battery lights and adapters are compatible with the fixture. For electrical questions or uncertainty about a hardwired sconce, consult a qualified electrician before installation.
What’s Next for the Bedroom Refresh?
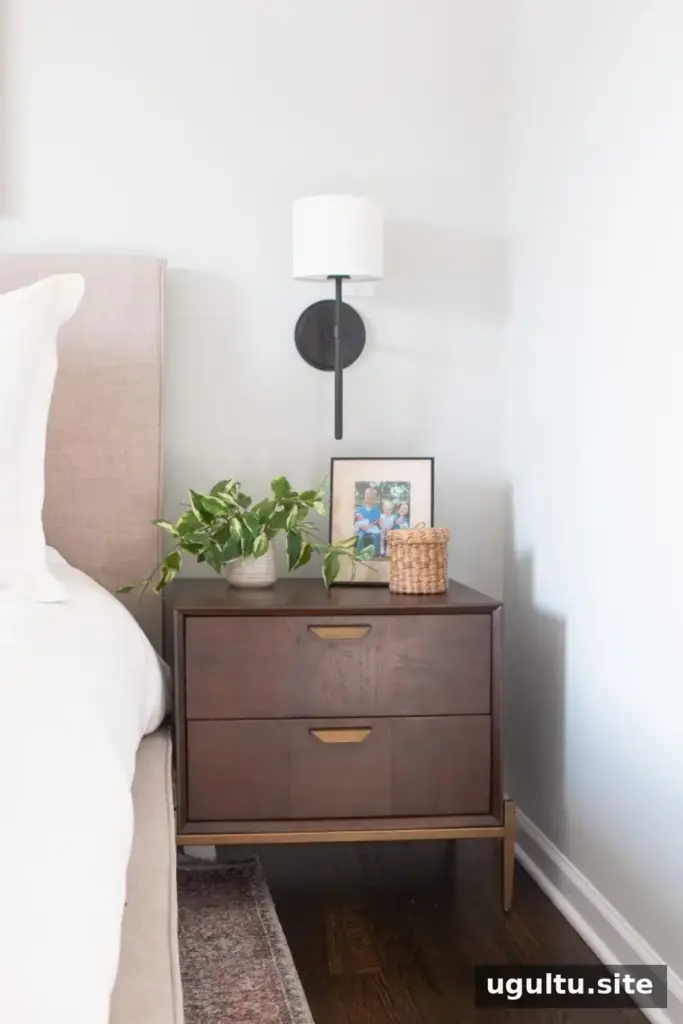
The nightstands and sconces were in place, with a few other items still expected to complete the bedroom refresh.
Casey