admin
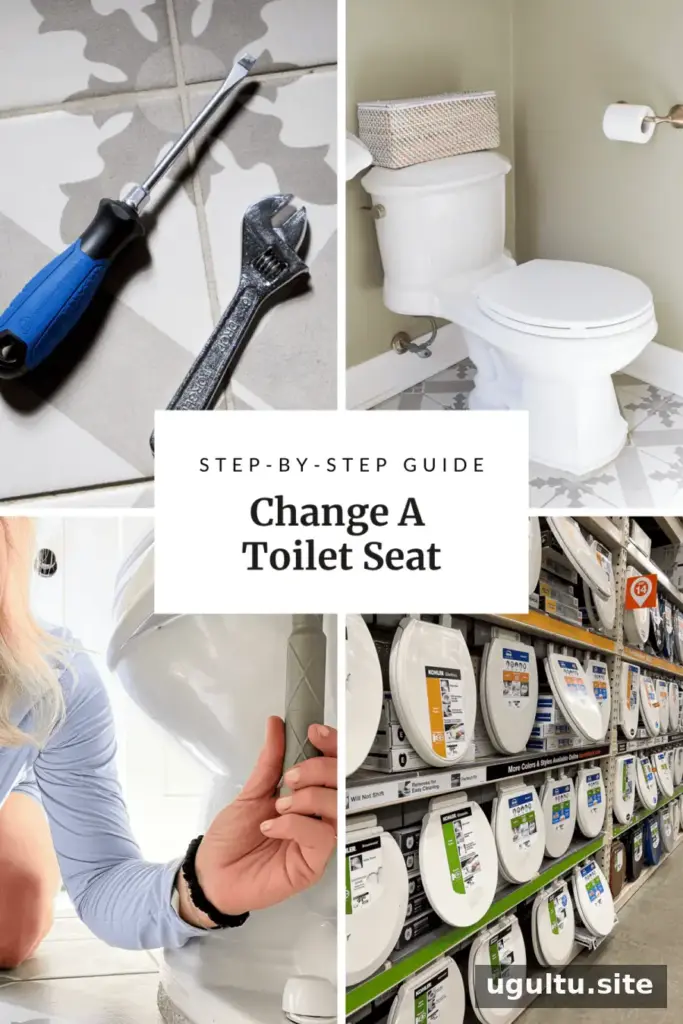
Learning how to change a toilet seat is a straightforward DIY task that can refresh your bathroom and improve comfort. With a correctly sized replacement, a few basic tools, and careful cleaning, most seats can be swapped in about five minutes.
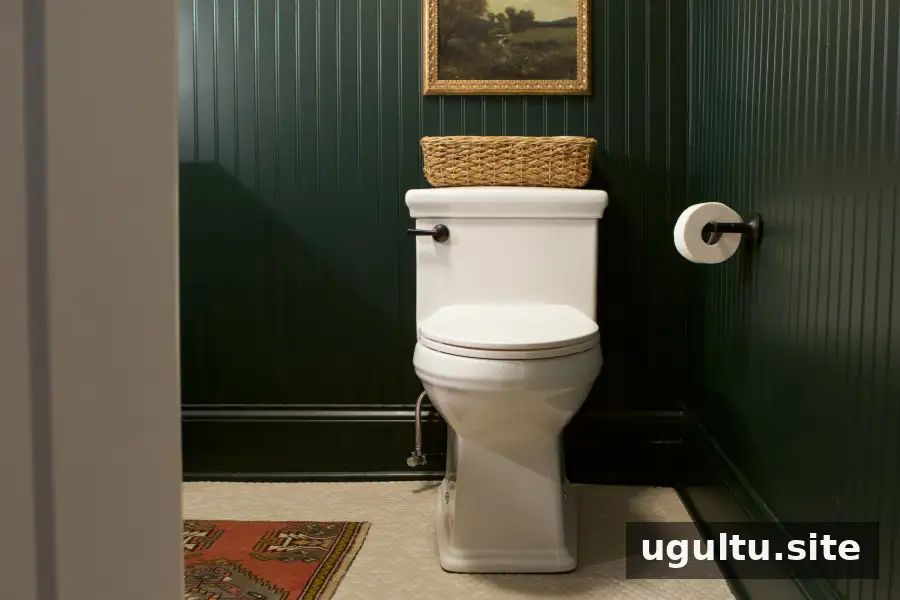
Replacing a seat is also a practical option when moving into a new home or when an existing seat is worn, damaged, or difficult to clean. Check the bowl shape before shopping, and keep the new seat’s installation instructions nearby; fixing styles can vary between models.
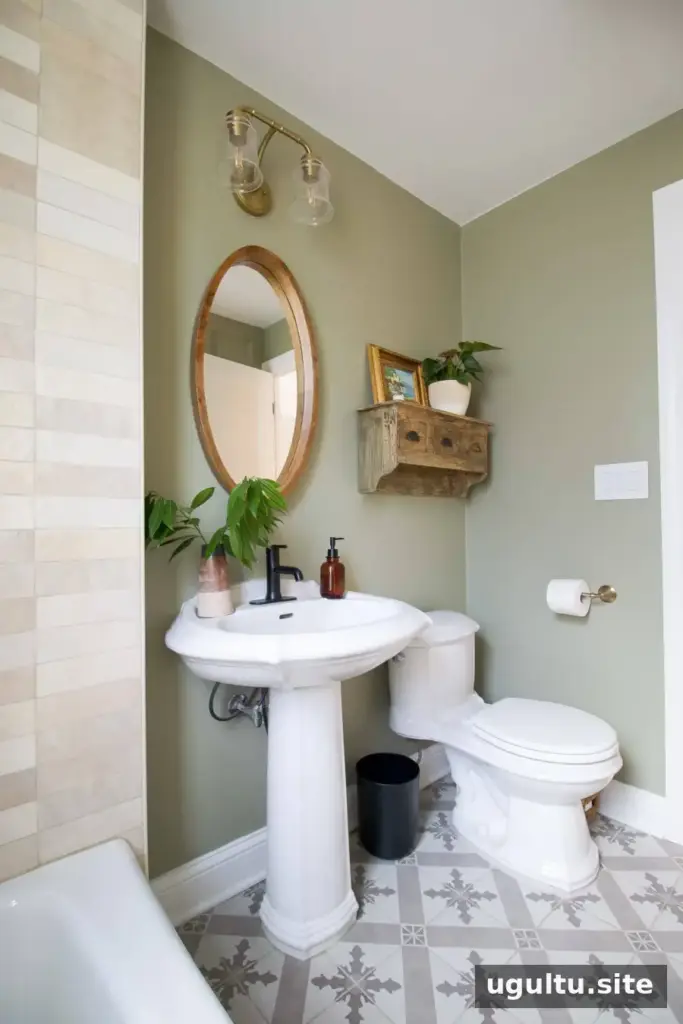
Choose the Right Toilet Seat Size
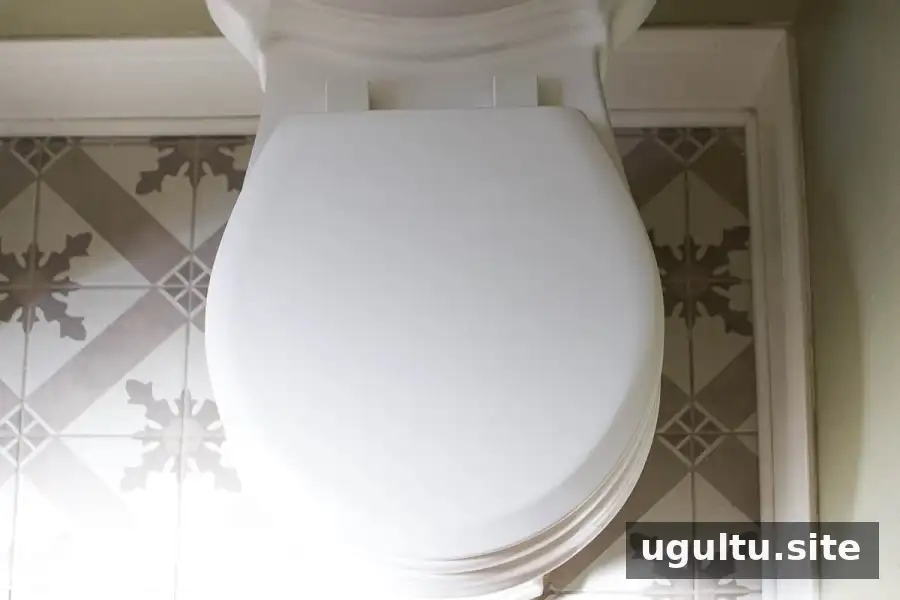
Toilet bowls are commonly round or elongated, and the replacement seat needs to match the bowl. You can often identify the shape by looking at the toilet, but measuring helps avoid buying the wrong size.
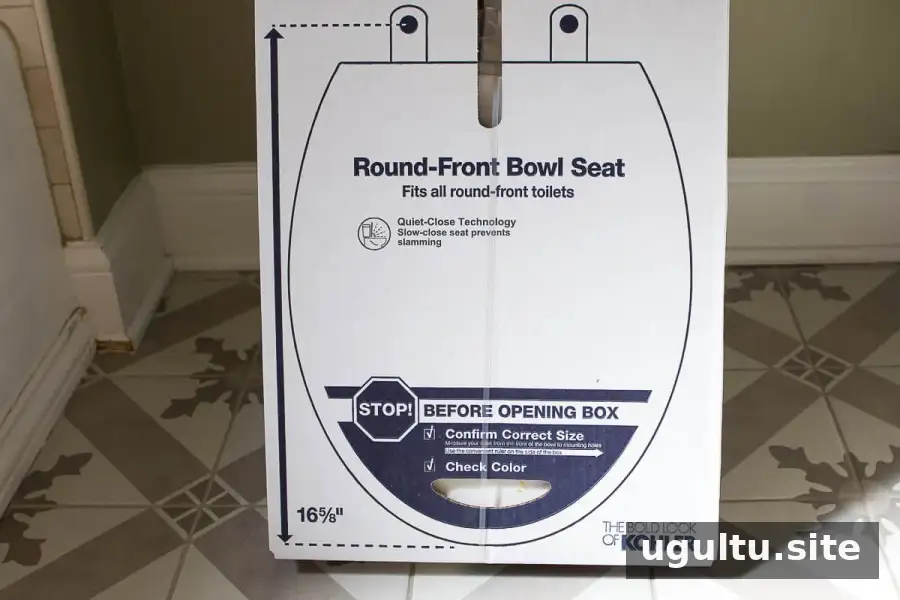
Measure from the center of the mounting bolts at the back of the bowl to the front edge. Typical lengths are:
- Round toilet bowl: about 16.5 inches
- Elongated (or oblong) toilet bowl: about 18.5 inches
Seat widths can vary, so check the product’s fit information if your toilet has an unusual shape. Taking the measurement before you shop is a simple way to prevent a return trip.
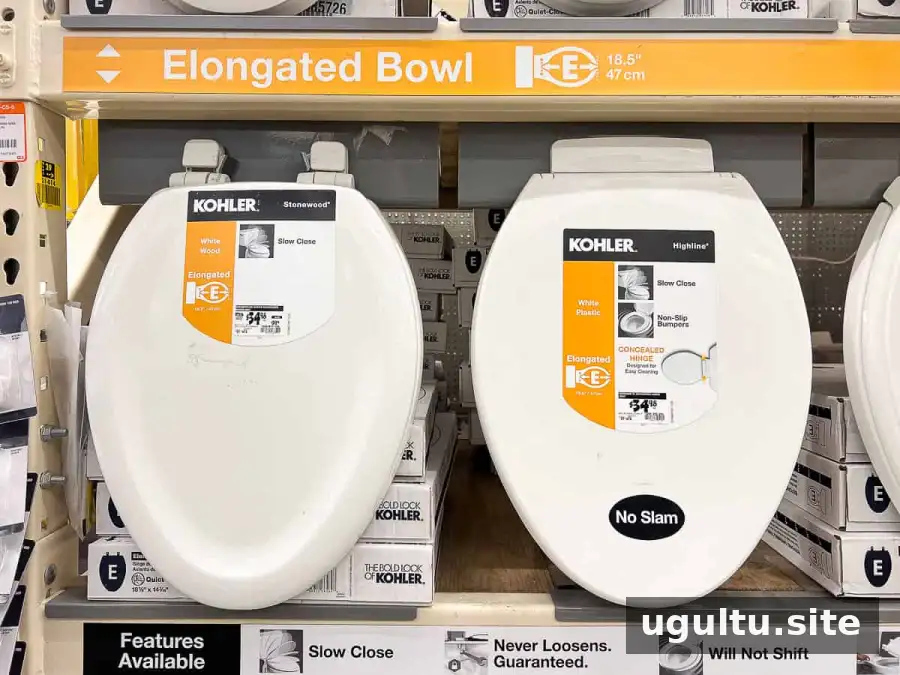
Replacement seats are available in different materials, colors, and features. A soft-close hinge can reduce slamming, while a seat that detaches easily can make cleaning around the hinges simpler. Choose a style that fits your bowl and the way you use the bathroom.
How to Change a Toilet Seat
Difficulty: 1 out of 5
Estimated time: 5 minutes
Supplies: Replacement toilet seat and cleaning supplies
Tools: Flathead screwdriver, adjustable wrench, and an optional toilet seat nut wrench
Remove the Old Seat
Toilet seats are usually attached with two bolts near the back of the bowl. Depending on the design, the bolts may be secured by nuts underneath the bowl or by top-mounted fittings. Check for hinge covers or plastic caps and open or remove them before loosening the hardware.
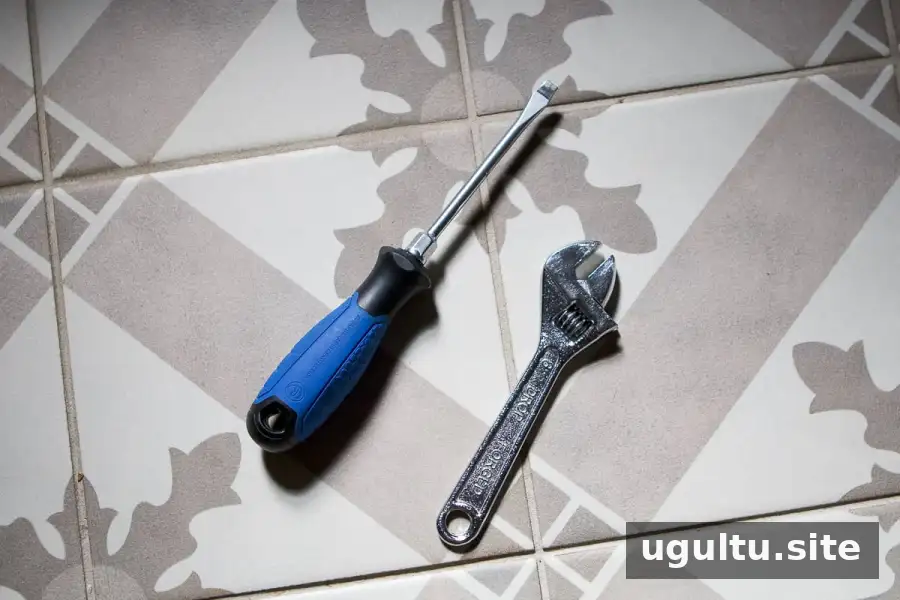
For standard fittings, use an adjustable wrench to loosen the nuts underneath the bowl while keeping the bolt steady with a screwdriver, if needed. The space can be awkward to reach, so work slowly and keep your fingers clear of sharp edges.
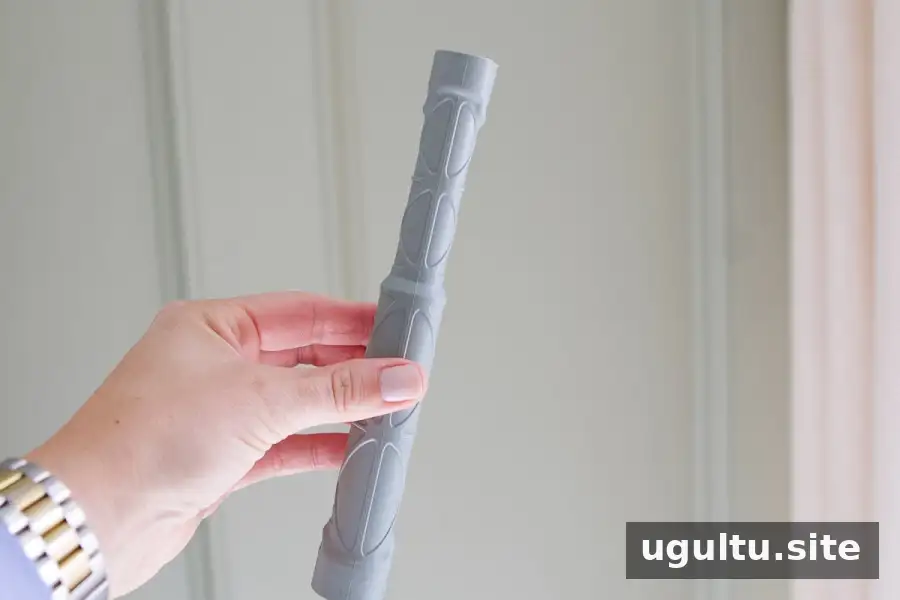
Practical tip: A toilet seat nut wrench can make this job easier in tight spaces. It is designed to reach the mounting hardware and may help prevent scraped knuckles.
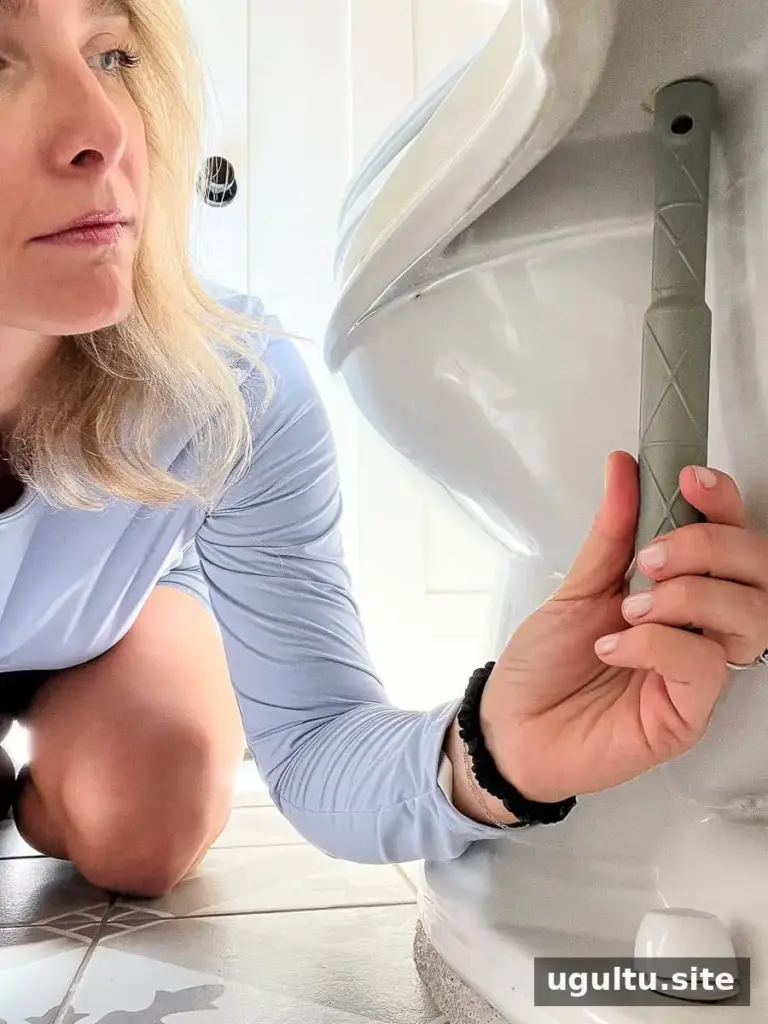
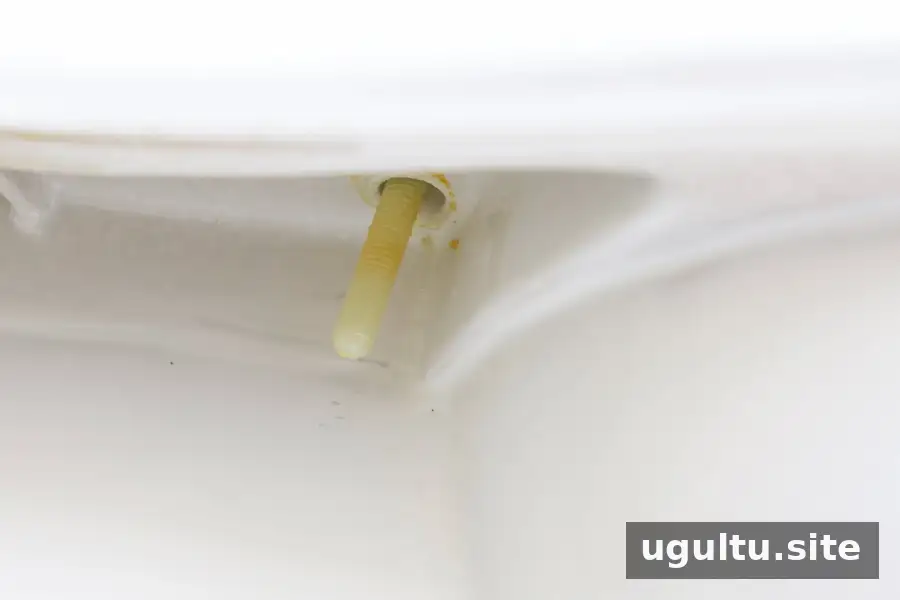
If a nut is stuck, apply a small amount of penetrating lubricant to the hardware and give it time to work. Follow the product label and avoid getting lubricant on the toilet seat or floor. Once the nuts and bolts are free, lift the old seat away.
Clean the Mounting Area
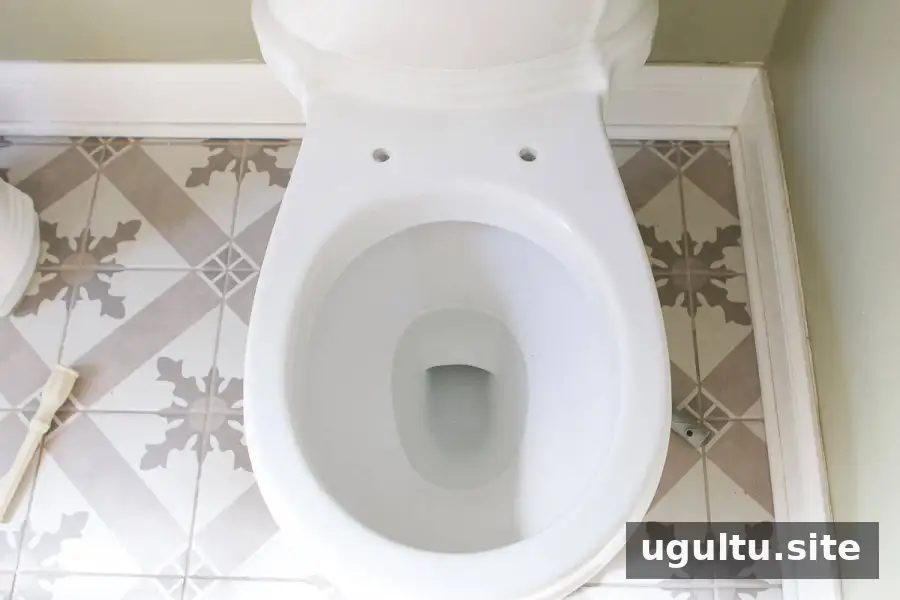
With the seat removed, clean the rim and the area around the mounting holes, where dirt can collect beneath the hinges and caps. Use a suitable bathroom cleaner and a brush or cloth, following the cleaner’s instructions. Do not mix cleaning products, and allow the surface to dry before installing the new seat.
This step gives the replacement a clean surface to sit on and makes it easier to spot any damage around the bolt holes.
Install the New Toilet Seat
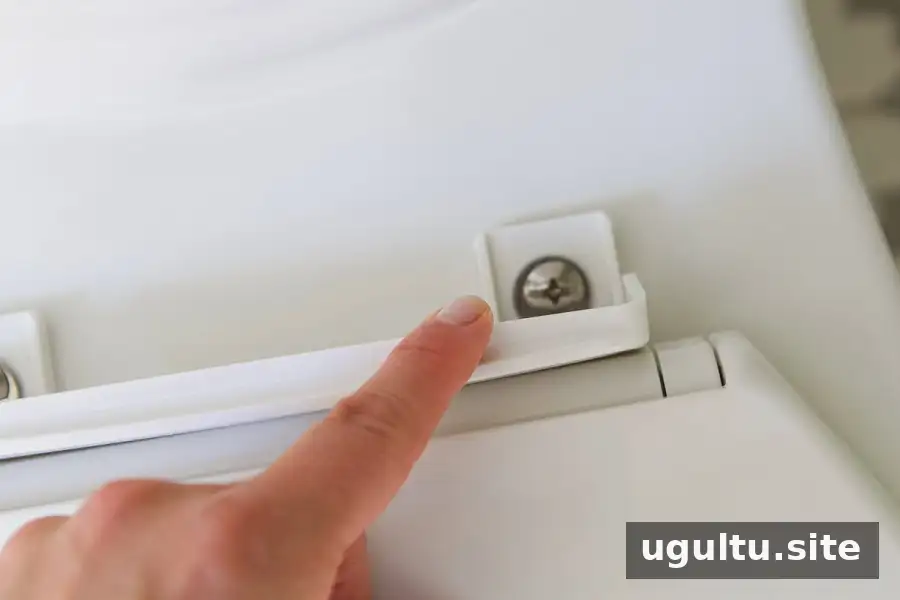
Read the instructions supplied with the replacement seat, since the hardware and fitting method can differ. For a common bolt-and-nut design, position the hinges over the mounting holes and insert the bolts as directed.
Place the seat on the bowl and adjust it so the front edge is aligned with the bowl. From underneath, attach the nuts and tighten them according to the manufacturer’s instructions.
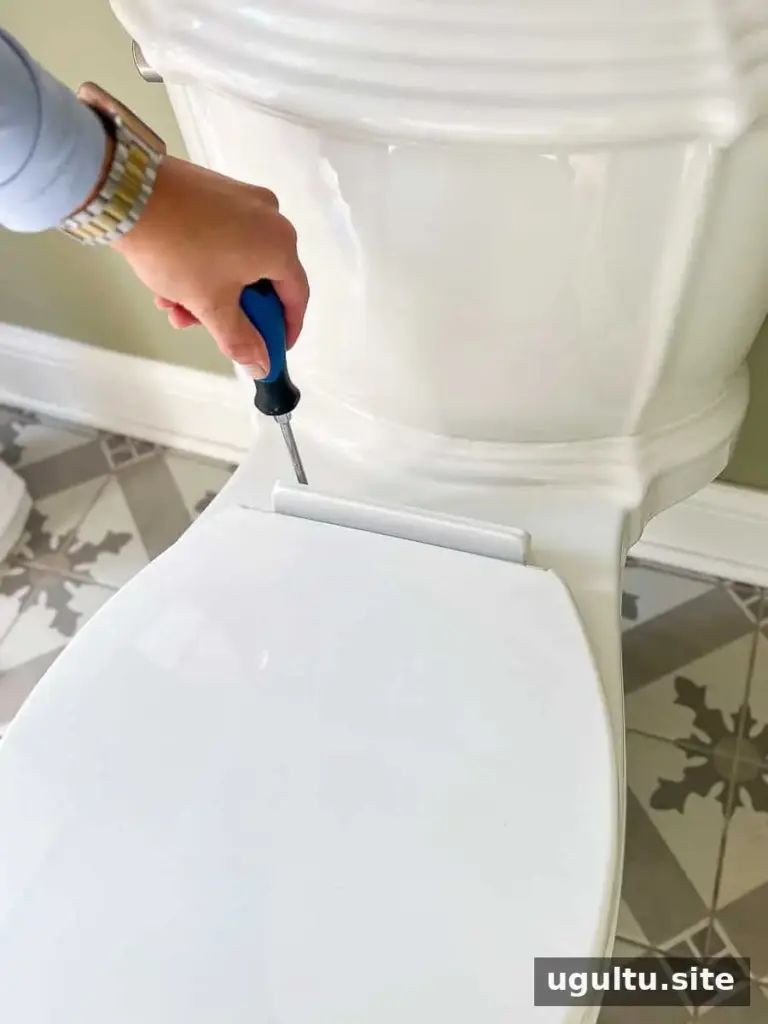
Some fittings use wing nuts that can be held by hand while you tighten the screws from above with a flathead screwdriver. Keep the seat centered as you work, and tighten both sides evenly. Avoid overtightening, which could damage the fittings or the toilet.
Before using the seat, check that it sits evenly and does not shift when gently moved. A final alignment check helps prevent a crooked or unstable fit.
How to Fix a Wobbly Toilet Seat
A loose seat may only need its mounting hardware tightened; a full replacement is not always necessary. Open the hinge covers, if present, and check the bolts. Keep the seat centered while tightening the fittings with a screwdriver or the tool recommended for that model.
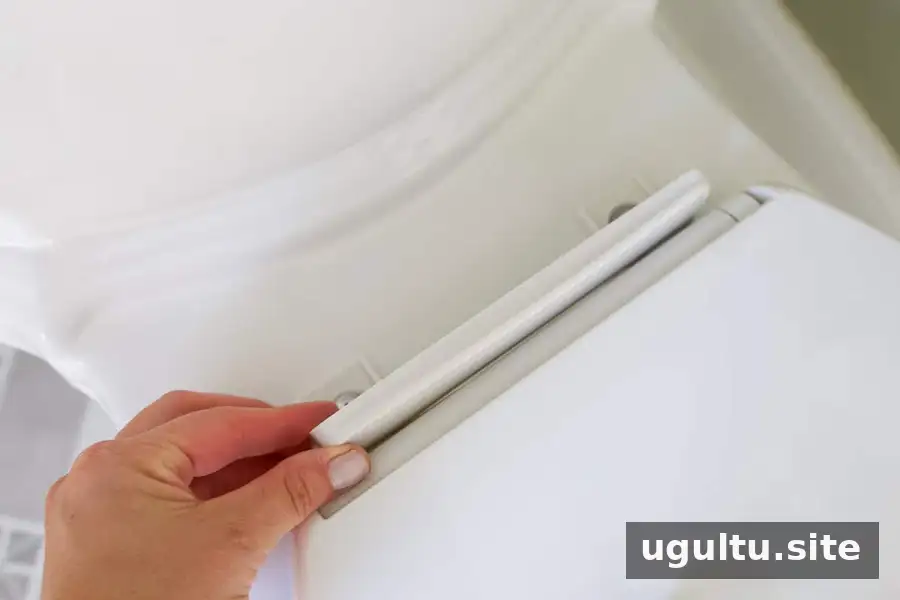
If the seat continues to move, inspect the nuts and hinges for wear or damage. Replacing damaged hardware or the seat may be needed if tightening does not hold.
Finish the Toilet Seat Replacement
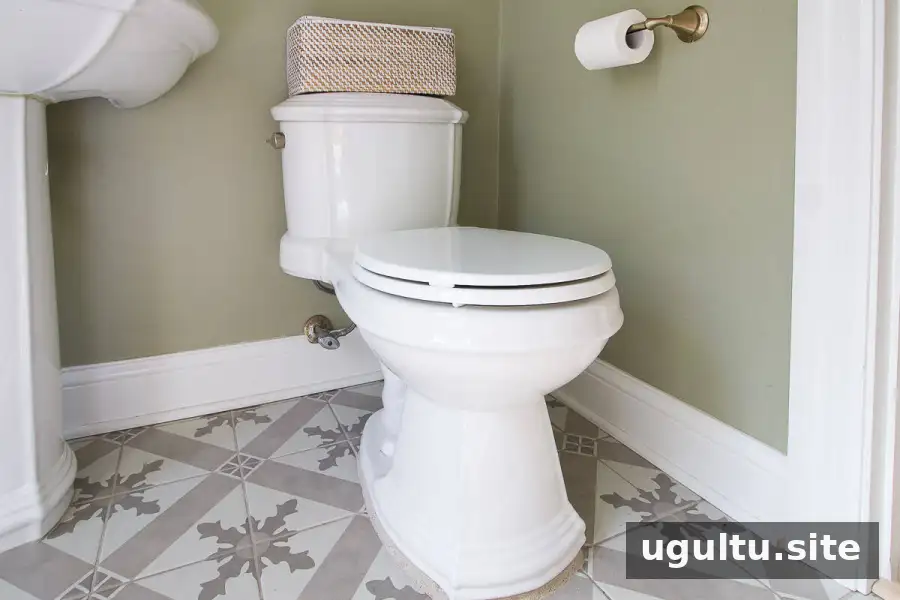
Knowing how to change a toilet seat makes it easier to refresh a bathroom without a complicated project. Measure the bowl, choose a compatible seat, clean the mounting area, and tighten the hardware carefully. A quick check that the seat is centered and secure completes the job.