
 admin
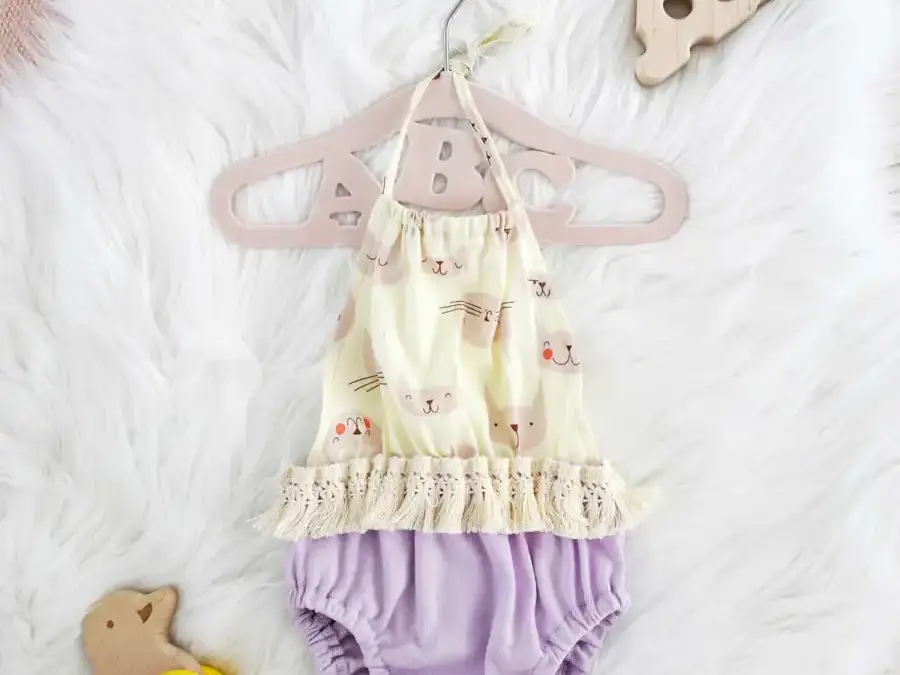
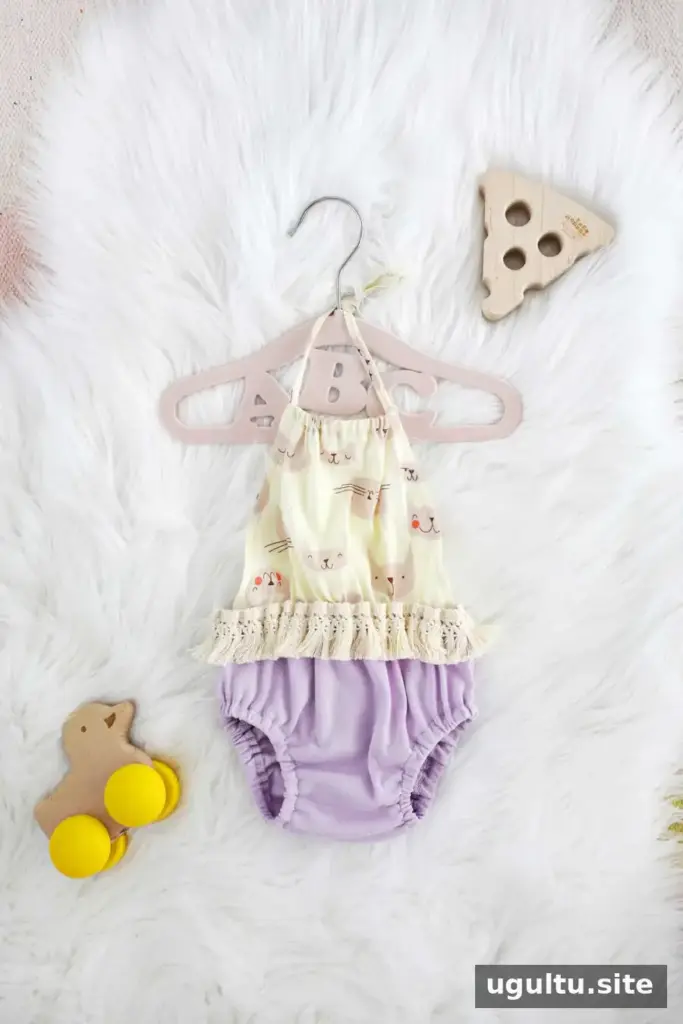
This baby halter romper DIY turns a diaper cover that already fits into a sweet, handmade outfit. Using an existing cover saves time and gives you a reliable starting point, while the fabric shape and trim can be adjusted to suit your preferred colors and style. Because babies vary in size, the measurements below are a reference; measure the garment on your baby for the best fit.
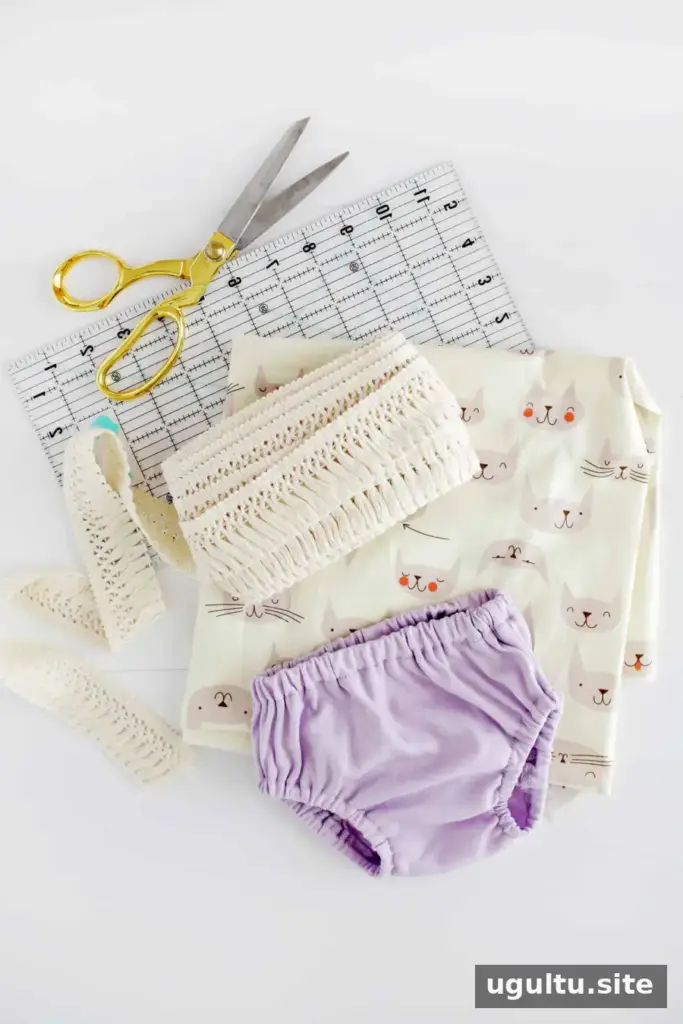
Supplies for a Baby Halter Romper DIY
- A diaper cover that fits
- 1/2 yard of cotton fabric
- 1/2 yard of fringe trim
- Fabric glue
- Cutting mat, rotary cutter, and ruler
- Iron and sewing machine
Before cutting, check that your fabric and trim are suitable for a baby’s clothing and follow the care instructions for each material. Keep small tools and supplies away from the baby while you work.
Measure and Cut the Halter Panel
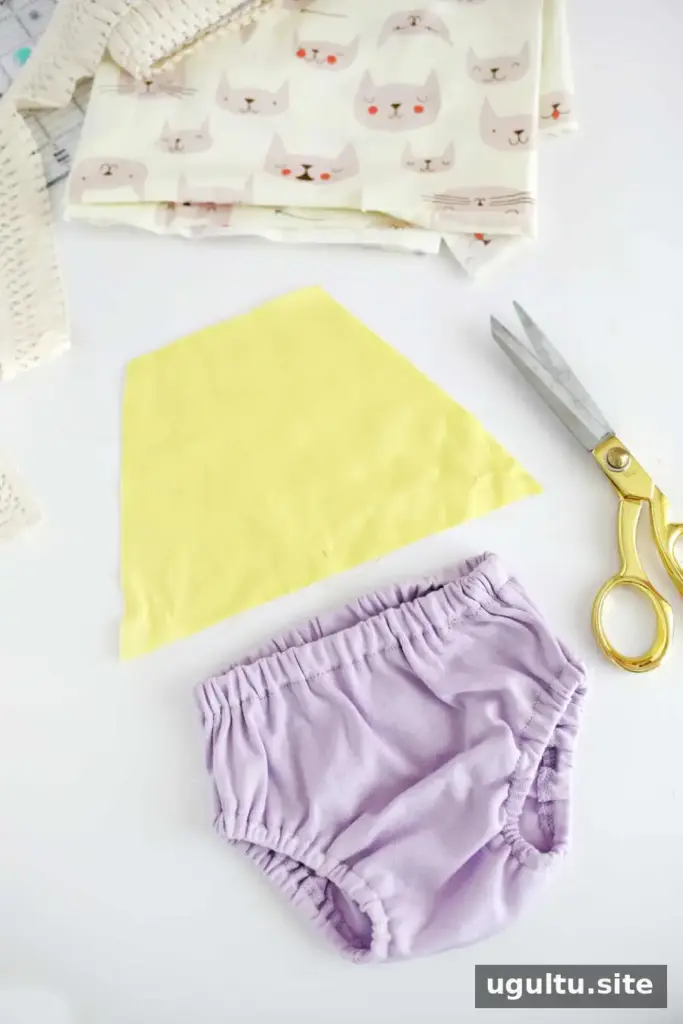
Put the diaper cover on your baby and decide how wide and tall you want the trapezoid-shaped front panel to be. A scrap of fabric temporarily pinned to the cover can help you preview the shape. Mark the area the panel should cover while the waistband is on the baby, then stretch the elastic fully to account for its give. Allow extra width at the top, too, because that edge will gather around the neck tie.
For reference, a 3-month-old baby weighing about 12–13 pounds had a finished panel measuring 5 1/2 inches across the top, 6 inches tall, and 11 inches across the bottom. These are examples, not standard sizing; confirm the fit on the individual diaper cover before cutting.
Add 1/2 inch to each side edge, 1 inch to the bottom, and 1.5 inches to the top for hems. Cut the trapezoid from your cotton fabric.
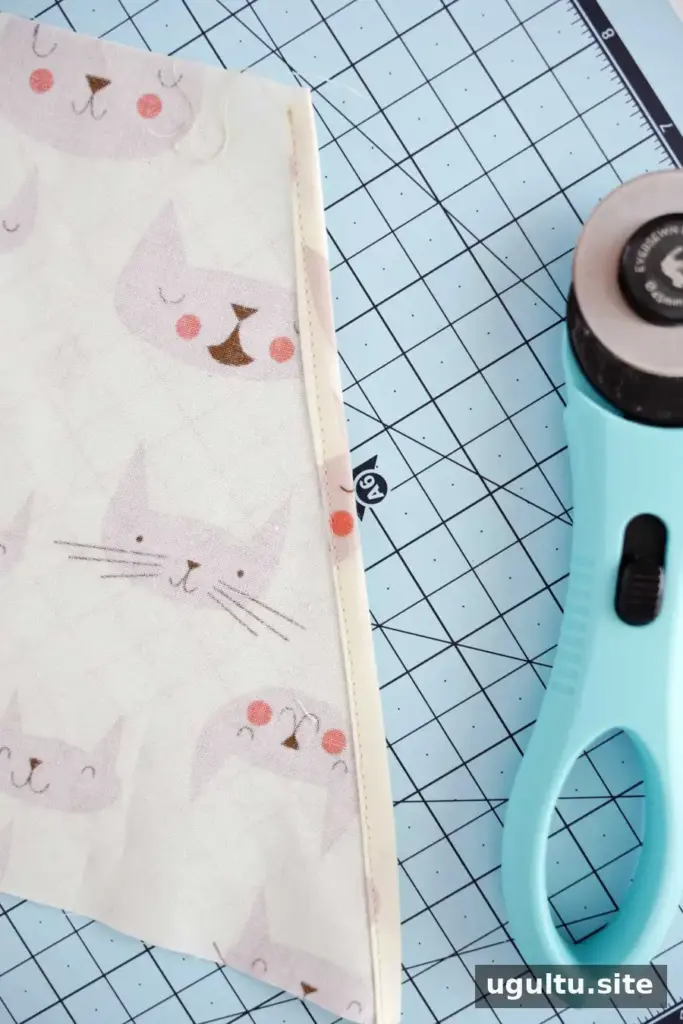
Hem the Panel
Press a 1/4-inch fold along each side, fold another 1/4 inch, and press again. Stitch the hems in place. Press the bottom edge in by 1/2 inch, fold it over by another 1/2 inch, and sew it closed.
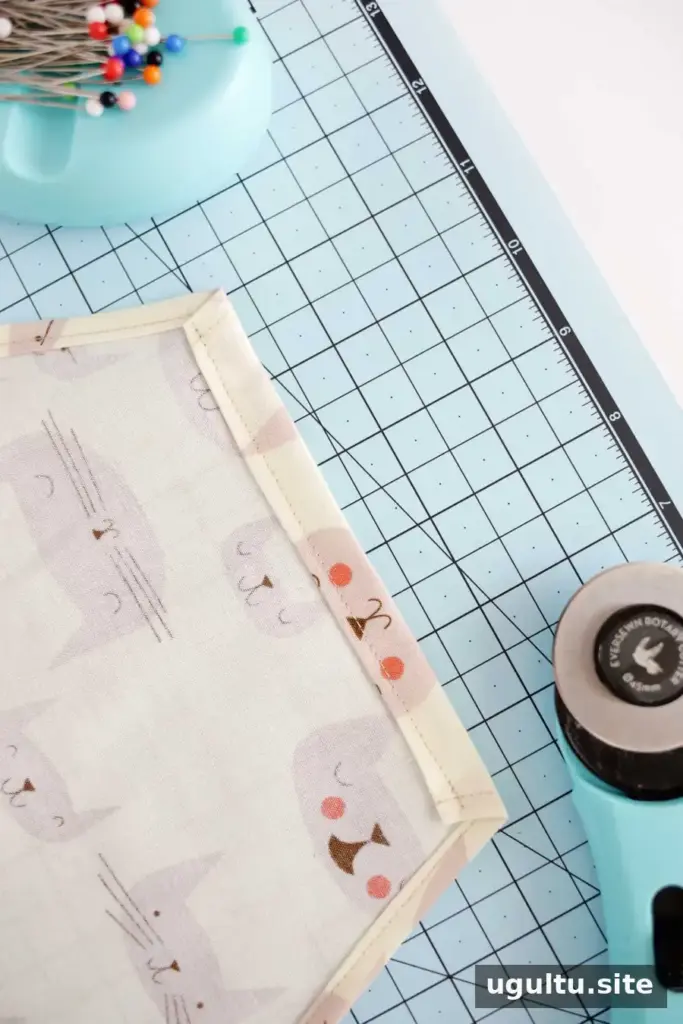
At the top, press and sew two 1/4-inch folds. Then fold and press the fabric another 1 inch and stitch it with a 3/4-inch seam allowance. This creates a channel for the neck tie, so check that the opening is wide enough for the tie to pass through easily.
Attach the Panel to the Diaper Cover
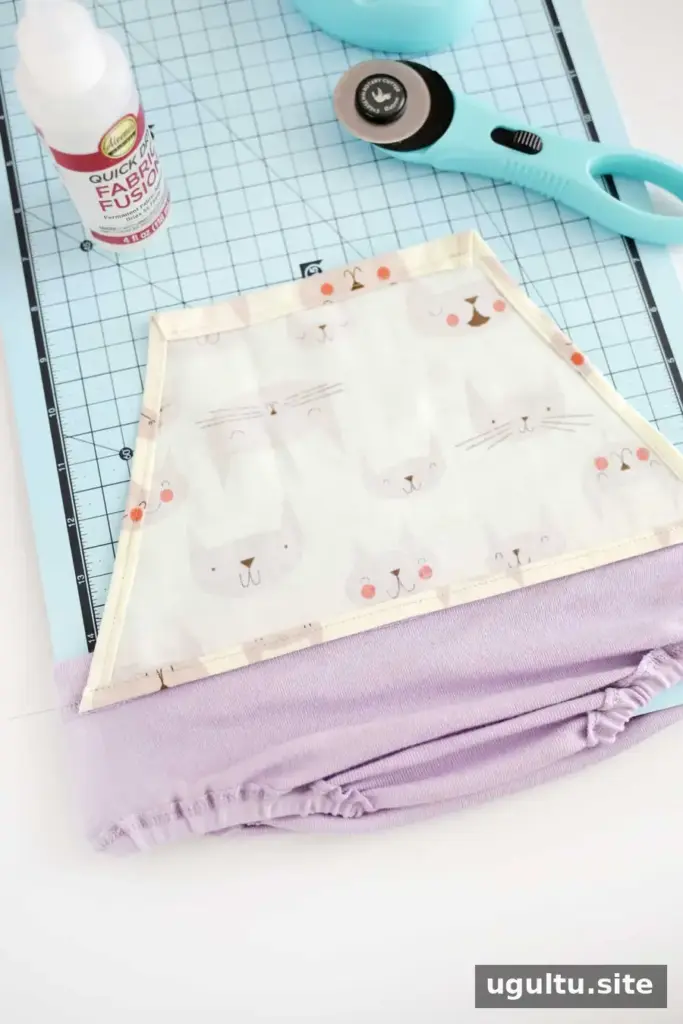
Turn the diaper cover inside out and stretch it over a mat or book wide enough to hold it open. Apply fabric glue to attach the front edge of the panel’s bottom hem to the inside top edge of the cover. Let the glue dry completely according to its instructions before continuing.
Make and Add the Neck Tie
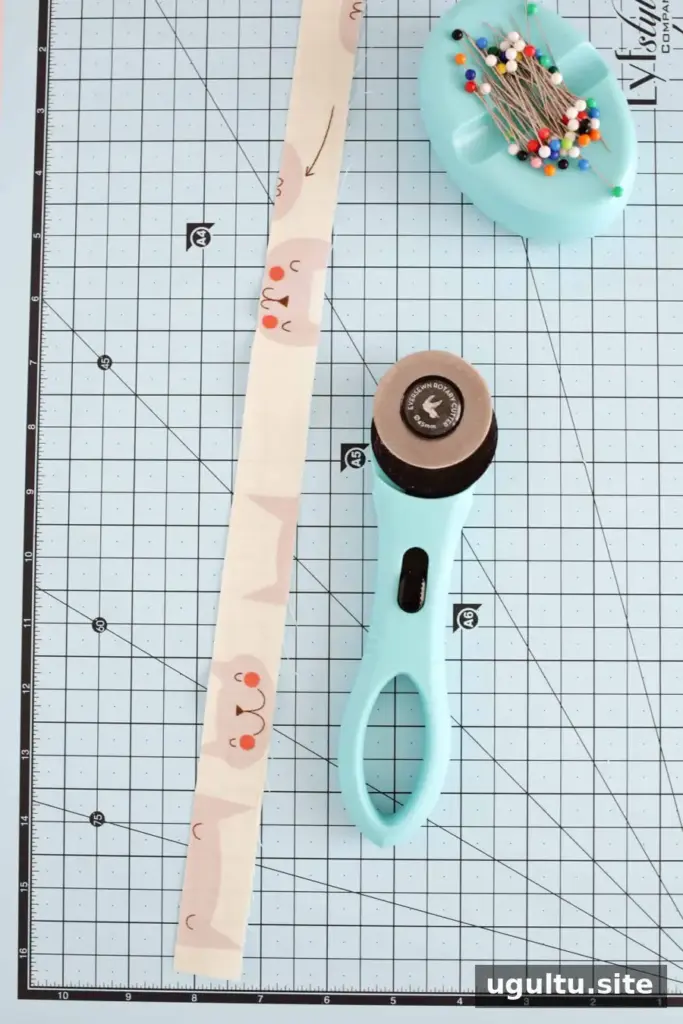
Cut a 1-inch-wide strip to the length you want for the halter tie. Press each long edge inward by 1/4 inch so the edges nearly meet in the middle.
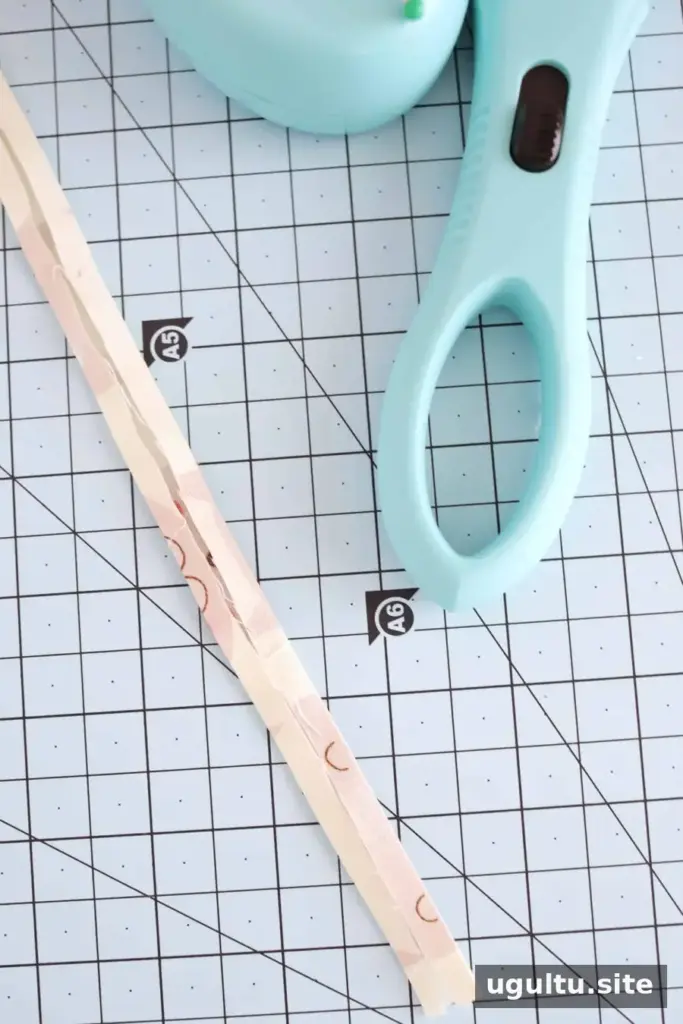
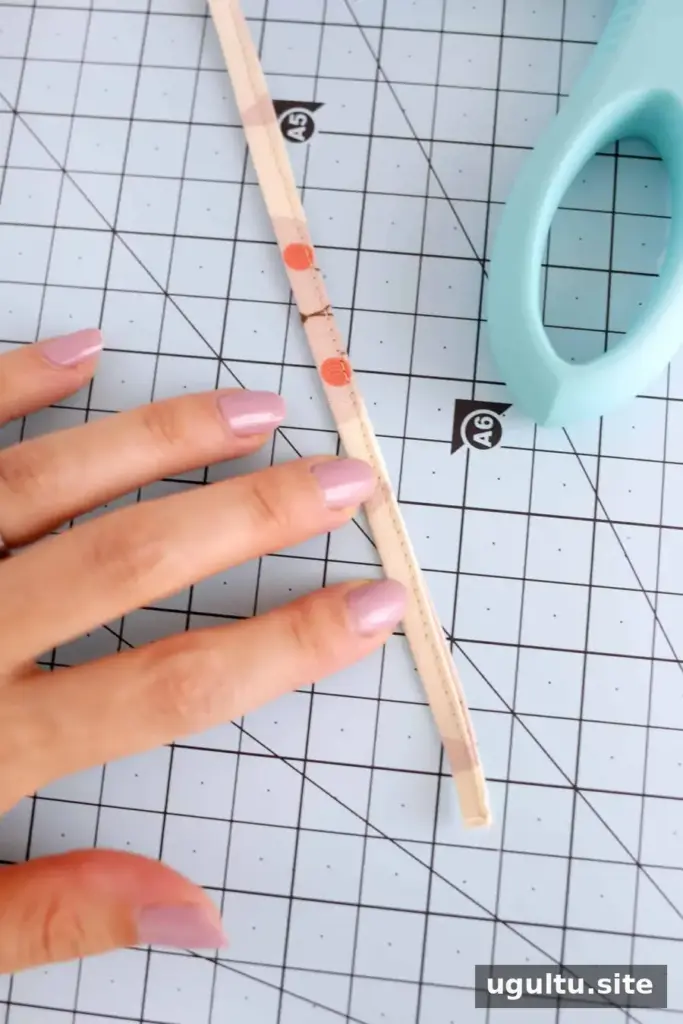
Fold the strip over once more, enclosing the raw edges, and stitch along it to secure. Apply fray check to the ends if desired, following the product directions. Turn the diaper cover right side out and thread the tie through the top channel. A safety pin attached to one end can help guide it through; remove the pin after threading, then knot both ends to keep the tie from slipping back into the channel.
Finish with Fringe Trim
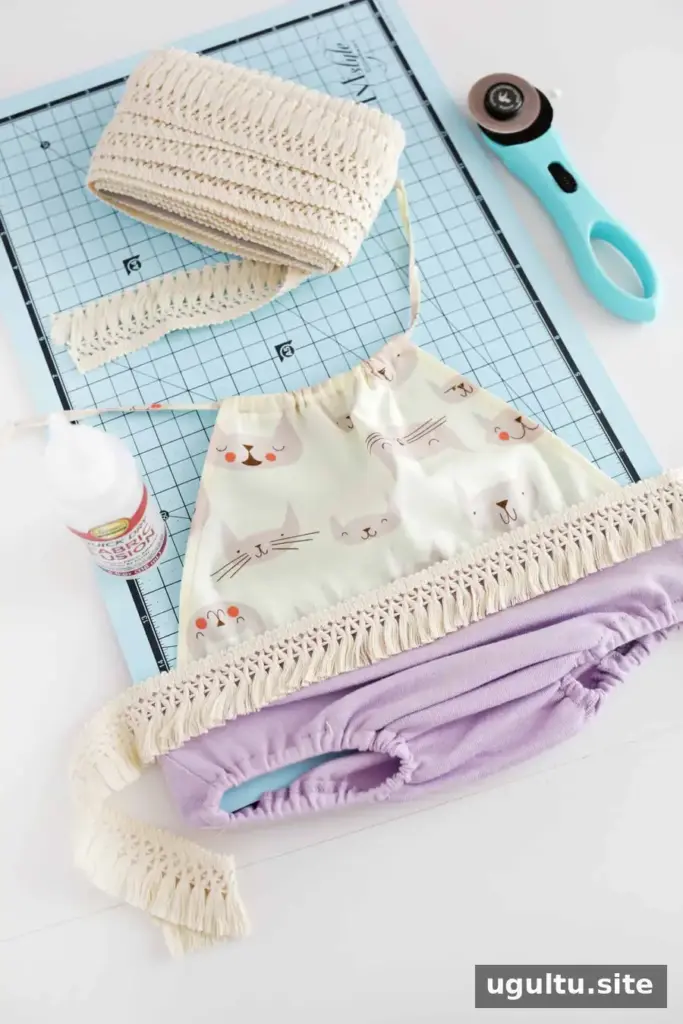
Stretch the top edge of the diaper cover and glue the fringe trim around it. Let the adhesive dry fully before dressing the baby. Check the finished outfit carefully: the trim and fabric should be firmly attached, with no loose parts or exposed sharp edges. Recheck the garment before each use, and supervise the baby while wearing it.

Personalize Your Baby Halter Romper DIY
Starting with a diaper cover makes this project quicker than sewing the whole romper from scratch. Try different fabric colors, patterns, or trim styles to create variations, while keeping the panel measurements appropriate for the cover. The completed garment is a handmade outfit for supervised use; remove it if any part becomes loose or uncomfortable.

With a well-fitting diaper cover, carefully measured panel, and securely finished edges, this baby halter romper DIY can become a distinctive handmade outfit. Take time to check the fit and construction before each wear.
— Laura


