
 admin

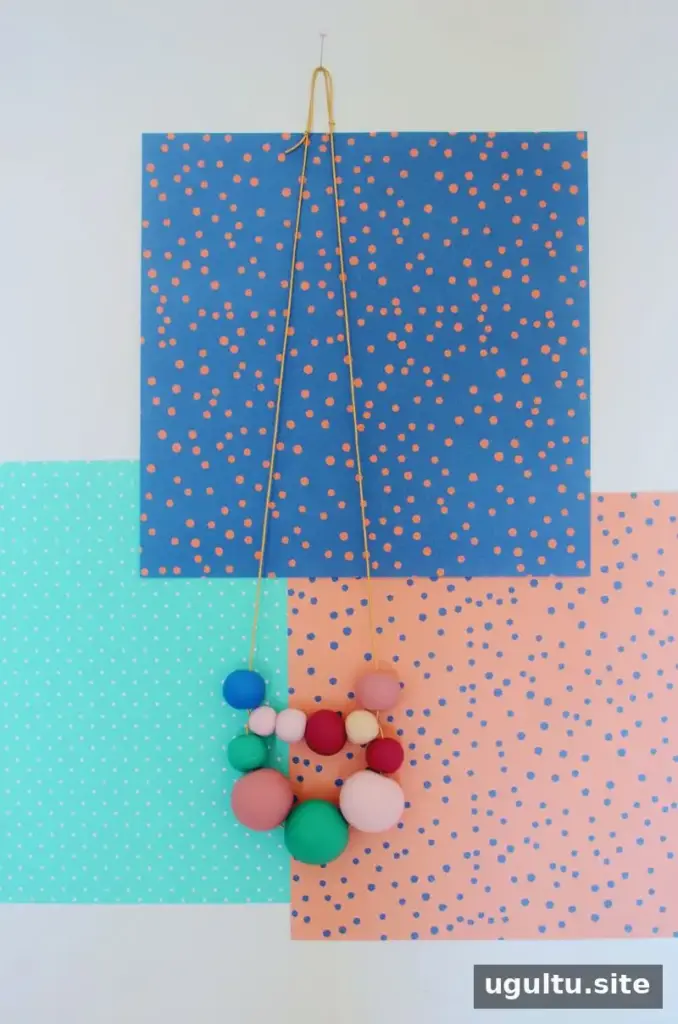
A beaded looped clay necklace is a straightforward jewelry project that lets you choose the colors, bead sizes, and overall look. Use a neutral palette for a subtle accessory or combine bright shades to create a more colorful design. Oven-baked clay makes it possible to shape custom beads at home, and the project can also be done as a relaxed group activity. Before you begin, check that your clay is suitable for oven baking and follow its package instructions.
Supplies for a beaded looped clay necklace
Gather the materials before shaping the beads so they are ready to bake as soon as the design is complete:
- 2 oz packs of oven-baked clay in various colors
- 40-inch leather cording
- Wooden skewer
- Parchment paper
- Baking sheet
- Scissors
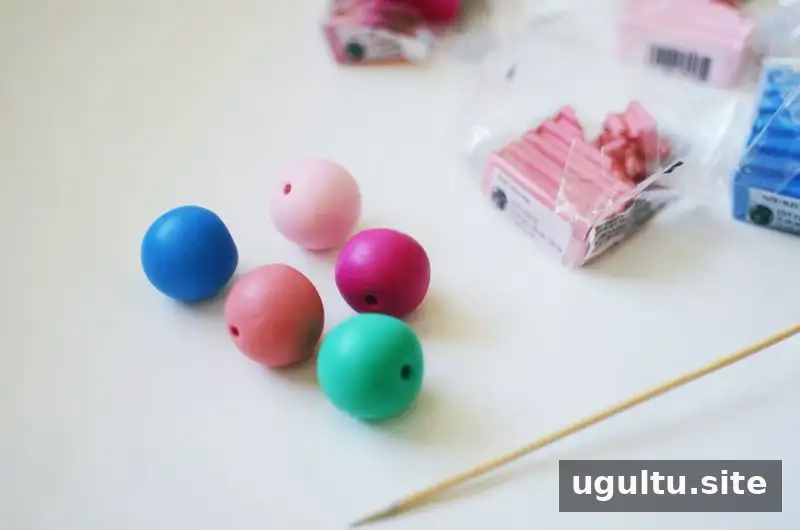
How to make the clay beads
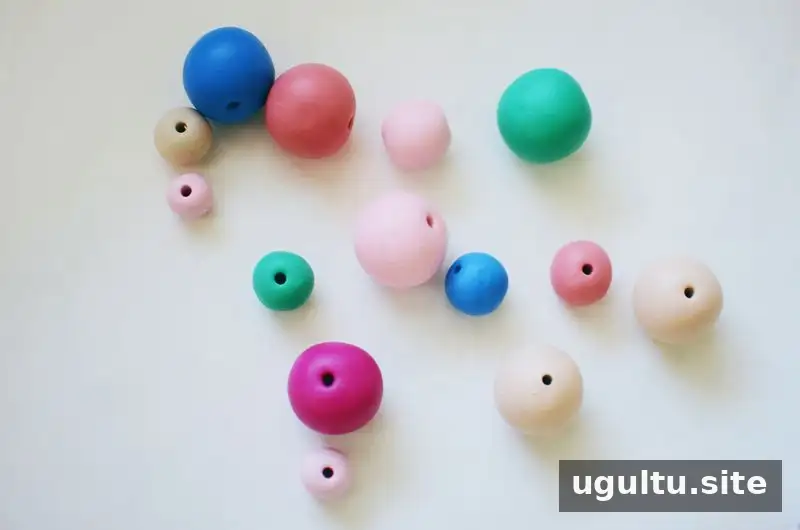
Step One: Shape and pierce the beads. Pinch off about one quarter of a clay portion, roll it into a ball, and carefully push a wooden skewer all the way through its center. These larger beads will be about 1 inch across. For smaller beads of roughly 1/2 inch, use about one eighth of a clay portion instead. Make the opening wide enough for the leather cord to pass through without forcing it. Prepare 11 beads in a mix of sizes for the looped design. Any extra beads can be saved for another project.

Bake and cool the beads
Step Two: Bake the beads. Cover a baking sheet with parchment paper and arrange the beads on top. Bake according to the clay package directions. A common guideline is about 15 minutes per quarter inch of thickness at approximately 275°F, but the product instructions take priority because baking requirements can vary. Use an oven thermometer if you need to check the temperature, and let the beads cool completely before handling or stringing them.
String the two-tier looped necklace
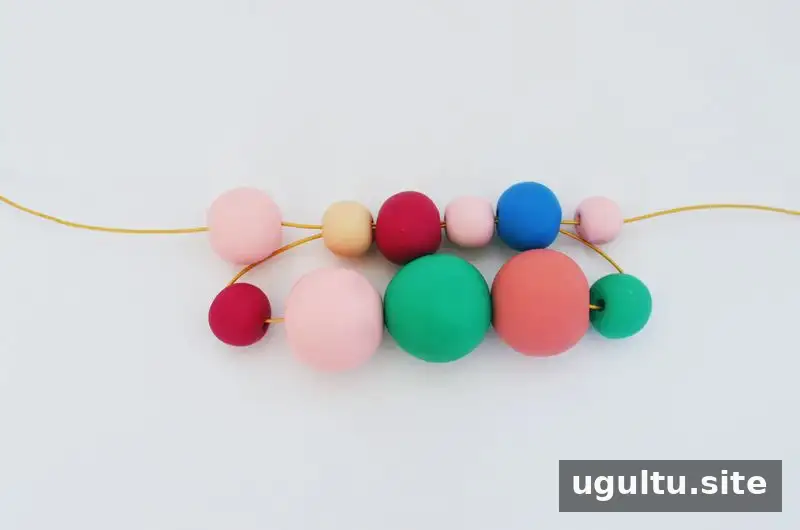
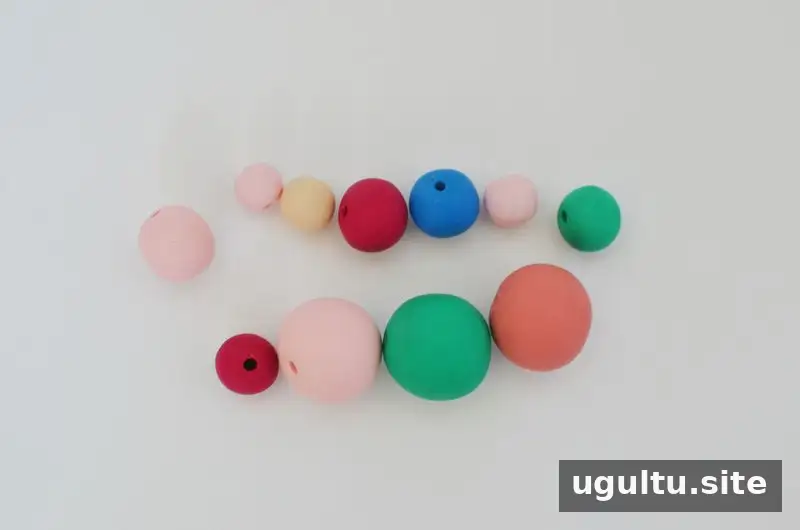
Step Three: Arrange and string the beads. Lay out the beads in your preferred order before threading them. The design uses two tiers of loops. With one end of the leather cording, string five beads to form the top tier. Using that same end, string five more beads for the bottom tier. Then pass the cord end up through the second bead on the top tier and continue through the remaining beads in that tier. Add the final bead through the cord end to complete the arrangement.

To finish, either tie the two cord ends together at the length you want or make a sliding knot if you would like the necklace to be adjustable. Trim excess cord with scissors, leaving enough length at the ends for a secure knot. Before wearing the necklace, check that the beads are secure and the cord moves smoothly through the openings.
Personalize your finished necklace
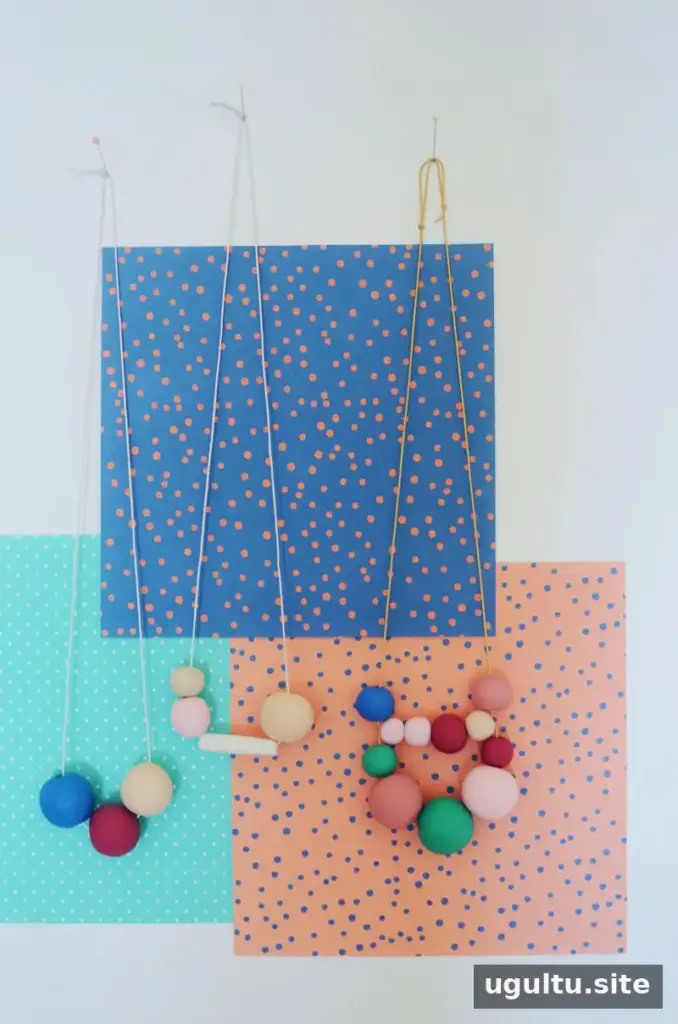
Once you are comfortable with the basic pattern, try different bead colors, sizes, or shapes while keeping the total arrangement balanced. You can also paint designs on the baked beads to add patterns; allow any paint to dry fully before wearing the necklace. Store the finished piece somewhere it will not be crushed or tangled, which helps protect the beads and cord.
A beaded looped clay necklace is easy to adapt for different styles, whether you prefer understated colors or a bold mix. Carefully sizing the bead holes, following the clay’s baking directions, and arranging the beads before stringing can make the finished piece easier to assemble. — Rubyellen


