
 admin
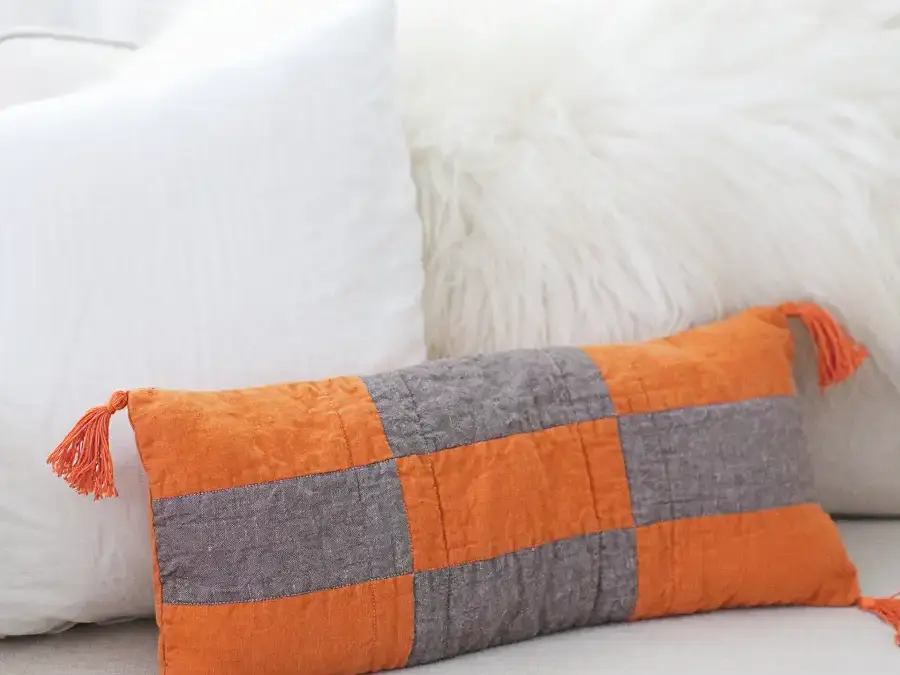
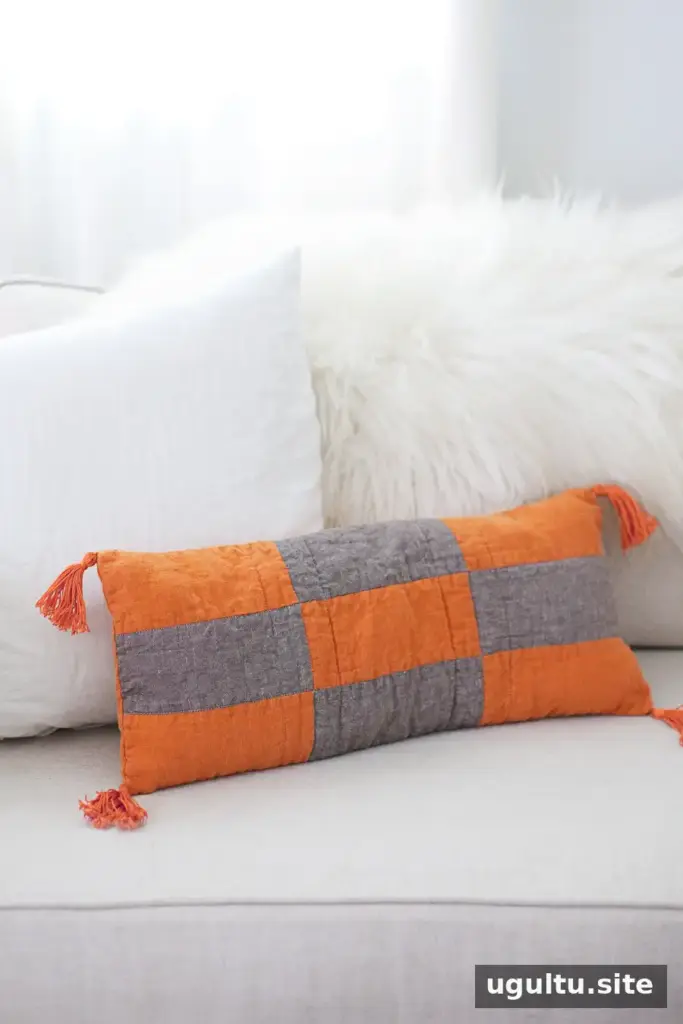
A boho patchwork pillow is an easy way to add color, texture, and a handmade touch to your living space. This design combines coordinating linen rectangles, a quilted front, and tassels at each corner. Choose autumn-inspired shades for a seasonal accent, or select colors that work with your room throughout the year.
The project also offers a manageable introduction to quilting: you can practice piecing and stitching a small fabric top without taking on a full-size quilt. Read through the steps before starting, and keep your seams consistent so the patchwork pieces line up neatly.
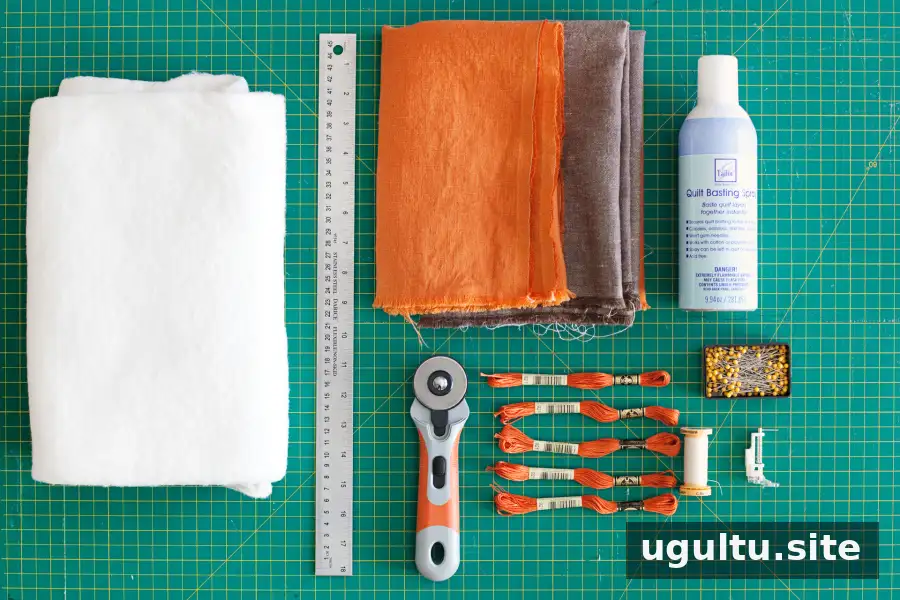
Materials and tools for a boho patchwork pillow
Materials
- 1/2 yard and 1/4 yard of coordinating linen fabric
- 100% cotton quilt batting, 1′ x 12′ piece
- A small piece of laundered cotton muslin, 1′ x 12′ piece
- Coordinating thread
- Five bunches of coordinating embroidery floss
- Pillow batting for stuffing
- Quilt basting spray, or safety pins as an alternative
Tools
- Sewing machine and free-motion sewing machine foot
- Rotary blade, steel ruler, and cutting mat
- Sharp fabric scissors and straight pins
- Darning needle and iron
A cork-backed ruler can help prevent slipping while cutting. Use a sharp rotary blade and cut on a suitable mat for more accurate, even pieces.
How to sew the patchwork pillow
1. Cut and join the linen rectangles
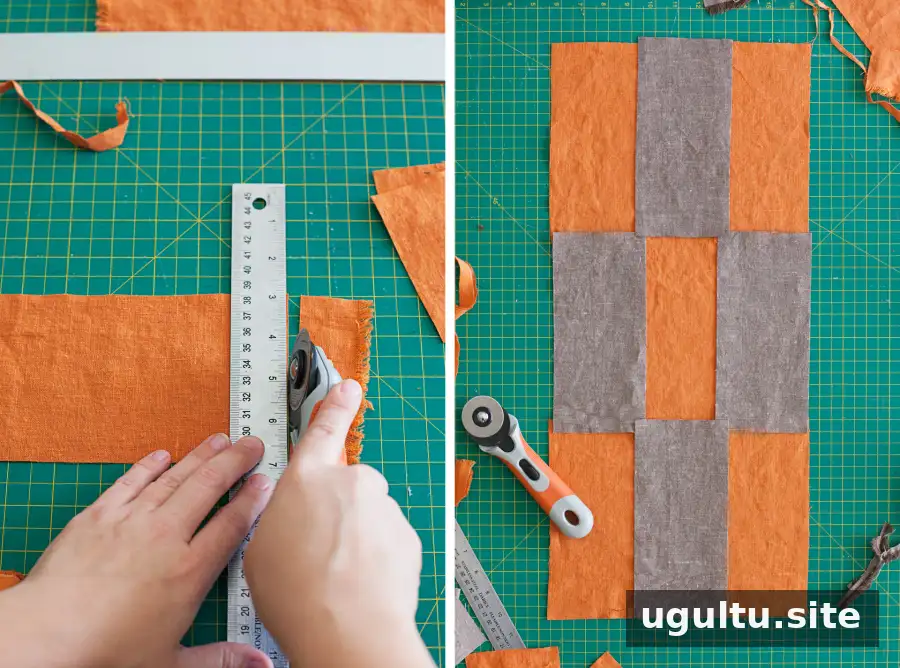
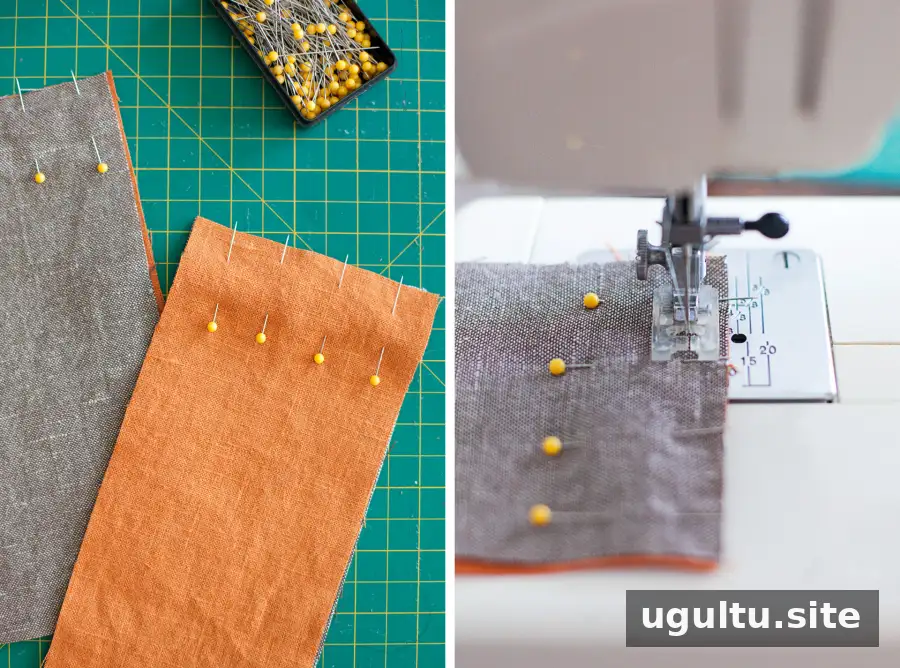
Cut nine rectangles measuring 4″ x 8.5″: five from the dominant fabric and four from the coordinating fabric. Arrange them in your preferred pattern. Pin the rectangles together one row at a time, with the right sides facing each other, and sew the ends together using a 1/4″ seam allowance. Keeping each seam the same distance from the edge helps the pieces fit together evenly.
2. Assemble the quilt top
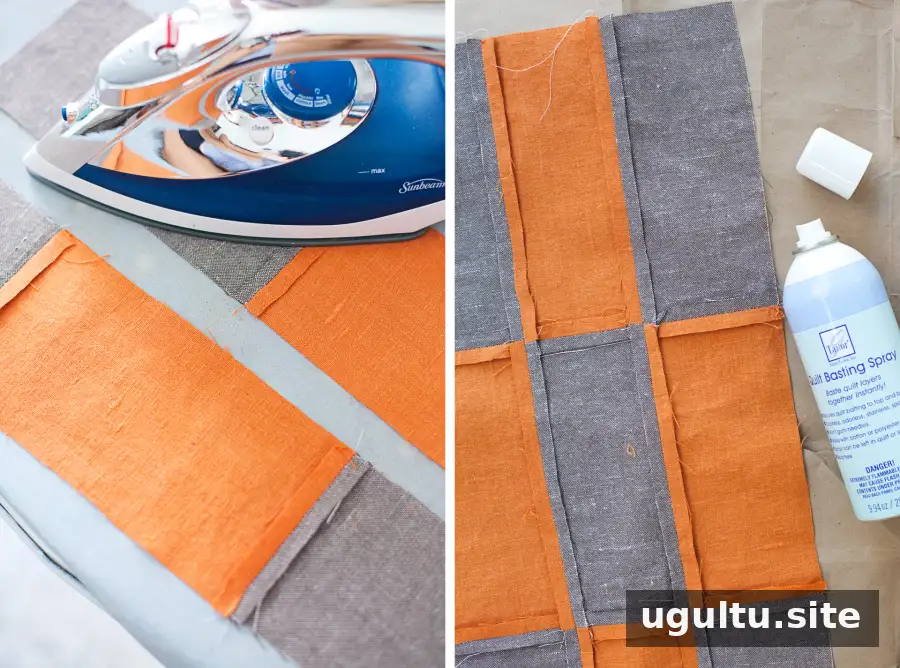
Press the seams open with an iron. Pin the completed rows together and sew them to form the patchwork top. When the top is assembled, press the seams open on the back as well. Pressing now helps reduce bulk and makes the surface easier to quilt.
3. Layer and baste the fabric
Make a three-layer sandwich with the quilt top, batting, and muslin. Place the quilt top and muslin with their good sides facing outward and the batting in the middle. Secure the layers across the surface with quilt basting spray or safety pins. Smooth the fabric as you work to help prevent shifting and puckering during stitching.
4. Mark and stitch the quilting
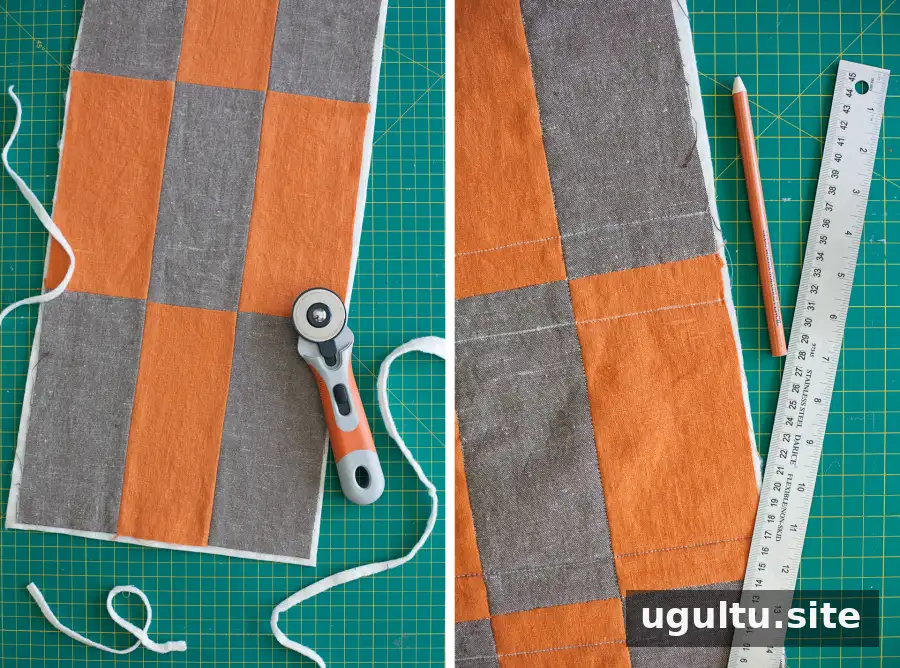
Trim excess batting and muslin, using the quilt top as your guide. With a water-soluble pen or pencil, mark any lines you want to stitch. The example design follows the seams between the contrasting rectangles and adds four extra lines.
Use your sewing machine to quilt the layers. A spring-loaded free-motion foot can make it easier to stitch in different directions. If you lower the machine’s feed dogs for free-motion sewing, practice on scrap fabric first: guiding the material by hand can make it harder to control speed and keep lines straight. Follow your machine’s instructions when changing the presser foot or feed-dog settings.
5. Sew and finish the pillow
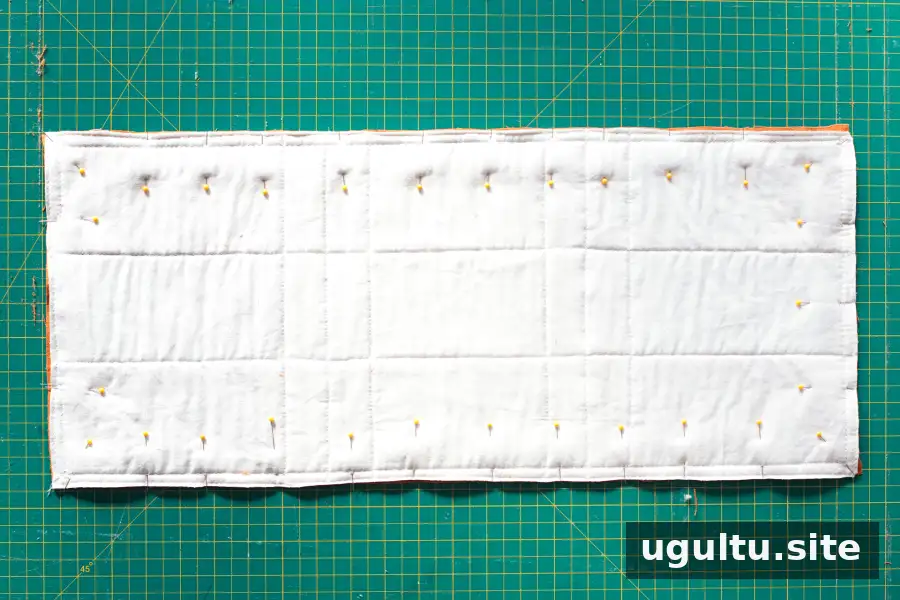
Cut a piece of the dominant fabric to match the quilted front. Place the two pieces with their good sides facing each other, pin them together, and sew 1/4″ from the edges. Leave an opening about 4″ wide for turning and stuffing.
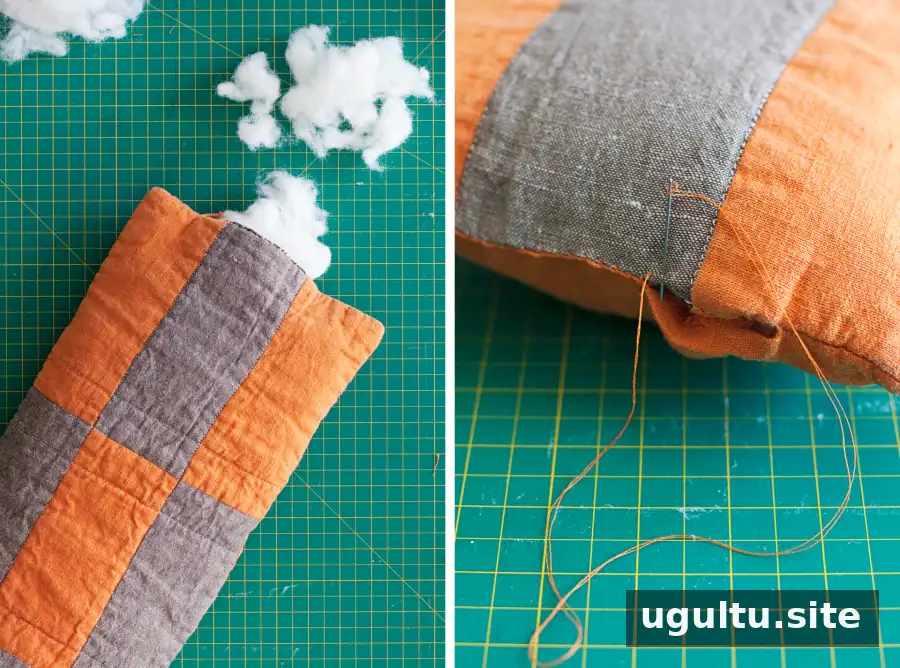
Turn the cover right-side out. To create a softly crinkled texture, wash and tumble dry it; the 100% cotton batting may shrink slightly. If you prefer a smoother finish, skip washing and drying. Stuff the pillow with pillow batting, then hand-sew the opening closed with coordinating thread.
Make and attach the tassels
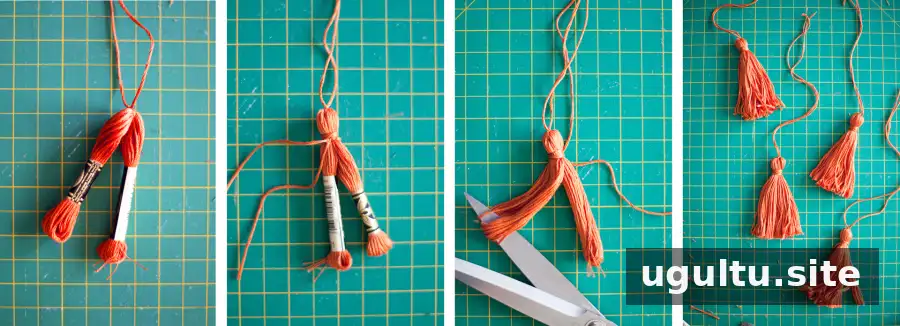
Tassels add a decorative finishing detail to the pillow. Use one bunch of embroidery floss for each tassel and reserve the fifth bunch for tying and wrapping them.
- Keep a bunch of floss in its packaging and tie it tightly at the middle with a piece of matching floss. Leave a long end to attach the tassel to the pillow.
- Wrap floss around one end of the bundle, securing it tightly. Tuck the loose ends of the wrapping into the tassel.
- Remove the packaging, cut open the loops at the ends, and trim any uneven strands.
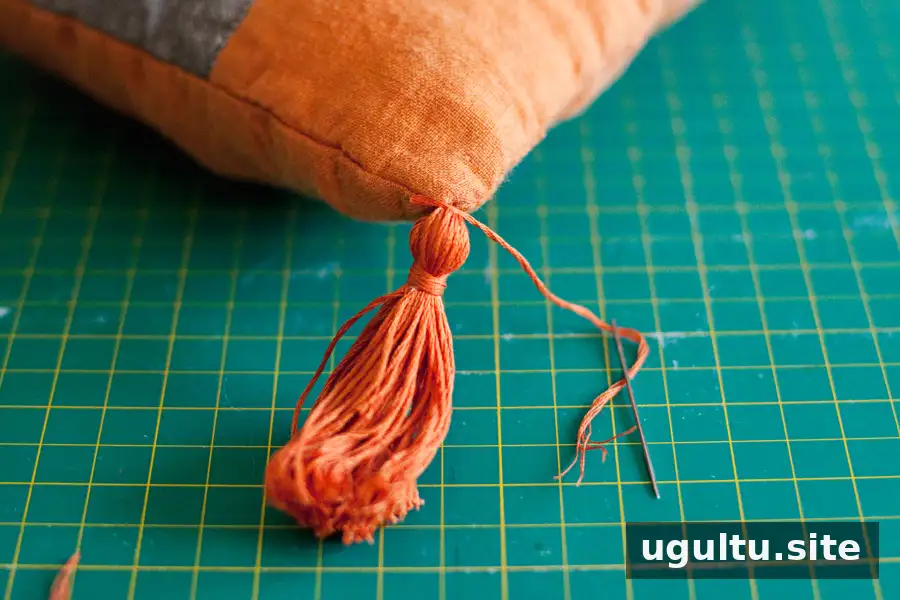
- Use a darning needle and the long thread to sew a tassel to each pillow corner. Knot it securely, then thread the remaining floss through the pillow.

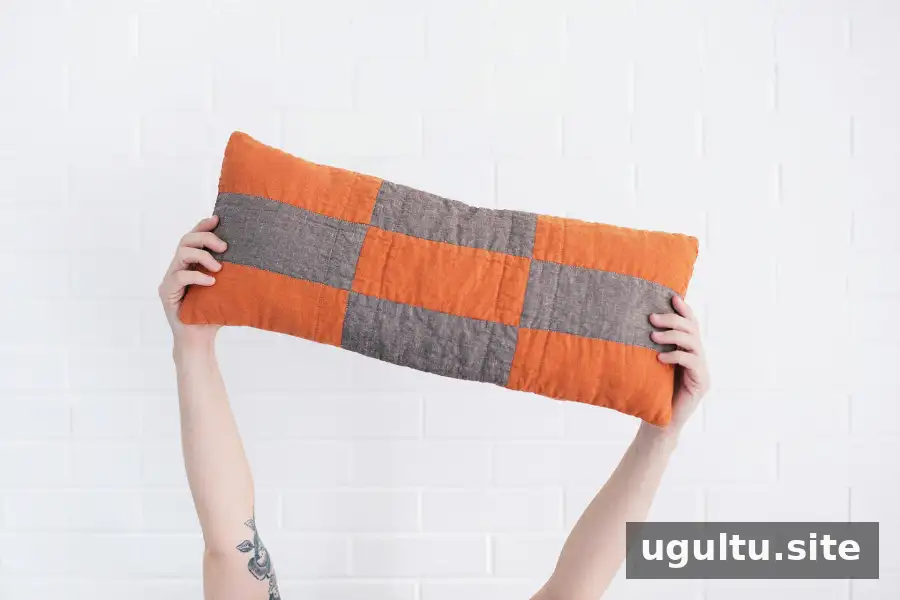
The finished pillow pairs the relaxed look of patchwork and quilting with the detail of handmade tassels. For a coordinated result, choose linen colors that complement your room and use matching thread for the seams and finishing stitches.
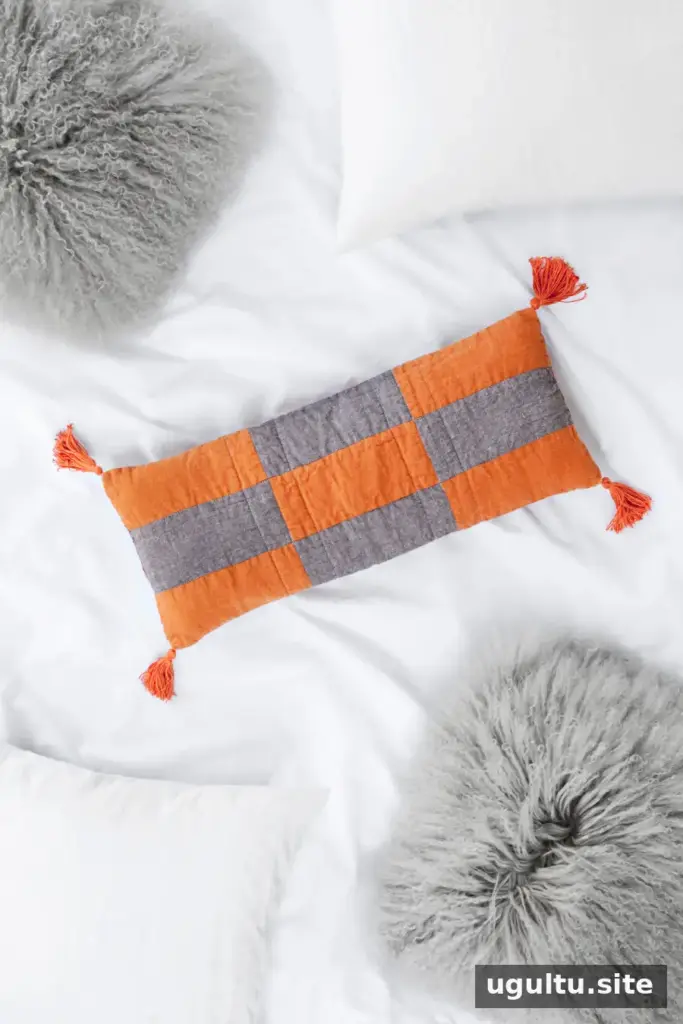
This boho patchwork pillow is a practical small-scale sewing project for adding graphic pattern and soft texture to your home. Check the seam allowances as you assemble the top, secure the layers before quilting, and test free-motion stitching on scrap fabric if it is new to you. —Mandi


