
 admin
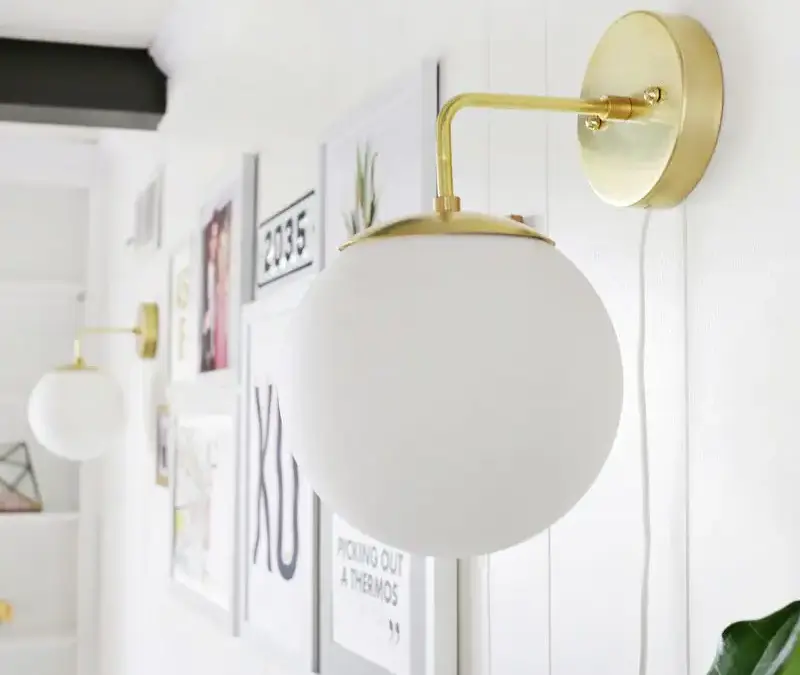
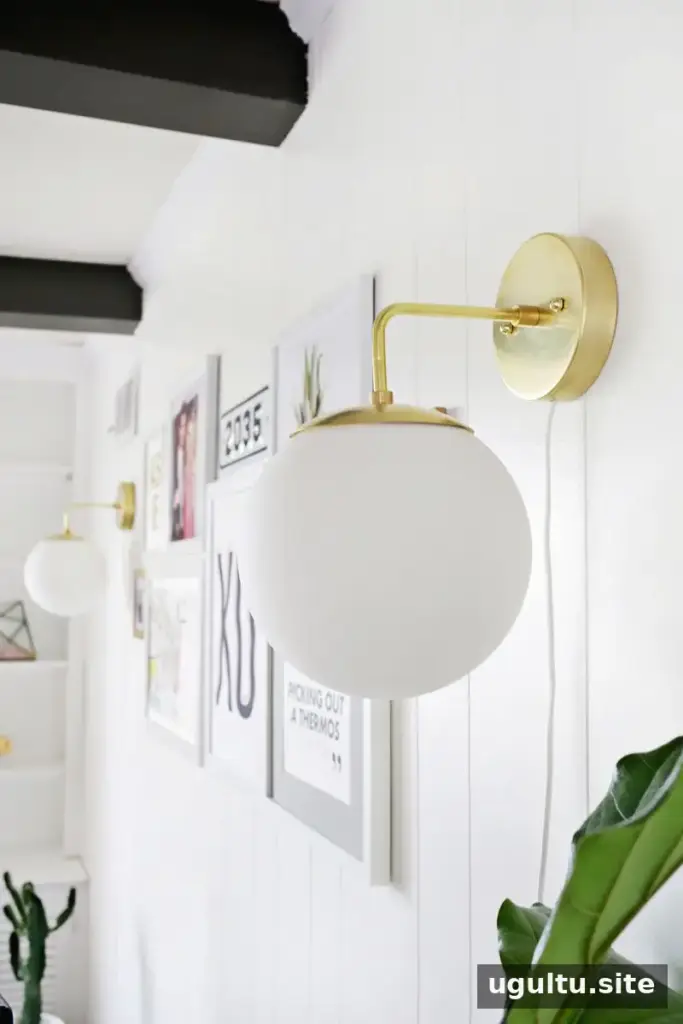
A Brass Globe Sconce DIY project can add soft, adjustable lighting to a room without installing a permanently hardwired fixture. This plug-in design uses a brass arm, frosted glass globe, porcelain socket, and inline dimmer. Careful preparation makes assembly easier: gather the listed parts and tools first, and keep the fixture unplugged throughout construction.
Wall sconces can be especially useful in rooms where floor lamps are awkward or overhead lighting feels too bright. An inline dimmer lets you adjust the light for different activities. Choose a dimmable bulb that is compatible with the dimmer and socket, and check the ratings on all electrical components before assembly.
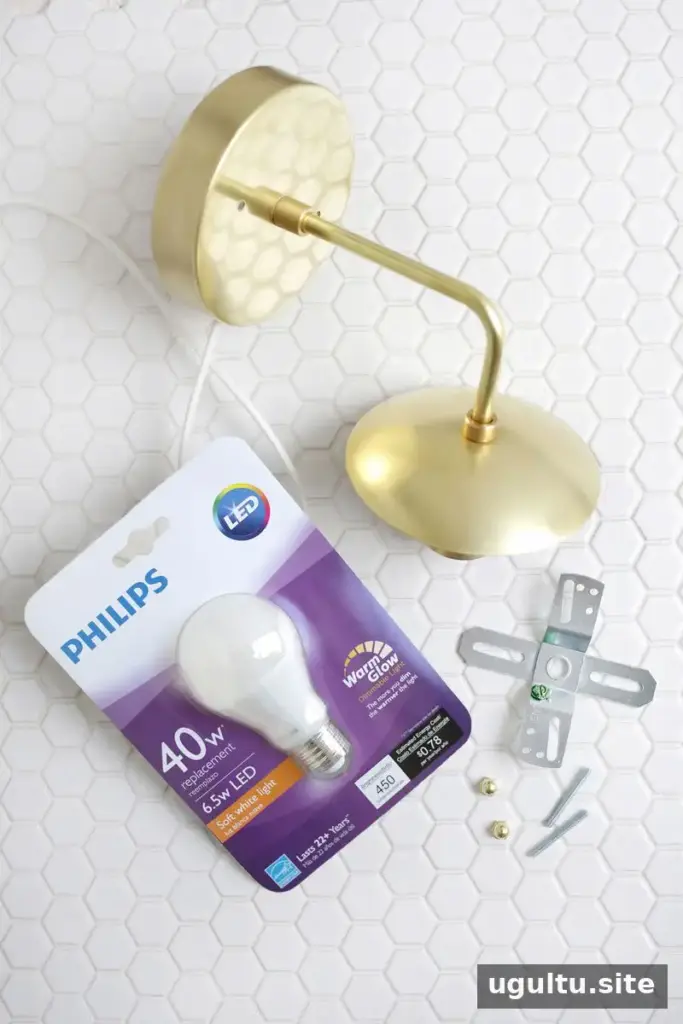
Parts and tools for a Brass Globe Sconce DIY
These components are for one light. Part numbers are included to help identify each item.
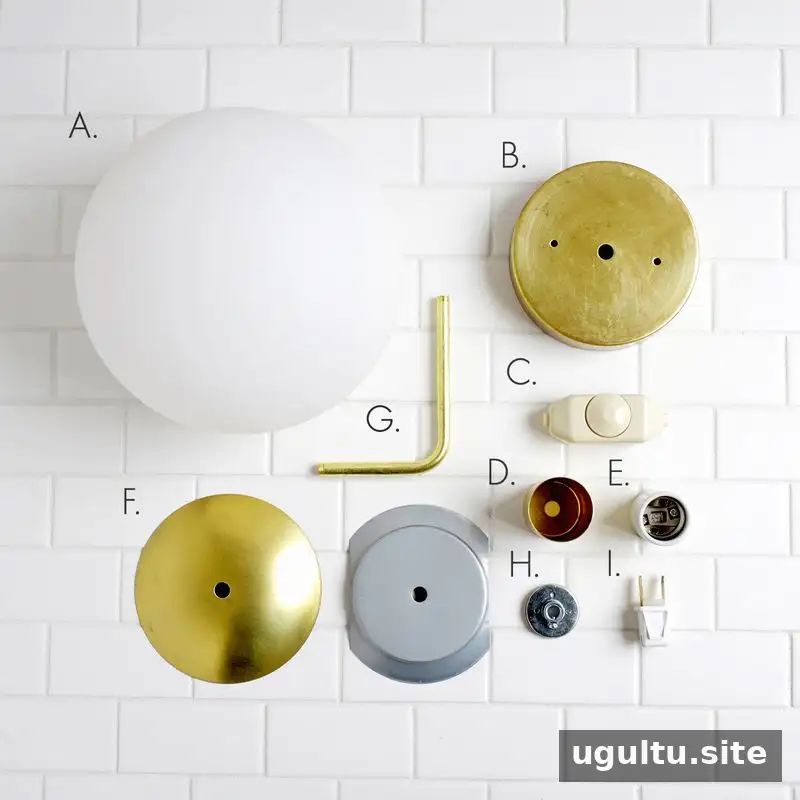
- A. Neckless frosted globe (GLGB08NLSO)
- B. Brass canopy (CAS05)
- C. Dimmer (DI6250I)
- D. Brass socket cup (CU578)
- E. Porcelain socket (SO10045C)
- F. Brass neckless holder set (HONL04BR)
- G. 90-degree brass arm (AR90B)
- H. Silver socket top, supplied with part E
- I. Snap-in lamp plug (PL123PW)
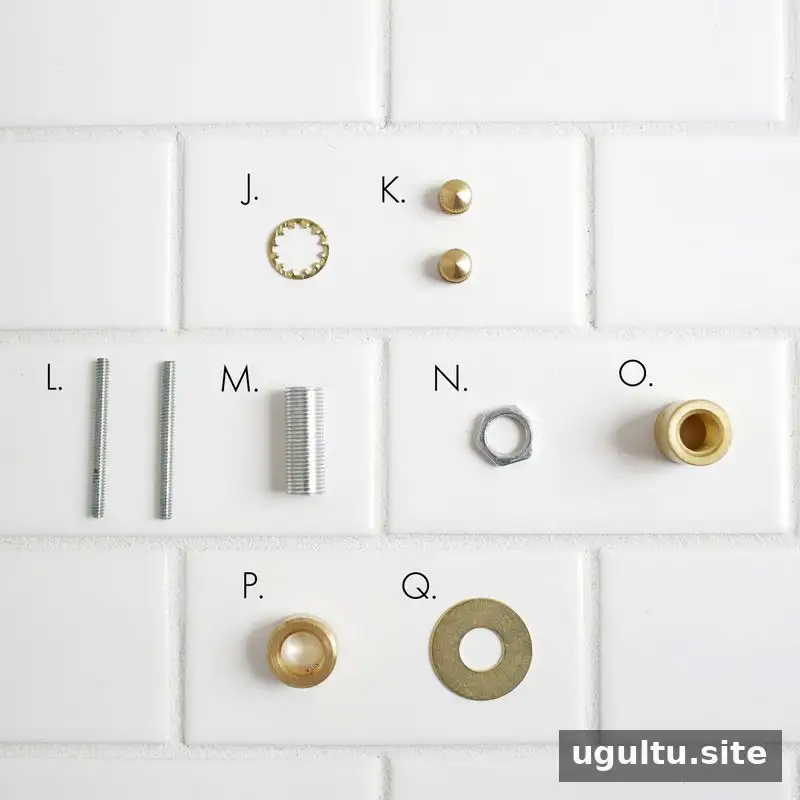
- J. Slip star lock washer (WASTAR1/8)
- K. Two acorn caps (FI855-8/32)
- L. Two threaded studs (SCS600)
- M. Threaded hollow steel nipple (NI1-0X1/8)
- N. Hex nut (NU233WZ)
- O. Threaded straight brass coupling (NE438)
- P. Slip ring with side screw (SRS0-3/8)
- Q. Washer (WABP1)
- R. Crossbar and wood or drywall screws for wall mounting (CBSV2-3/4)
- S. Nylon-braid lamp wire (WI18SPT1POULW)
Tools: a drill with a metal drill bit, Allen wrench, wrench, wire strippers, and screwdriver.
Assemble the socket and globe holder
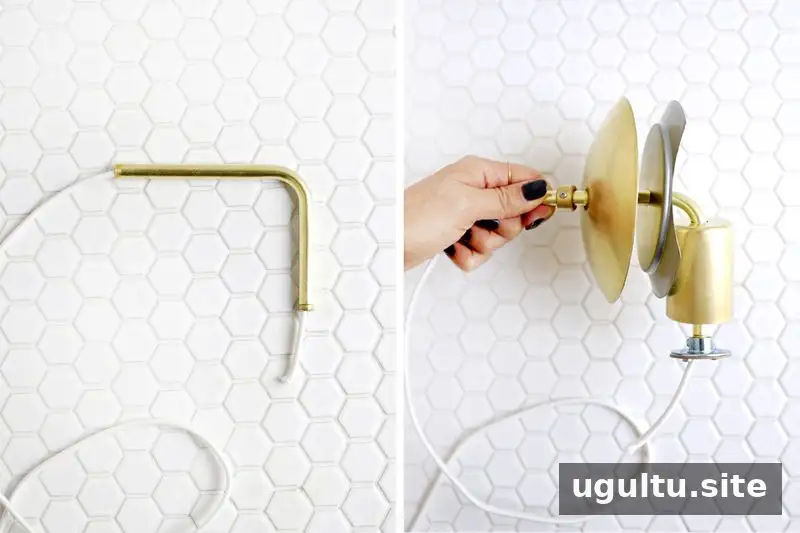
If desired, polish the brass pieces before assembly. Wear gloves to limit fingerprints. Feed the nylon-braid wire through the brass arm. The shorter end of the arm is where the socket and globe attach. On that end, slide on the slip ring without tightening it, followed by the brass and silver domes of the neckless holder, the brass socket cup, and the silver socket top. Screw the socket top onto the arm and tighten its side screw.
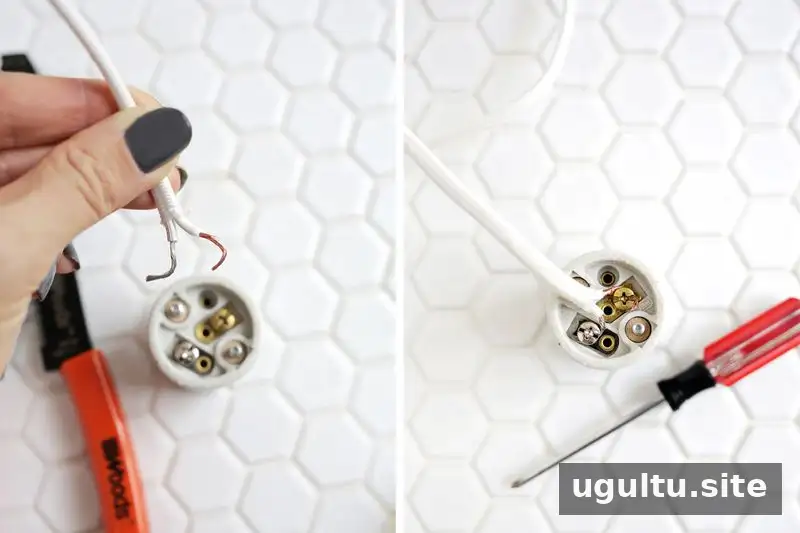
Expose about 1 inch of each conductor at the socket end, following the wire stripper instructions. Separate the conductors carefully, leaving their insulation intact close to the point where they join. If trimming the nylon braid, keep heat away from the conductors and work in a well-ventilated area.
Connect the silver wire to the silver screw on the porcelain socket and the copper wire to the gold screw. Wrap each conductor clockwise around its screw, then tighten securely. Match the socket’s internal screws to the holes in the silver socket top and fasten the pieces together.
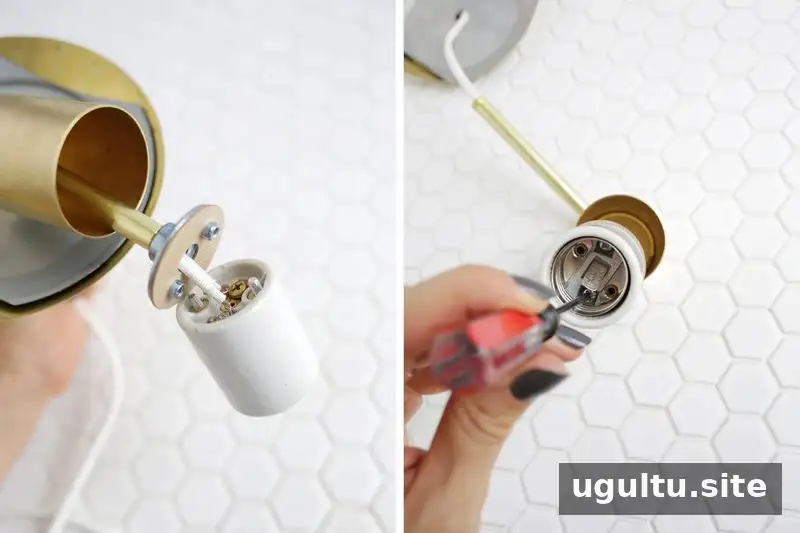
Check that the socket’s stated maximum wattage is not exceeded; the socket used for this project is specified for bulbs up to 660 watts. The rating of the dimmer, plug, and wire must also be suitable for the bulb and fixture. Use a compatible dimmable bulb and never work on the fixture while it is plugged in.
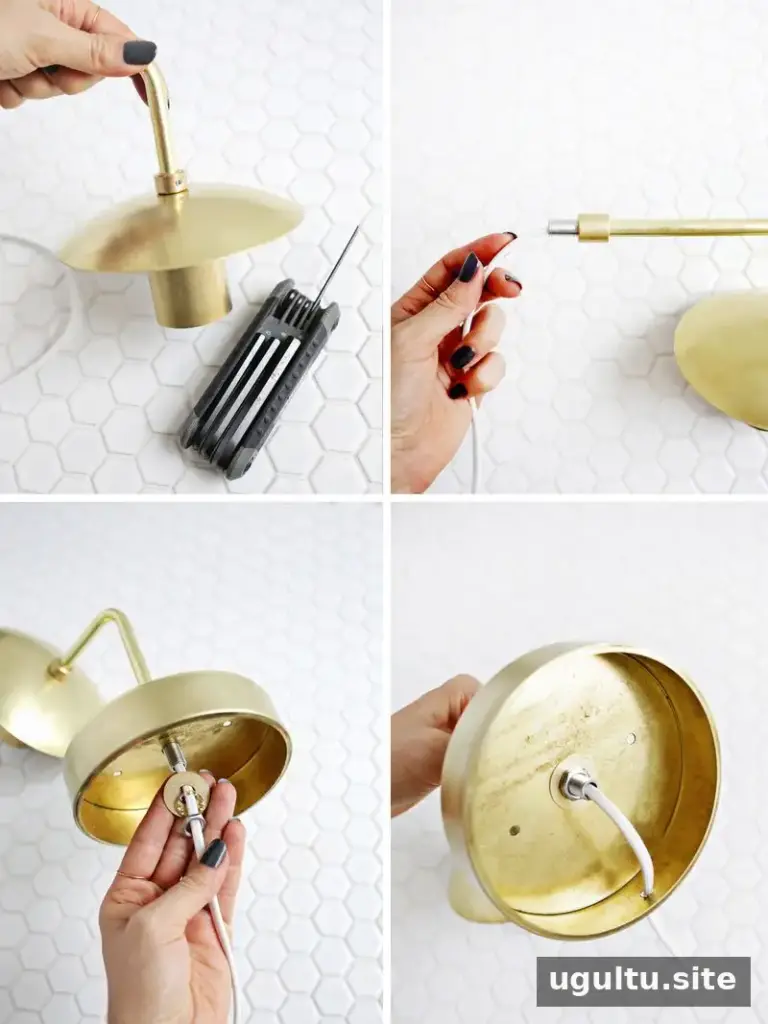
Slide the brass and silver holder domes back into position and tighten the slip-ring screw with an Allen wrench. At the wall end of the arm, pass the wire through the threaded straight coupling and screw the coupling halfway onto the arm. Feed the wire through the hollow steel nipple and connect the nipple to the other half of the coupling.
Fit the brass canopy over the nipple, then add the washer, star lock washer, and hex nut. Tighten the nut to secure the assembly. If the canopy lacks an opening for the cord, a suitable hole must be made carefully. Remove sharp edges and make sure the cord cannot rub against them or become pinched.
Add the dimmer and plug
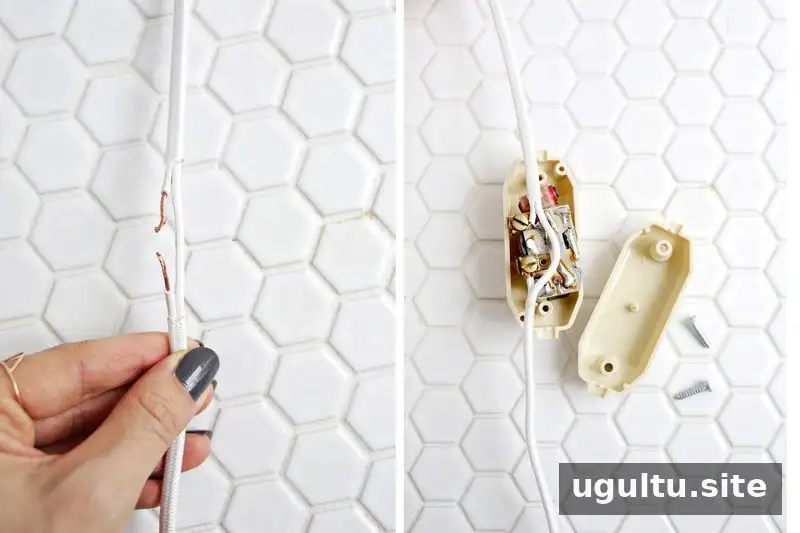
Choose the dimmer’s position on the cord. Separate the conductors and interrupt only the copper conductor in the section required by the dimmer instructions. Strip approximately 1 inch from each cut end, attach the ends to the dimmer terminals, and tighten the screws. Reassemble the dimmer housing securely. Follow the manufacturer’s wiring diagram if it differs from these general steps.
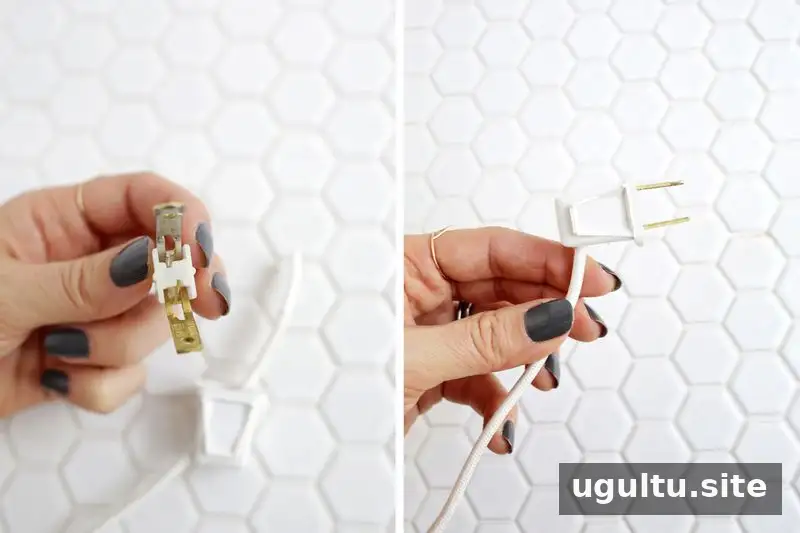
Trim the cord to the desired length and prepare its end for the snap-in lamp plug. Feed the wire through the plug housing and align the copper conductor with the gold prong and the silver conductor with the silver prong. Seat the conductors fully, press the prongs into the wire as designed, and snap the plug components together. Inspect the cord for exposed conductors or loose connections before plugging it in.
Mount and finish the brass globe sconce
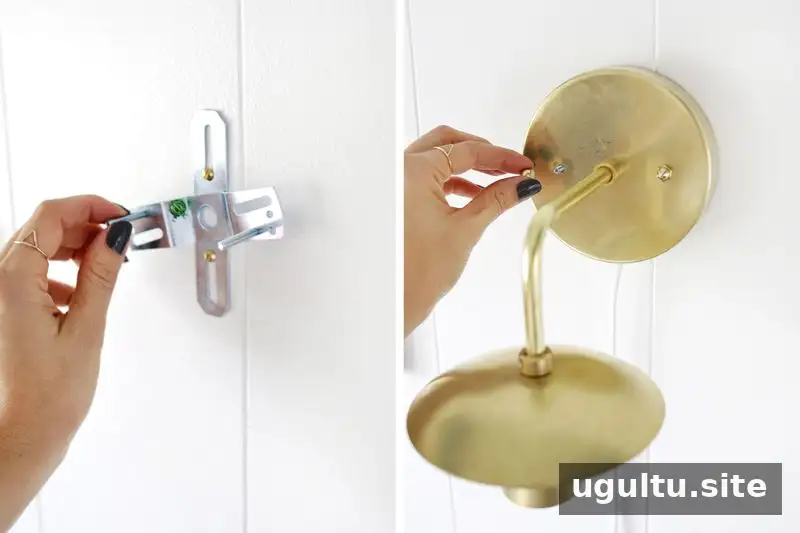
Secure the crossbar to a suitable wall location using appropriate fasteners for the wall material. Thread the two studs into the crossbar. Position the canopy over the studs and secure it with the two acorn caps. Confirm that the mounting is stable and that the cord hangs without strain.
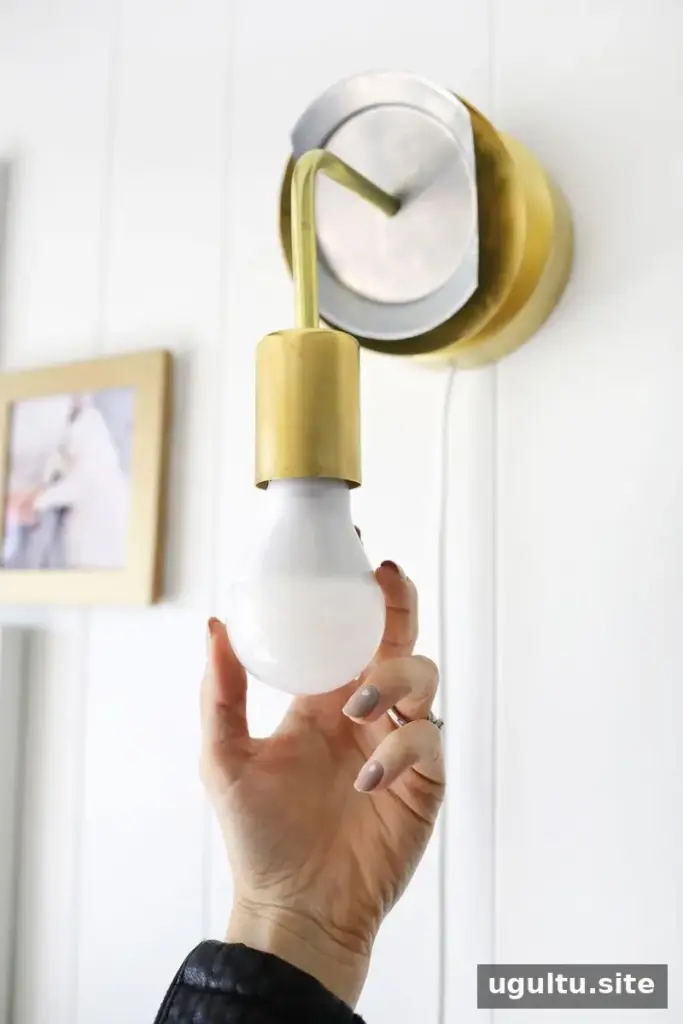
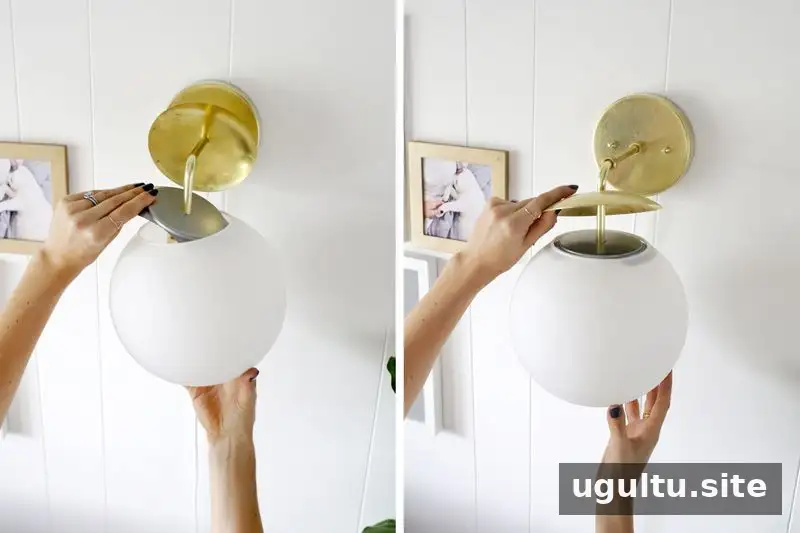
To fit the globe, loosen the slip ring and move the brass dome back enough to access the bulb holder. Install the bulb, then gently angle the holder so it enters the globe opening and the silver plate sits centered. Move the dome and slip ring back into place and tighten them securely. Unplug the sconce before changing a bulb; loosen the ring and remove the globe carefully.
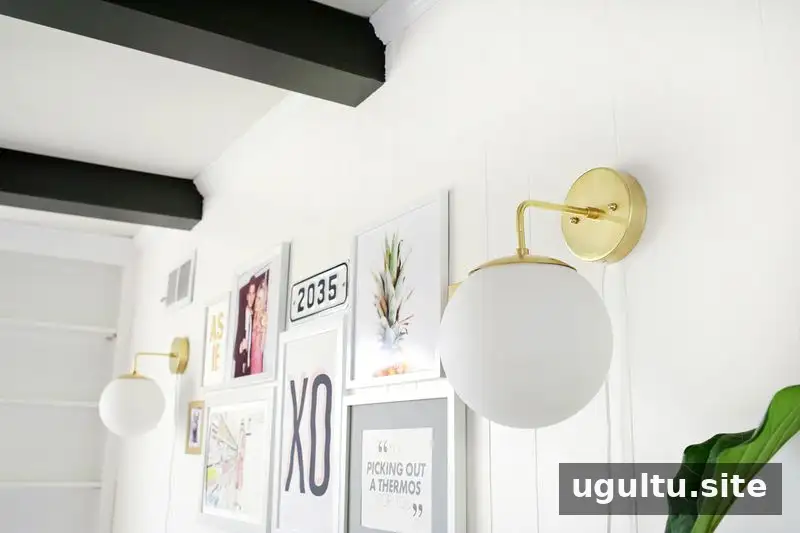
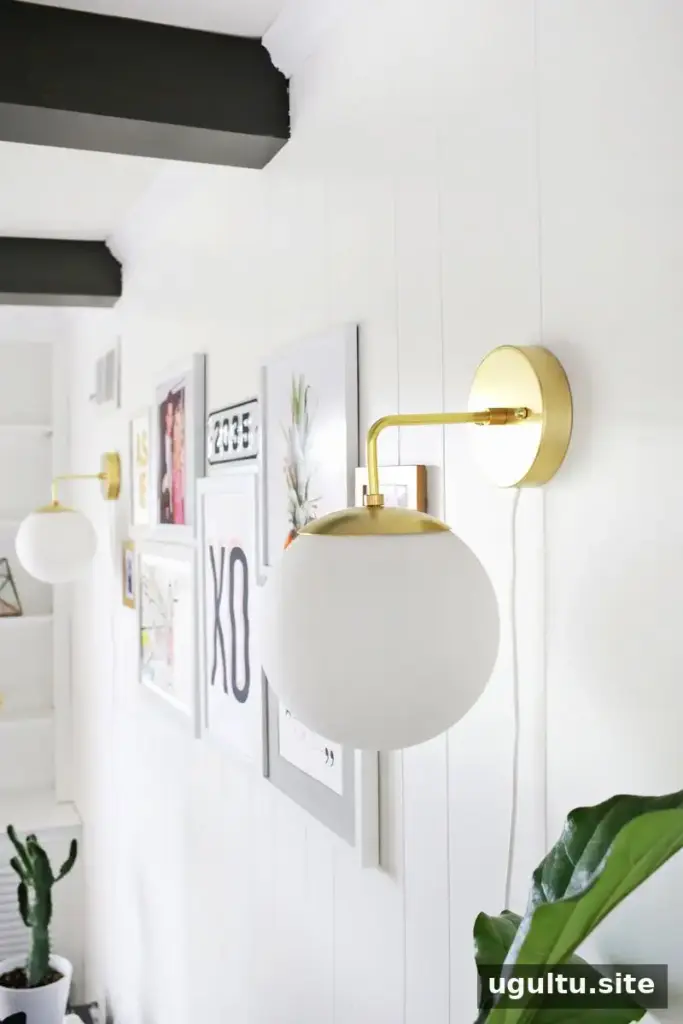


Once assembled and securely mounted, the sconce provides adjustable accent lighting for spaces such as a den, bathroom, or either side of a bed. A long-life dimmable LED can reduce how often the globe needs to be removed for bulb replacement. This Brass Globe Sconce DIY is best suited to anyone comfortable with basic assembly and cord wiring. If you are unsure about electrical connections, have the fixture checked by a qualified electrician before use. Project by Laura.


