
 admin
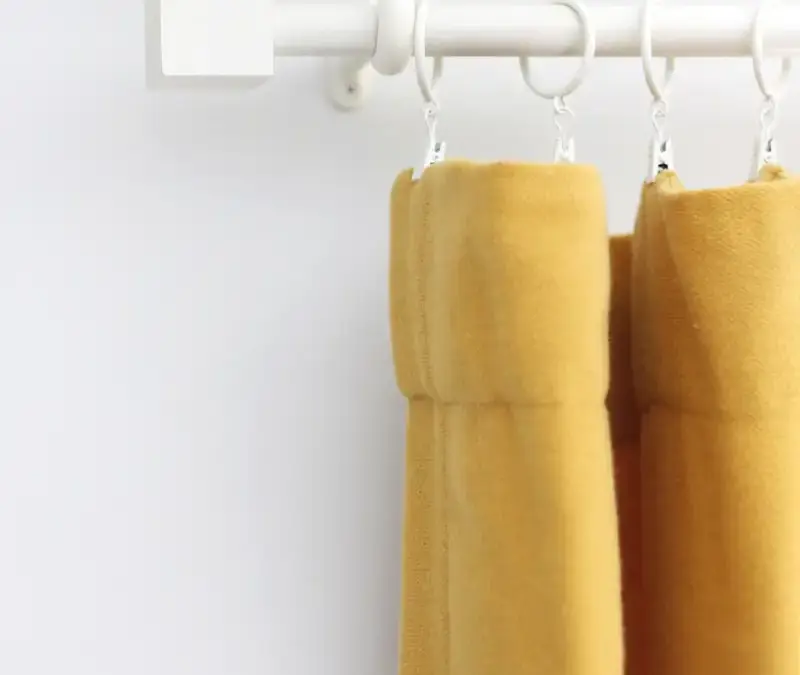
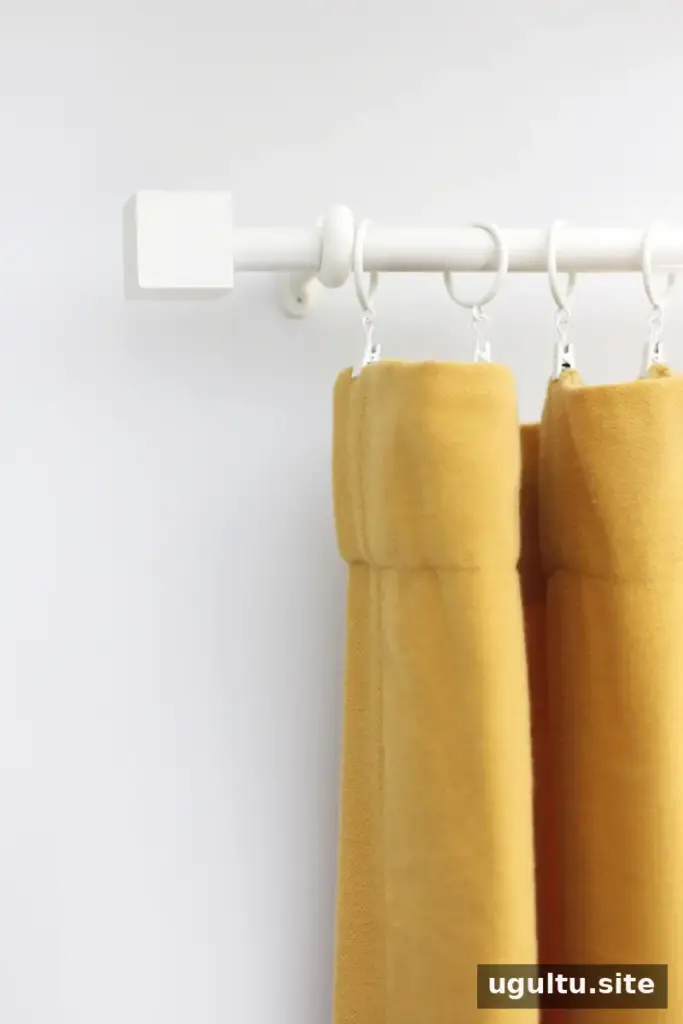
A DIY curtain rod can be a practical, budget-friendly way to finish a room when ready-made hardware is too expensive or does not suit your style. This project uses steel pipe, curtain rod supports, paint, and homemade finials to create a simple, modern look. The listed materials cost about $38 for a rod measuring 8 to 10 feet, with the final price depending on local costs and the hardware you choose.
Making your own finials also gives you room to customize the shape and color. Before buying materials, check the size of your existing or planned rod supports so the pipe will fit securely.
DIY Curtain Rod Supplies and Cost
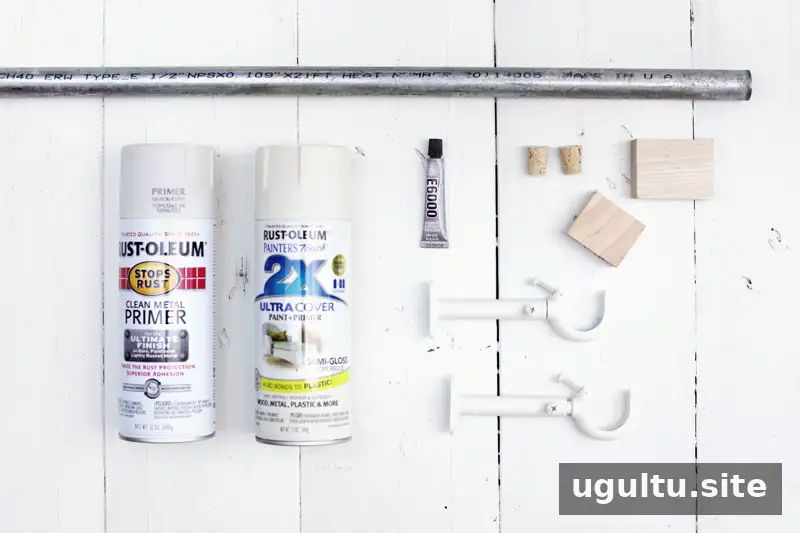
Gather the following supplies:
- Steel pipe: $10 for a 10-foot length; this project uses 1/2-inch-thick pipe to fit the rod supports.
- Paint-and-primer duo: $4.
- Curtain rod supports: about $10 on average, or $20 for two.
- Corks: about $2 for a pack from a craft store.
- Super glue and/or wood nails: about $1 on average.
- Wooden blocks or other objects for finials: about $1.
Estimated total: $38 for an 8- to 10-foot curtain rod, ready to install.
Tools: hammer, power drill, and screwdriver.
Have the pipe cut to the required length at a hardware store if you do not have the tools to cut it yourself. Take a small offcut with you when choosing corks, so you can check that a cork fits snugly inside the pipe. Use the offcut to test the fit with the rod supports as well. For several shorter rods, ask whether a single long pipe can be cut into multiple pieces. Rod supports can be a significant part of the total cost, so compare prices before purchasing.
How to Make the Curtain Rod
1. Paint the pipe and finial pieces
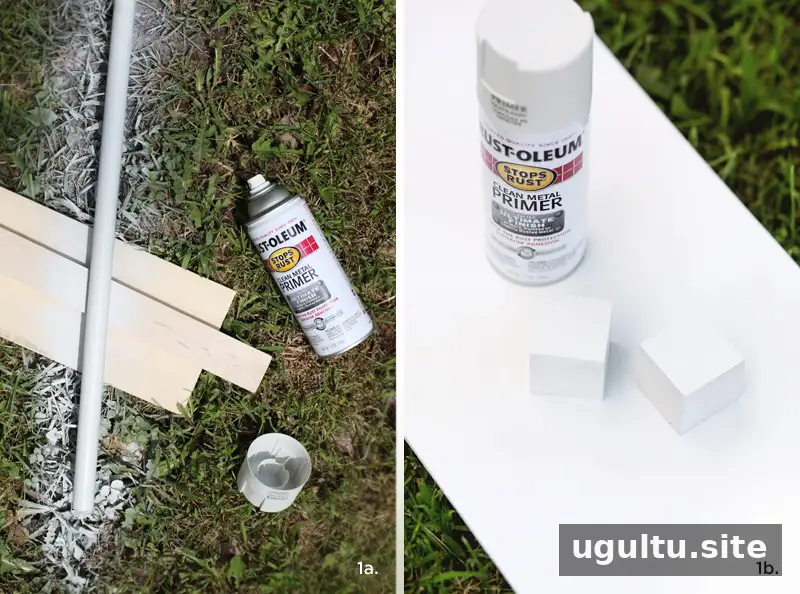
Apply several light coats of paint and primer to the pipe and wooden blocks, matching the finish to your rod-hanging hardware. Light coats help reduce drips. Let each coat dry fully before turning the pieces to paint the other side. To prevent fresh paint from sticking to a work surface, place wax or parchment paper beneath the pipe when you flip it.
A metal primer can be used if available. In a low-humidity room, a regular paint-and-primer product may be sufficient, though conditions vary. Allow the paint to cure for about one week before continuing. This waiting period helps protect the finish during assembly and use.
2. Make and attach the finials
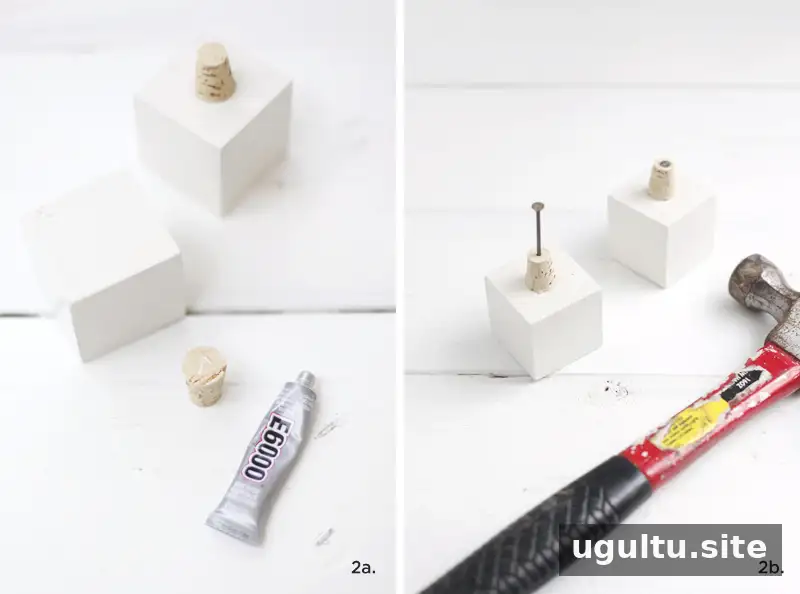
Use super glue to attach a cork to the side of each finial object. For wooden finials, a wood nail can provide additional hold; do not use a nail with non-wood objects. Wooden blocks offer a simple geometric style, while craft-store wooden spheres or suitable objects already on hand can create a different look. Make sure each cork fits firmly into the pipe before attaching it.
3. Install the supports and hang the curtains
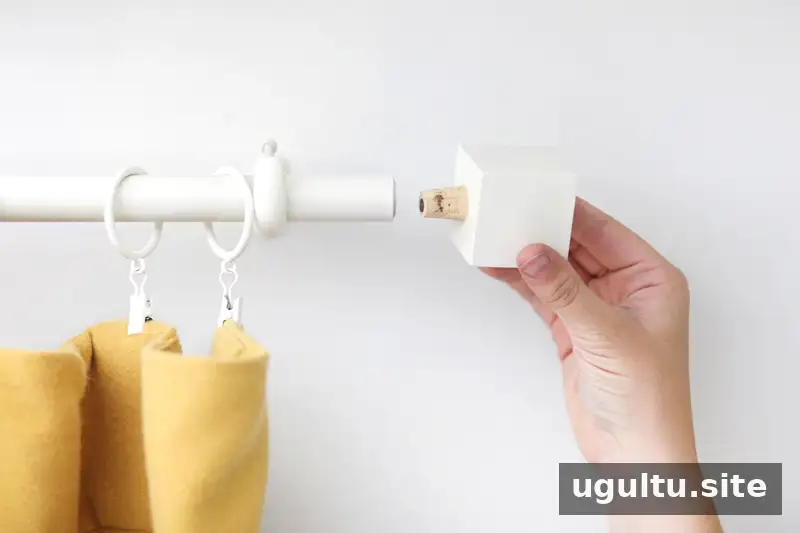
Secure the curtain rod supports into wall studs or use drywall anchors rated for the expected load. Once the supports are firmly installed and the paint has fully cured, place the curtains on the rod and fit the finials into the ends. If using curtain rings, wait until the paint is cured before sliding them onto the rod; rings can scratch a finish that has not set.
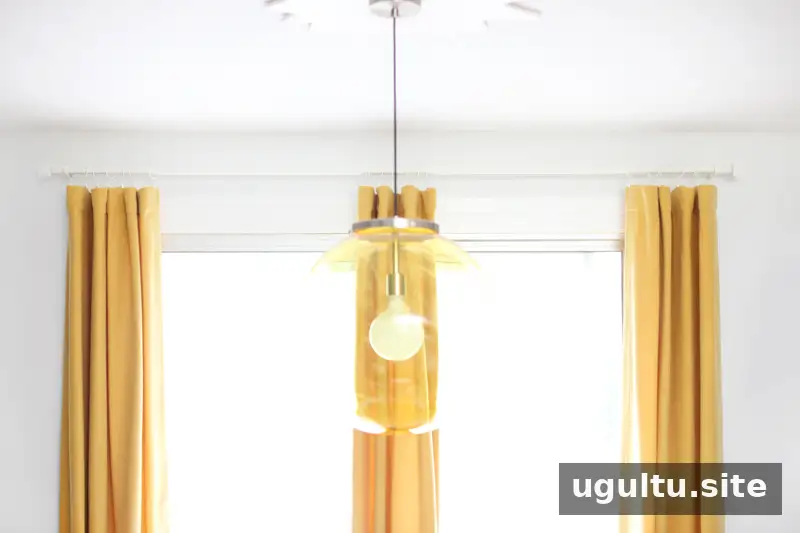
Customize the Finish
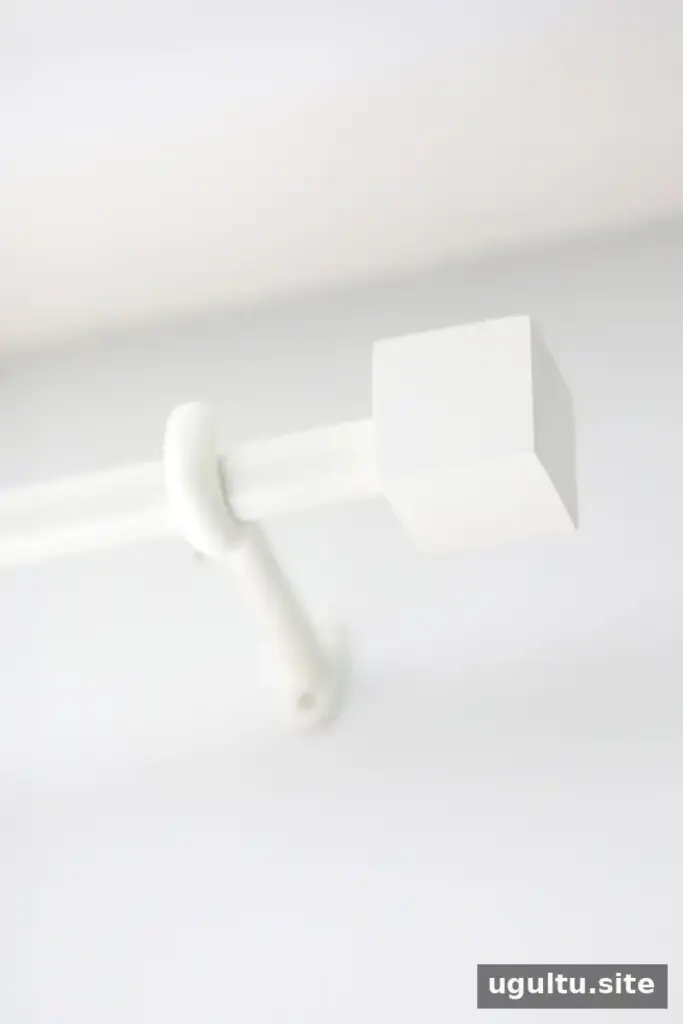
A painted pipe and simple finials create a clean, graphic look, and the colors can be adapted to suit the room. For a brass-style finish, use brass-colored paint; a small amount of black acrylic paint can add a patina effect. For a nautical detail, rope can be incorporated into the design. Keep any added materials securely attached and make sure they do not interfere with the brackets or curtains.
This DIY curtain rod project combines a cut-to-length steel pipe with custom finials for a flexible alternative to a ready-made rod. Measure carefully, confirm that the pipe fits the supports, and allow the paint to cure before installation for a more durable finish.
Project by Mandi.


