admin
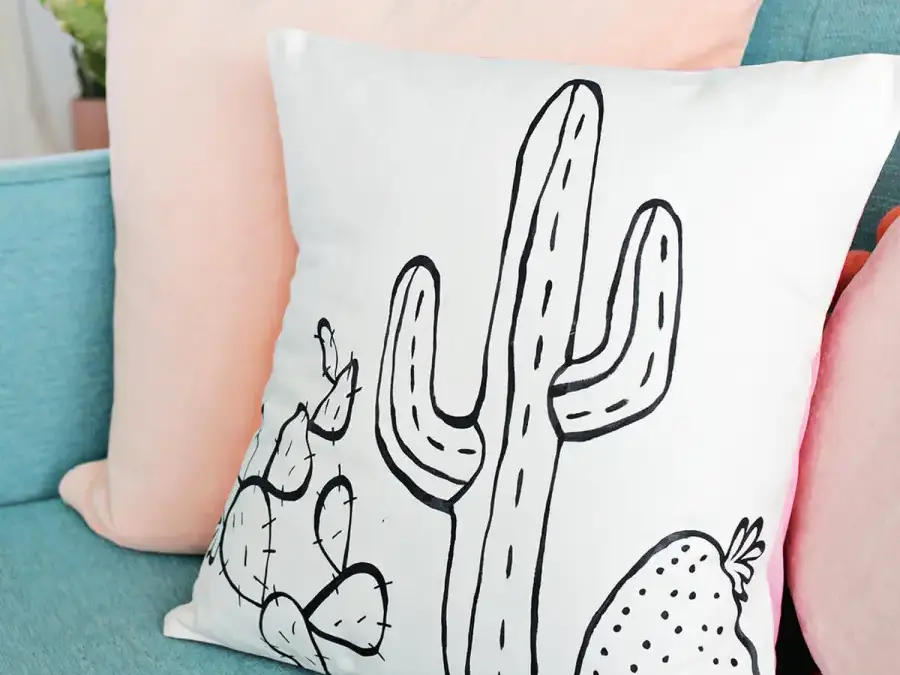
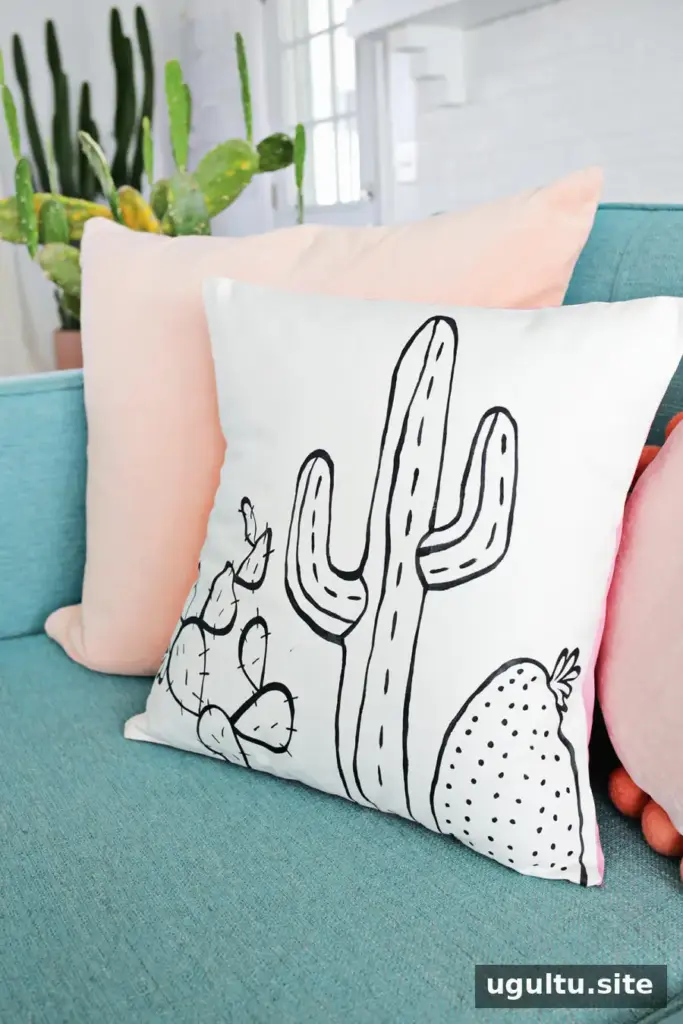
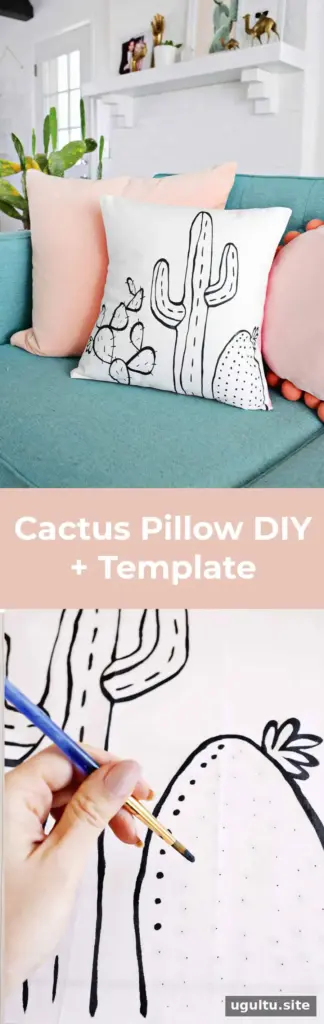
A Cactus Outline Pillow DIY is a simple way to add a hand-drawn botanical design to a room without needing advanced painting skills. This project uses a printed template to guide the outline, fabric paint to create the cactus design, and an envelope-style cover that can be removed from the insert. Choose a contrasting fabric for the back to add a subtle pop of color.
Cactus Outline Pillow DIY Supplies
Gather the materials before you begin so the tracing, painting, and sewing steps can flow smoothly.
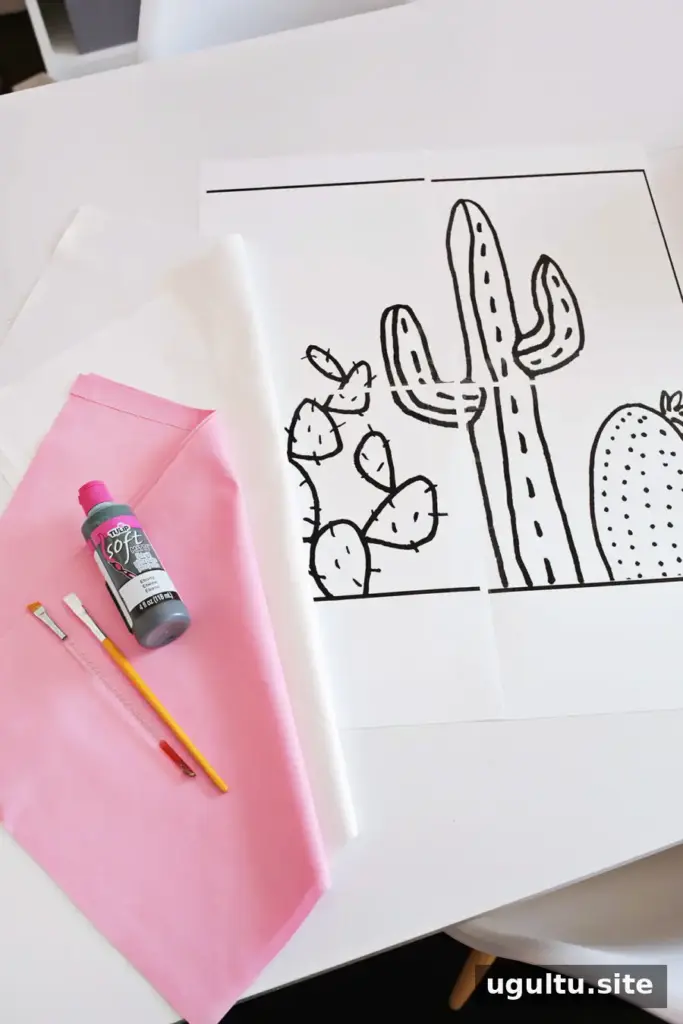
- White cotton fabric
- Colored cotton fabric for the back
- A pillow insert; the template size works best with a 17–18-inch square insert
- Black fabric paint
- Craft brushes in a range of sizes
- Wax paper
- Sewing machine
- Cactus template, printed across four pages
Use a flat, clean work surface and check that the template pages are printed at the intended size before taping them together.
Trace the Cactus Design onto the Fabric
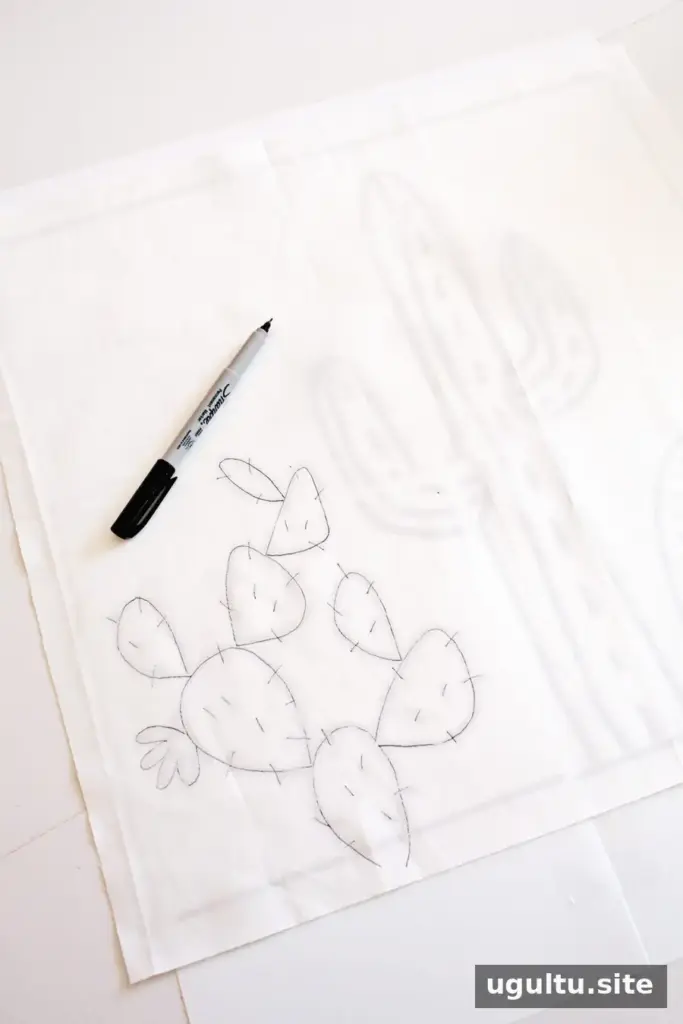
Print the four template pages and tape them together to form one large outline. Cut the white cotton into a 19 x 19-inch square. With a 1/2-inch seam allowance around the edges, this produces a pillow cover sized for an 18-inch insert.
Position the template beneath the fabric and trace the outline onto the fabric with a thin marker. If the fabric is too thick to see through, hold it against a bright window or use a light box. Keep the fabric smooth while tracing to help the design transfer evenly.
Paint the Cactus Outline
Place wax paper beneath the fabric to protect your work surface and help prevent paint from transferring through the cotton. Mix a small amount of water into the black fabric paint, then test it on a scrap of the same white fabric. Aim for paint that moves smoothly with the brush but does not spread beyond the test line.
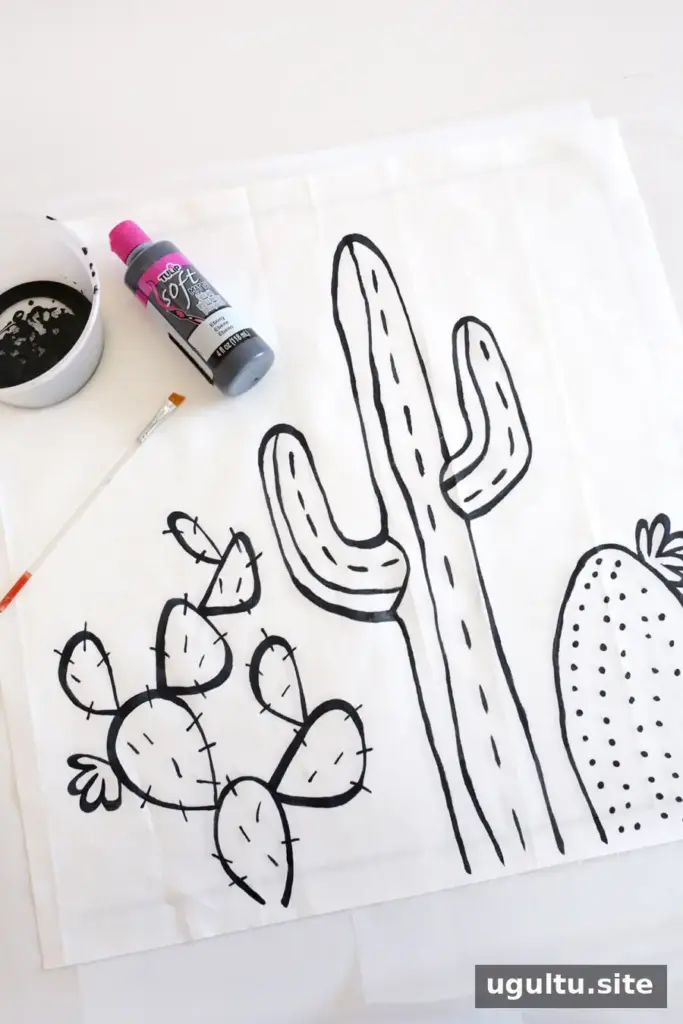
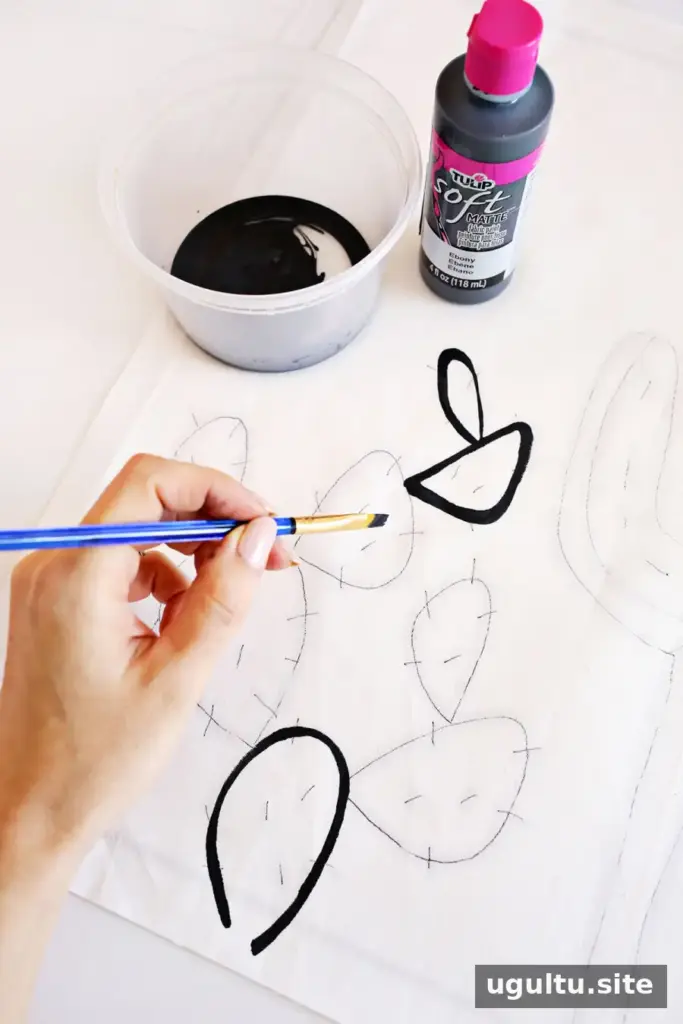
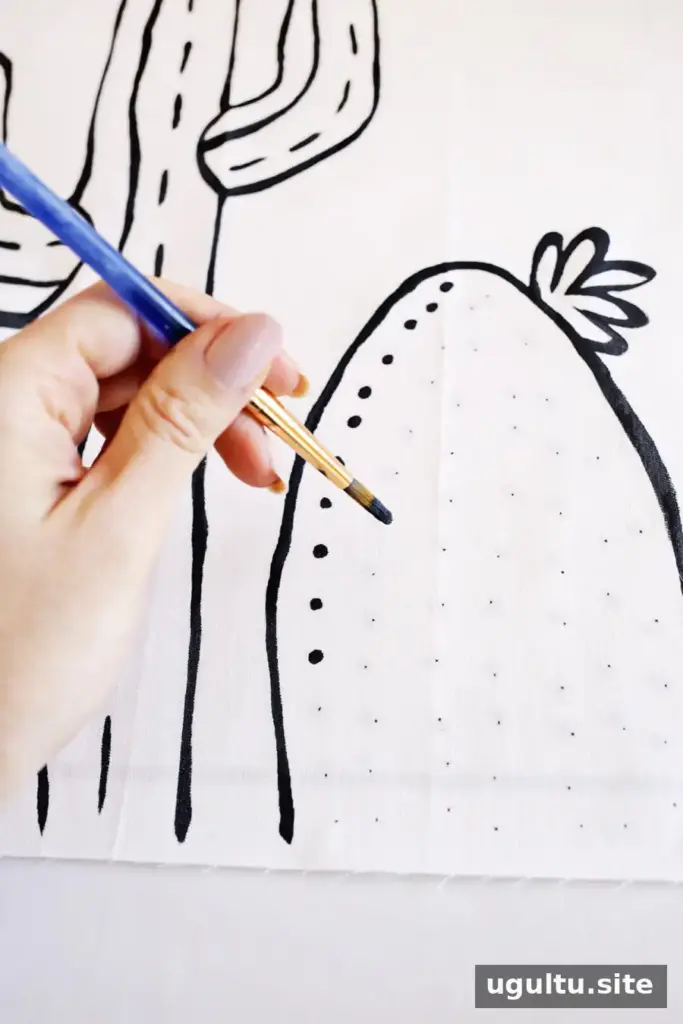
Choose a brush size that suits the line weight you want, then carefully paint over the traced marks. You can vary brush sizes to create different line widths. Allow the paint to dry completely before handling or assembling the pillow cover.
Sew the Envelope-Style Pillow Cover
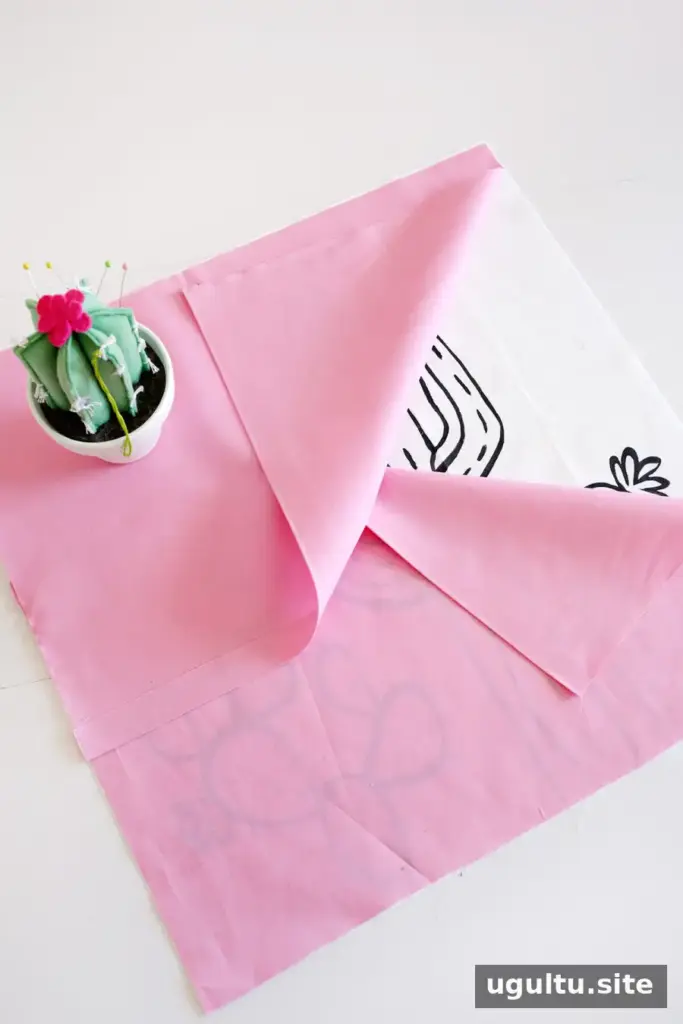
Cut the colored backing fabric into two 19 x 12-inch rectangles. Fold and sew a 1/2-inch seam along the top edge of each rectangle. These finished edges will form the opening at the back of the cover.
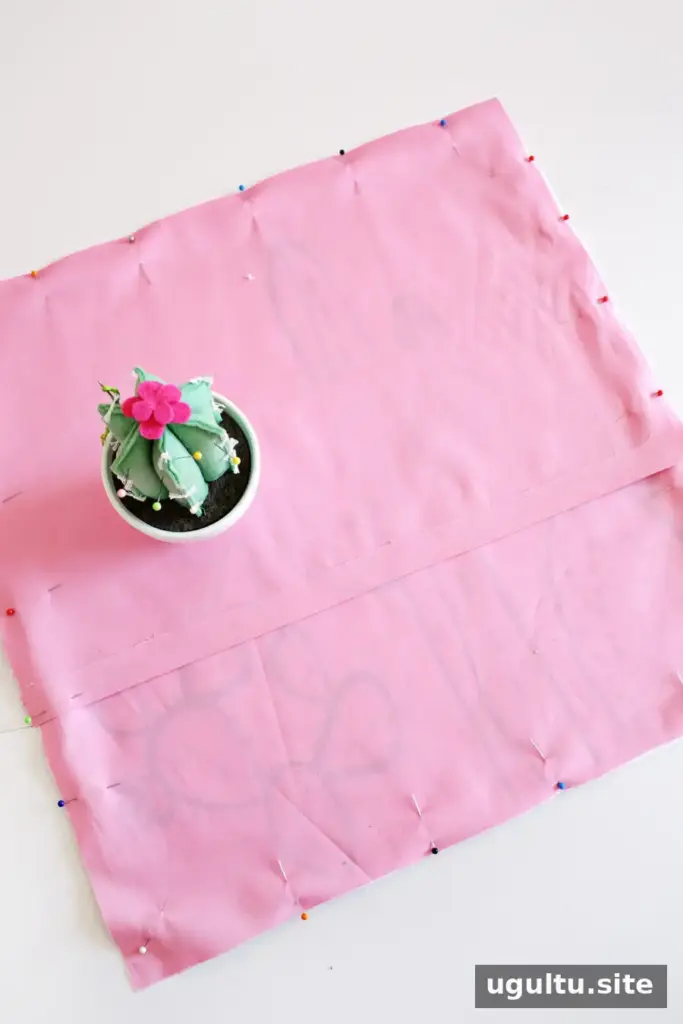
Place the two backing pieces over the painted front, with the right sides facing the painted fabric and the hemmed edges overlapping. Pin the layers in place, keeping the fabric edges aligned.
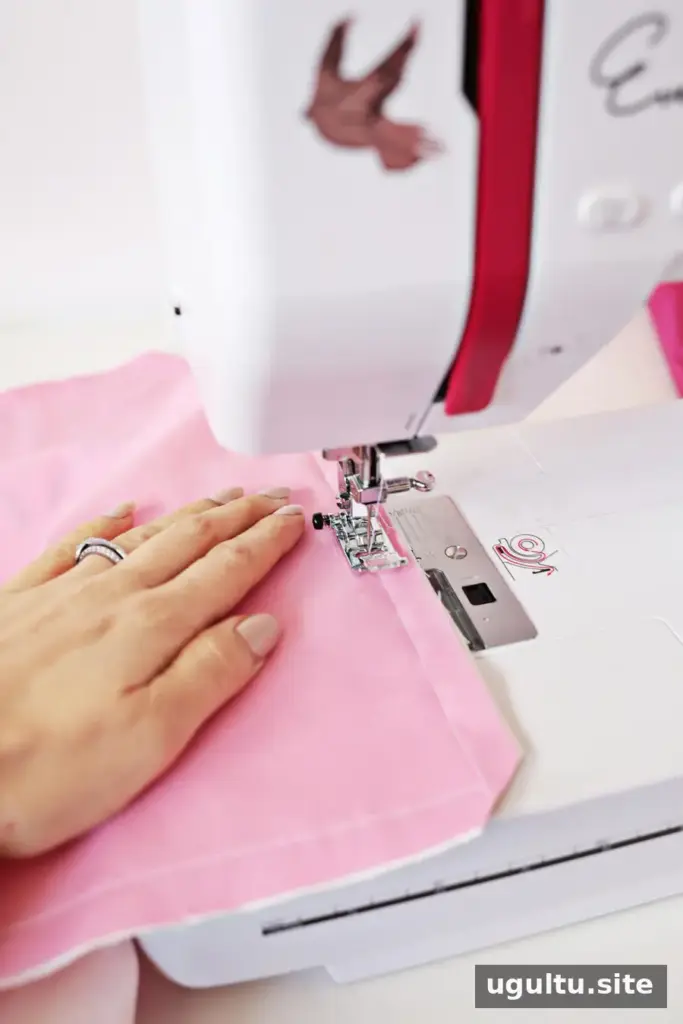
Sew around the entire pillow with a 1/2-inch seam allowance. Trim each corner diagonally without cutting through the stitching; this reduces bulk and helps the corners sit neatly when turned right side out.
Finish and Display Your Cactus Pillow
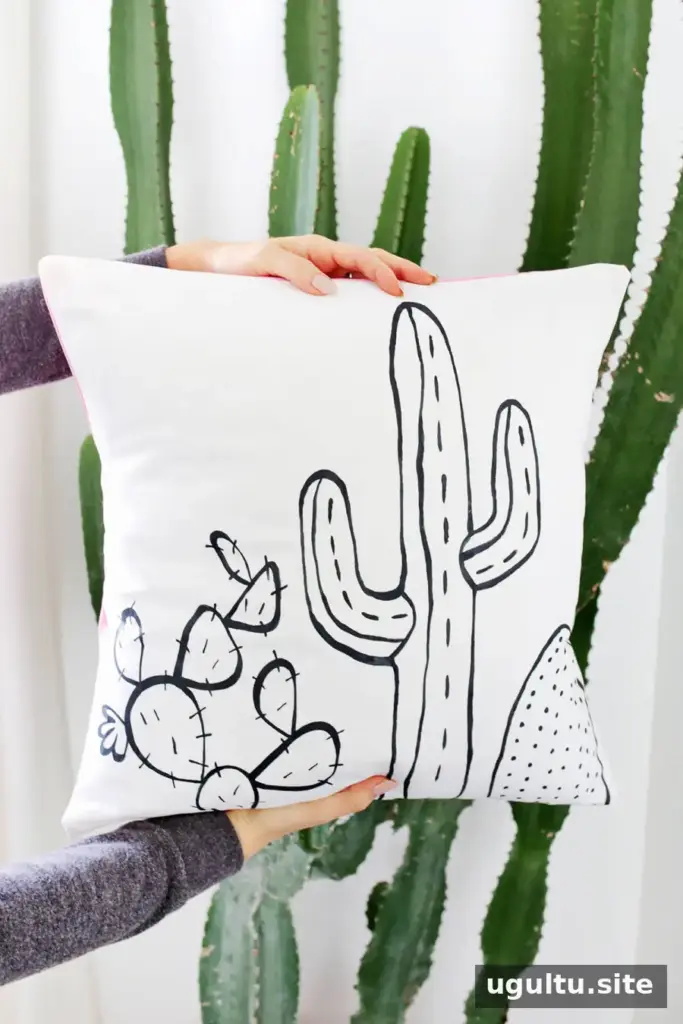
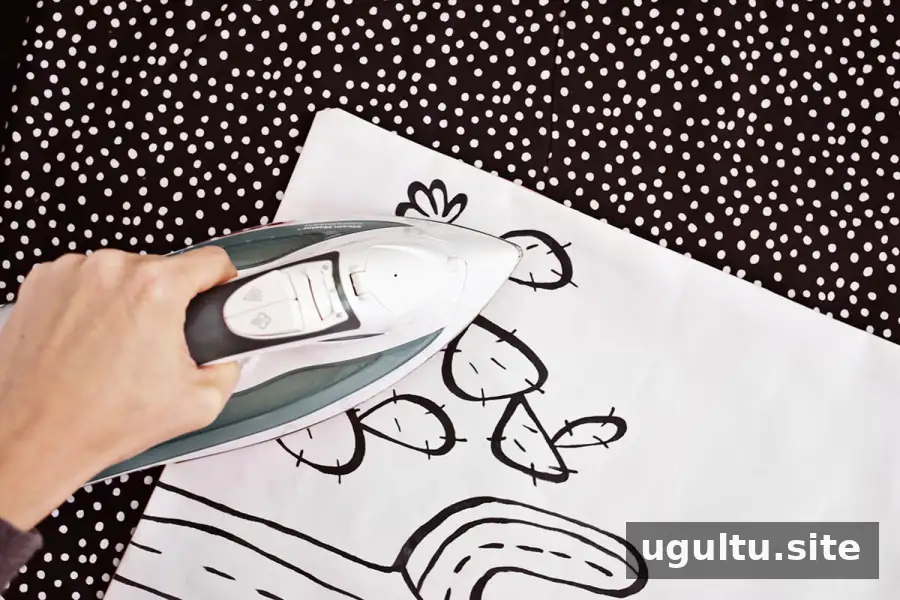
Turn the cover right side out and press the seams flat with an iron, taking care to follow the fabric-paint instructions for heat. Insert the 17–18-inch pillow form through the envelope opening and adjust the corners for an even shape.
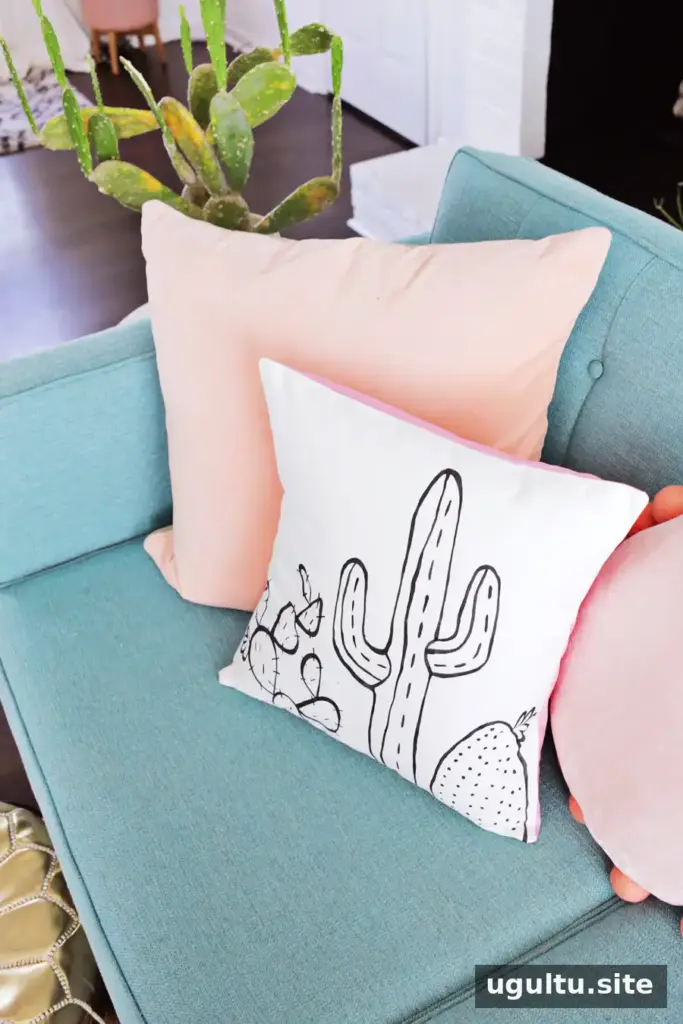
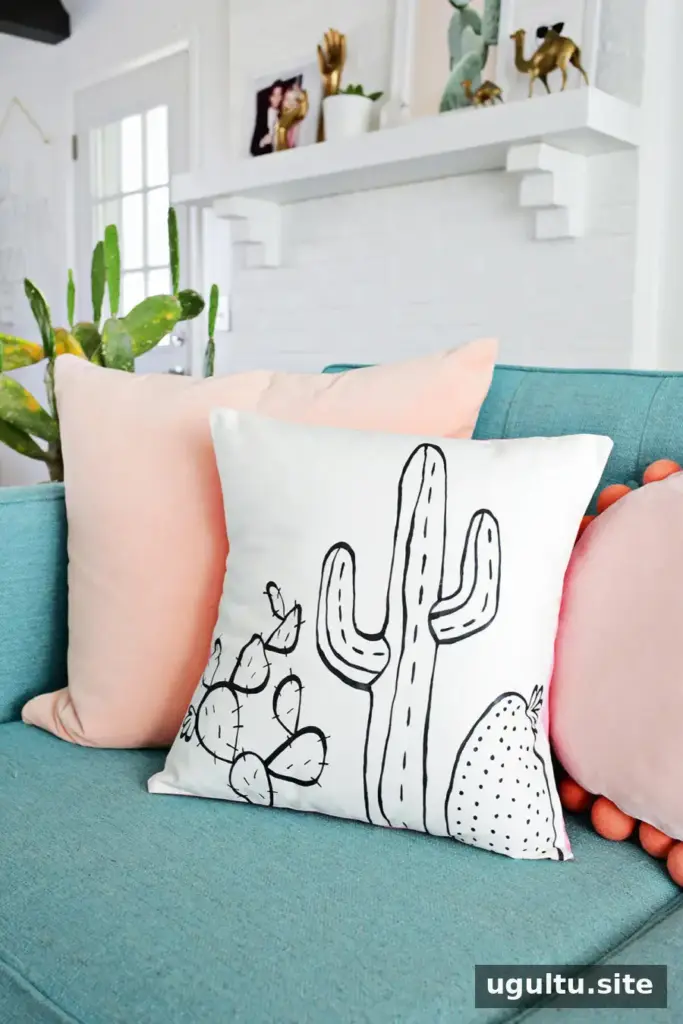
The finished cactus outline adds a graphic, handmade touch, while the colored back can show at the sides or opening. For a stitched variation, embroidery thread can be used to create a similar outlined look instead of fabric paint. This Cactus Outline Pillow DIY is a practical project for refreshing a cushion with a simple botanical motif. By Laura.