
 admin

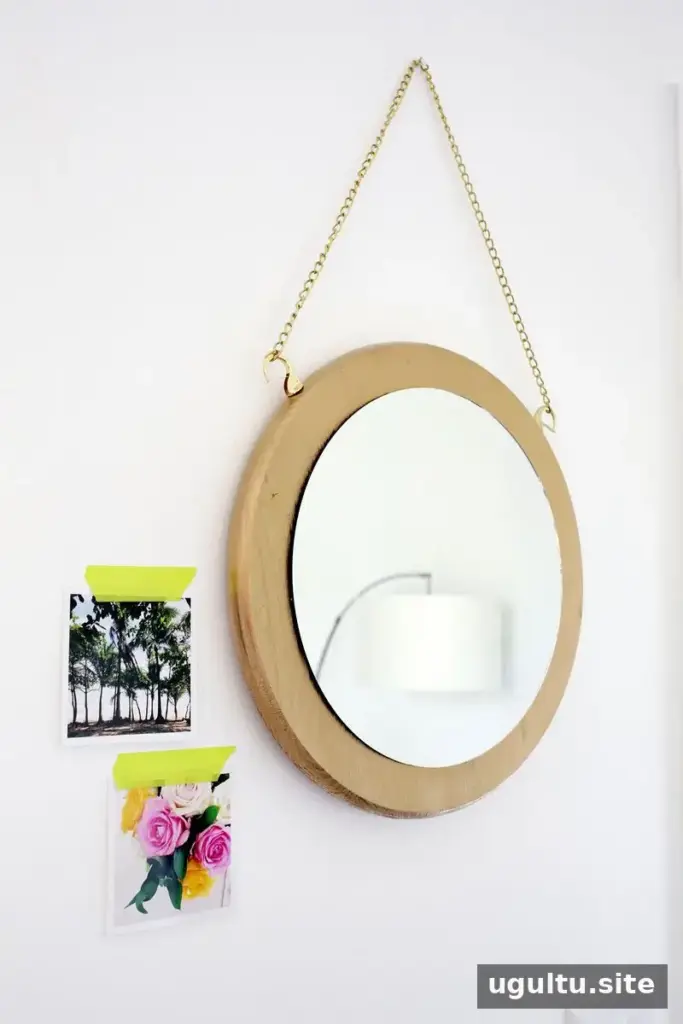
A Circle Chain Mirror DIY is a simple way to add a useful decorative feature near an entryway. This project pairs a 12-inch round mirror with a 15-inch wooden circle and a gold chain hanger. The wood creates a narrow border around the mirror, while the chain provides a clean, decorative way to display it. Before starting, check that the finished mirror and its hanging hardware will suit the wall and space where you plan to use it.
Materials for a Circle Chain Mirror DIY
Gather the supplies before assembling the mirror. The paint and epoxy need time to dry or cure, so check their product instructions and allow for that when planning the project.
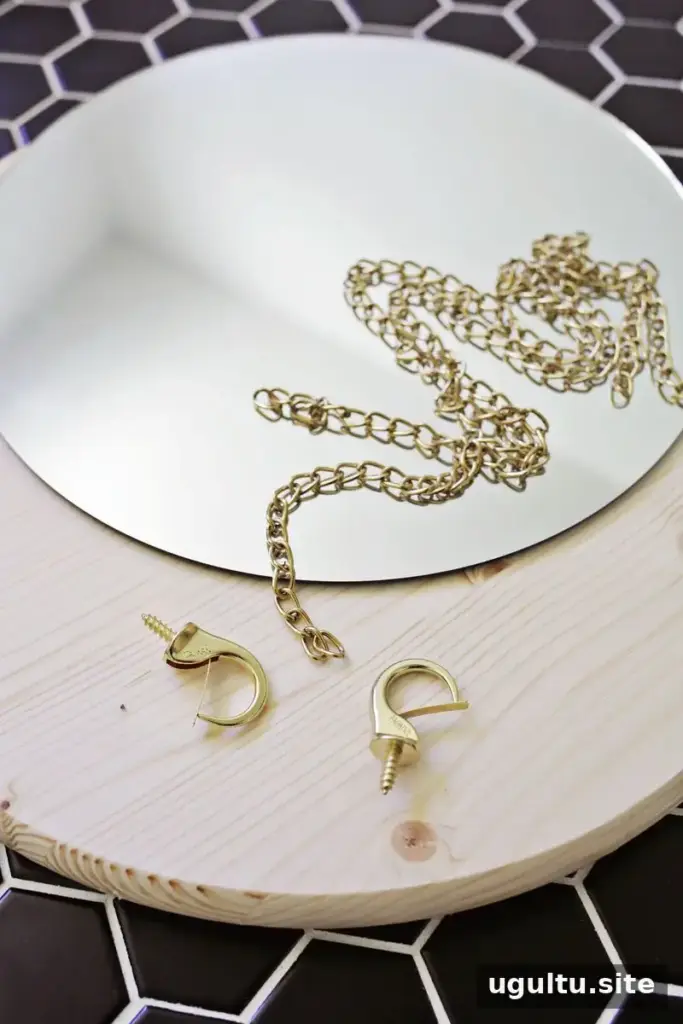
- One pre-cut, round 15-inch wooden circle
- Two safety cup hooks
- Gold hanging chain, cut to the length you need
- Gold spray paint
- One 12-inch round mirror
- Epoxy glue suitable for the materials being joined
- A drill and an appropriate drill bit
If you buy the chain online, check whether it needs to be cut to length; small bolt cutters may be needed. Some stores can cut chain to size. Measure the intended hanging position before choosing the length.
Prepare the wooden circle
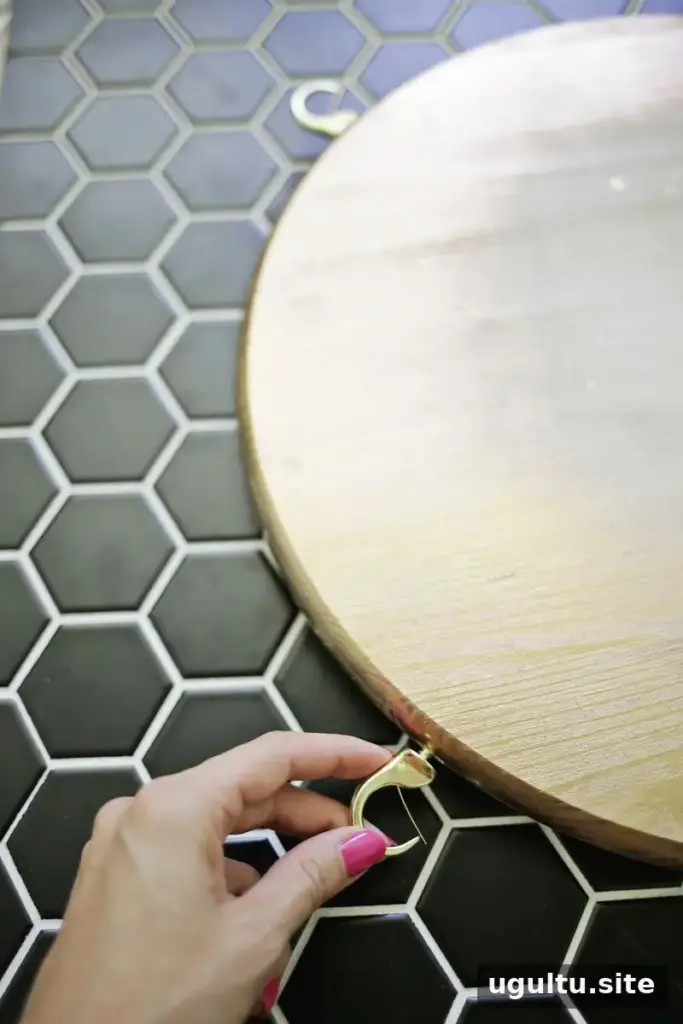
Spray-paint the edges and sides of the wooden circle. The mirror will cover most of the center, so focus on the exposed wood around the perimeter. Work in a well-ventilated area and follow the paint label for application and drying guidance.
Mark two positions for the cup hooks about 11 inches apart. Pre-drill holes to make the hooks easier to install, then screw them into the wood. Turn each hook so its opening faces outward from the mirror. This orientation helps keep the chain from slipping off, but check that each hook is firmly installed before hanging the finished piece.
Attach the mirror and chain
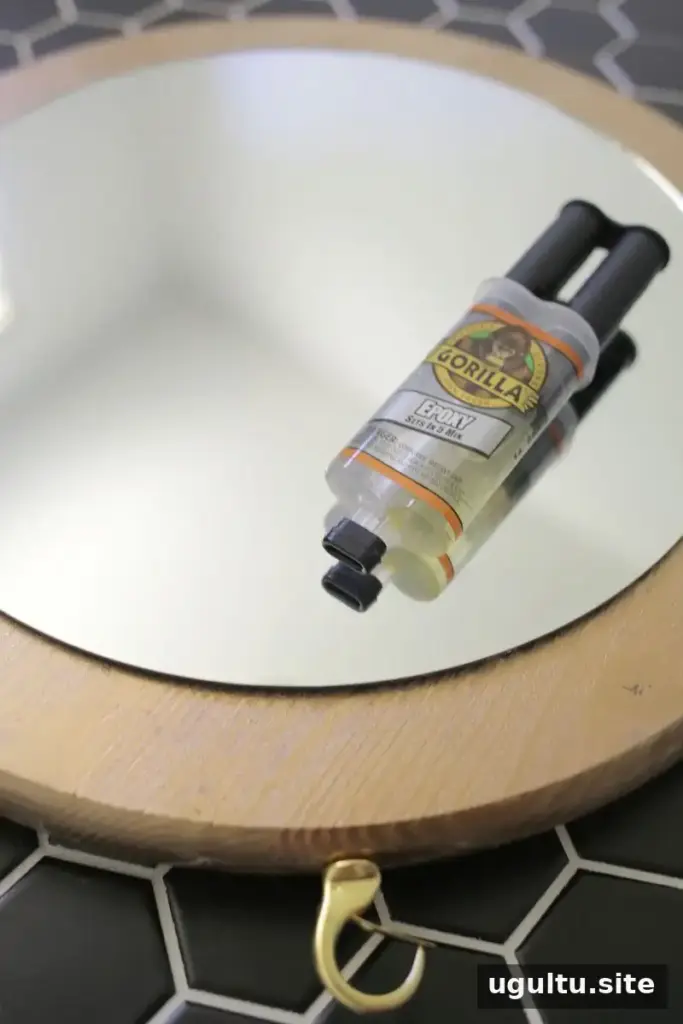
Center the 12-inch mirror on the 15-inch wooden circle and use epoxy to attach it. Apply the adhesive according to its instructions, then leave the assembly undisturbed for the full setting or curing time. Taking time to align the mirror before the epoxy sets helps keep the border even.
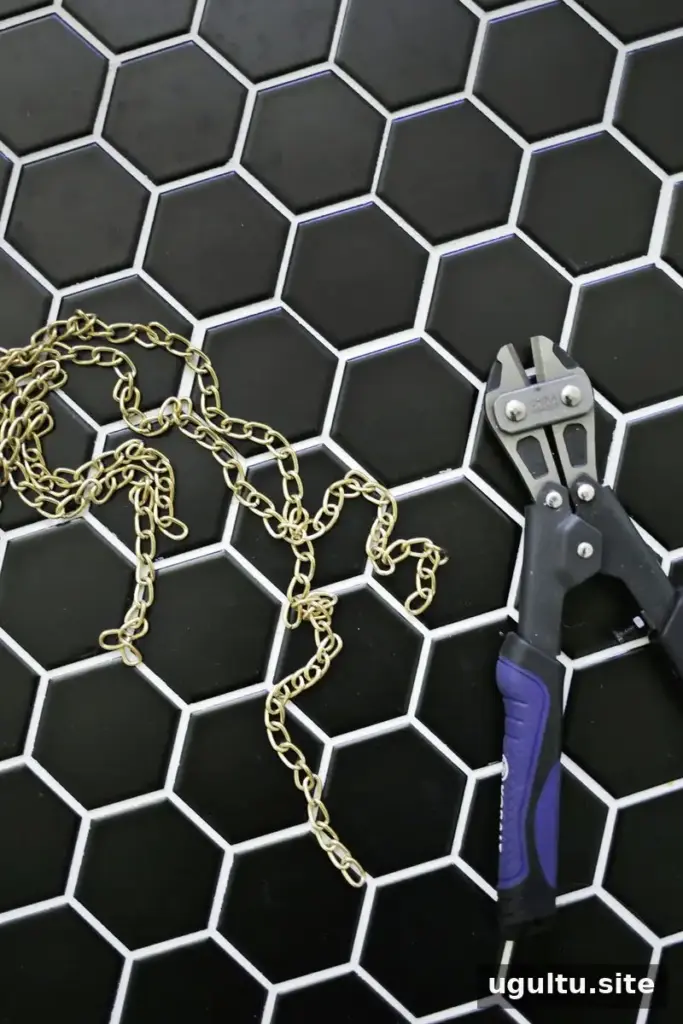
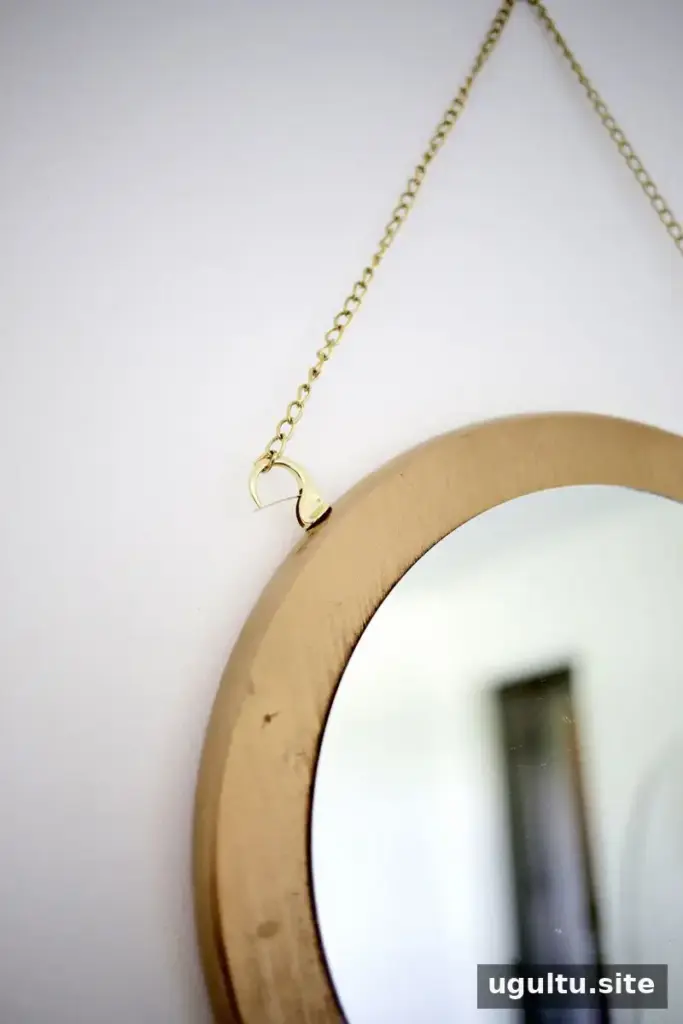
While the adhesive sets, cut the gold chain to the length that suits your space. Attach one end to each cup hook and check that the chain is seated securely. Once the epoxy has fully cured, inspect the mirror and hanging points before mounting it. Choose a suitable wall fixing for the wall type and the finished mirror’s weight; do not rely on the chain alone to make an insecure wall attachment safe.
Finishing and hanging tips
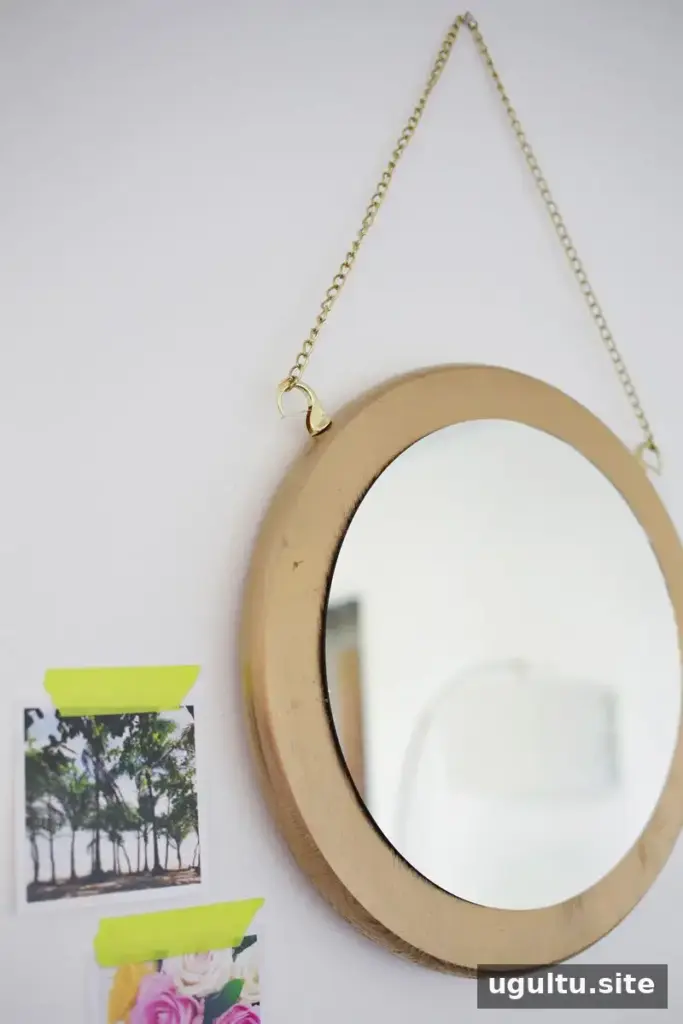
This project has a short hands-on assembly process, but paint drying and epoxy curing take longer. Let both materials dry or cure completely rather than rushing to hang the mirror. A final check of the hook positions, chain connections, and wall fixing can help ensure the mirror sits as intended.

The finished Circle Chain Mirror DIY offers a compact alternative to a larger entryway mirror. Its 15-inch wooden backing gives the 12-inch mirror a visible frame, and the adjustable chain lets you select a practical hanging drop. Designed by Laura.


