
 admin
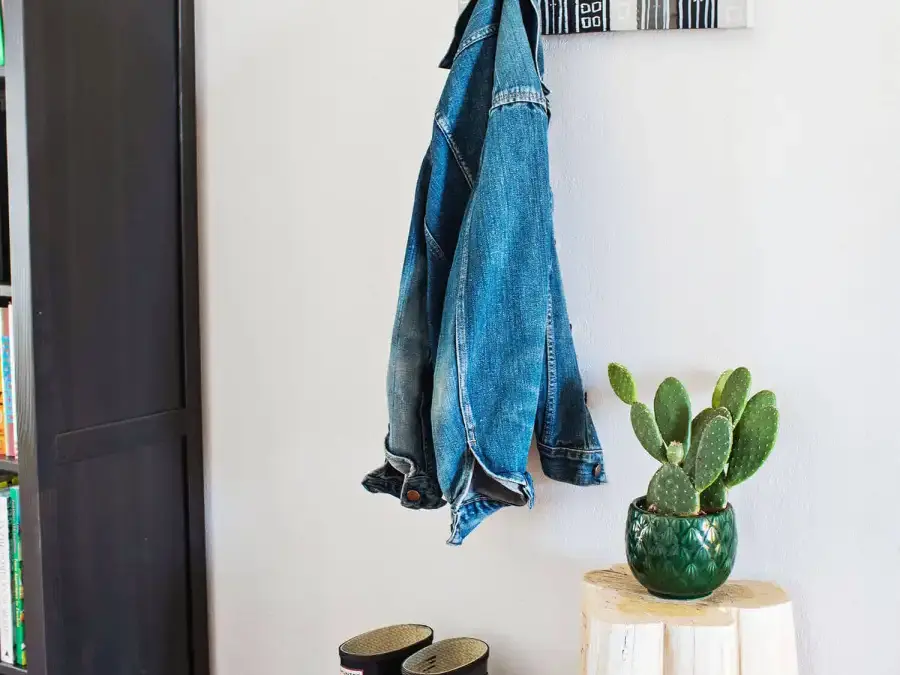
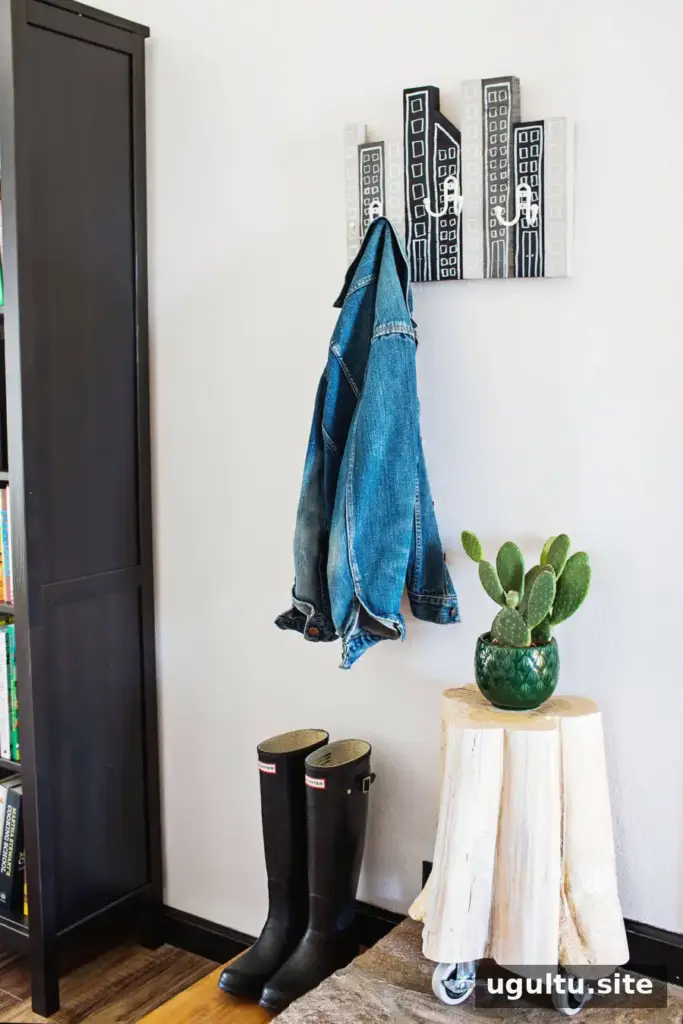
A cityscape coat rack DIY is a useful way to turn leftover wood into a decorative feature for an entryway. With a few wood offcuts, paint, hooks, and suitable hanging hardware, you can create a skyline-shaped rack for coats and guests’ belongings. The design is easy to customize, so the finished piece can suit your space and the materials you already have.
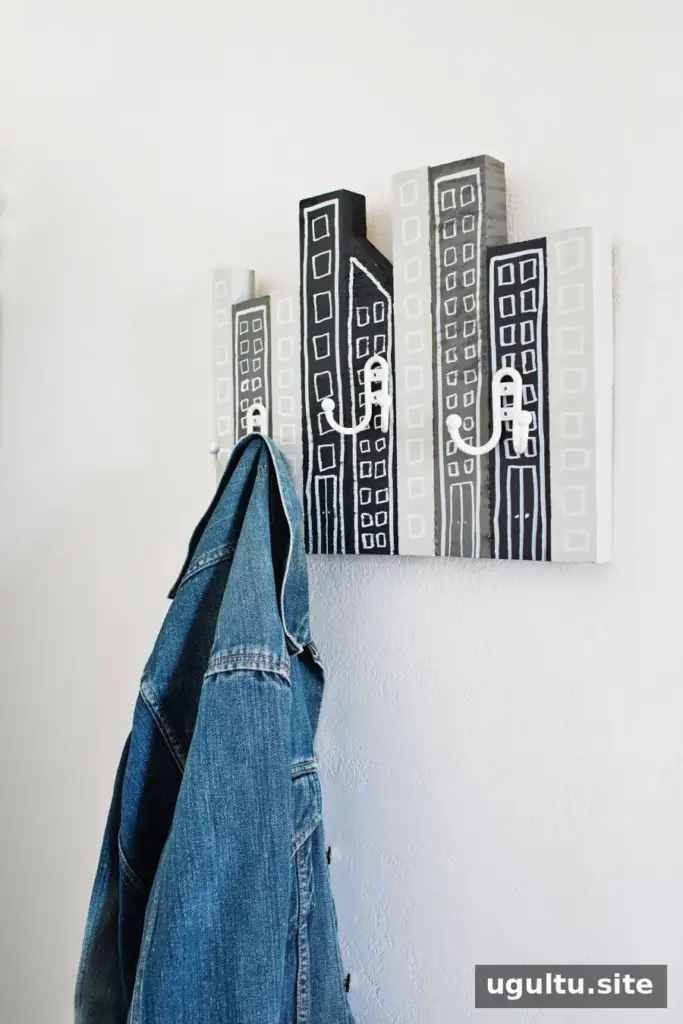
Materials for a Cityscape Coat Rack DIY
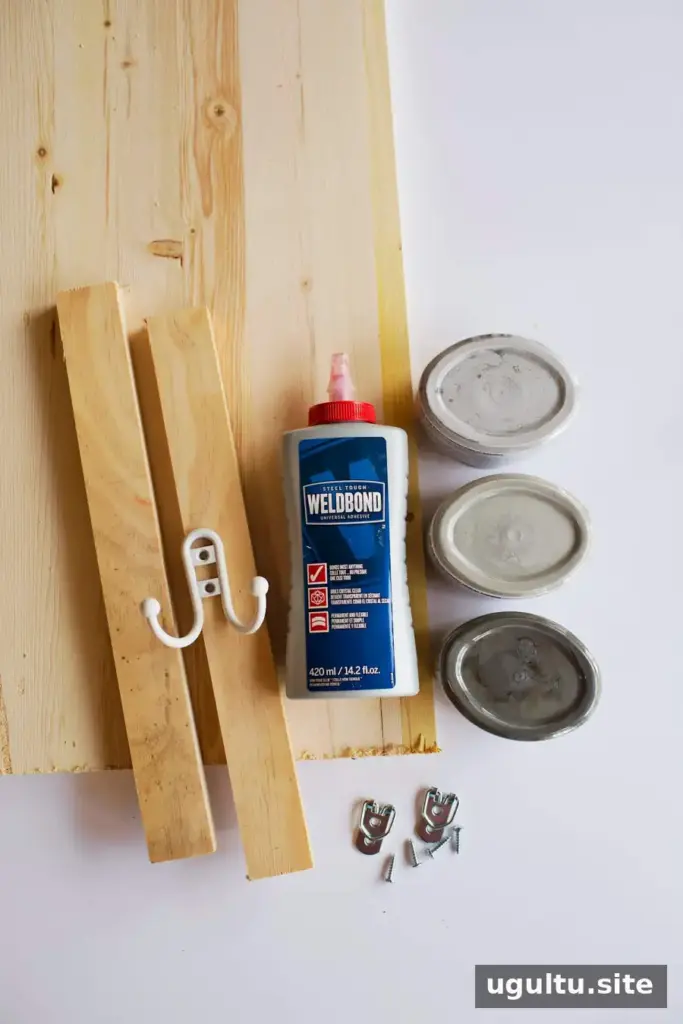
Gather the following supplies before starting. The amount of wood and number of hooks depend on the size and layout you choose.
- Scrap wood pieces
- Wood glue
- Paint and a paint pen
- Hooks
- Hanging hardware and drywall anchors
- A clamp
- Paintbrushes
- A power drill
- A saw, if the wood needs cutting
Choose sound pieces without loose or damaged sections. If needed, smooth rough edges before assembly so the rack is comfortable to handle and ready for paint.
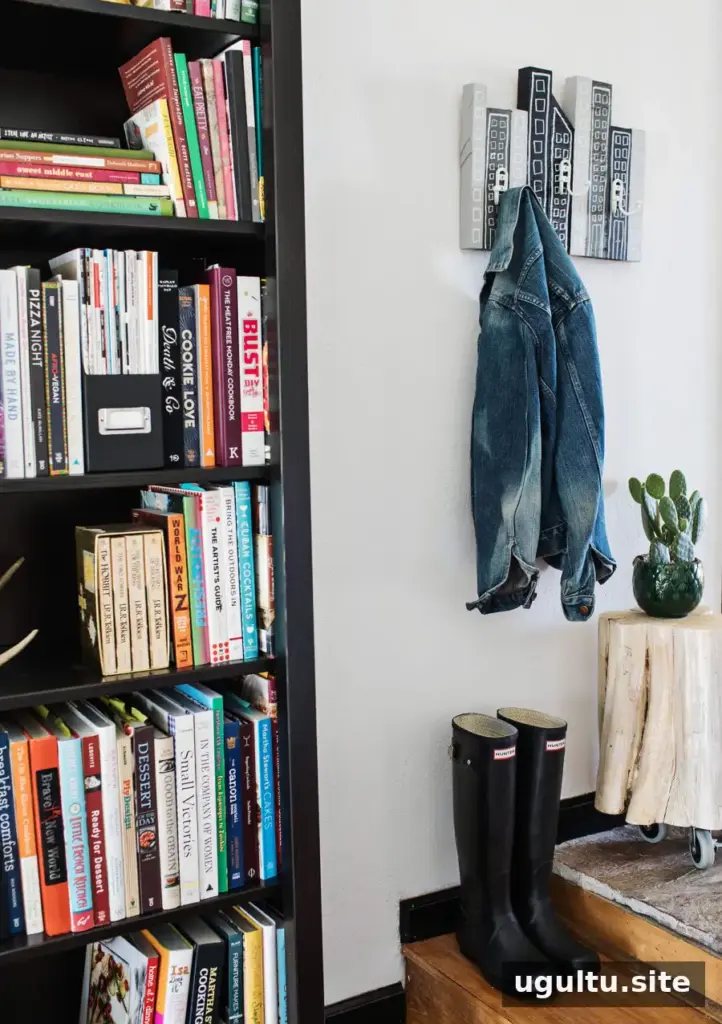
How to Make the Wood Cityscape
1. Cut and join the buildings
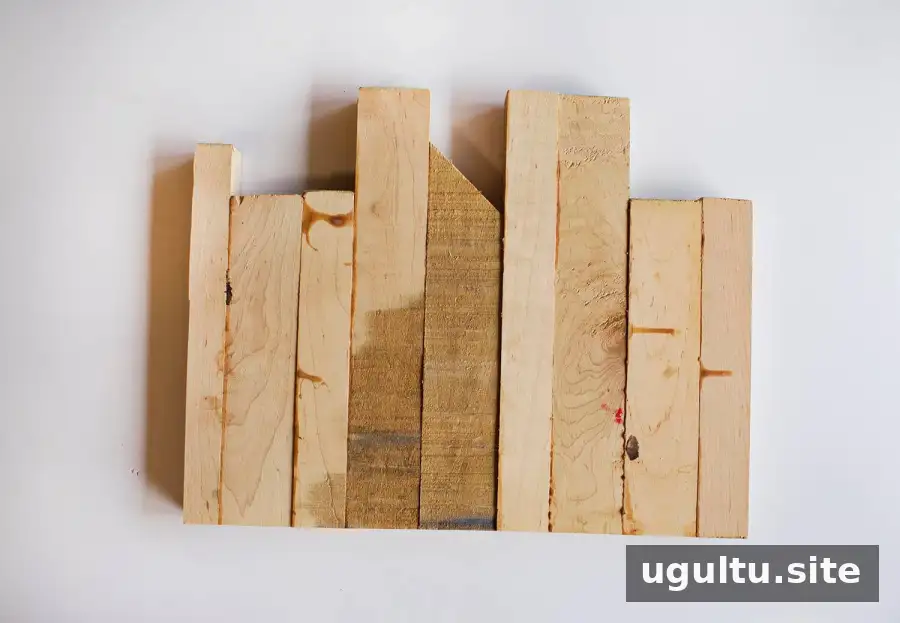
If your offcuts need shaping, cut them into rectangles of different heights to create a simple skyline. Arrange the pieces on a flat surface first and adjust their order until the outline looks balanced. Apply wood glue where the pieces meet, then clamp them together while the glue dries according to its product instructions.
If you have a suitable piece that is already joined, you can use it as the base instead of assembling separate blocks. Check that the wood is stable before moving on to painting or adding hardware.
2. Paint and add details
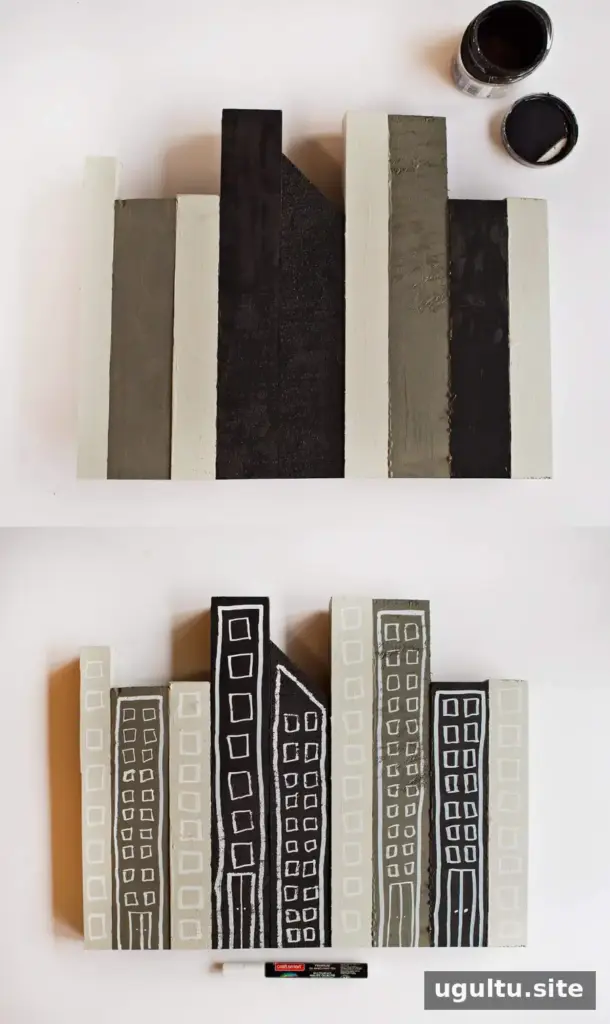
Paint the wood buildings in colors that work with your entryway. Once the paint is ready for the next step, use a paint pen to draw windows, doors, or other simple architectural details. Let the finish dry fully before attaching the hooks; this helps avoid smudges during assembly.
3. Attach hooks and hanging hardware
Screw the hooks into the front of the rack, spacing them to suit the design and the items it will hold. Pre-positioning the hooks can help you check their placement before drilling. Attach the hanging hardware to the back, following the hardware manufacturer’s instructions.
When mounting the rack, fasten it to wall studs where possible. If studs are not in suitable positions, use drywall anchors that are appropriate for your wall and the expected load. Check the stated weight limits for the hooks, anchors, and hanging hardware, and take care to avoid hidden wiring or pipes when drilling. Secure mounting matters because coats can become heavy, especially when several are hung together.
Finishing and Using Your Coat Rack
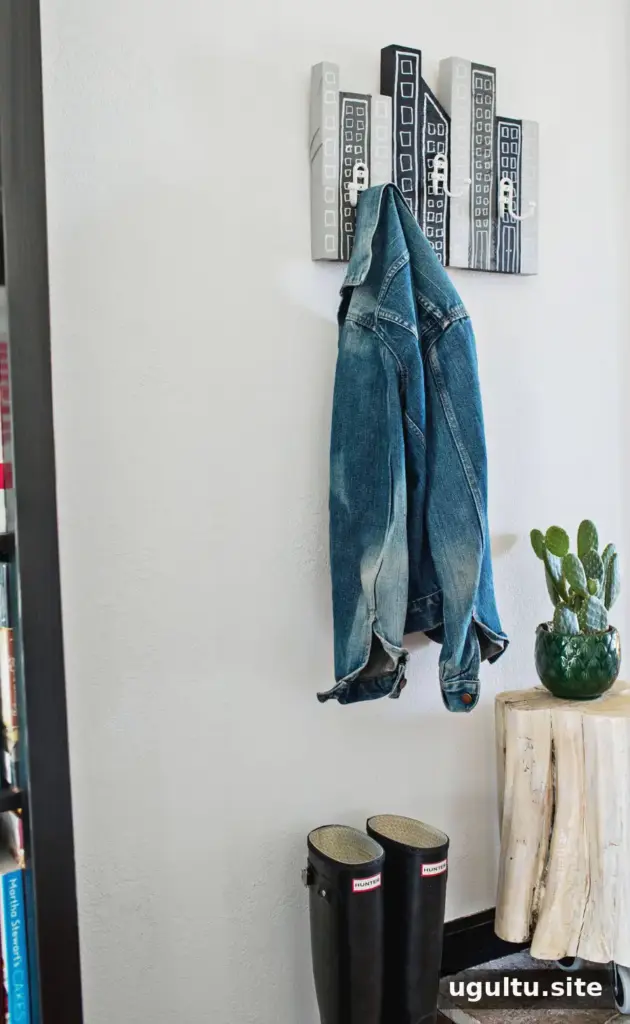
After installation, give the rack a gentle check to confirm it is firmly attached before putting it into regular use. Keep the number and weight of items within the limits of the wall fixings and hardware. A cityscape shape can be adapted to different entryways, while the paint and drawn details offer an easy way to personalize the finished piece.
This straightforward project makes practical use of scrap wood and adds storage near the door. With careful assembly and secure wall mounting, a cityscape coat rack DIY can bring both character and everyday function to an entryway.
— Emma


