
 admin
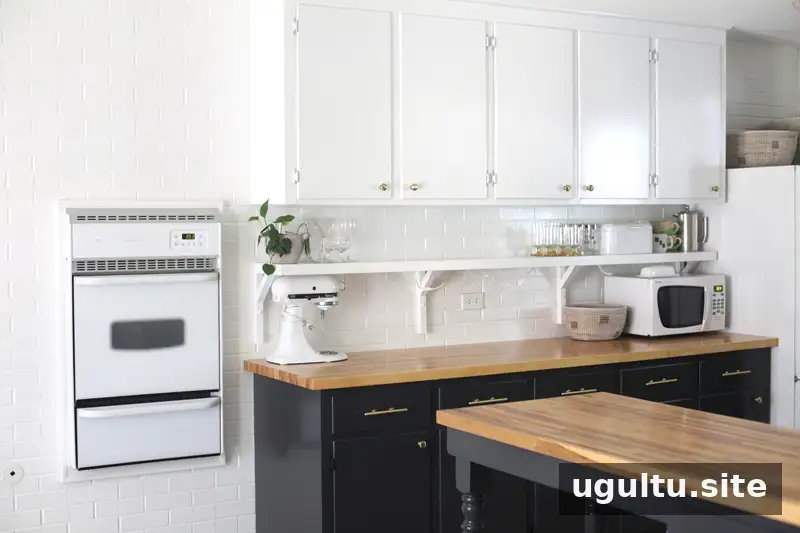
Painting brick walls can refresh a kitchen, but a successful result starts with careful preparation. Brick is porous, can hold years of stains and may chip when old tile or mortar is removed. This renovation guide covers repairing damaged areas, cleaning and priming the surface, applying paint, and drilling into brick for shelves or cabinets.
Preparing Brick Walls for a Kitchen Renovation
Exposed brick can add character to a room, though it may take extra work to clean and adapt for cabinetry. In this kitchen, the original plan was to keep the tan brick and update the cabinets and countertop. Removing tile installed over the brick caused more damage than expected and changed the renovation plan.
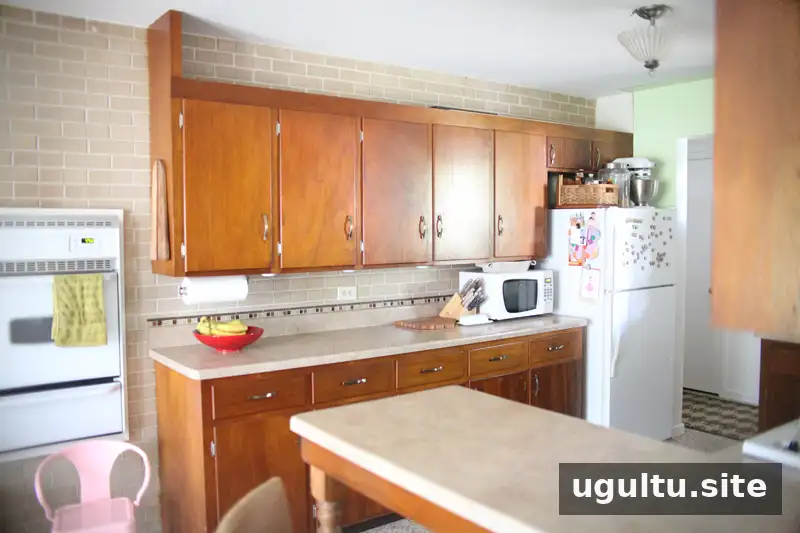
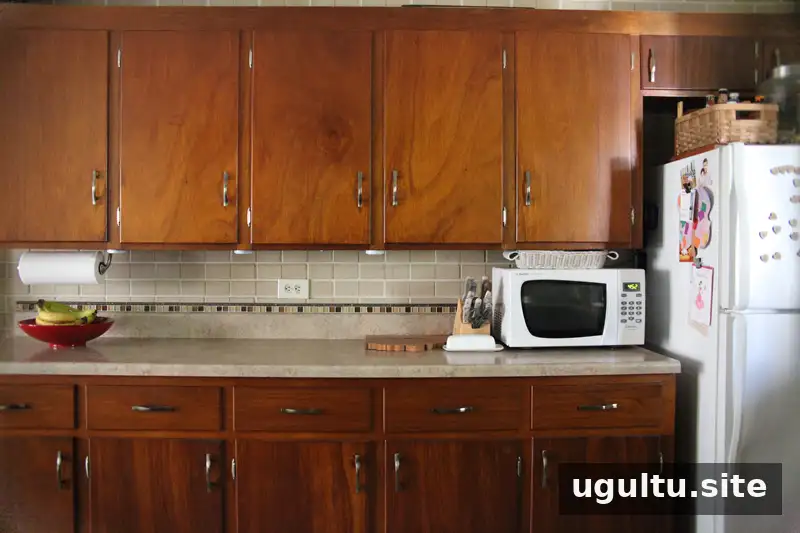
The kitchen had dark cabinets, a laminate countertop and a mosaic-tile edge. Because the tile had been attached directly to the brick, taking it off also removed parts of the brick surface. Assess the condition of the wall before choosing a finish, and expect repairs if tile or other materials are bonded to masonry.
Repairing Brick After Removing Tile
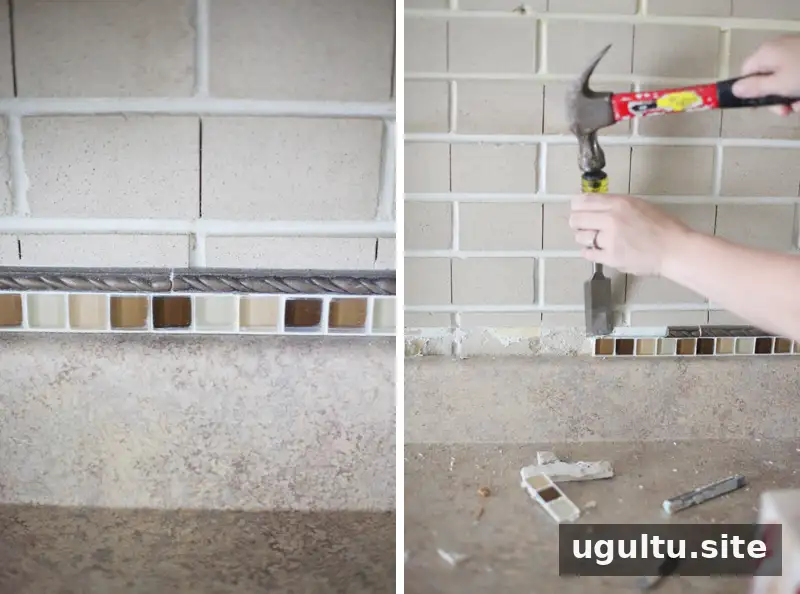
Careful tapping can help loosen tile, but it may not prevent chips or surface damage. After the tile and mortar were removed, several areas of the wall were uneven and required rebuilding before painting.
One option is to patch damaged areas and touch them up; another is to paint the entire wall for a more consistent appearance. The project team chose to repair the chipped sections and then paint all the brick white.
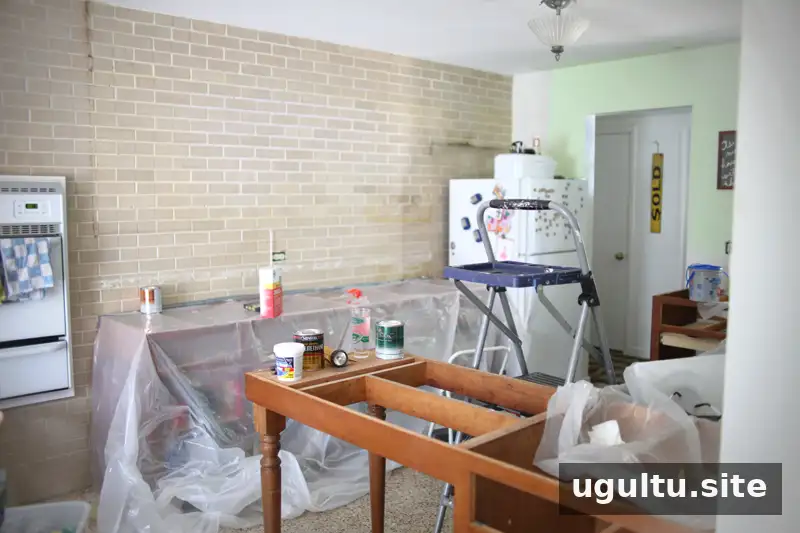
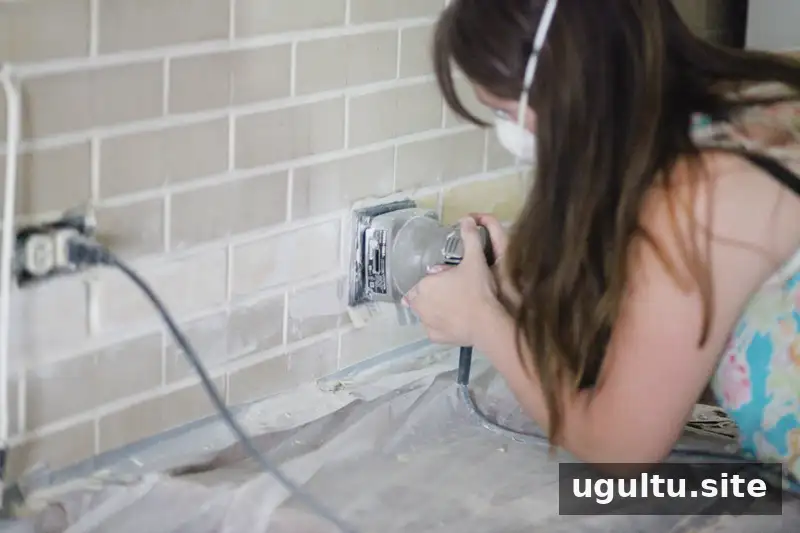
Automotive body filler was used to rebuild missing sections, applying it in layers and shaping the mortar lines with a small spatula. The filler set quickly, so the work had to be done in small areas. Once a layer hardened, it was sanded smooth before more material was applied. The repair took several hours and created dust.
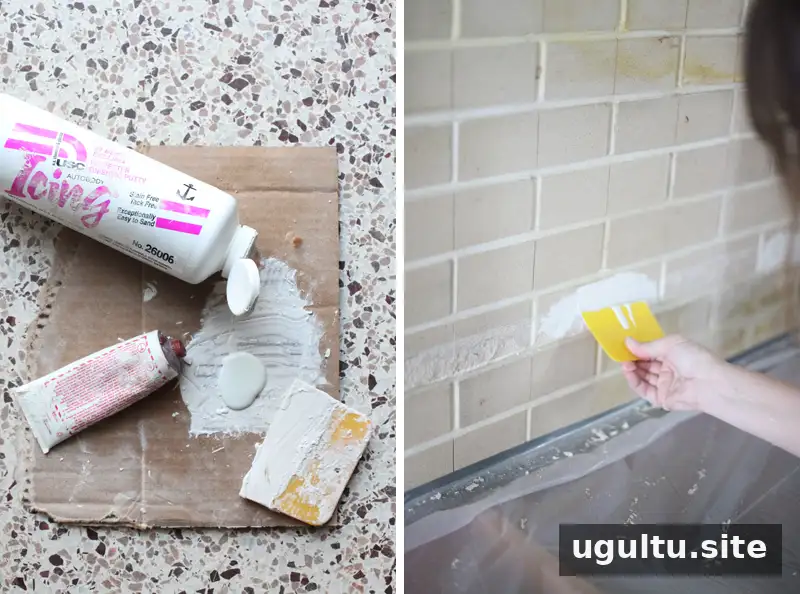
The repaired surface was smoother than natural, textured brick. On more heavily textured masonry, test the repair material in a discreet spot first. A sea sponge can be used to add texture while a suitable material is still workable, but follow its product instructions and allow it to cure as directed. Wear suitable eye and respiratory protection when sanding.
Cleaning and Painting Brick Walls
Clean the wall before painting, even if it looks relatively tidy. Trisodium phosphate (TSP) solution was used here because milder cleaners did not remove the buildup. TSP is a strong cleaner, so follow the package directions, use appropriate protective equipment, and test it on a small area first. Never combine cleaning products unless their labels explicitly say it is safe.
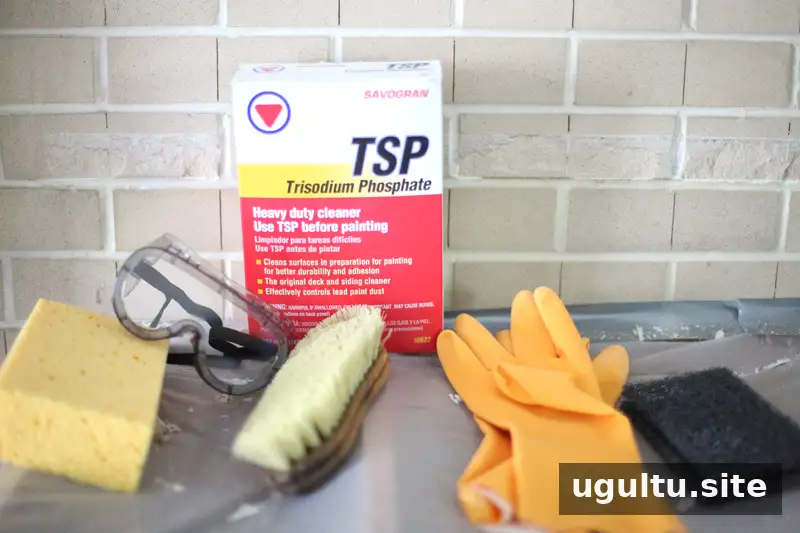
The wall was scrubbed with a brush, with abrasive pads used on tougher stains, then rinsed with clean water and a sponge. Wear long sleeves, chemical-resistant gloves and safety goggles when handling TSP, and provide suitable ventilation. Near outlets, switch off the relevant breaker before cleaning and keep electrical components dry.
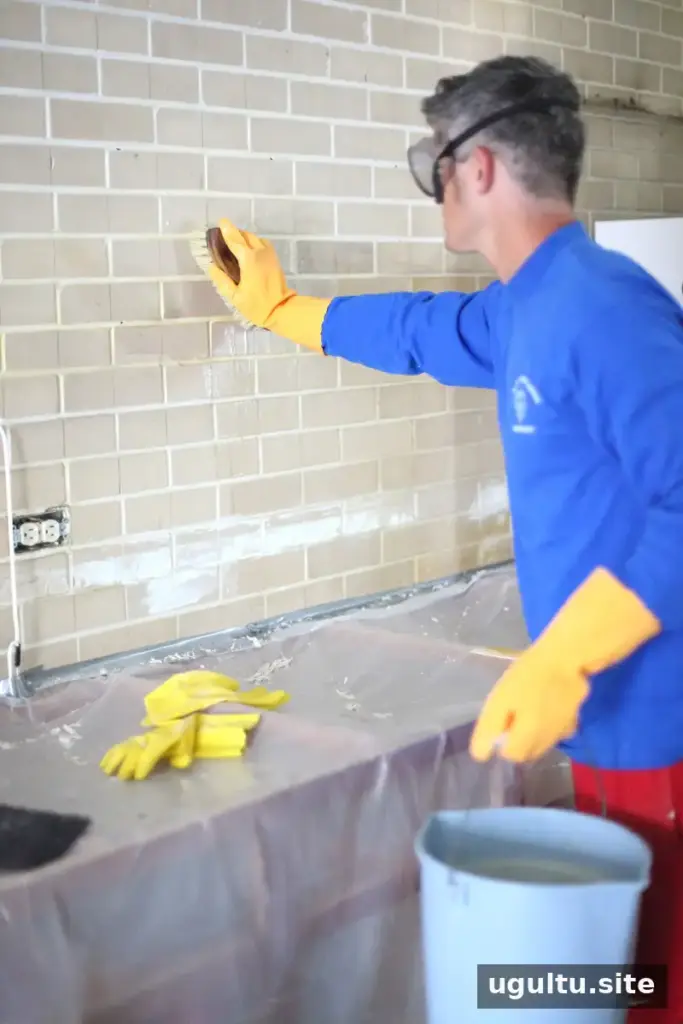
After cleaning and drying the surface, apply a stain-blocking primer appropriate for masonry and the chosen paint. In this project, an oil-based primer was used, including to seal areas patched with painter’s putty. Check that the primer is compatible with both the repair material and topcoat, and follow the stated drying times.
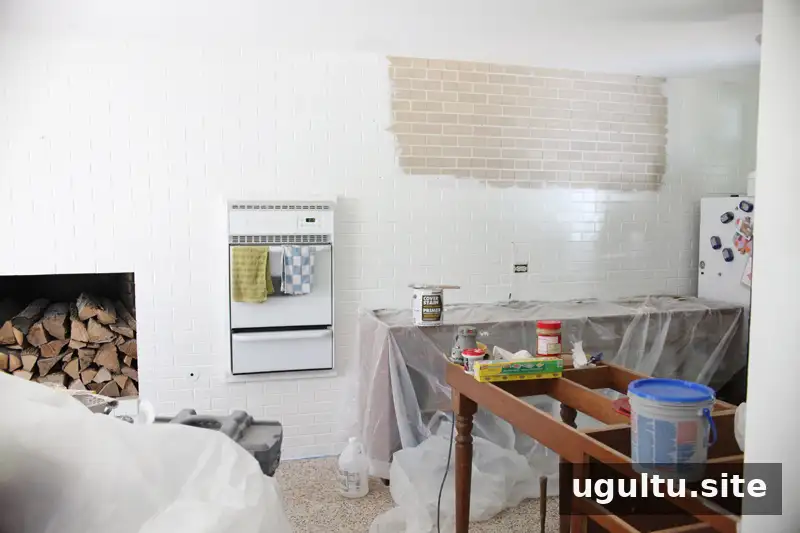
The wall received two coats of primer and two coats of semi-gloss paint. The brick was smoother than many masonry surfaces, which made coverage easier. Textured brick may need more careful brushing into joints and additional paint; check the coating instructions rather than assuming the same number of coats will be enough.
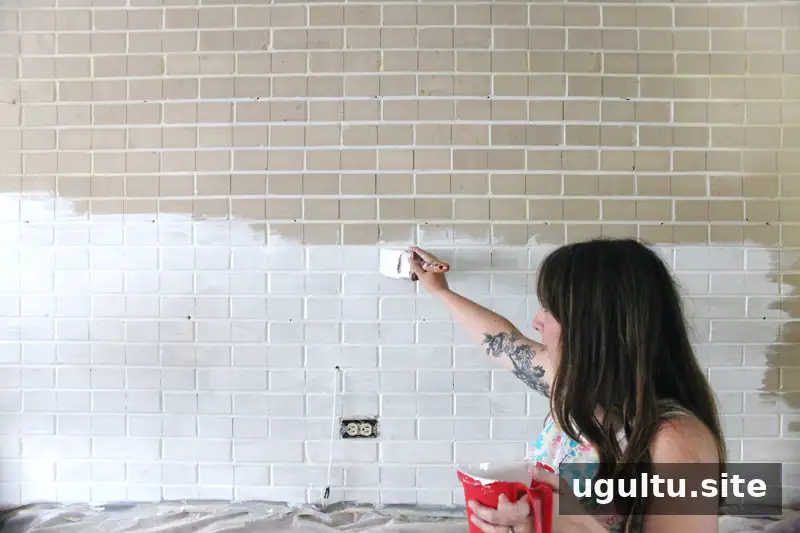
Areas that would be hidden behind cabinets were left unpainted. This can save time and materials, provided the unfinished sections will remain fully concealed after installation.
Drilling into Brick Walls for Shelves and Cabinets
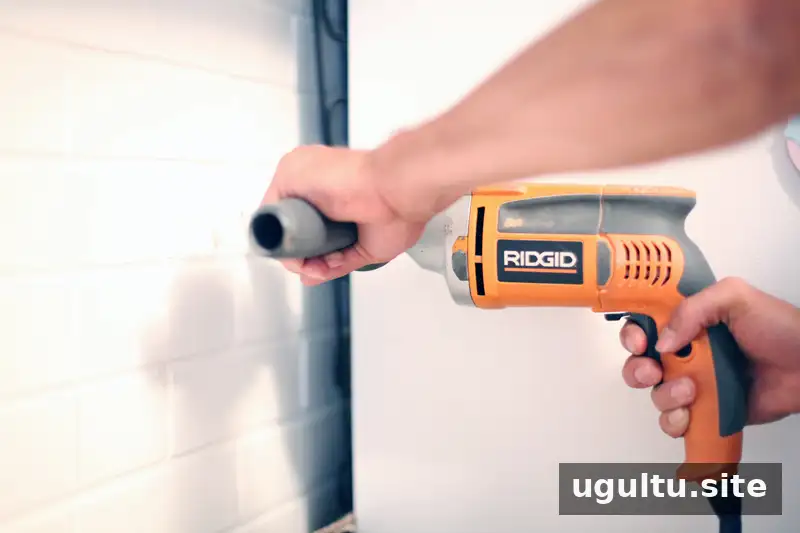
Mounting shelf supports and cabinets to masonry requires the right tools and fasteners. The project used a hammer drill, masonry drill bits and concrete screws. A standard drill may not be suitable for the task. Choose fasteners designed for the wall material and the expected load, and follow their installation instructions.
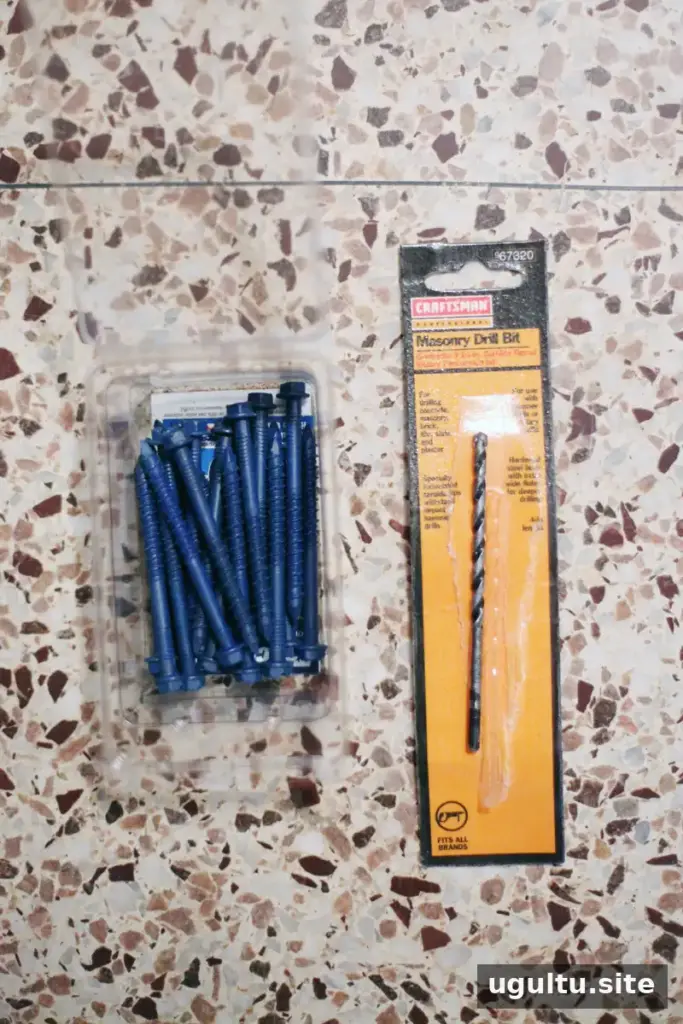
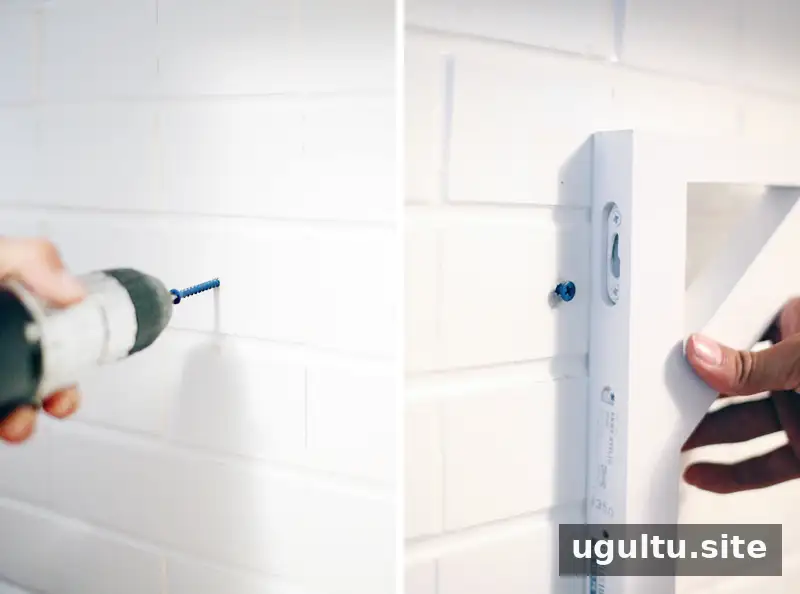
Mark hole locations carefully before drilling. A drill bit can slip on a smooth or painted surface; masking or duct tape over the mark may help it stay in place, though results can vary. Wear safety glasses and suitable respiratory protection, and check for concealed wiring or plumbing before drilling.
For many masonry installations, drilling into mortar can be preferable to drilling into the brick, but the best location depends on the structure, fastener instructions and load. If a project requires holes in brick, use the appropriate masonry bit and avoid forcing the tool. Masonry bits wear with use and may need replacement if drilling becomes difficult.
The long concrete screws used in this renovation passed through the brick. Some were fully tightened for the cabinets, while others were left positioned to hold shelf brackets. Confirm that each fastener is secure and suitable for the weight it will support.
Renovation Results
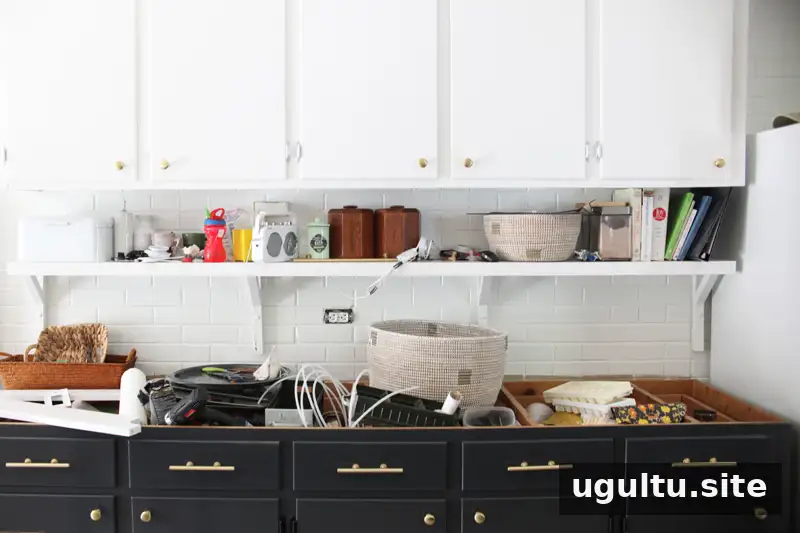
The repaired and painted brick wall gave the kitchen a brighter, more unified finish. Removing tile revealed unexpected damage, but repairing the surface and repainting it provided a practical way to complete the renovation.
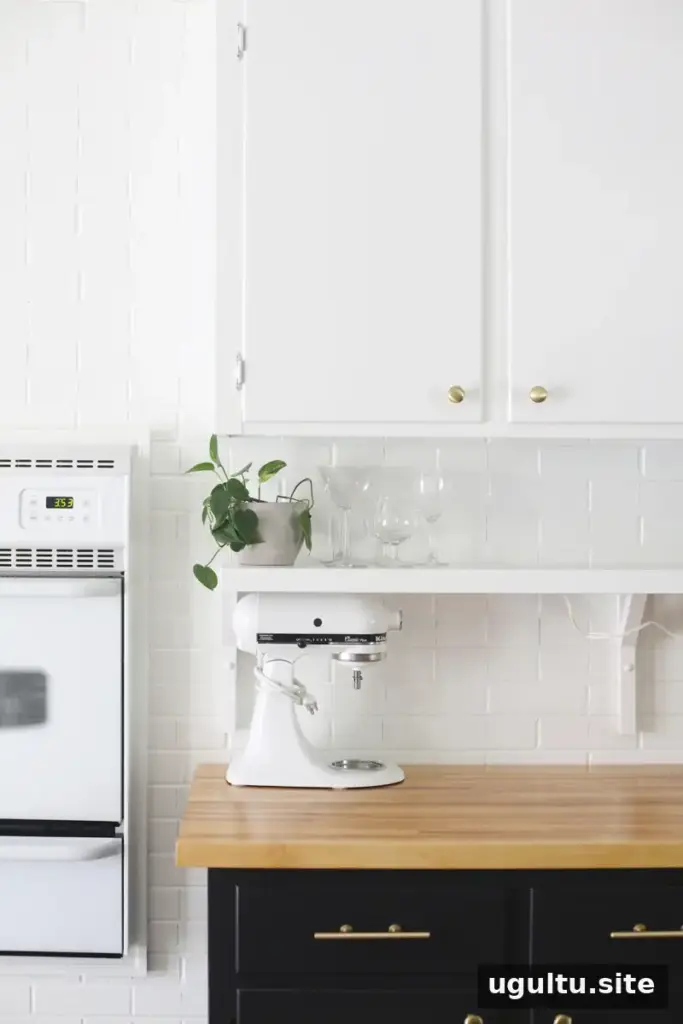
Painting brick walls involves more than choosing a color: clean the masonry, repair damage, select compatible primer and paint, and use masonry-rated fasteners when mounting heavy items. Careful preparation and safe work practices can help the finished wall look better and make it more functional. Project account by Mandi.


