
 admin
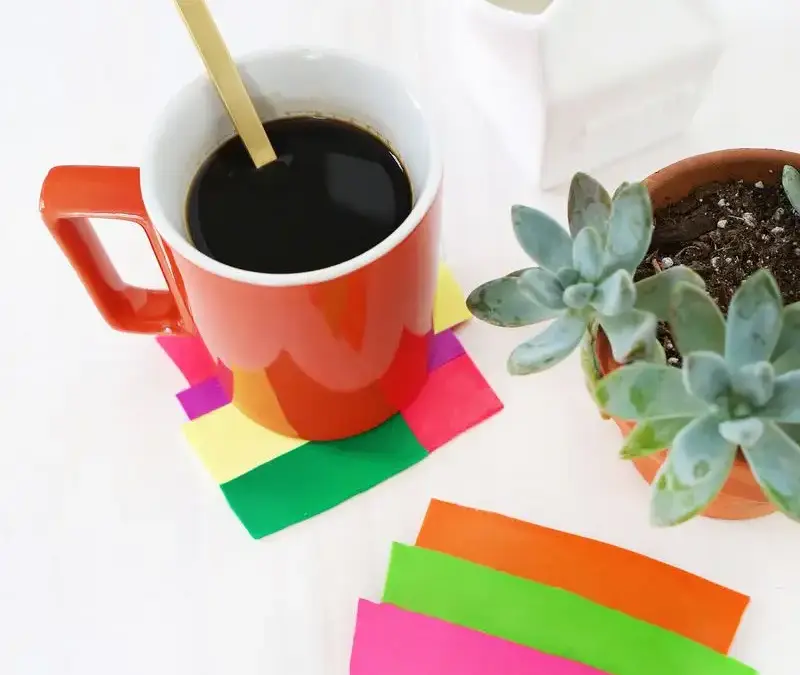
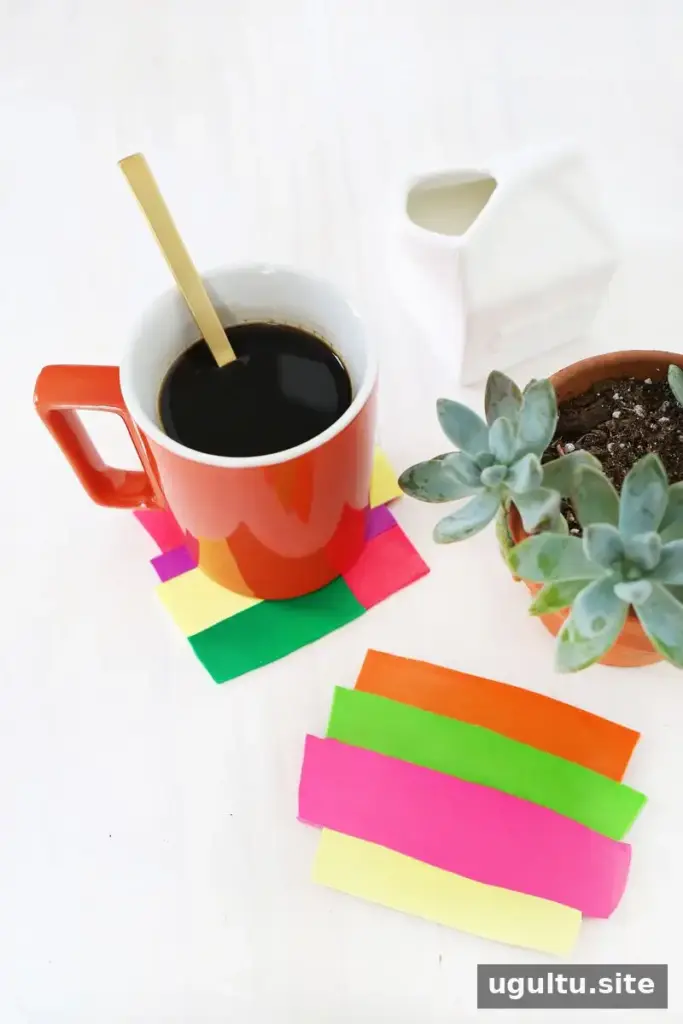
Colorblocked clay coasters are a simple way to add a handmade accent to a living room or create a coordinated set for your home. This project uses oven-bake clay and basic craft tools, and the pieces can be made in one sitting. Choose colors that complement your décor, or mix contrasting shades for a playful, graphic look.
Supplies for Colorblocked Clay Coasters
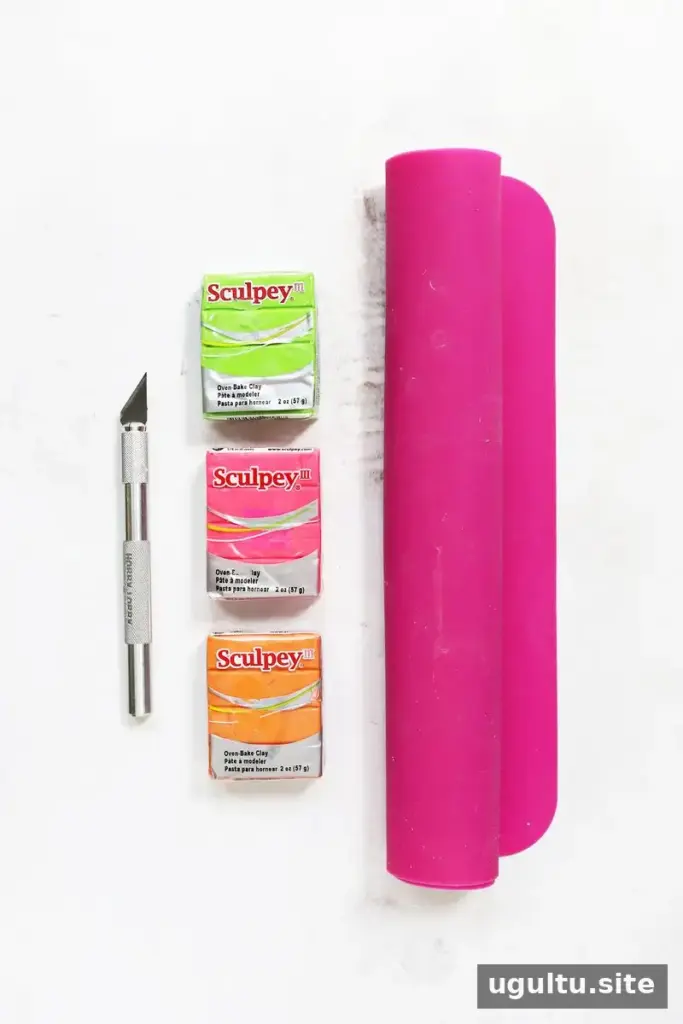
Gather the materials before you begin so you can shape the clay while it is workable:
- Oven-bake clay in your chosen colors
- Clay knives or craft knives, such as X-Acto knives
- A nonstick mat and rolling pin
- Clay glaze
- Cork roll and a hot glue gun (optional)
Use a work surface and tools suitable for craft materials, and check the clay packaging for handling, baking, and finishing instructions. A dedicated craft knife can help make cleaner cuts.
How to Make Colorblocked Clay Coasters
1. Roll the clay into strips
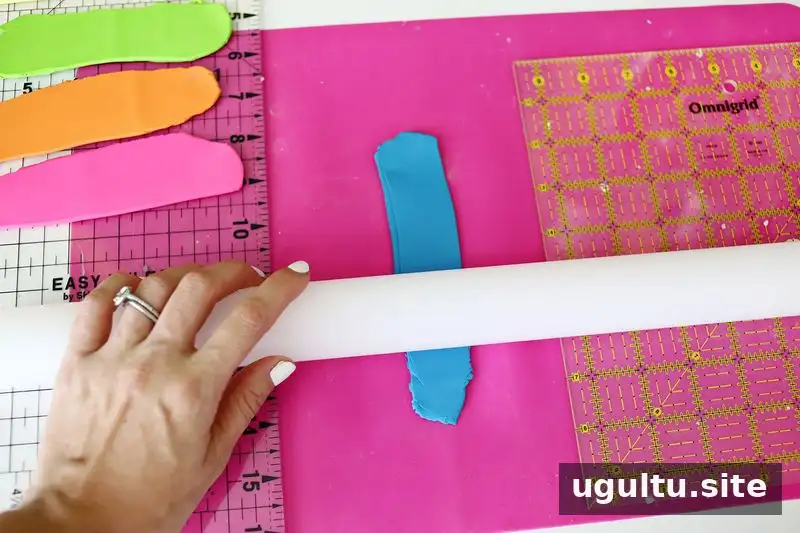
Roll each clay color into strips about 1–1 1/2 inches wide and 1/4 inch thick. Keeping the thickness even helps the finished coaster bake more consistently. To guide the rolling pin, place matching flat guides, such as acrylic rulers, on either side of the clay. Two equal stacks of playing cards can also work as thickness guides.
2. Arrange and join the colors
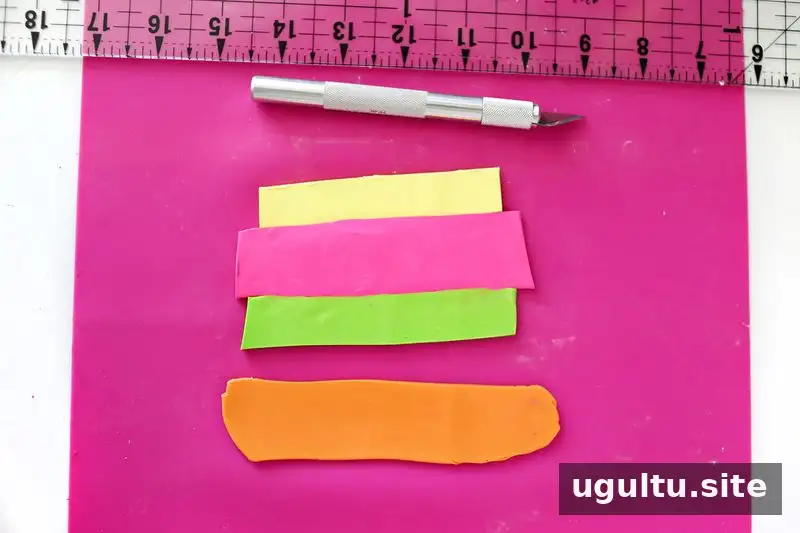
Cut the strips into different lengths and widths, then arrange them closely together in a colorblocked pattern. Make the assembled shape slightly smaller than the coaster size you want, as rolling will stretch it. Gently press the edges of neighboring colors together with your fingers, working back and forth across each seam before smoothing the surface. Handle the clay carefully to keep the sections in place.
3. Roll and bake
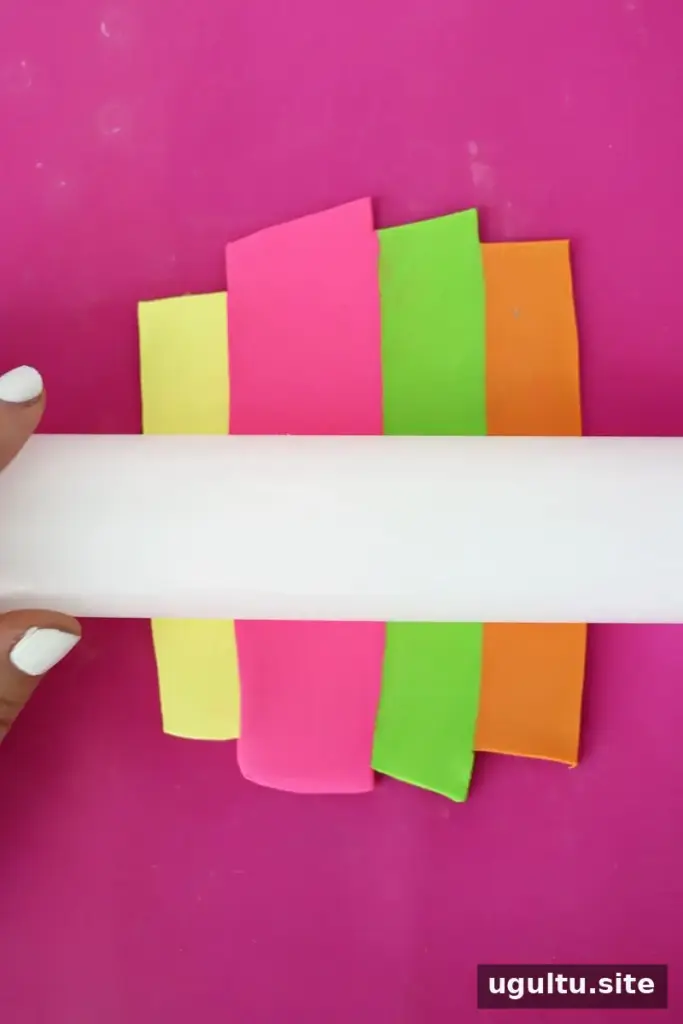
Roll over the assembled piece gently in several directions. This helps join the strips and slightly enlarges the coaster. Set it on parchment paper and bake it according to the instructions for the specific clay you are using. Do not guess the baking time or temperature; products can have different requirements.
4. Glaze and add an optional cork base
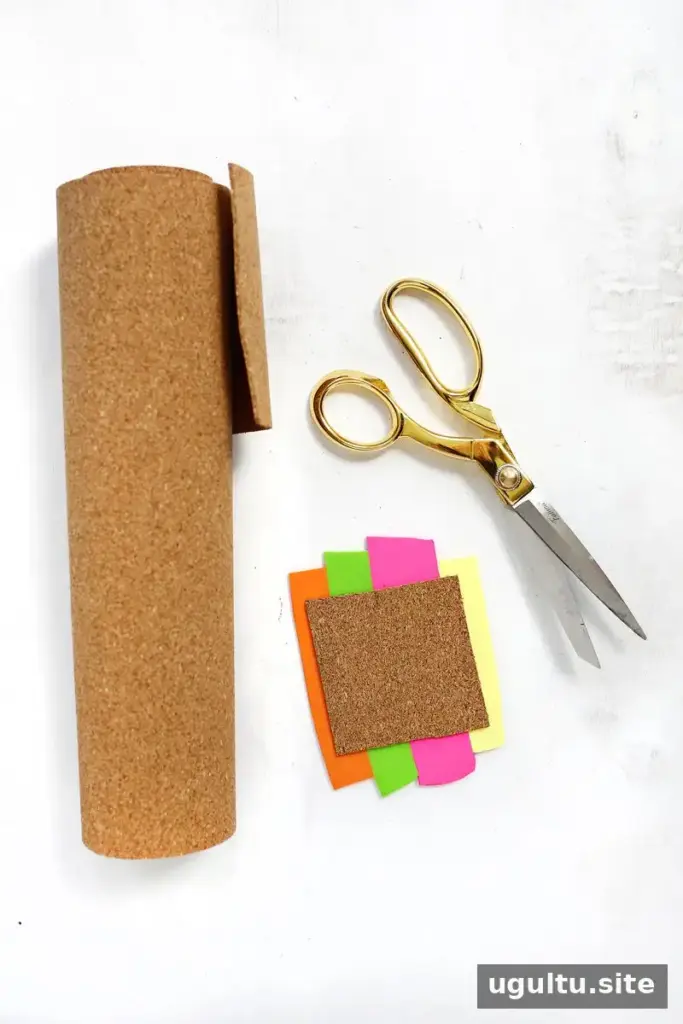
Let the baked coaster cool completely before applying glaze. Use a glaze intended for your clay and allow it to dry fully as directed on its packaging. For extra thickness and a finished underside, cut a piece of cork to fit the coaster and attach it with hot glue. Take care when handling the glue gun, and let the adhesive set before using the coaster.
Finishing Tips and Gift Ideas
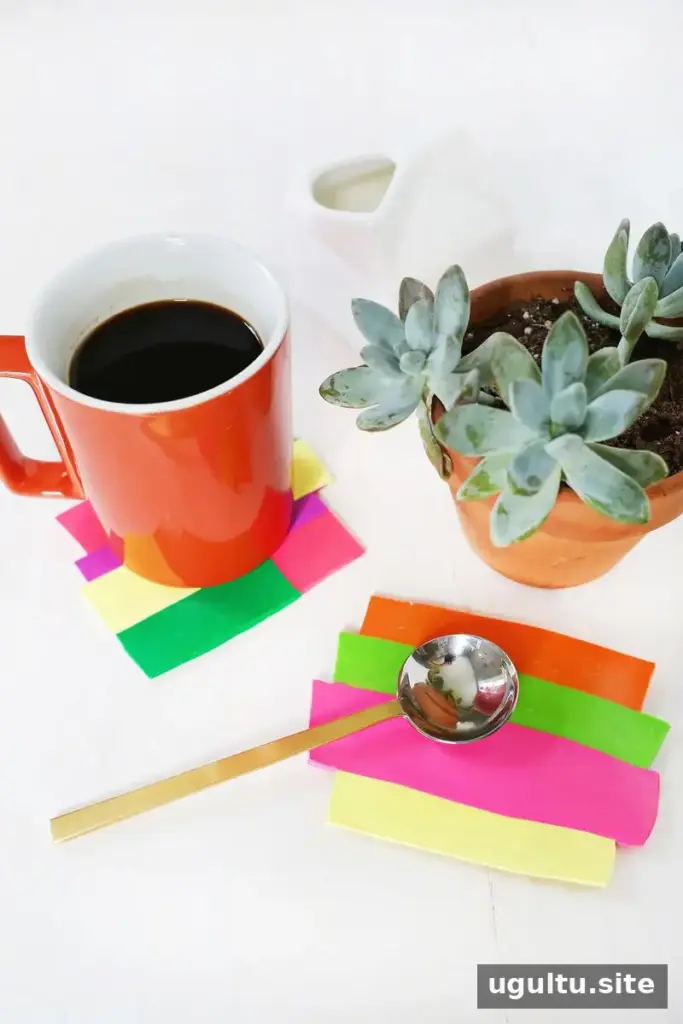
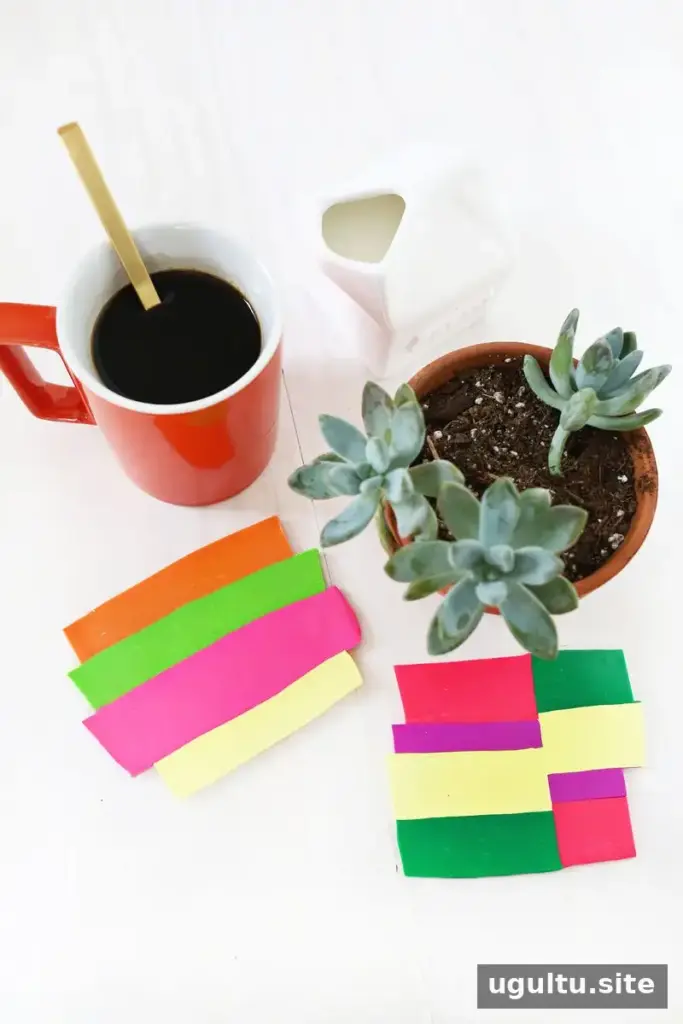
These coasters suit a playful, art-inspired style, and their irregular shapes make the project forgiving: the design does not depend on producing a perfectly precise square or circle. For a balanced set, repeat a few colors across each piece while varying the arrangement. A group tied with ribbon can also make a distinctive housewarming gift.
Before making a full set, consider shaping one coaster first to check that you like the color combination and finished thickness. Follow the clay and glaze manufacturers’ directions throughout the process. Colorblocked clay coasters are an approachable craft project that lets you customize a practical home accessory with a design of your own.
Project by Laura.


