
 admin
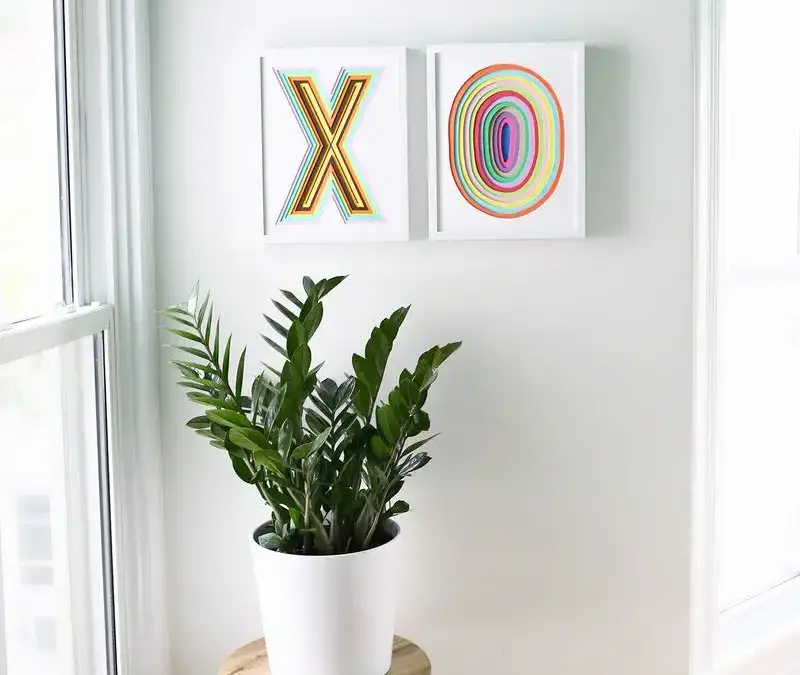
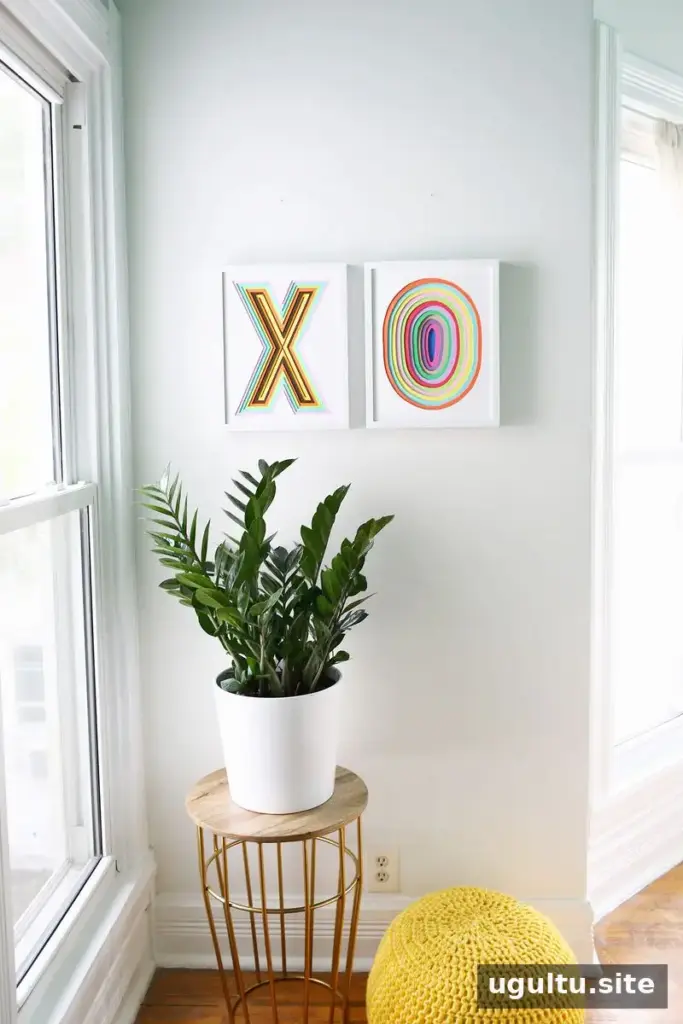
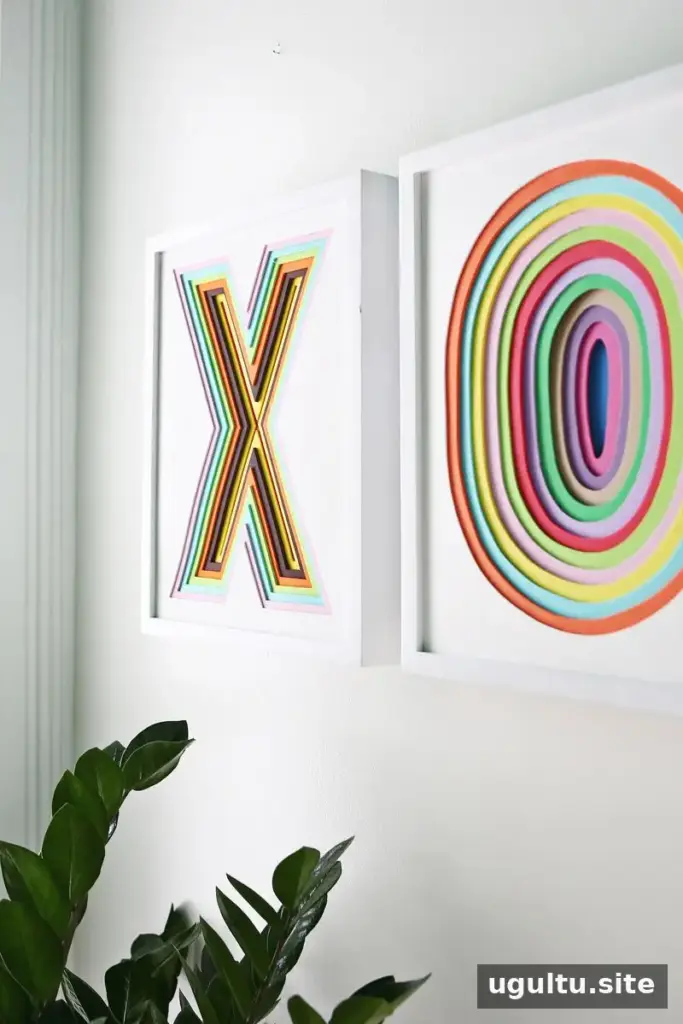
Foam wall art is an easy way to add color and dimension to a room using inexpensive craft materials. By cutting the same simple shape into gradually smaller layers, you can create a clean, dimensional design that fits inside a shadow box frame. This project works well with geometric shapes such as an “X” or “O,” and the layers can be customized with colors that suit your space.
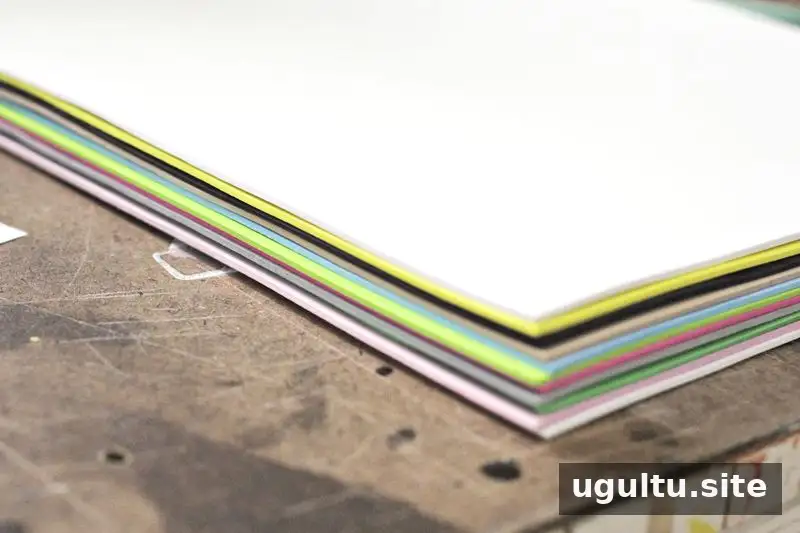
Supplies and tools for foam wall art
Plan on using about 13 foam sheets for each piece. The finished design in this project fits a 12 × 15-inch shadow box frame and costs about $30 per piece, including the frame. Actual material use may vary depending on the shape and number of layers.
Supplies
- Foam sheets (about 13 per piece)
- Shadow box frame (12 × 15 inches)
Tools
- X-Acto blade
- Straightedge or ruler
- Cutting board (optional, but useful for protecting the work surface)
- Pencil
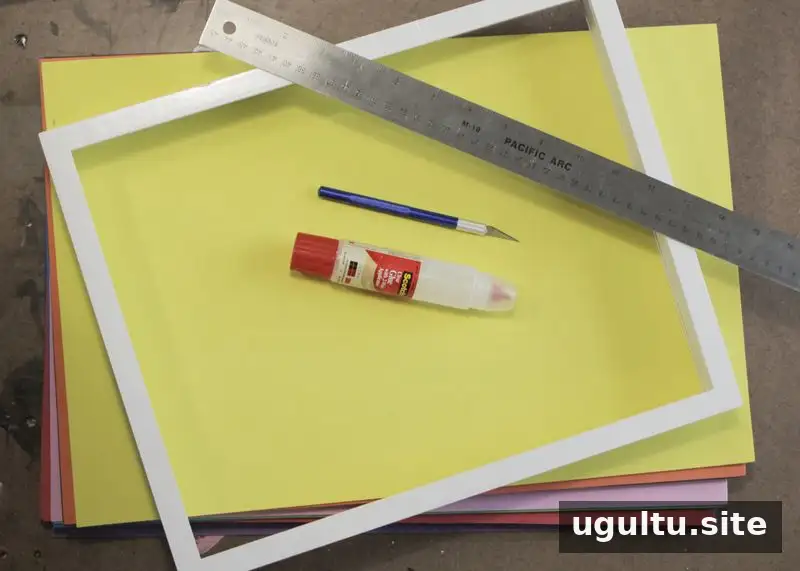
How to make layered foam wall art
1. Cut the first shape
Trim a foam sheet so it fits inside the frame. Choose a simple design and lightly draw it on the sheet with a pencil. Leave a small margin around the shape to create a visible border; for an “X,” for example, keep some space around its edges. Cut along the outline with a straightedge and X-Acto blade. Work slowly and keep your hands clear of the blade.
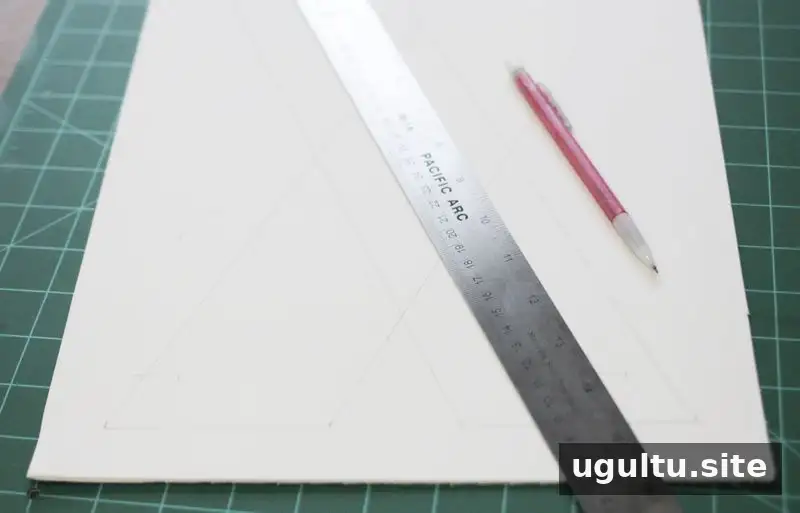
2. Prepare the next layer
Use the first cut-out as a template to size the next foam sheet. Trace the same shape onto it, then make the new outline slightly smaller so the first layer will show around its edges. Keeping the sheets aligned makes it easier to create a neat, even border.
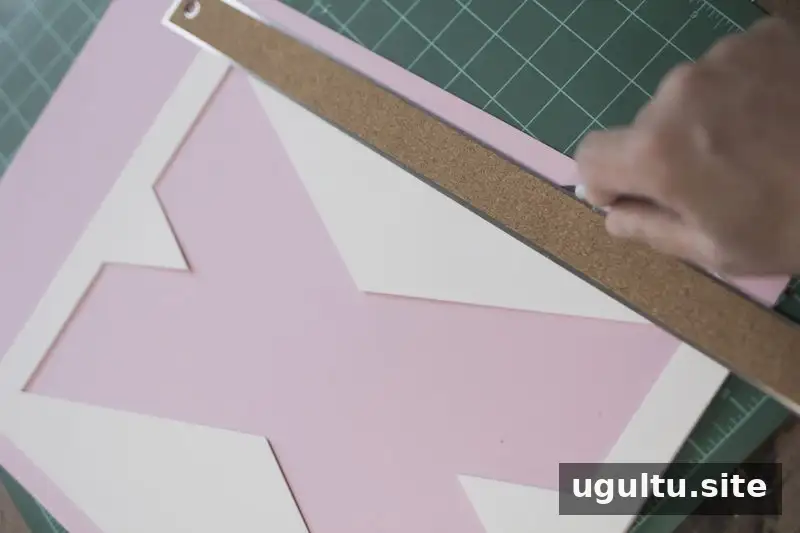
3. Repeat with a consistent border
To make each layer smaller by a similar amount, cut a scrap of foam to 3/8 inch wide and use it as a guide for drawing the next outline inward. Cut out the shape and repeat the process with each new sheet until the design is as small as you want or the shape no longer allows another layer.
The final layer count depends on the design and the width of the border. In this example, the “O” has 13 layers and the “X” has 8. Neat tracing helps keep the edges consistent, but small variations can also give a handmade piece its own character.
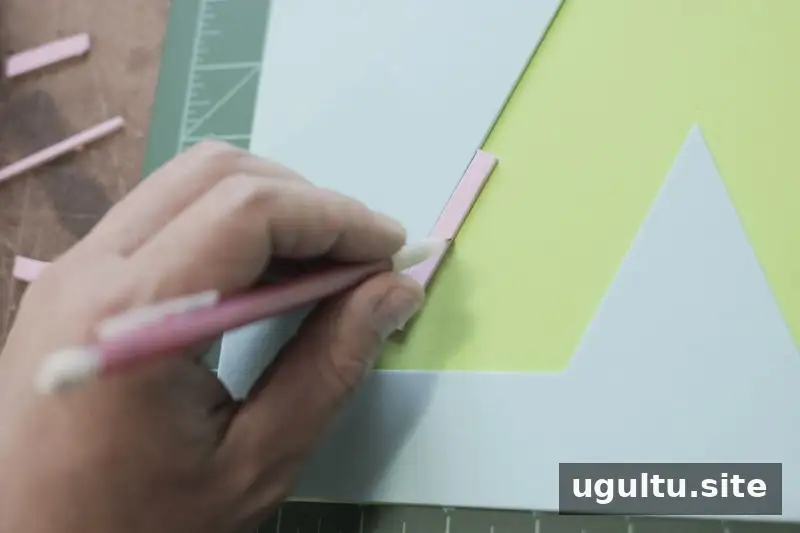
Frame and display the finished piece
Arrange the cut foam layers inside the shadow box frame, then close and hang the frame according to its instructions. Foam is lightweight, so the finished artwork does not add much weight. Before assembling everything, check that the layers sit evenly within the frame and that the design is centered.

Conclusion
This foam wall art project uses straightforward cutting and layering to turn colorful foam sheets into a dimensional framed design. Choose a simple shape, keep the sheets aligned, and use the 3/8-inch guide for a consistent progression. With a shadow box frame and about 13 sheets per piece, you can make a colorful decoration suited to your room.


