
 admin
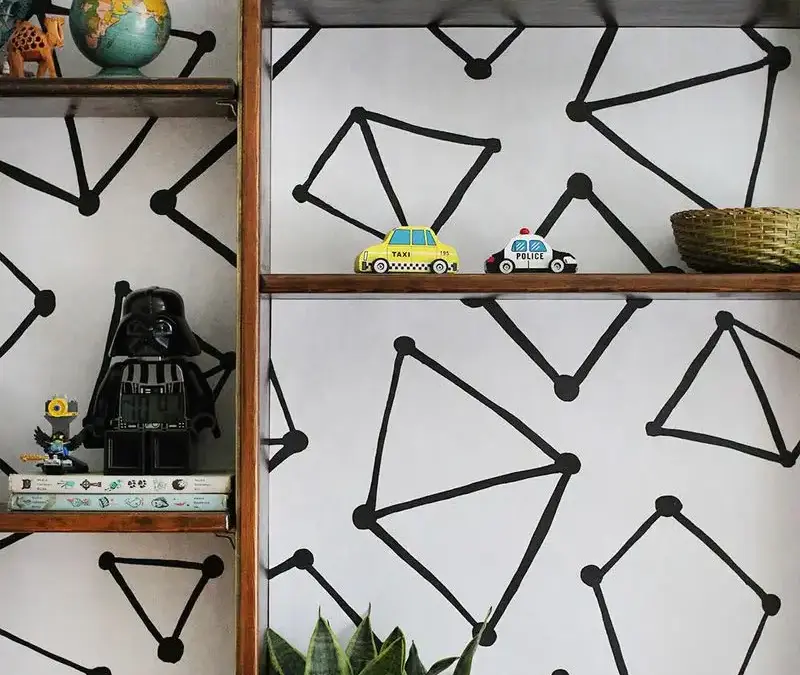
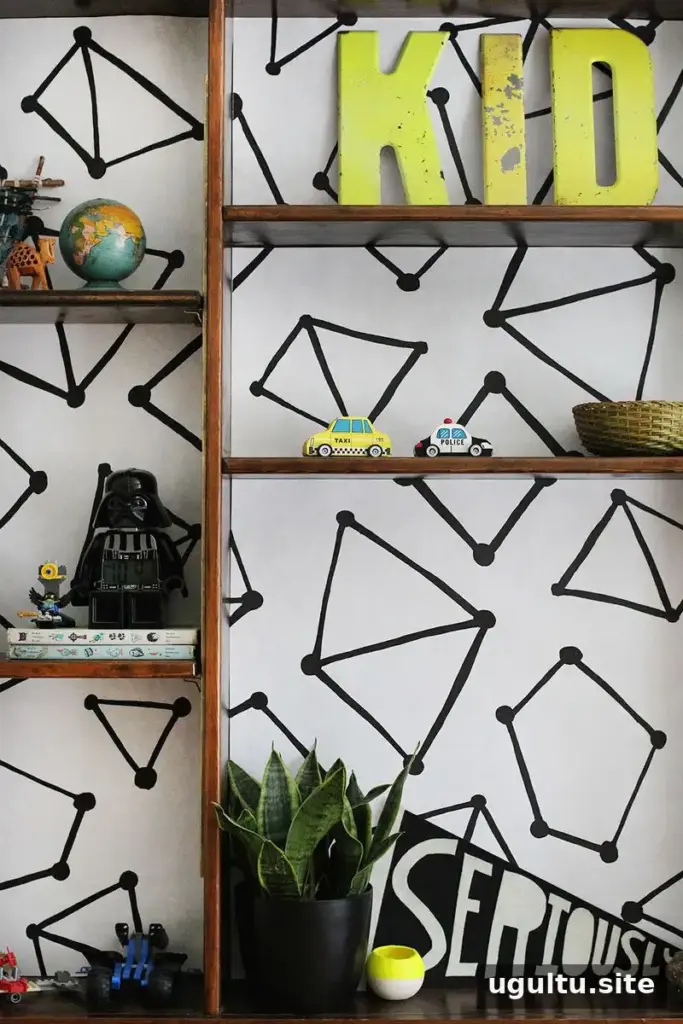
Bookshelf lining can refresh dark built-in shelves without the cost or commitment of wallpaper. A custom paper pattern is a simple option for renters and anyone looking for a low-budget change. In this project, a hand-drawn geometric design was enlarged onto blueprint paper and attached with removable double-sided photo splits.
The built-ins took up much of a shared bedroom wall, making the small room feel darker and more dated. After removable wallpaper proved difficult to find within budget, printed paper offered a straightforward alternative. The finished makeover cost $26 and created a patterned feature wall while leaving the original wood intact.
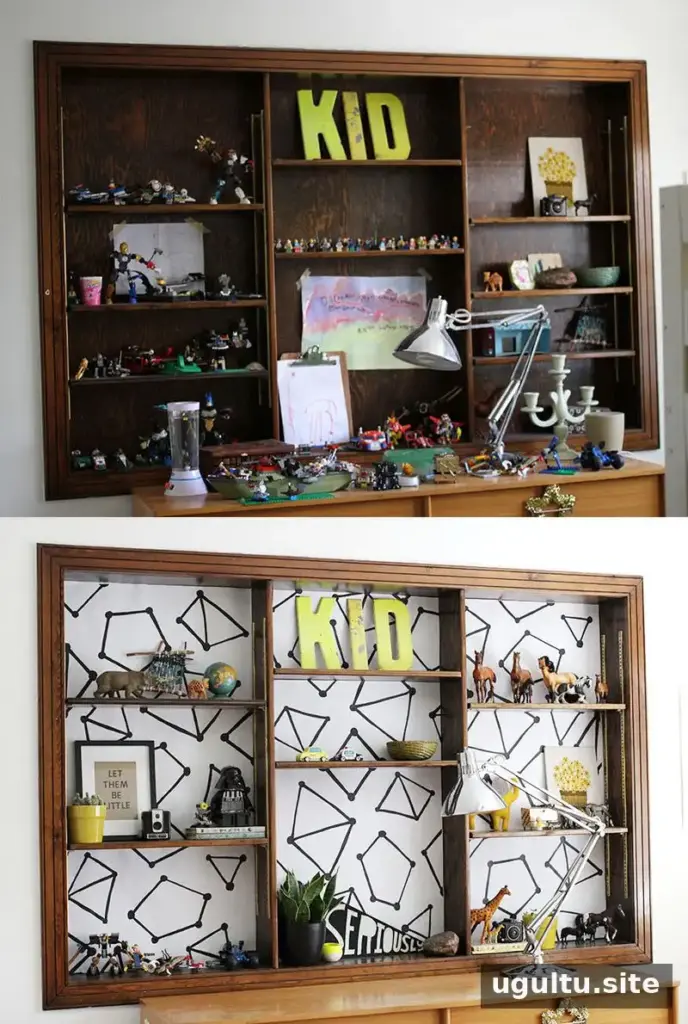
This approach is especially useful when you want to change a room without making permanent alterations. As with any adhesive, test it on a hidden area first and check that it can be removed safely from your particular surface.
Plan a bookshelf lining pattern
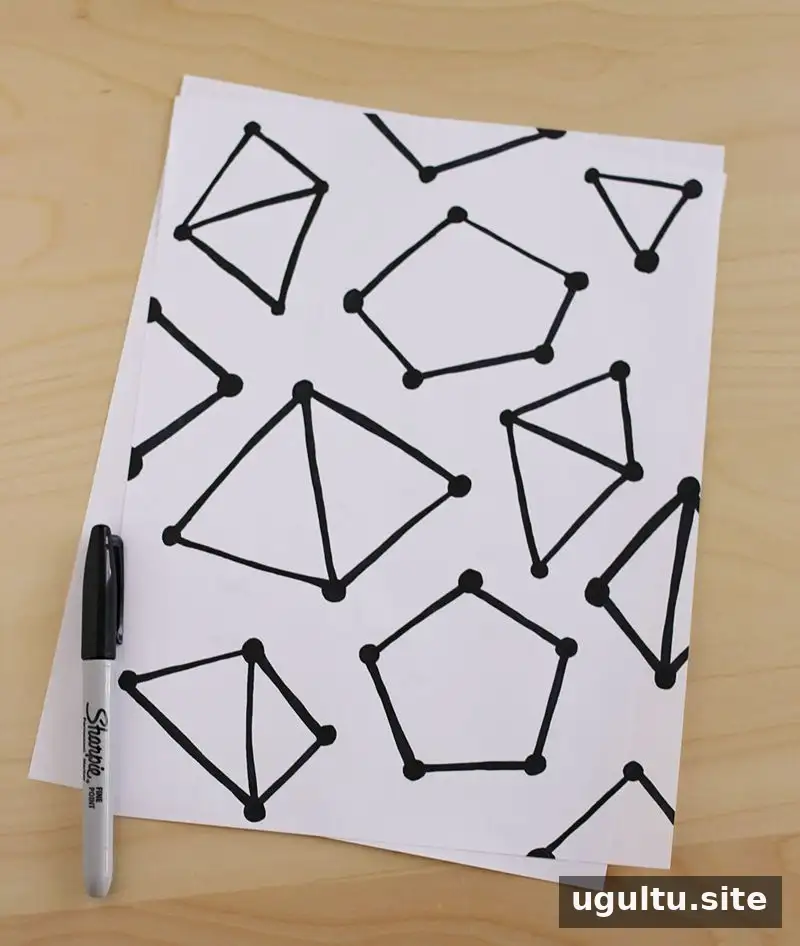
Gather these supplies:
- One 8.5" x 11" sheet of white computer paper
- Pencil
- Sharpie
- Access to a copy and print shop
Measure the shelves before drawing or ordering prints. The shelves in this project were roughly 24" wide, and the shelving on the left and right sides could be removed. A larger, simple pattern can be easier to align and trim than a design with many small details.
Start the artwork in pencil, then trace the lines and fill in selected areas with a Sharpie. Strong, bold lines help the design remain visible when enlarged. Choose a pattern that can be trimmed to fit, so small differences in shelf measurements are easier to handle.
For a pattern that appears continuous across panels, draw shapes that reach or extend beyond the page edges. Here, centered triangles created edges that nearly matched when the printed sheets were placed together.
Print and install the bookshelf lining
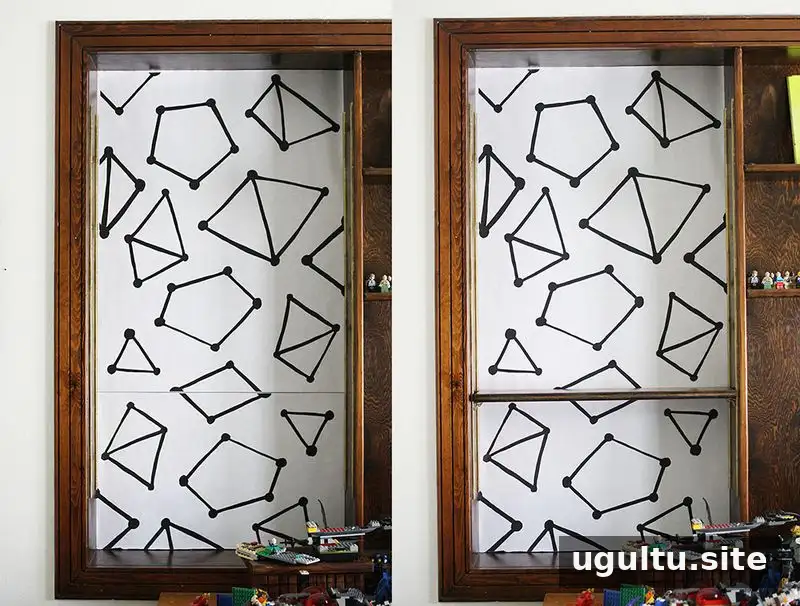
The design was copied onto six 2′ x 3′ blueprint panels; five were needed, and the extra served as a backup in case a panel was damaged on the way home. Blueprint panels are available in different sizes, so choose a print size that meets or exceeds the dimensions you need.
Trim the prints to fit each shelf section. Attach them using double-sided photo splits, which are commonly sold in craft stores and are acid free. Before applying adhesive across the full surface, test it in an inconspicuous place to check for damage or residue.
To disguise seams, adjust the shelf heights where possible. The panels in this project were arranged so that the joins were less noticeable, and the print direction was varied on the center panels for a more fluid overall appearance. Dry-fit the pieces before attaching them, and make any necessary trimming adjustments first.
Care and easy replacement
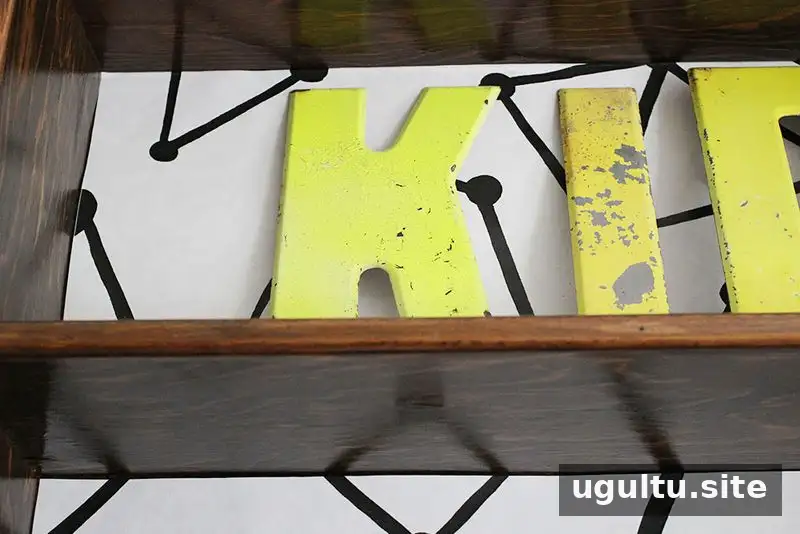
After a month, the paper was still in good condition except for a corner near a diffuser. Paper attached with tape may not sit as flush as wallpaper applied with adhesive, but careful trimming and positioning can help create a neat result. Keep the unused print or the design file so a damaged or marked section can be replaced without redoing the whole shelf.
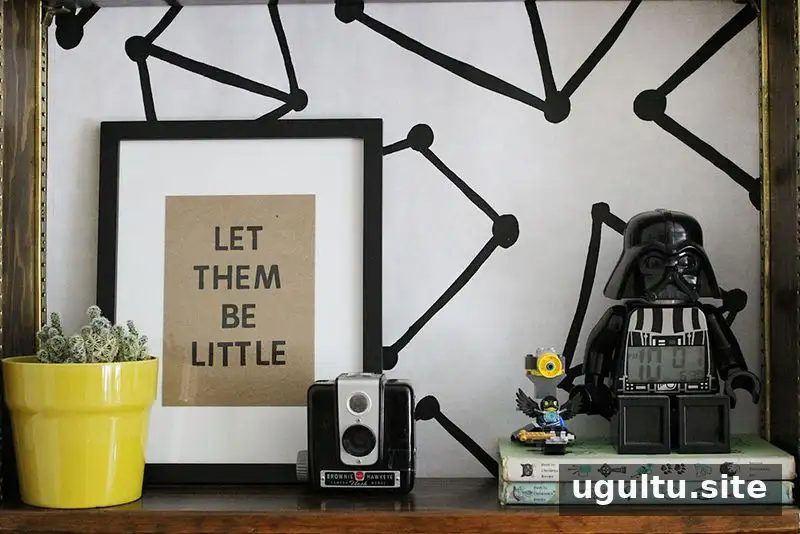
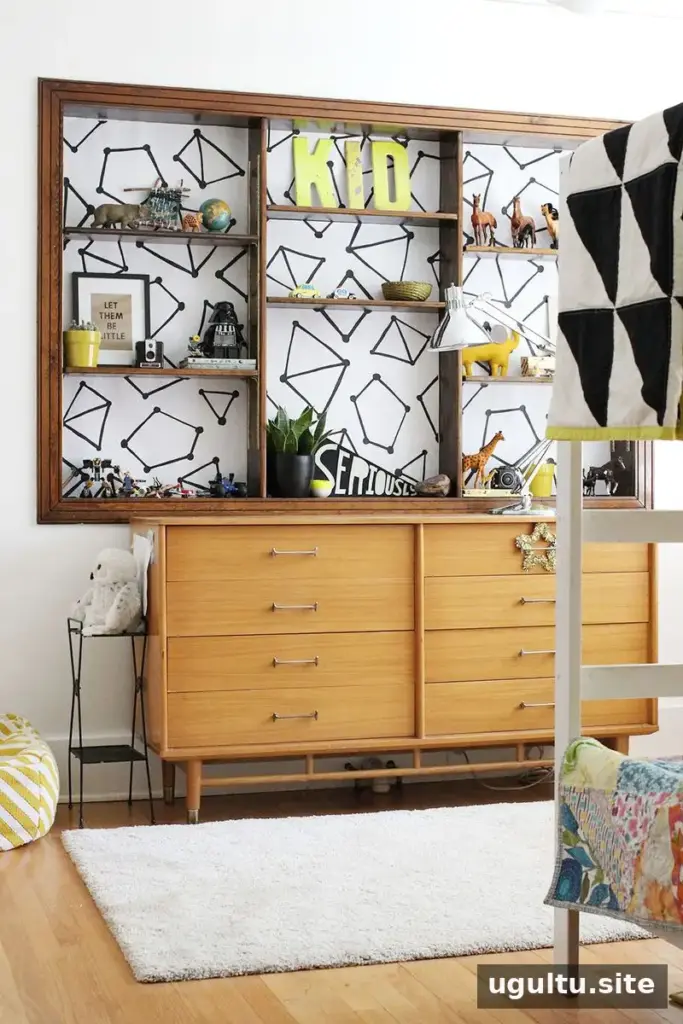
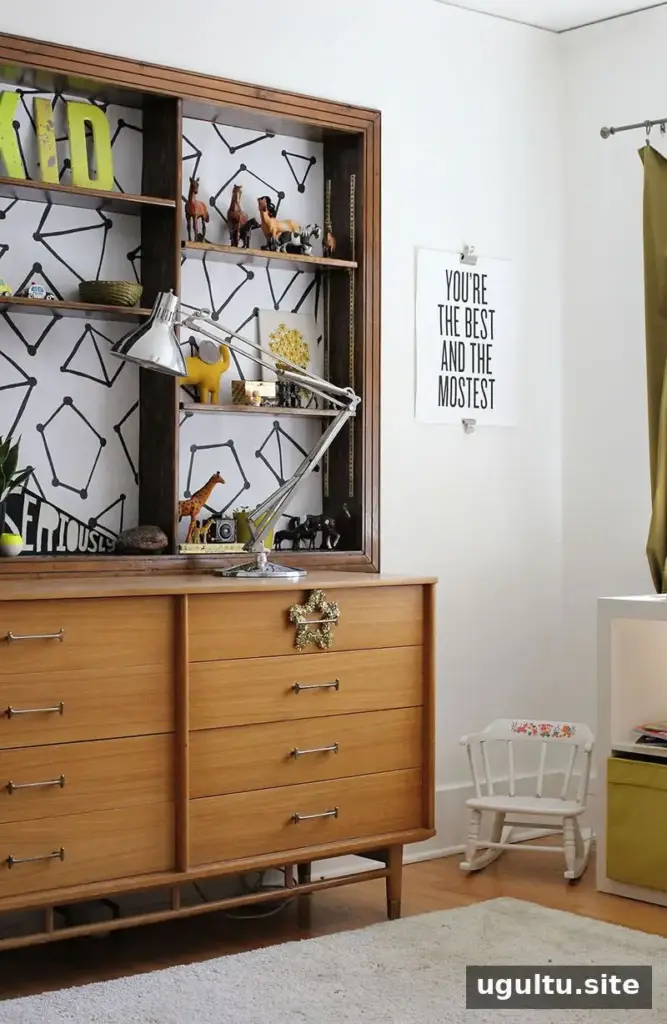
A simple bookshelf lining project can make an underused wall feel more considered and may inspire other room updates. For a rental-friendly result, measure carefully, test the adhesive, and keep the design easy to trim and replace.
—Rachel


