
 admin
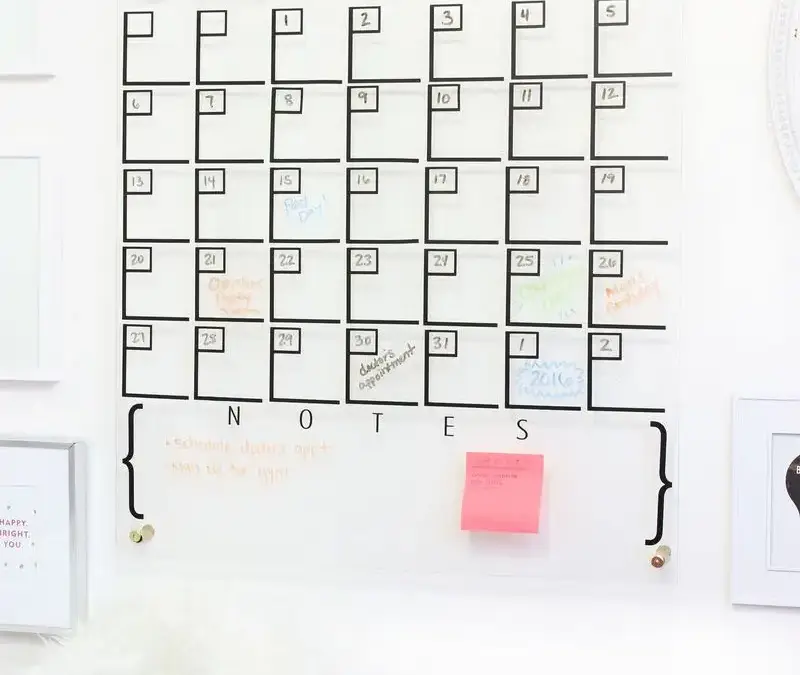
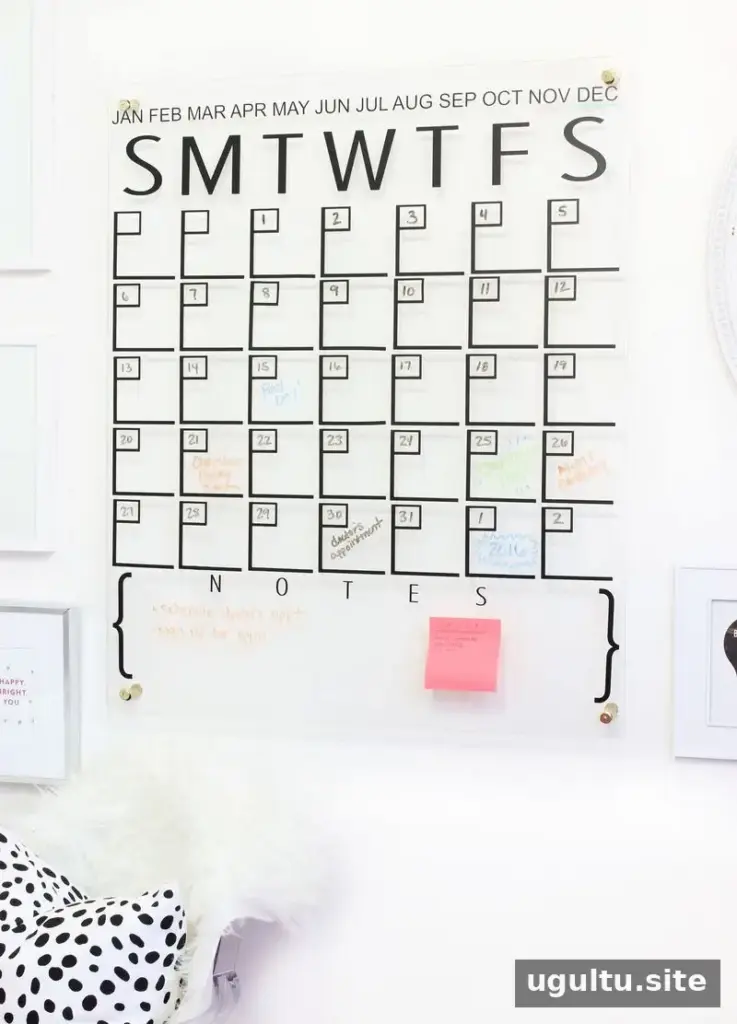
A DIY acrylic calendar is a practical way to keep appointments and plans visible while adding a clean, modern detail to a room. This project, shared by Mallory and Savannah, turns a 36″ x 30″ acrylic sheet into a wall-mounted dry-erase planner. It takes about two hours to make, not including drying time for the paint, and can be customized with vinyl or hand-cut strips.
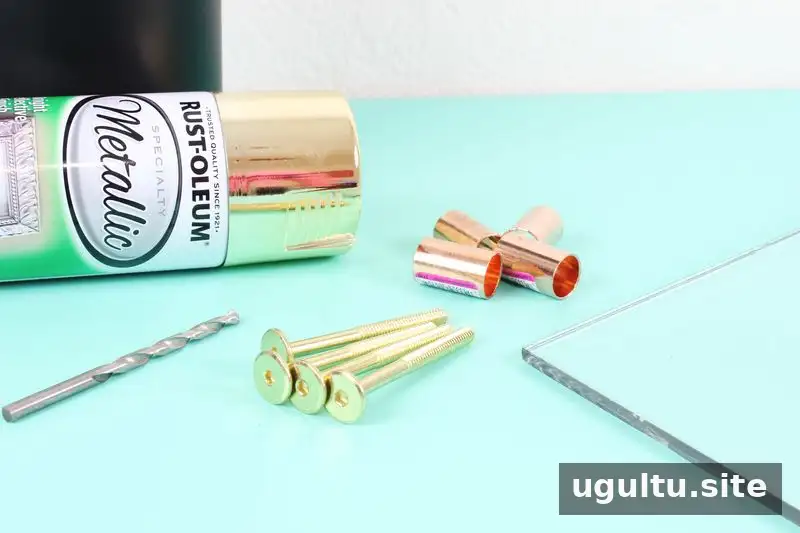
Supplies for a DIY Acrylic Calendar
Gather the following materials before you begin. Check that the acrylic sheet fits the wall where you plan to hang it, and use a marker suitable for dry-erase surfaces.
- 36″ x 30″ acrylic sheet
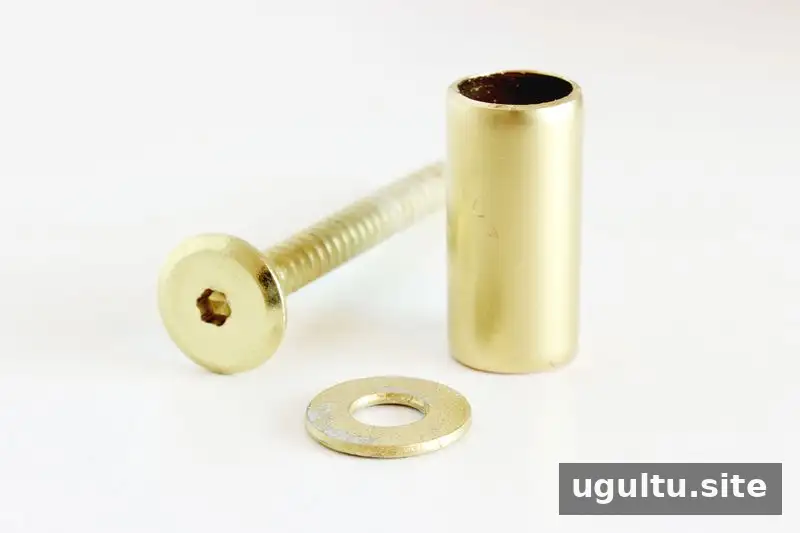
- 2-3/4″ brass-plated connecting bolt (4 pack)
- (4) 1/2″ washers
- (4) 1/2″ copper couplings
- Gold spray paint
- Black vinyl
- Transfer paper and vinyl cutter (optional)
- Drill and drill bits: 1/4″ drill bit, 1/8″ drill bit and hex-drive bit
How to Make the Calendar
1. Paint the mounting hardware
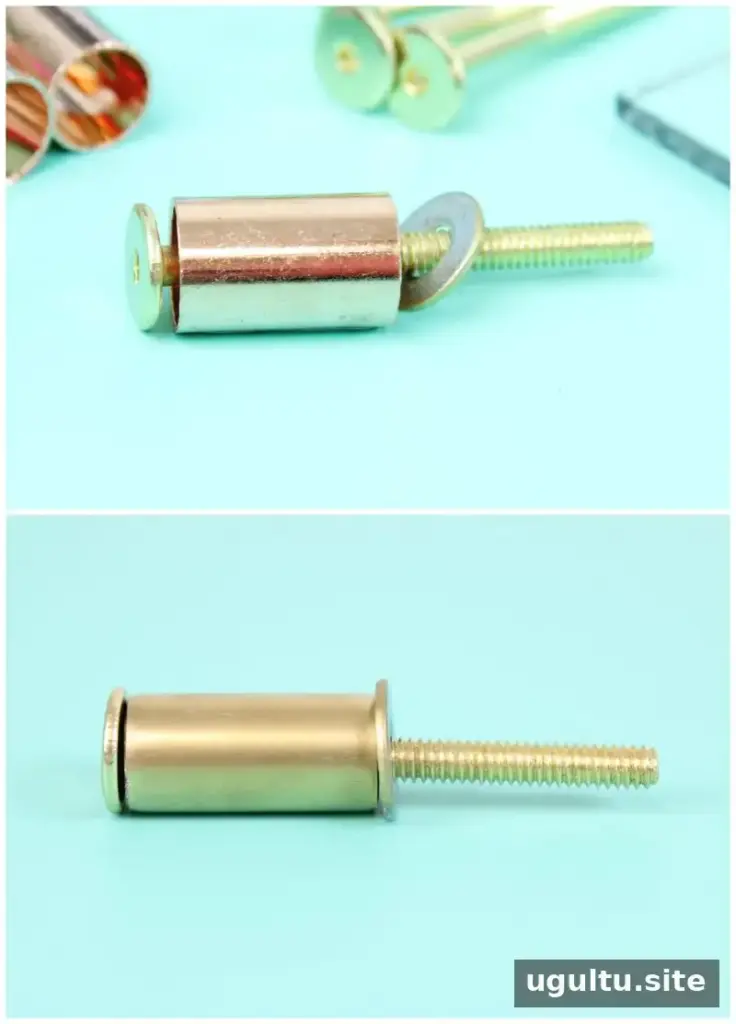
Spray-paint the mounting hardware gold and leave it to dry according to the paint instructions. Apply paint outdoors or in a well-ventilated area, and protect the surrounding surface from overspray.
2. Drill mounting holes in the acrylic
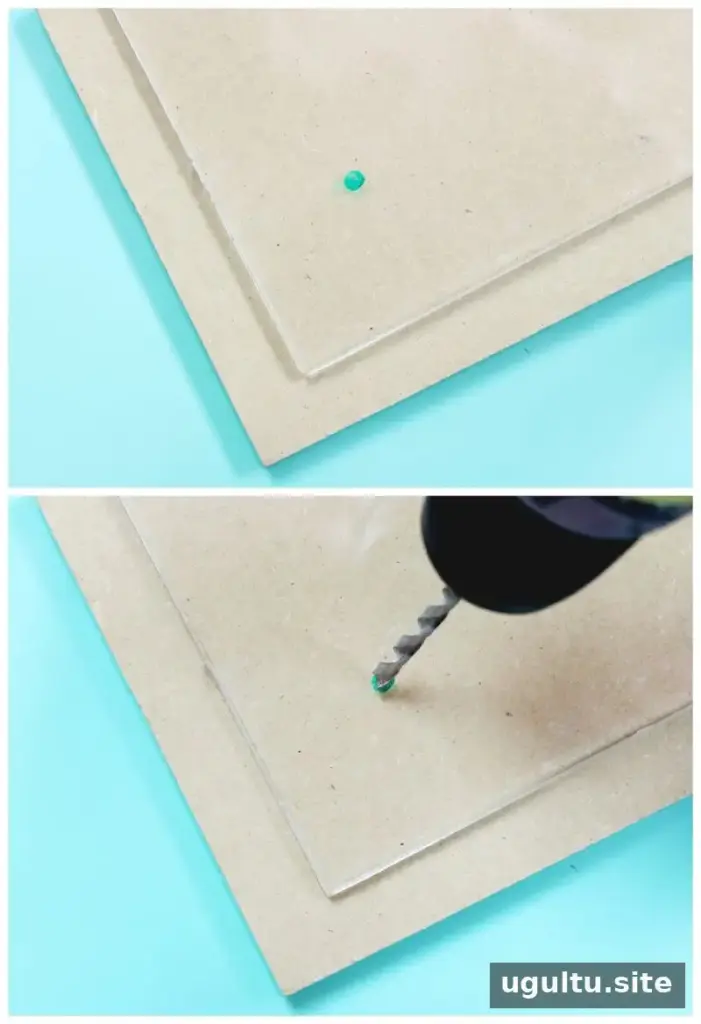
Mark the mounting points about 1″ in from the sides of the acrylic sheet. Place a piece of wood behind the sheet for support, then drill the holes using a drill set to reverse. Applying steady pressure at a controlled pace can help reduce the chance of cracking. Wear eye protection, and keep the sheet supported while drilling.
Work carefully rather than forcing the drill. If the acrylic shifts or begins to flex, stop and secure it more firmly before continuing.
3. Apply the vinyl calendar layout
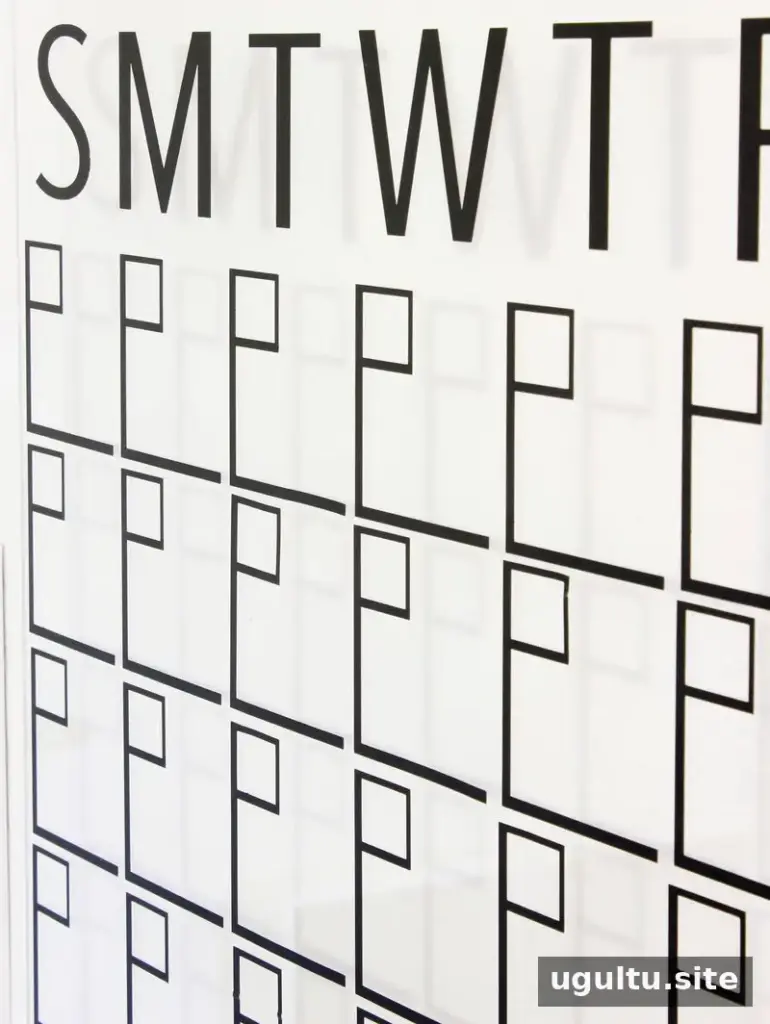
Cut and apply the vinyl grid and calendar labels. If you have a vinyl cutter, use its compatible design software to create a layout that fits the sheet. The original layout includes a top piece, two middle pieces and a bottom piece.
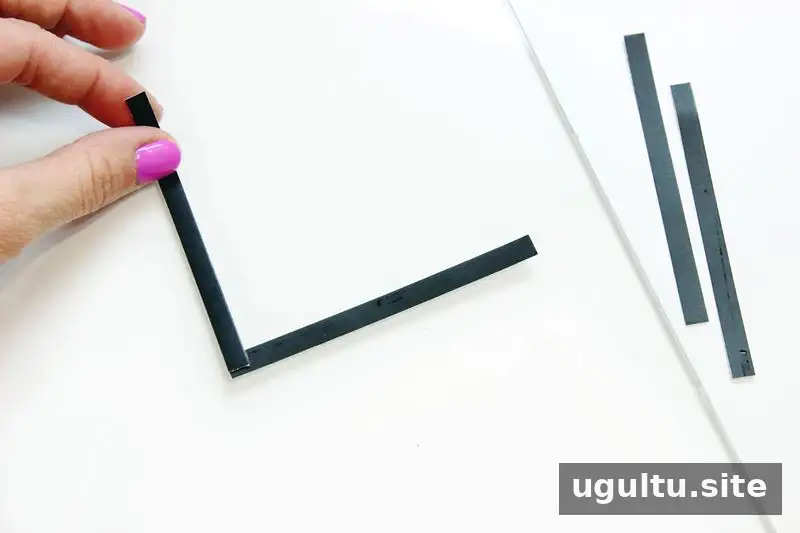
Without a vinyl cutter, make the grid from black vinyl and scissors. Cut strips about 3.5″ long and 1/8″ wide to form the date boxes. Add the days of the week across the top using cut vinyl letters or another suitable lettering method. Before applying the pieces, measure and mark the layout lightly so the rows and columns remain evenly spaced.
4. Mount the calendar on the wall
Choose a wall location and check for hidden wiring or plumbing before drilling. Use a drill bit slightly smaller than the bolt; the original project used a 1/8″ bit for a 1/4″ bolt. A wall anchor may be used where appropriate for the wall material and the weight being supported.
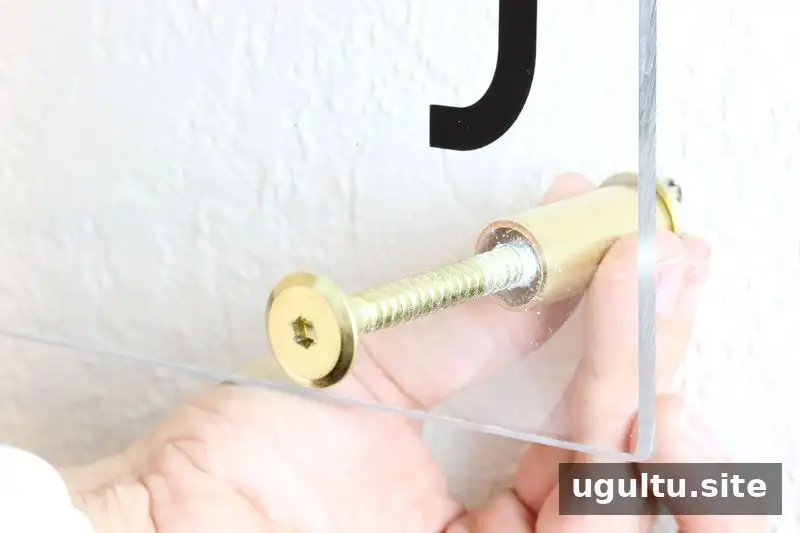
Pass a bolt through each hole in the acrylic, then thread on a coupling and washer. Keep the hardware order consistent at all four corners.
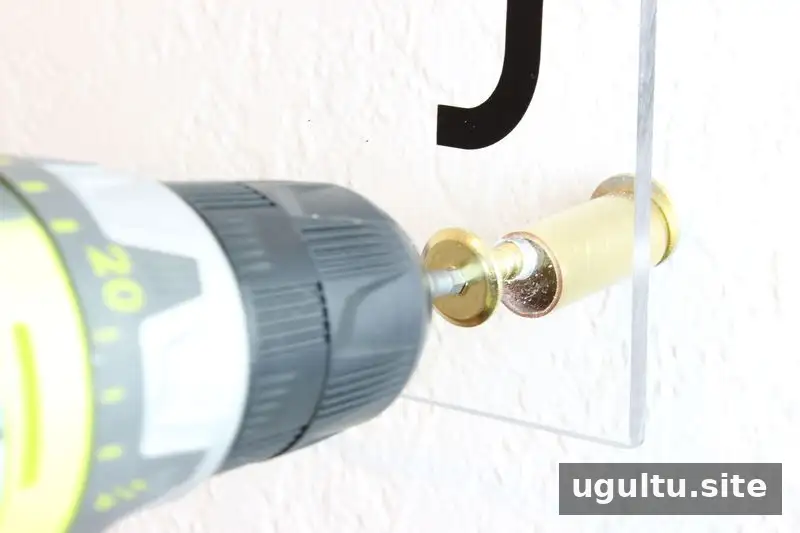
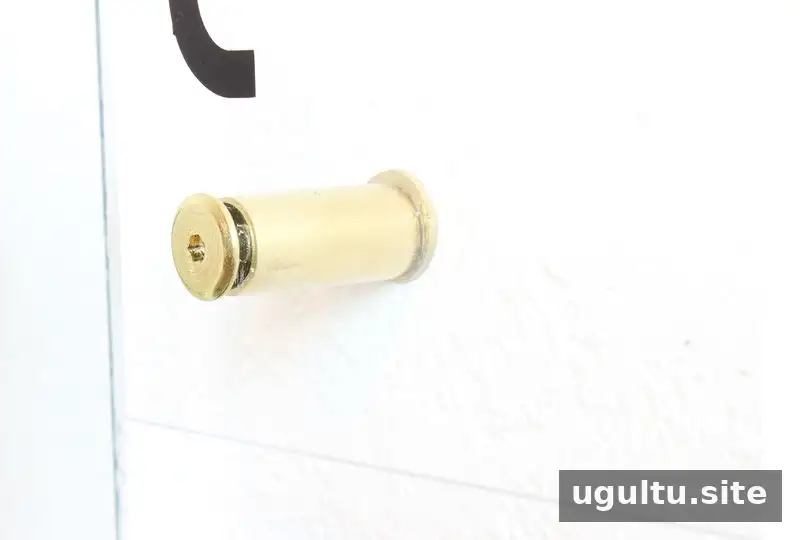
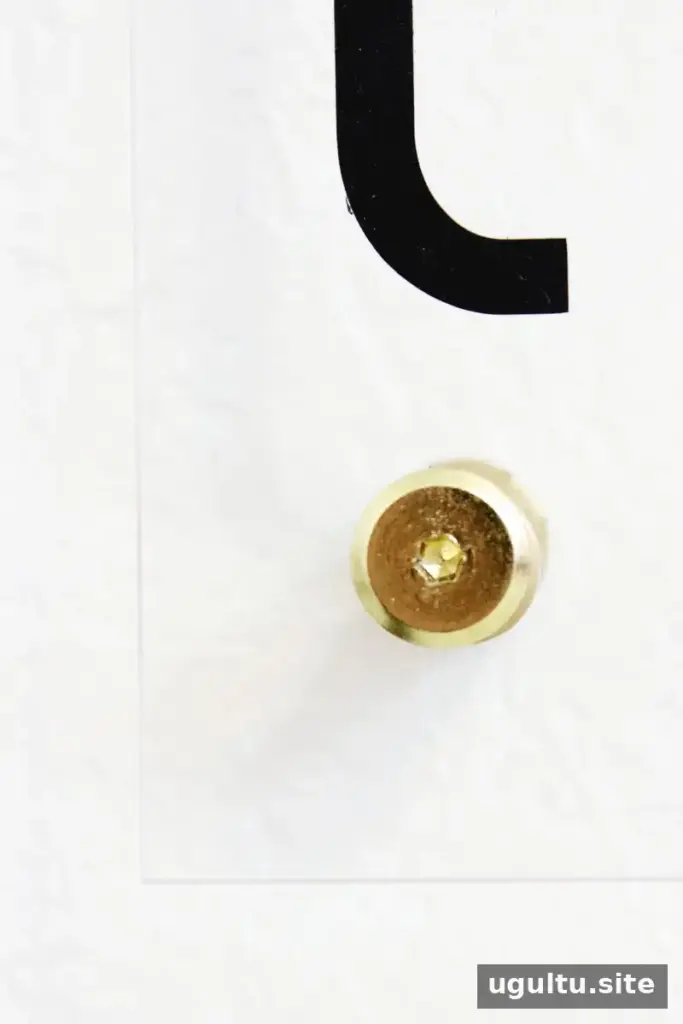
Using a hex-drive bit, slowly screw each bolt into the wall. Avoid overtightening, which can put pressure on the acrylic. Repeat at the remaining corners and check that the sheet is secure and level.
Using and Caring for Your DIY Acrylic Calendar
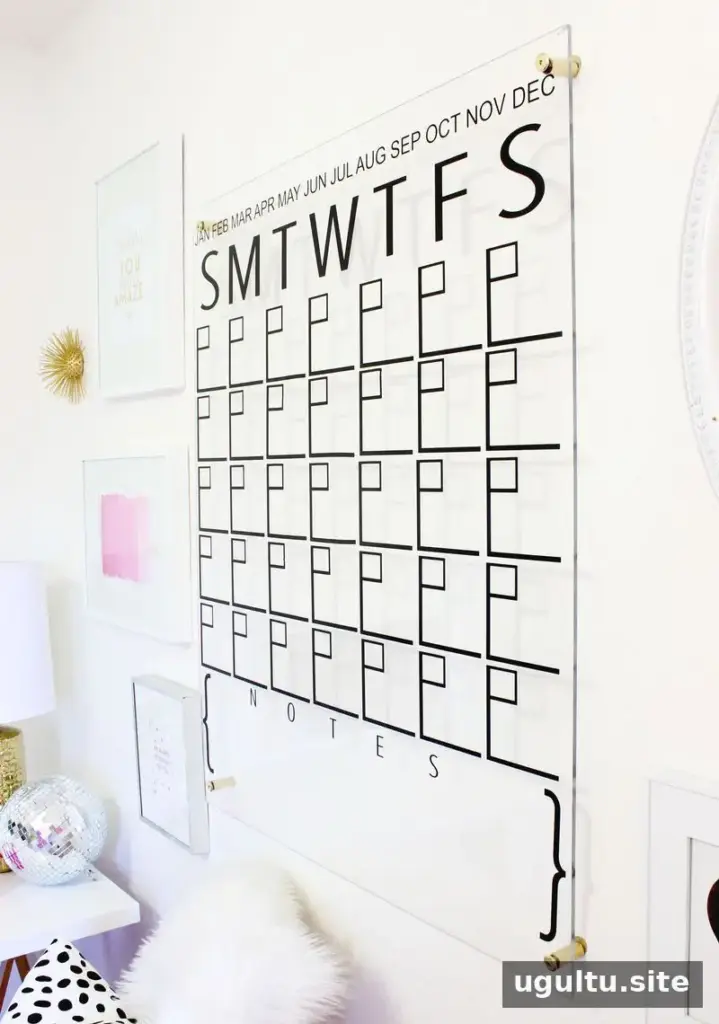
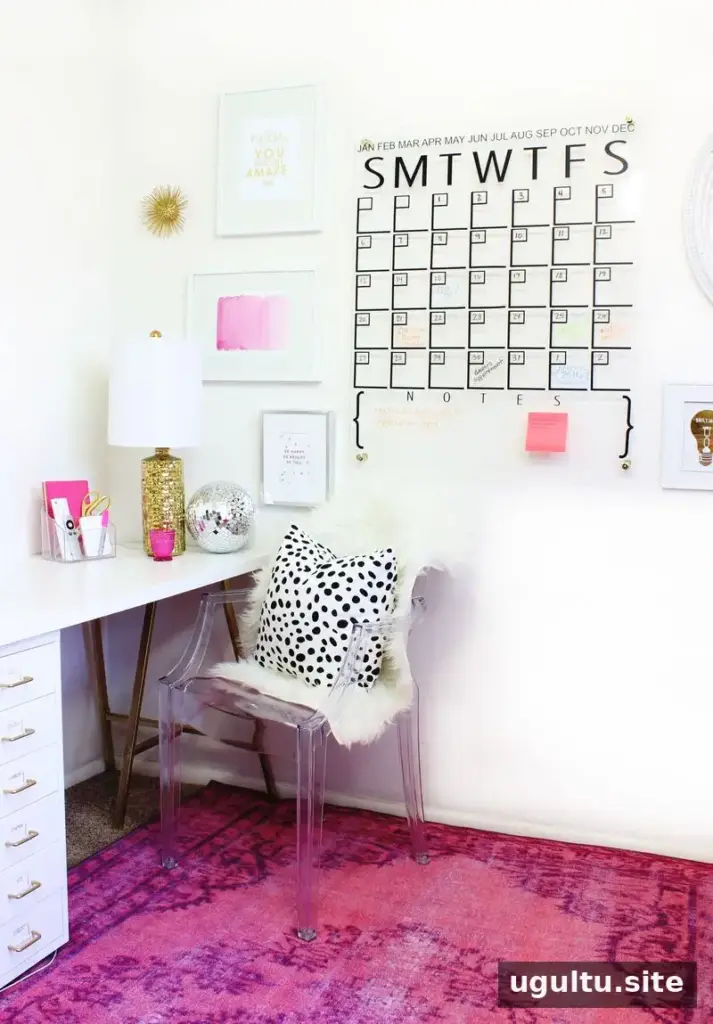
Once the calendar is mounted, write appointments, reminders and notes on the acrylic with dry-erase markers. Different marker colors can help distinguish schedules or household members. Test a marker on a small area first, and use a soft cloth or the cleaner recommended for acrylic to remove writing. Avoid abrasive materials that could scratch the surface.
The finished DIY acrylic calendar can be adjusted with a new vinyl layout whenever your planning needs change. It also makes a useful handmade gift for someone who likes to keep plans in view.

Conclusion
A DIY acrylic calendar combines a reusable writing surface with a layout you can tailor to your space. With the specified acrylic sheet, vinyl and mounting hardware, you can create a clear wall planner in about two hours. Measure carefully, support the acrylic while drilling and choose mounting hardware suited to your wall for a neat, practical result.


