
 admin
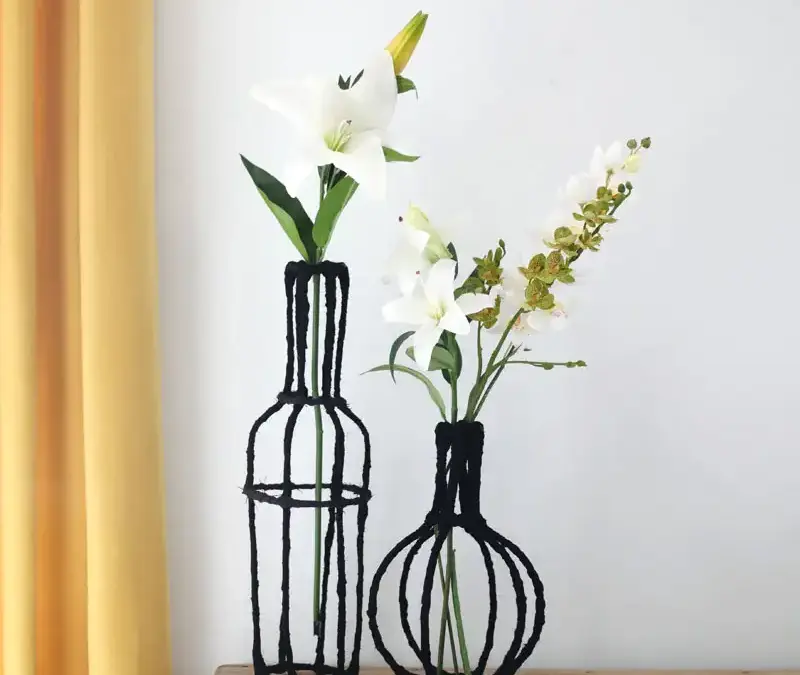
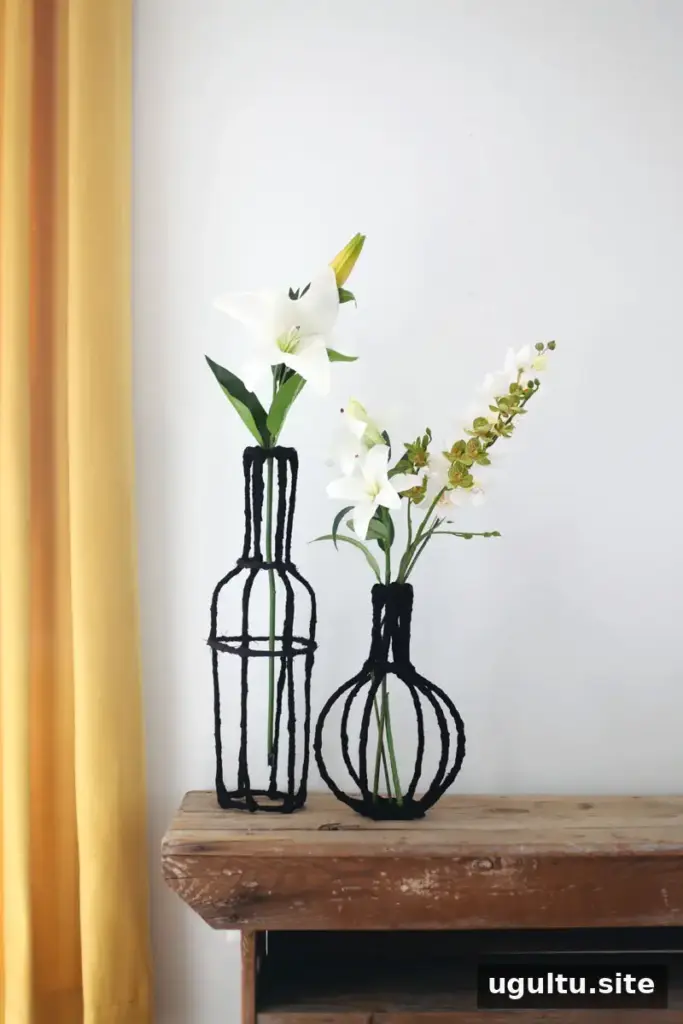
A decorative wire vase DIY is a simple way to create a sculptural display for artificial flowers or a shelf vignette. Made from heavier-gauge wire and wrapped in fabric strips, this vase has a handmade, bohemian look that can also work in a modern space. It is designed as a decorative holder, not a watertight container, so use it with artificial flowers rather than fresh stems that need water.
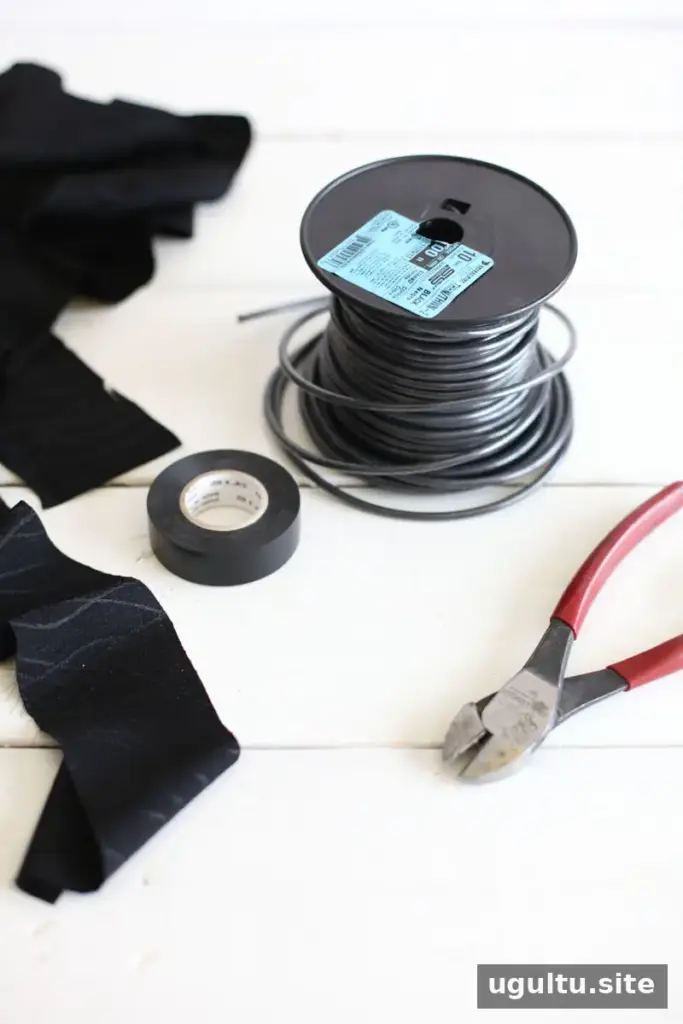
Materials for a Decorative Wire Vase DIY
Gather the materials before starting. Choose fabric strips in a color or pattern that suits your room, or combine different fabrics for a more varied finish.
- Heavier-gauge wire; 10-gauge wire is one suitable option. Electrical wiring can be used if available.
- Electrical tape
- Wire cutters
- Scissors
- Scrap fabric cut into 1–2-inch strips
- Optional: needle and thread that match the fabric
Work on a clear surface and handle cut wire carefully. Before wrapping, check that the cut ends are secured so they do not protrude from the frame.
How to Make the Wire Vase
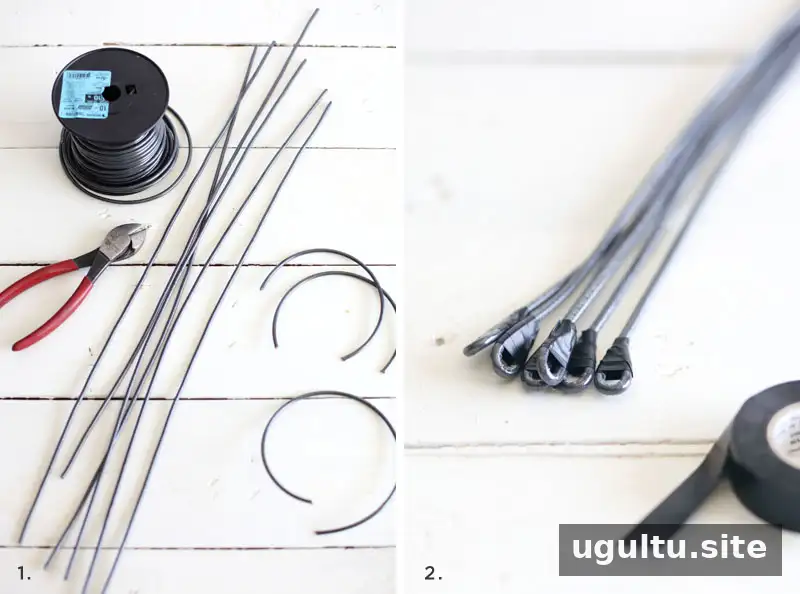
1. Cut the frame pieces
Cut six pieces of wire to the same length. For the vertical supports, make each piece about 1–2 inches taller than the finished vase. If you want a wider shape, allow roughly 3–4 extra inches. Cut shorter pieces for the horizontal rings; their lengths will depend on the desired width of the vase at the bottom, middle, and top. Make the base wide enough to help the finished piece stand steadily.
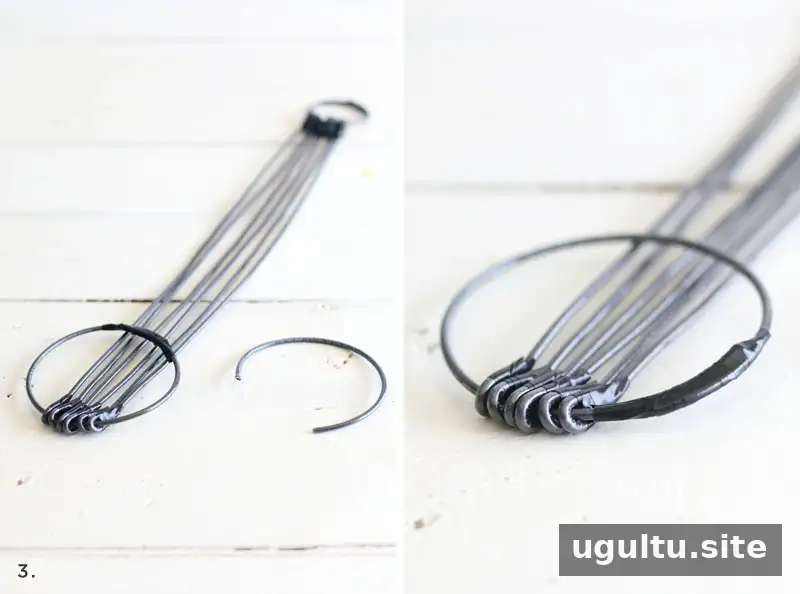
2. Form loops at the wire ends
Bend down the ends of the cut wires to create small loops, leaving an opening large enough to thread two pieces of wire through. Secure the bends with electrical tape. Repeat at both ends of each relevant wire, and check that the vertical pieces remain equal in length. Matching lengths help the vase sit evenly rather than leaning.
3. Create the horizontal rings
Thread the shorter cross wires through the loops at the ends of the vertical pieces. Bend each cross wire into a circle and secure its ends with electrical tape. Make rings for the top and bottom of the frame. Keep the joins neat and firmly wrapped so the shape holds while you assemble the rest.
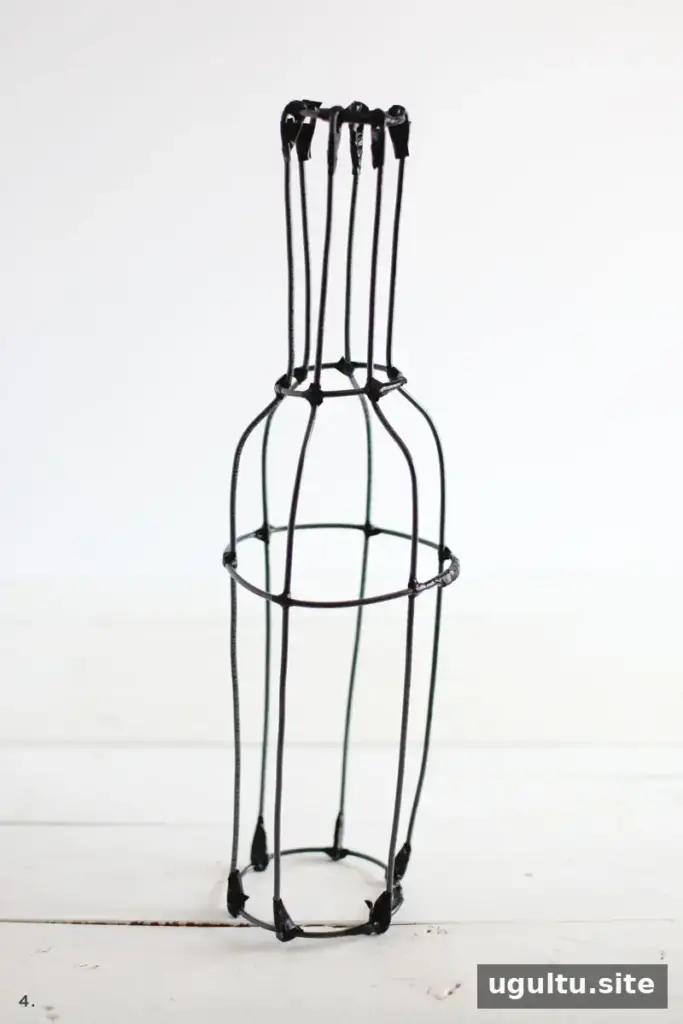
4. Assemble and shape the frame
Attach the looped vertical wires to the circular base, wrapping electrical wire crosswise around each joint. Keep the vertical supports evenly spaced before securing them. Once the bottom joints are in place, attach the top ring in the same way. Shape the vertical wires to create the vase’s outline, then add middle rings for support. Adjust the spacing and curves before moving on; it is easier to correct the frame before the fabric is wrapped around it.
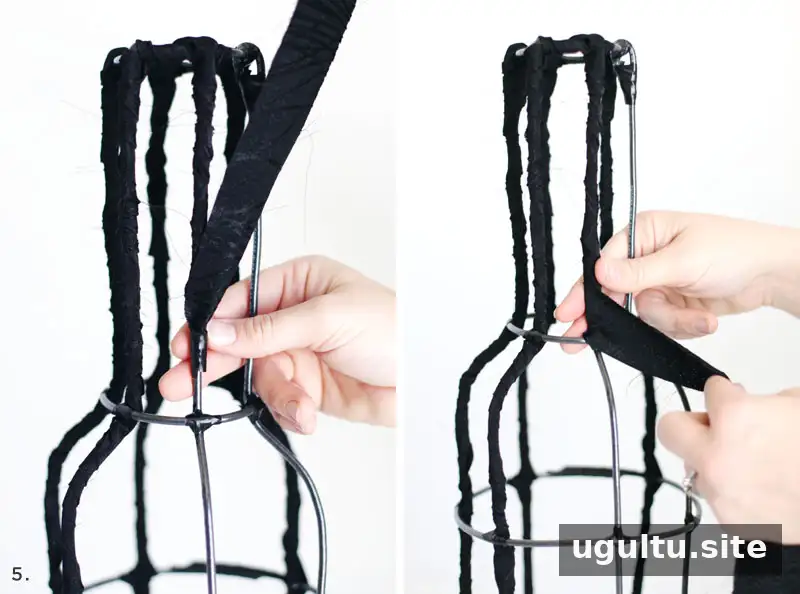
5. Wrap the frame with fabric
Wrap the fabric strips around the wire skeleton. This adds color and texture while helping the frame feel more finished. Smooth out unwanted kinks in the wire first, but keep in mind that small adjustments to the shape can still be made after wrapping.
To join one strip to the next, secure the end of the first strip with electrical tape, then wrap fabric over the tape to conceal the join. When you reach the end, tuck the final fabric end beneath the starting point or stitch it in place with a needle and thread. Keep the fabric snug, but avoid pulling so tightly that the wire frame changes shape.
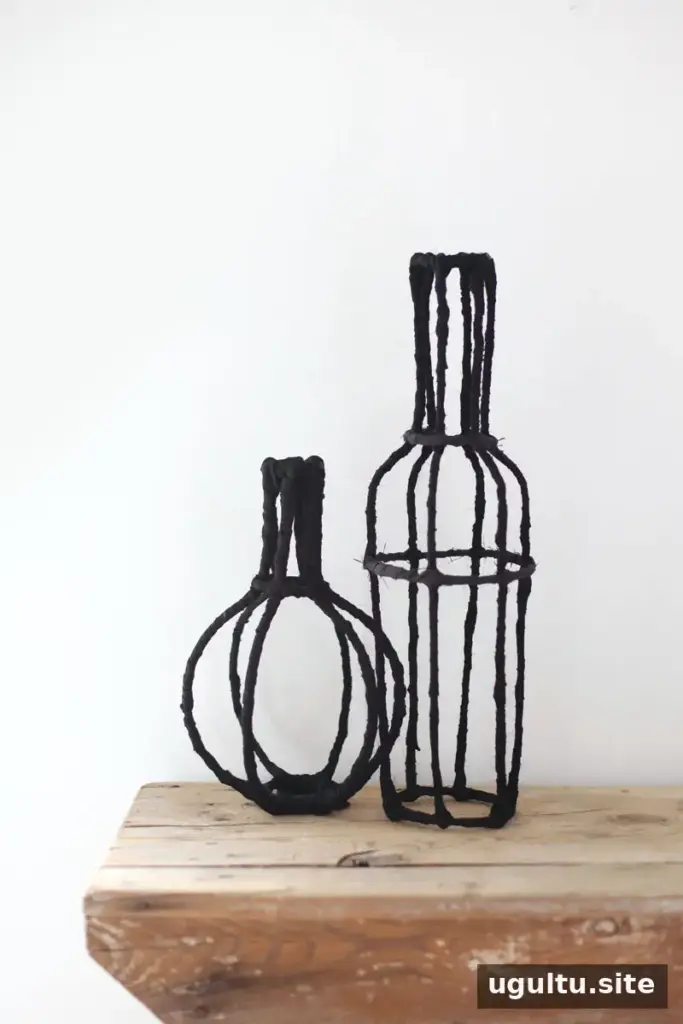
Styling and Practical Tips
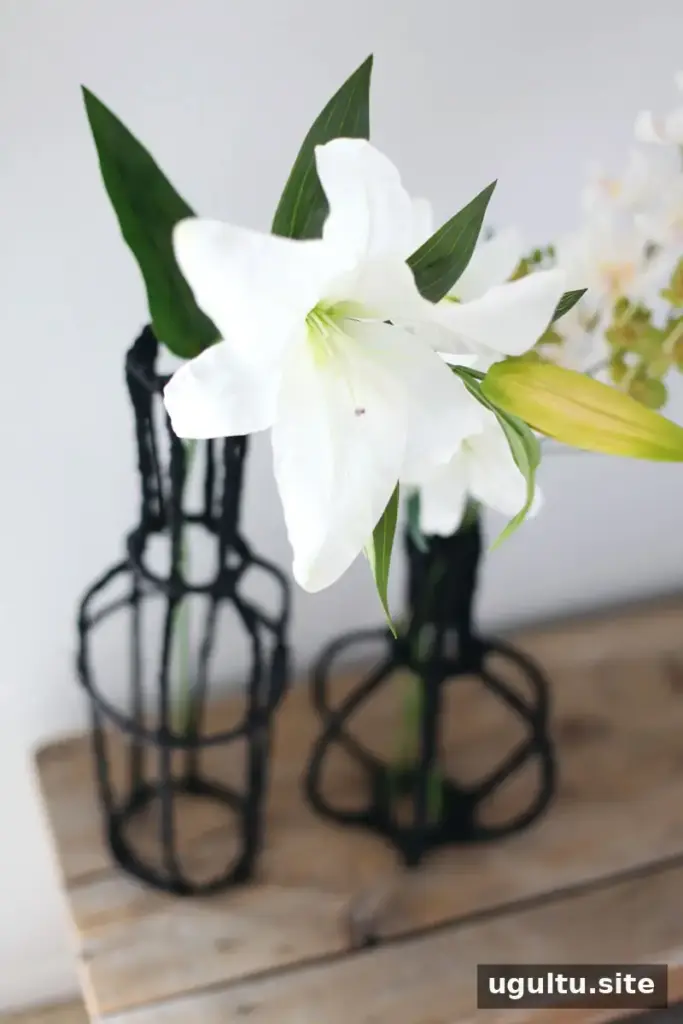
Set the finished vase on a level surface and arrange artificial flowers in the wire frame. It can also be displayed without flowers as a small sculptural accent. Because the design does not hold water, do not pour water into it; place any water-filled container elsewhere if fresh flowers are being used nearby. If the vase wobbles, check that the base ring rests flat and adjust the wire supports before adding flowers.
Conclusion
This decorative wire vase DIY uses a basic wire framework and fabric wrapping to make a customizable display for artificial flowers or home décor. Take time to keep the supports evenly spaced, secure the joins, and check the base for stability. — Mandi


