
 admin

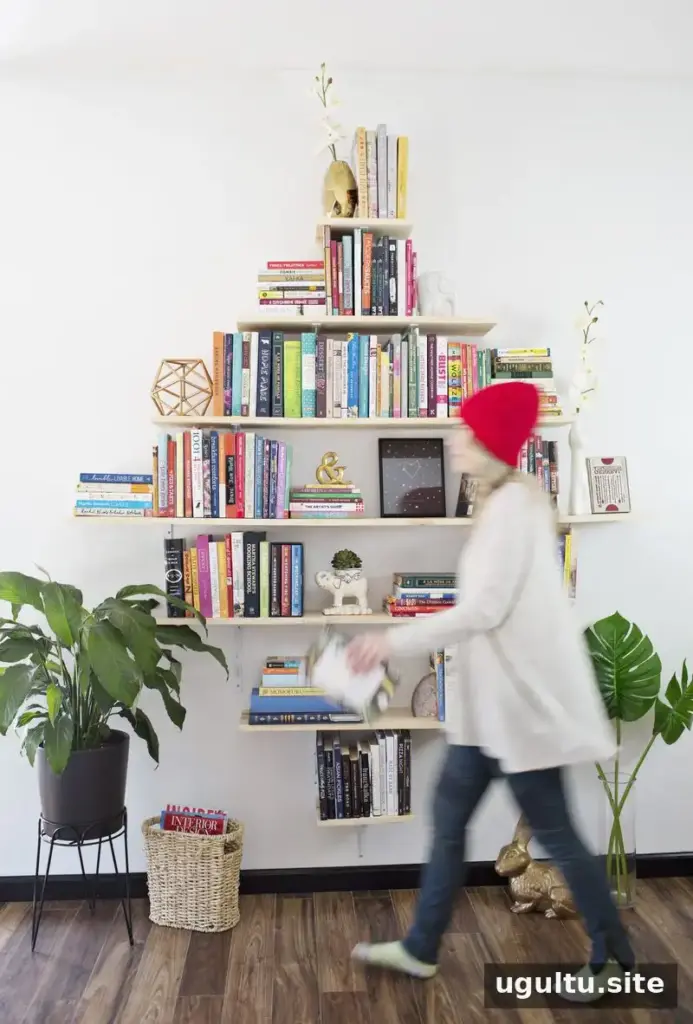
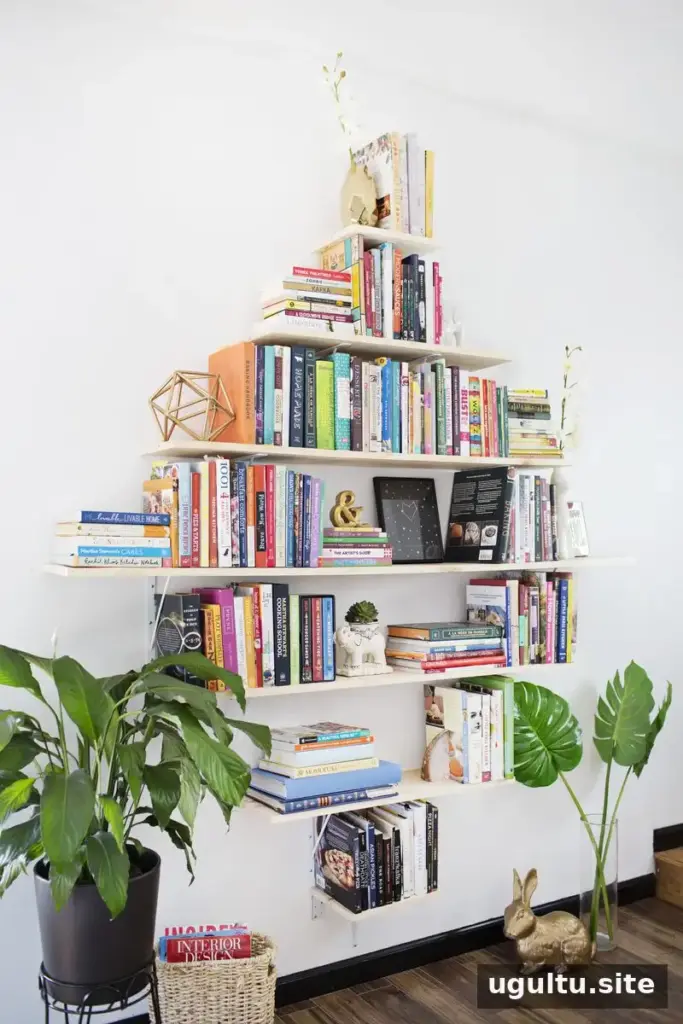
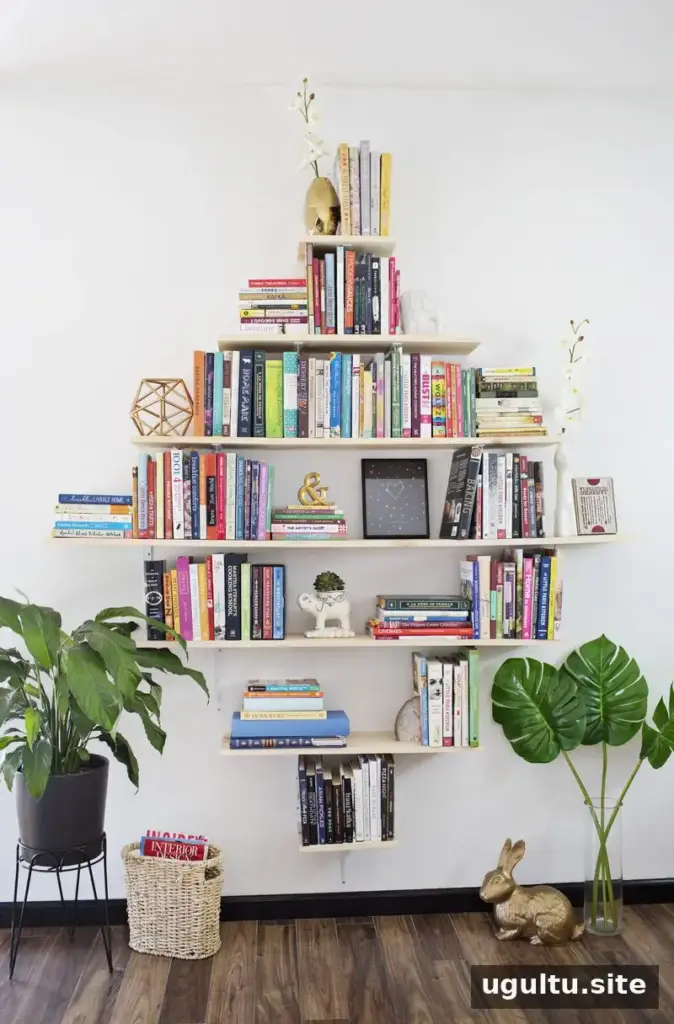
DIY diamond-shaped bookshelves can provide generous book storage while adding a distinctive geometric feature to a living room. This open-shelf design was planned to fill a large wall, and its measurements can be adjusted to suit a different space. Before buying materials, map out the layout and check that the shelf lengths and bracket positions work for your room.
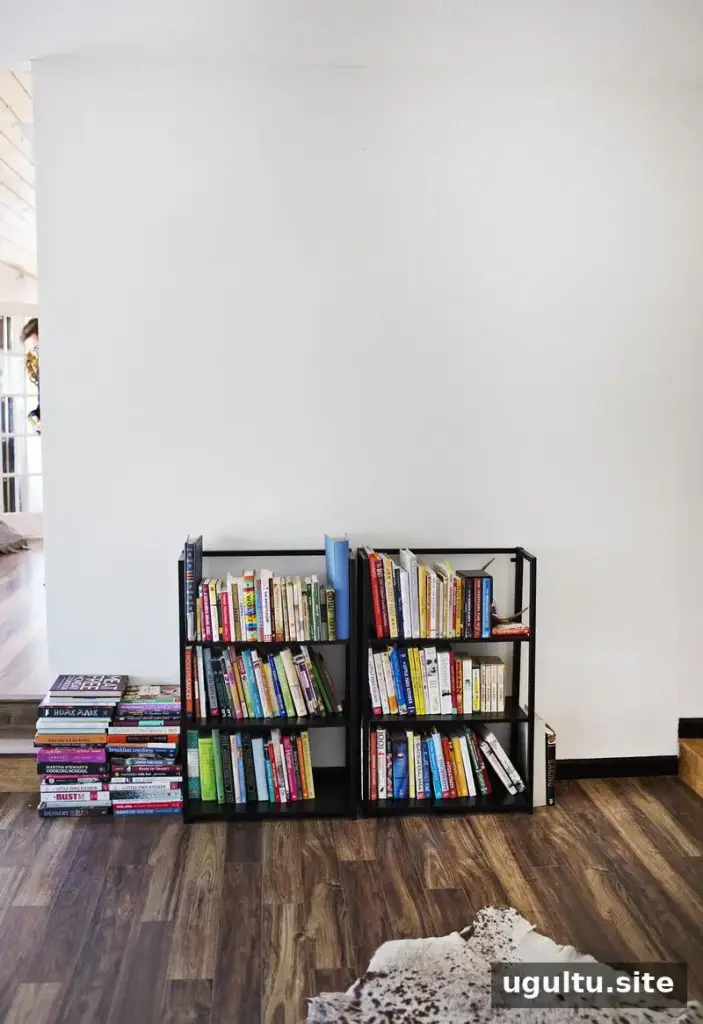
The original room had two small bookcases that did not hold the full collection or make good use of the available wall. Instead of choosing a standard, ready-made unit, the homeowners planned an open arrangement with shelves that form a diamond-like pattern.
Planning DIY Diamond-Shaped Bookshelves
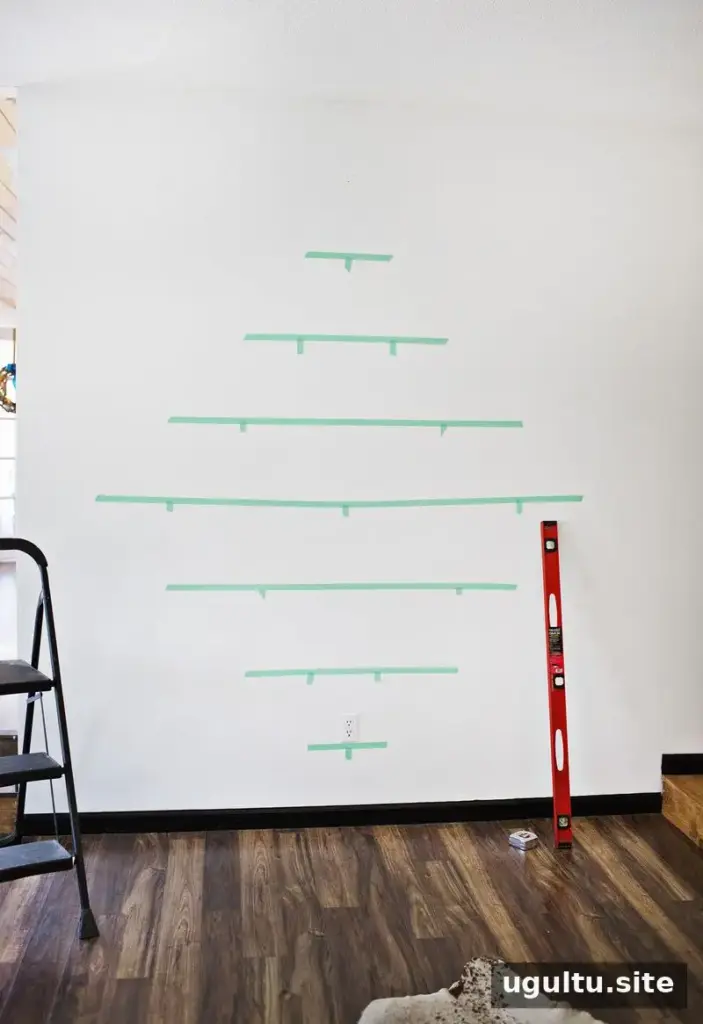
The wall measured about 9 feet high and 8 feet wide, up to the steps. These dimensions guided the design, but they are not universal measurements. For a different wall, adjust the shelf lengths and spacing so the arrangement fits without crowding nearby features.
One useful planning method is to mark the proposed shelf positions on the wall with tape. This gives you a chance to review the overall size and shape before purchasing or cutting boards. Measure the wall and compare the layout from a few viewing angles.
Materials and Tools
- One 1×10 board, 6 feet long
- Two 1×10 boards, each 4 feet and 3.5 inches long
- Two 1×10 boards, each 2 feet and 7.5 inches long
- Two 1×10 boards, each 1 foot long
- 12 or 13 shelf brackets, 8 inches by 10 inches
- Four 3-inch by 3-inch angle framing anchors
- Drywall screws and wall anchors
- White spray paint
- Power saw, if cutting the boards yourself
- Drill and level
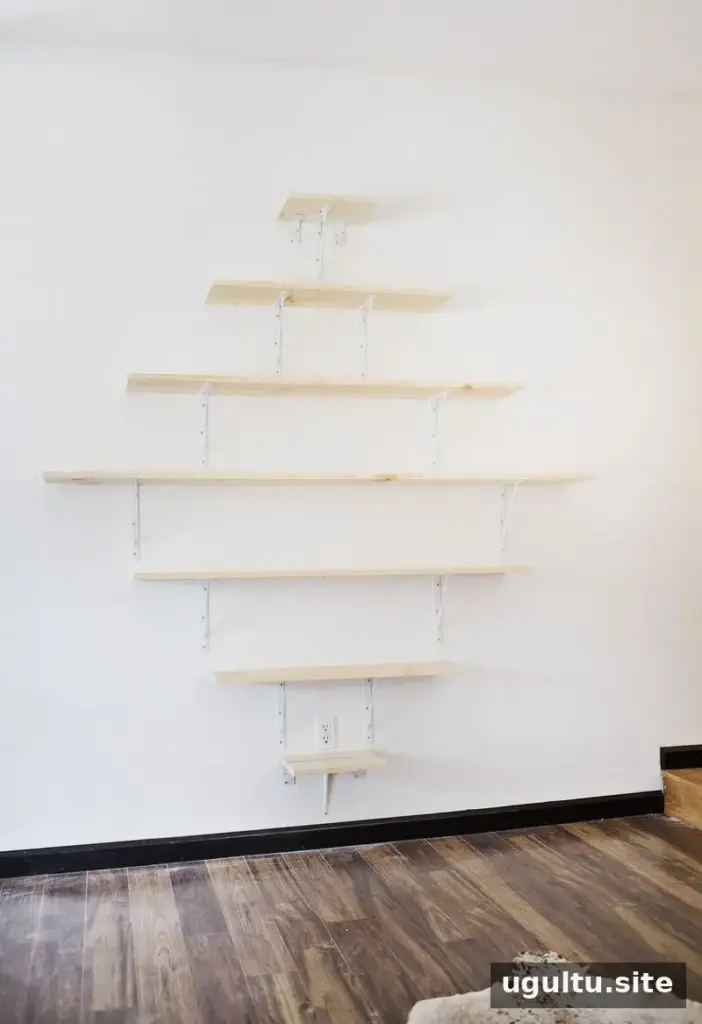
Thirteen brackets were purchased, but only 12 were used for the initial installation. Two brackets supported the center shelf; the extra bracket was kept in reserve in case that shelf began to bow. Check the shelves periodically, especially when they carry a substantial number of books, and use the spare bracket if needed.
The project cost about $120 and took two days to install. The work could have been completed in a day, but it was divided across a Saturday and Sunday.
How to Build and Install the Shelves
1. Cut the boards to size
Cut the boards to the lengths required by your layout. The listed dimensions are the final shelf sizes used for this project. Buying two longer boards and cutting them to length was a more economical option here; a hardware store may also be able to make the cuts. Confirm each measurement before cutting.

2. Paint the metal supports if needed
If the brackets or framing anchors do not match the wall, spray-paint them before installation. In this project, the wall was white and the framing anchors were steel, so they were painted white. Follow the paint label instructions and allow the coating to dry before mounting the hardware.
3. Mount the brackets and shelves
Use a level to keep each shelf straight. Because the brackets follow a geometric layout, not every one could be positioned over a wall stud. Drywall anchors were used where required. Select anchors appropriate for the wall and the expected shelf load, and follow the hardware instructions. Secure the shelves carefully before adding books.
Finishing and Everyday Use
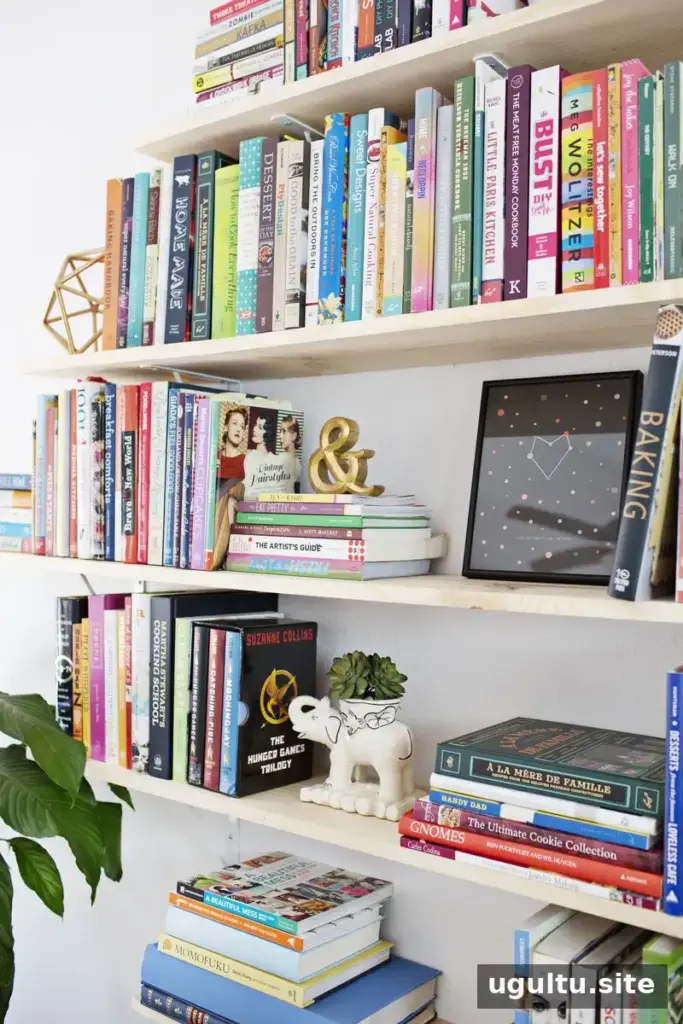
The boards were left unfinished to suit the room’s other natural-wood pieces. Painting or staining them is another option if a different appearance is preferred. Once the shelves are installed, arrange books and decorative objects while keeping the weight distributed across the supports. The completed shelves held the entire book collection, though the shelves looked fairly full.
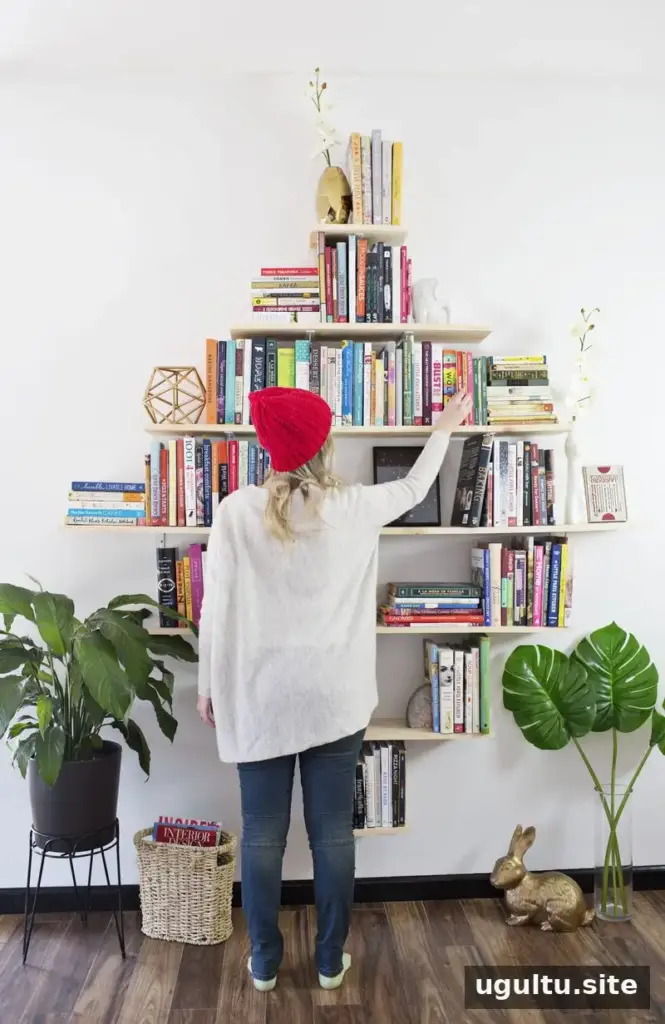
These DIY diamond-shaped bookshelves combine open storage with a wall-filling design. Measure your space, test the layout with tape, and use a level and suitably rated wall anchors during installation. Project notes: Emma.


