admin

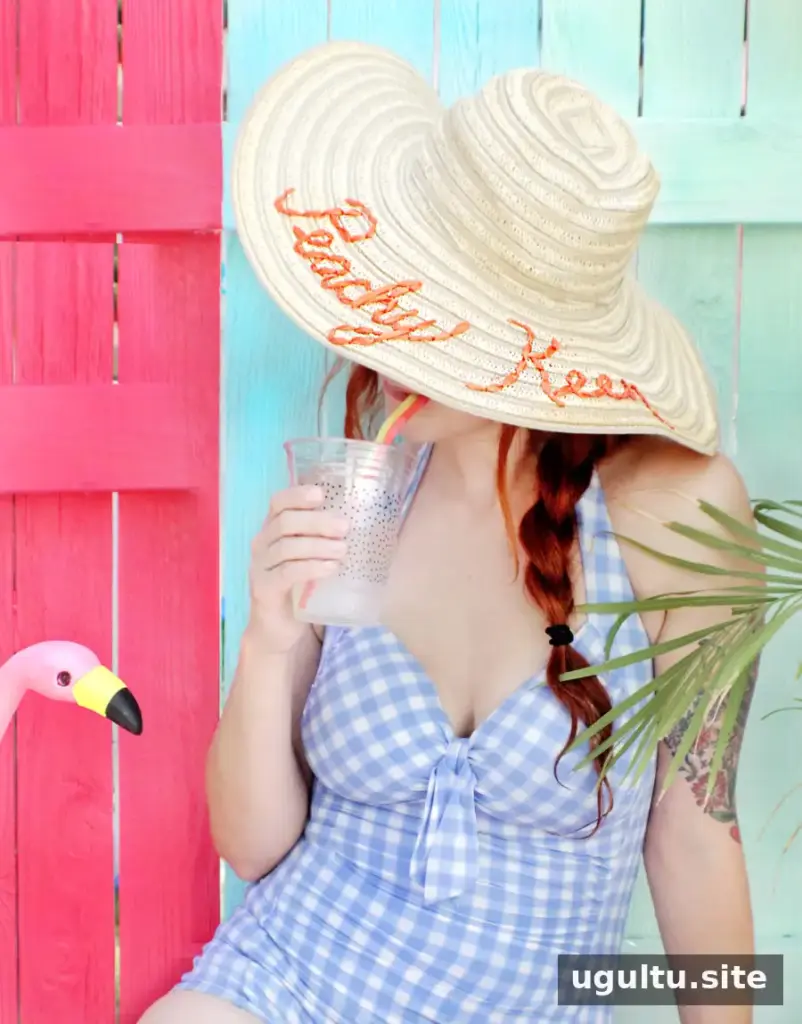
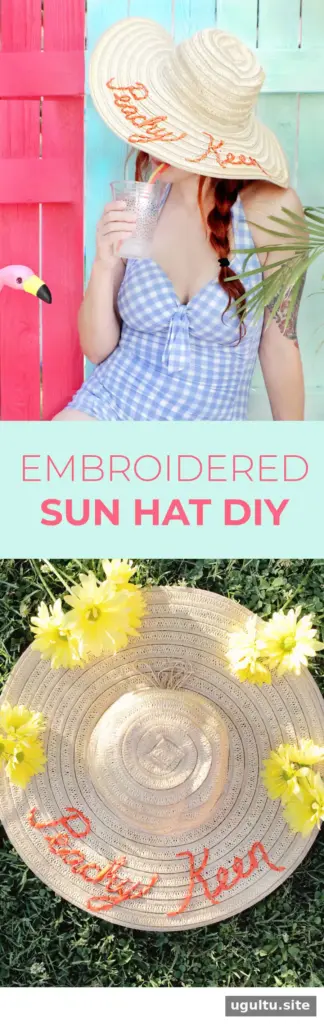
A DIY embroidered sun hat is an easy way to personalize a summer accessory and add a cheerful detail to sundresses or swimwear. Choose a simple word or short phrase, then stitch it onto a sun hat with ribbon or embroidery floss. The project uses only a few supplies and can be completed in a little over an hour, depending on the design and your stitching pace.
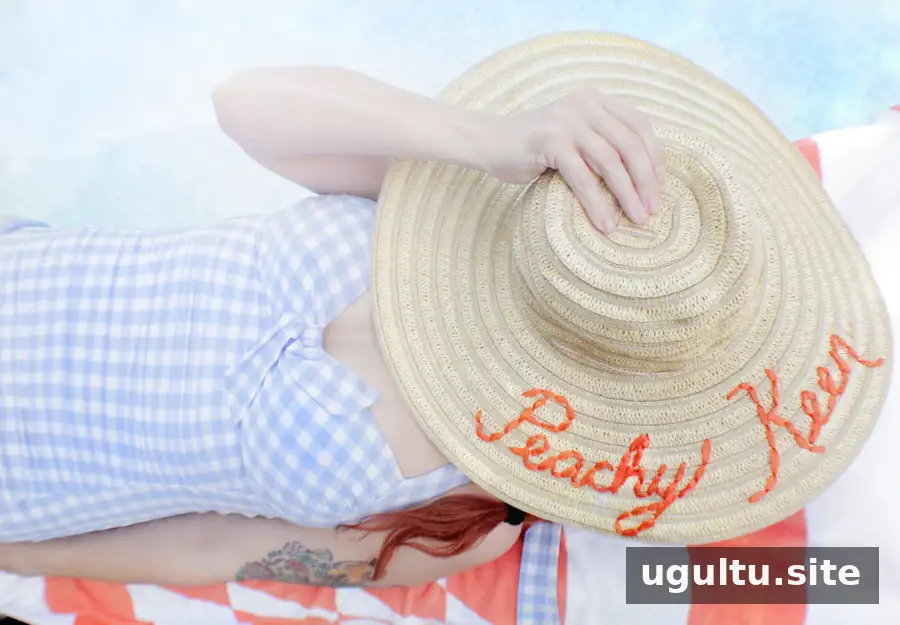
Supplies for a DIY Embroidered Sun Hat
Gather everything before you start so you can focus on marking and stitching your design. A plastic yarn needle is useful for working with the hat’s woven material.
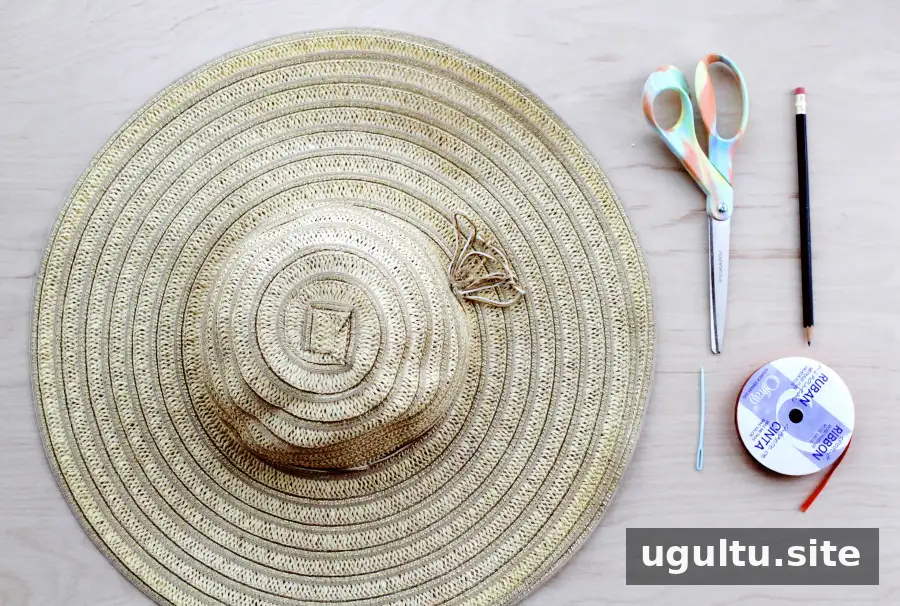
- A sun hat
- Ribbon or embroidery floss
- A plastic yarn needle
- A fabric marker or pencil
- Scissors
Ribbon creates a bold, decorative line, while embroidery floss can give the lettering a finer appearance. Check that your chosen needle can pass through the hat’s weave without forcing it, and use scissors that can make a clean cut close to the finished stitches.
How to Make an Embroidered Sun Hat
1. Choose and mark your phrase
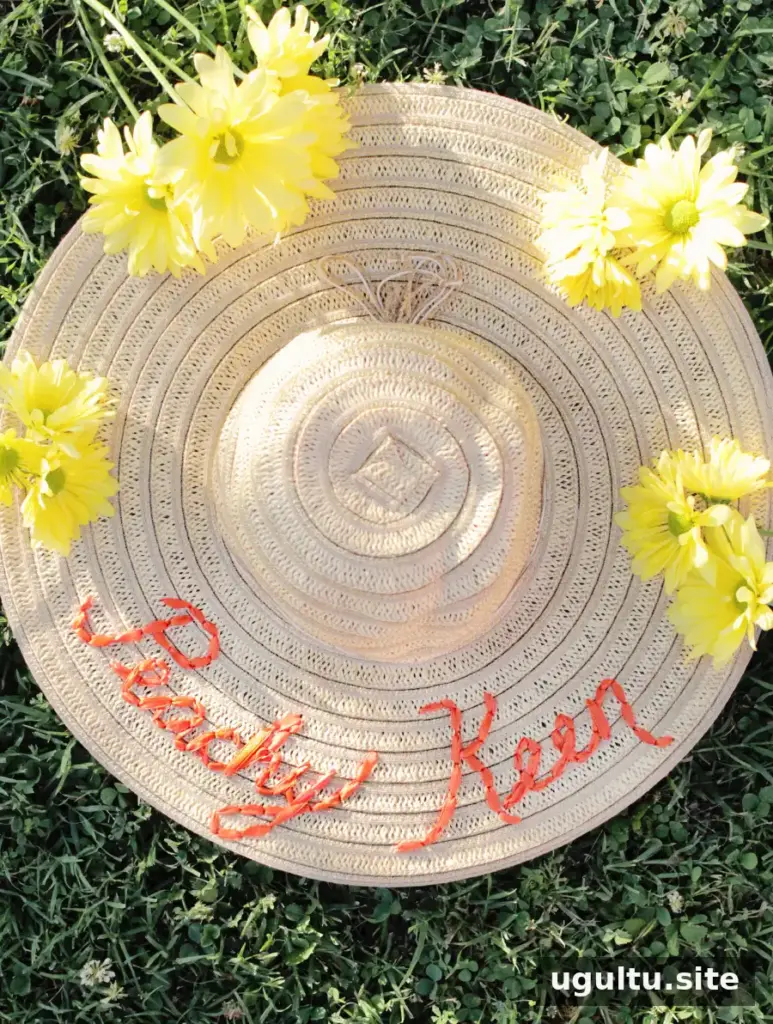
Decide what word or short phrase you want to display. For a playful, classic look, the example design uses “peachy keen.” Keep the lettering simple enough to stitch clearly, especially if this is your first embroidery project.
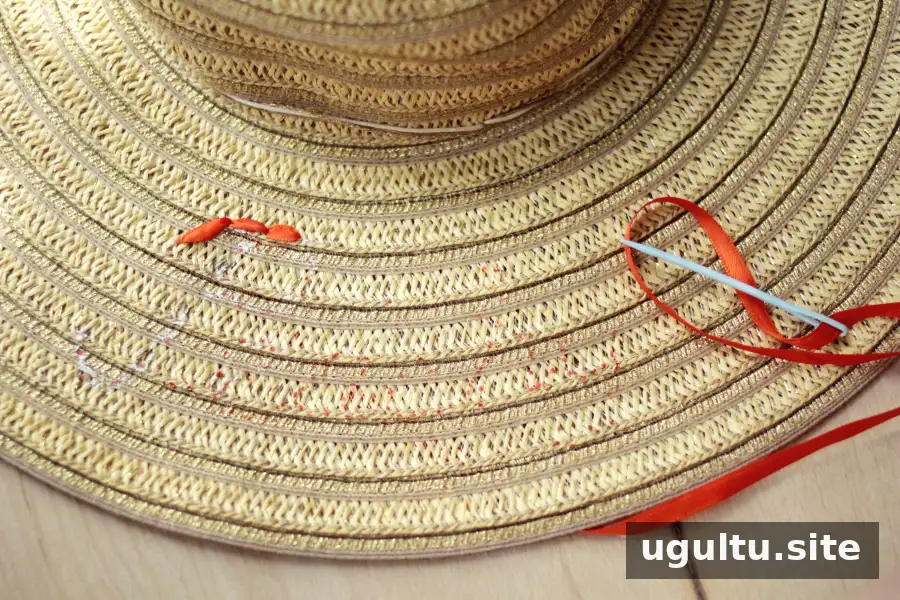
Use a fabric marker or pencil to lightly trace the phrase onto the hat. Before marking the main area, test the writing tool on an inconspicuous part of the material if possible. This helps you check that the mark is visible while stitching and will not leave an unwanted stain.
2. Stitch along the lettering
Thread the plastic yarn needle with ribbon or embroidery floss, then follow the marked lines using a backstitch. Work gradually around each letter and keep the stitches consistent. Avoid pulling too tightly, since excess tension can gather or distort the woven material.
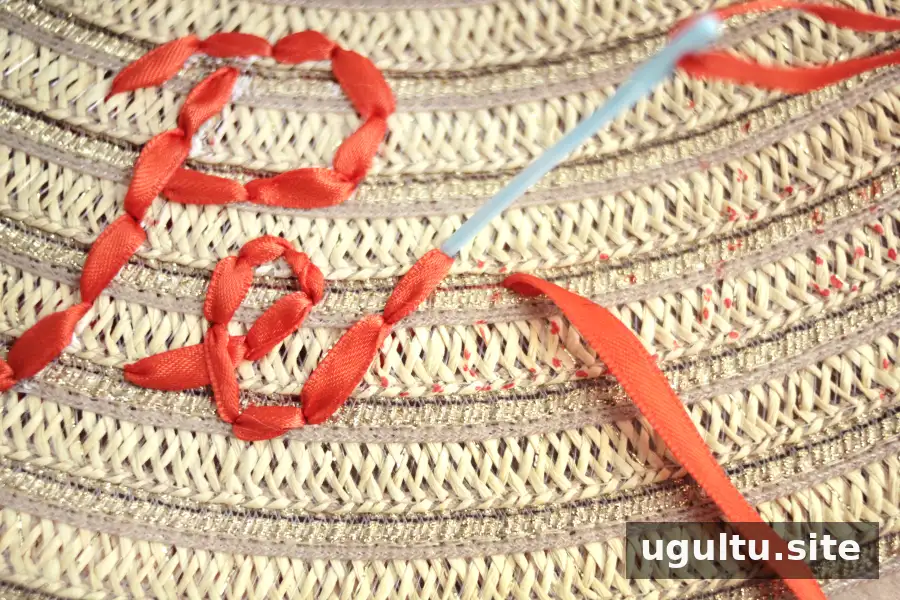
A plastic yarn needle is lightweight and can pass through the weave without the sharp point of a conventional sewing needle. If the needle catches, ease it through rather than tugging hard. Check the front of the hat as you go to make sure the lettering remains neat and the stitches follow the design.
3. Finish and check your work
When the phrase is complete, secure the thread or ribbon on the inside of the hat and trim any extra length. Make sure the ends are held firmly, but avoid bulky knots that could be uncomfortable to wear. Give the finished design a quick inspection and tidy any loose strands.
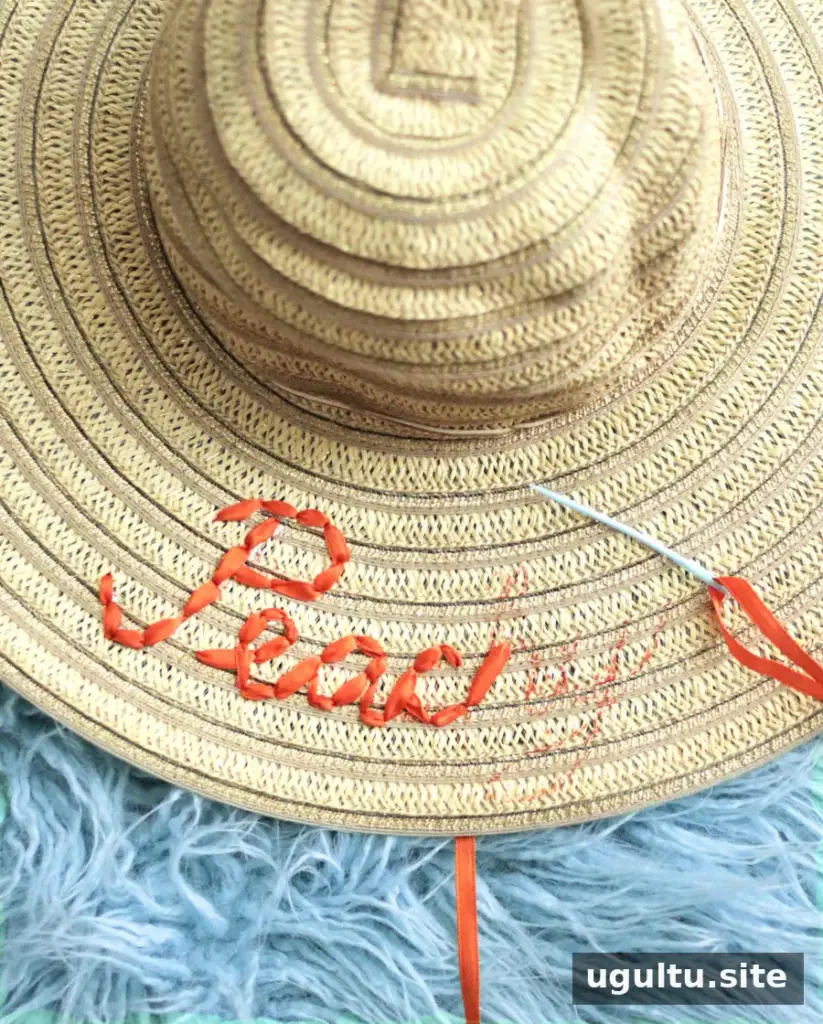
Once the embroidery is finished, the hat is ready to wear for a sunny outing or a poolside gathering. For practical sun protection, choose a hat with a brim that provides suitable coverage and remember that embroidered decoration does not replace sunscreen or other sun-safe habits.

Tips for a Neat, Wearable Result
- Choose a short phrase with lettering that fits comfortably on the hat.
- Mark the design lightly and check its position before you begin stitching.
- Keep your stitches even, but do not pull the thread so tightly that the weave puckers.
- Use ribbon for a more noticeable finish or embroidery floss for finer lettering.
- Follow the hat’s care instructions, as some woven materials may not be suitable for machine washing.
This DIY embroidered sun hat is a quick craft that turns a simple summer hat into a personalized accessory. The finished ribbon design took a little over an hour to make, though the time can vary with the length of the phrase and the level of detail. — Katie