admin
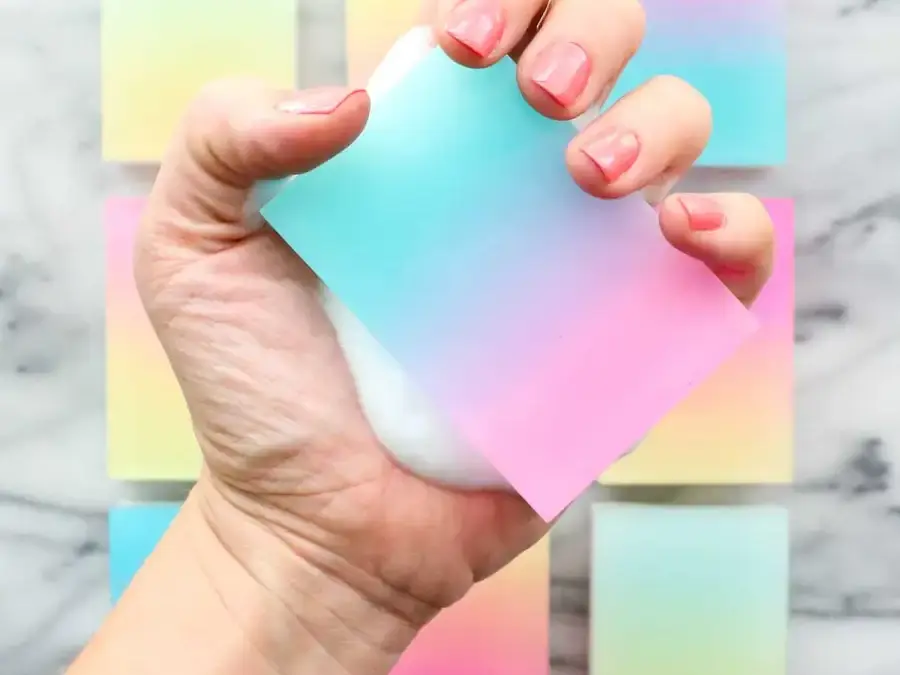
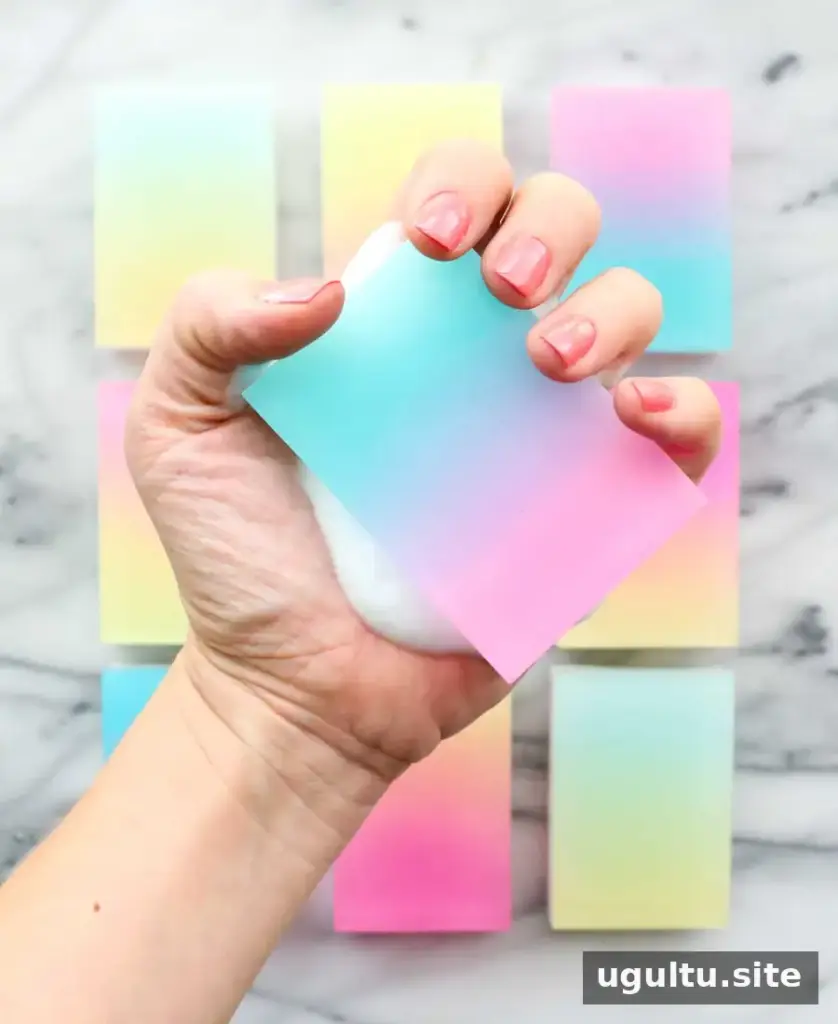
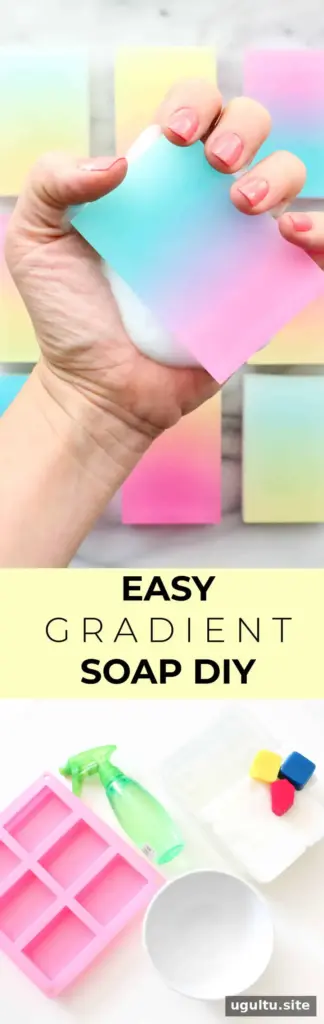
DIY gradient soap bars combine layered color with a simple melt-and-pour method. The design uses two shades of clear soap for the gradient, topped with a white layer. A rectangular silicone mold and a slight tilt help create the angled color effect, while rubbing alcohol helps reduce bubbles and bond the layers.
Supplies for DIY Gradient Soap Bars
Gather everything before melting the soap, as each layer needs to be poured while it is still liquid. You will need:
- Clear melt-and-pour soap
- White melt-and-pour soap
- At least two non-bleeding colorants
- A rectangular silicone soap mold
- Essential oil
- A spray bottle filled with rubbing alcohol
- A microwave-safe bowl
- A spoon and knife
- A slim book to use as a riser
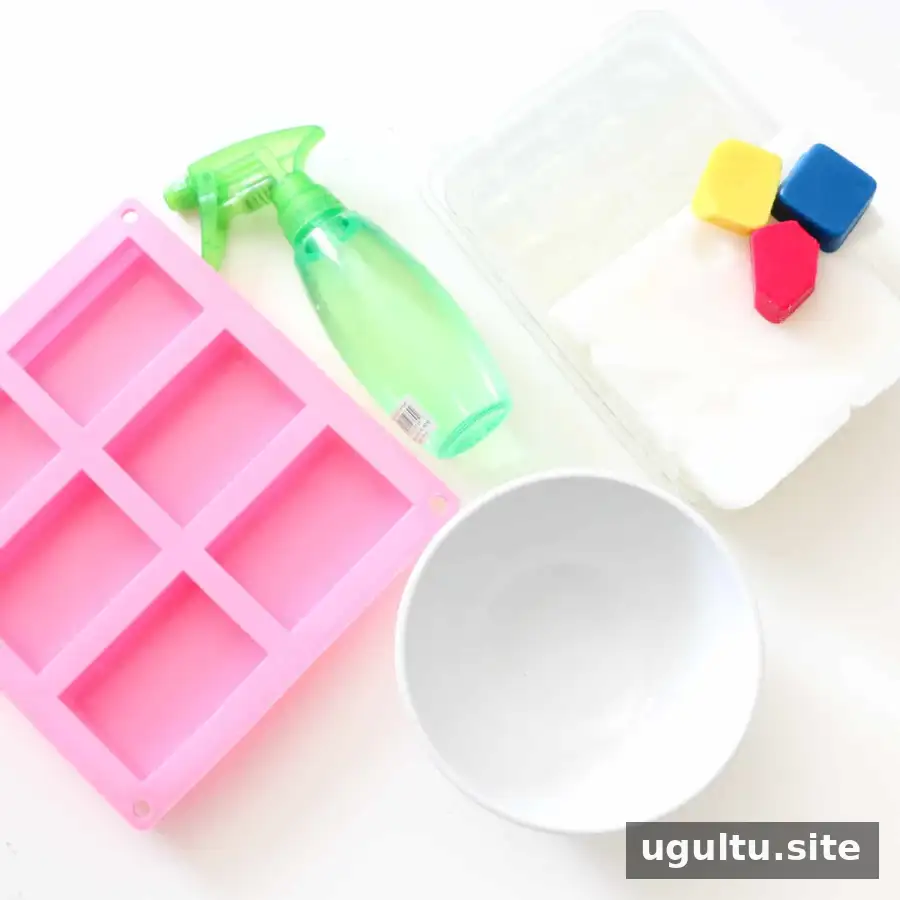
How to Make DIY Gradient Soap Bars
1. Melt and color the first layer
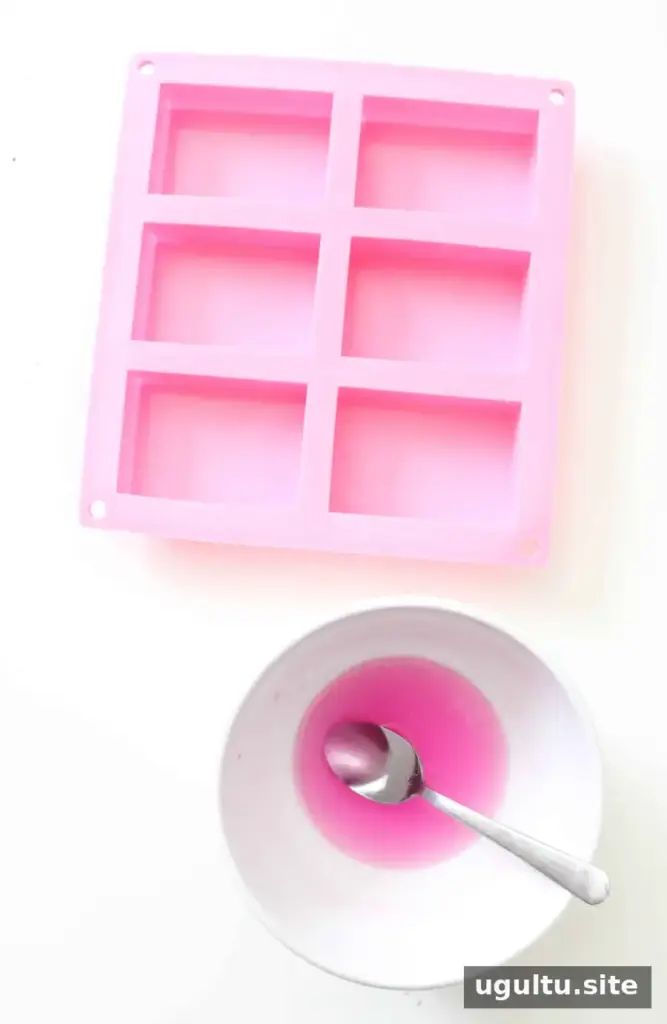
Cut 1/2 cup of clear soap into pieces and place them in a microwave-safe bowl. Heat for 15–20 seconds, then stir. If pieces remain, continue heating in short intervals until the soap has just melted. Do not let it boil. Mix in your first colorant; a small piece of solid colorant or a few drops of liquid colorant can be used.
2. Pour the first color at an angle
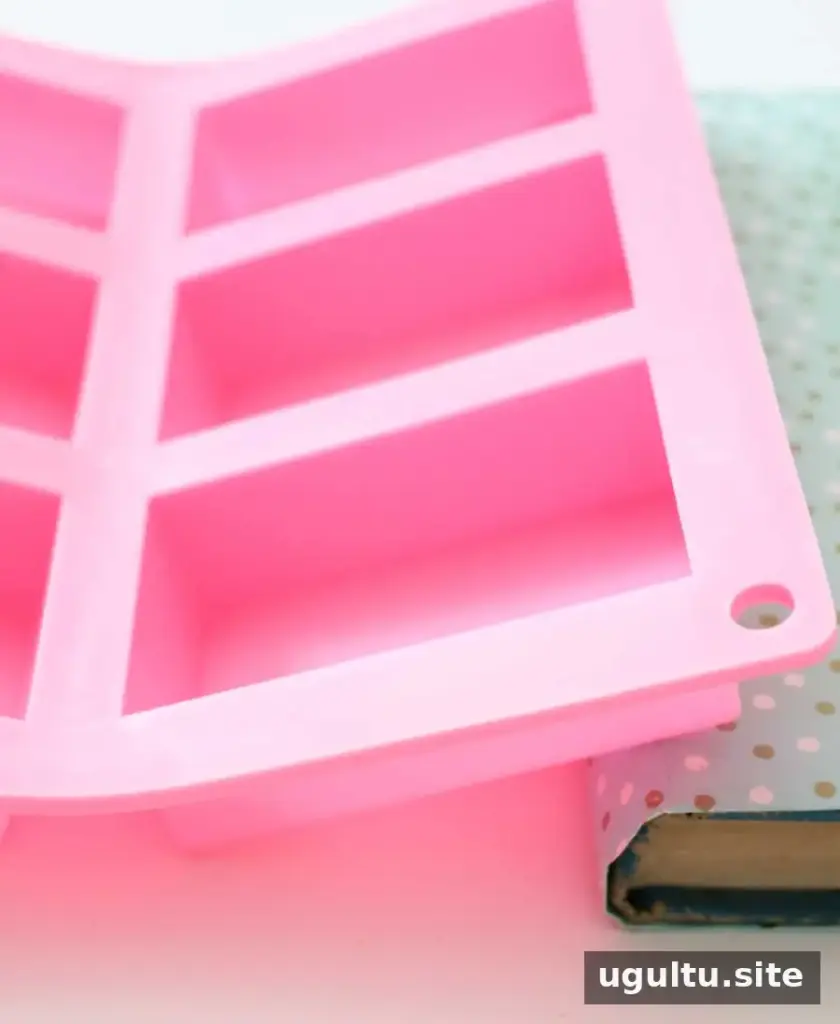
Prop up both ends of the mold with a slim book so it sits tilted. Pour the first color into one side of each rectangular cavity, stopping when it extends about three-quarters of the way across. Lightly spritz the surface with rubbing alcohol to help release air bubbles and smooth the layer. Repeat for the remaining cavities, then let the soap cool for 20 minutes.
3. Add the second gradient color
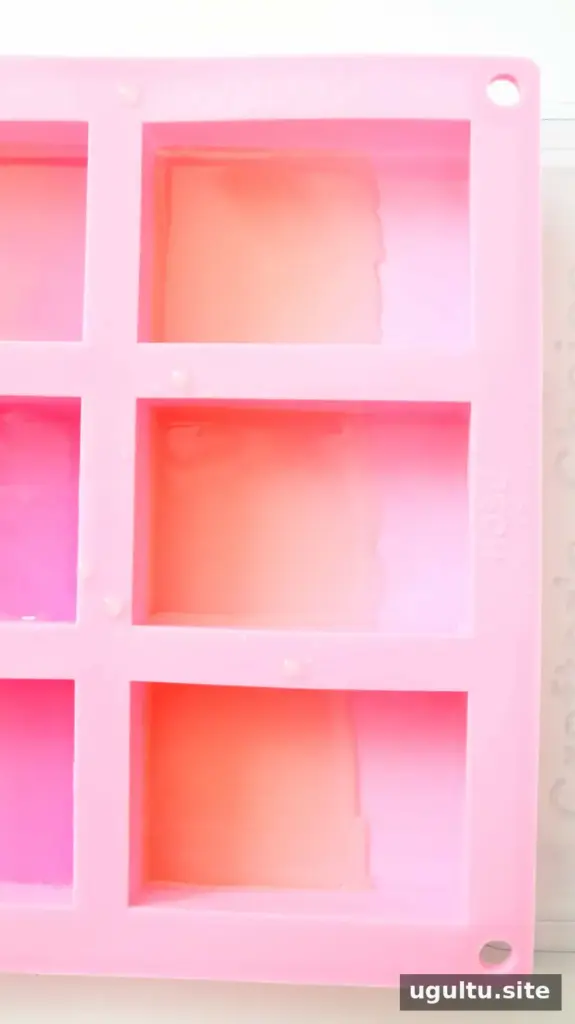
Melt another 1/2 cup of clear soap using the same short microwave intervals. Add a different colorant and stir. Remove the books so the mold is level, then spritz the first layer with rubbing alcohol. This helps the next layer adhere. Pour the second color from the opposite side, allowing it to reach about three-quarters of the way across the first color.
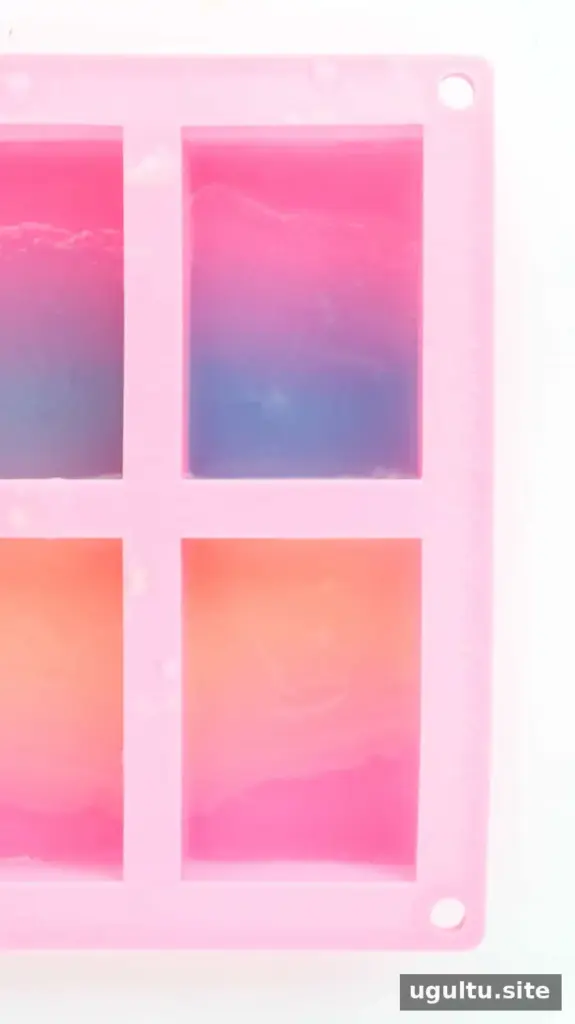
4. Finish with the white layer
Let the second color cool for 20 minutes. Cut 3–4 cups of white soap into 1-inch chunks and microwave in 20-second intervals until just melted. Stir to ensure the pieces have melted, then mix in a few drops of essential oil. Spritz the colored soap with rubbing alcohol and pour the white soap into the mold until it reaches the top. Leave the bars to set overnight or for at least a few hours.
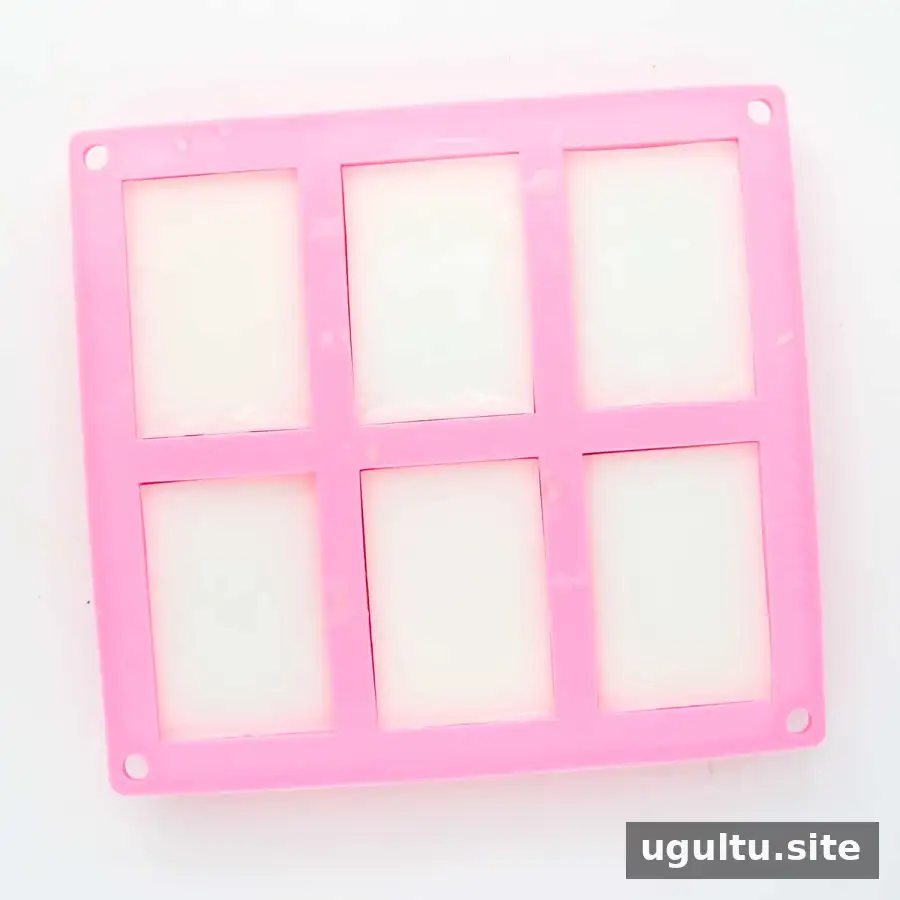
5. Unmold and use
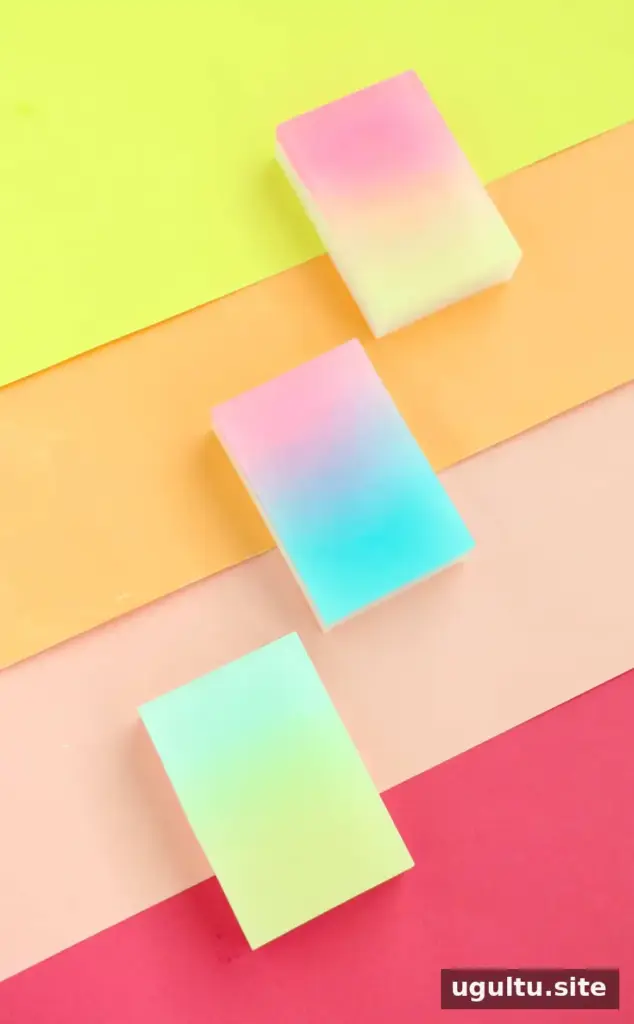
Once the soap is fully set, gently flex the silicone mold to release each bar. If a bar does not come out easily, give it more time to cool rather than pulling hard, which can damage the design.
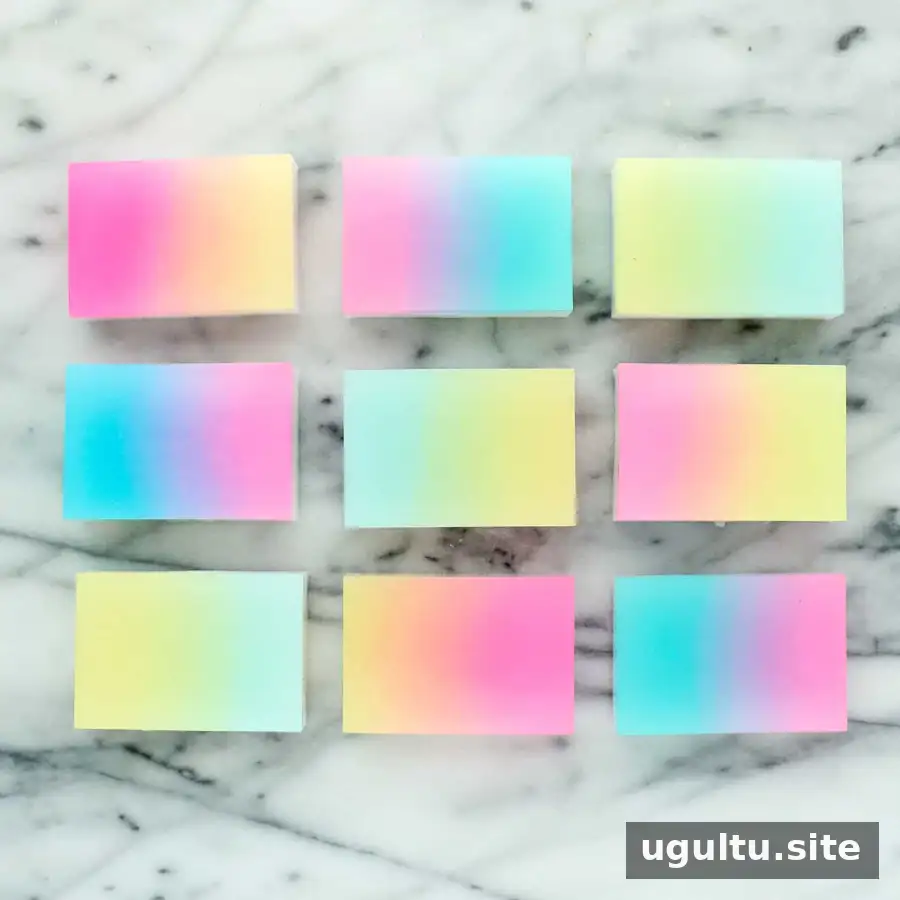
Tips for Neat, Colorful Soap Bars
Keep the colorants non-bleeding so the distinct shades stay defined. Work in short melting intervals and avoid overheating the base. Use an essential oil that is suitable for soap, and follow its label directions for the amount to use. Rubbing alcohol is flammable, so keep it away from heat and use it sparingly as a surface mist.
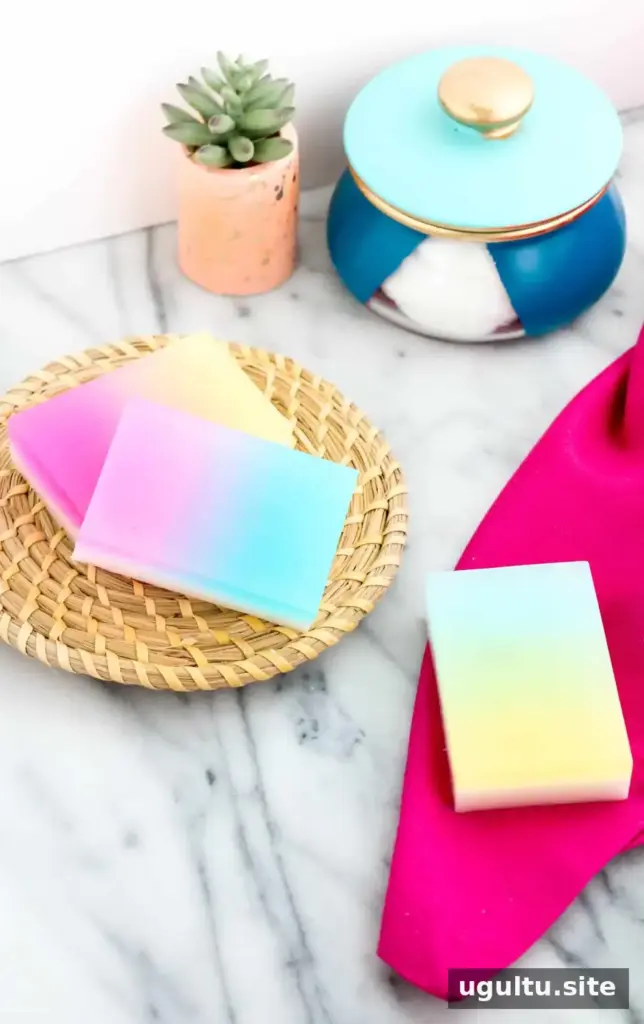
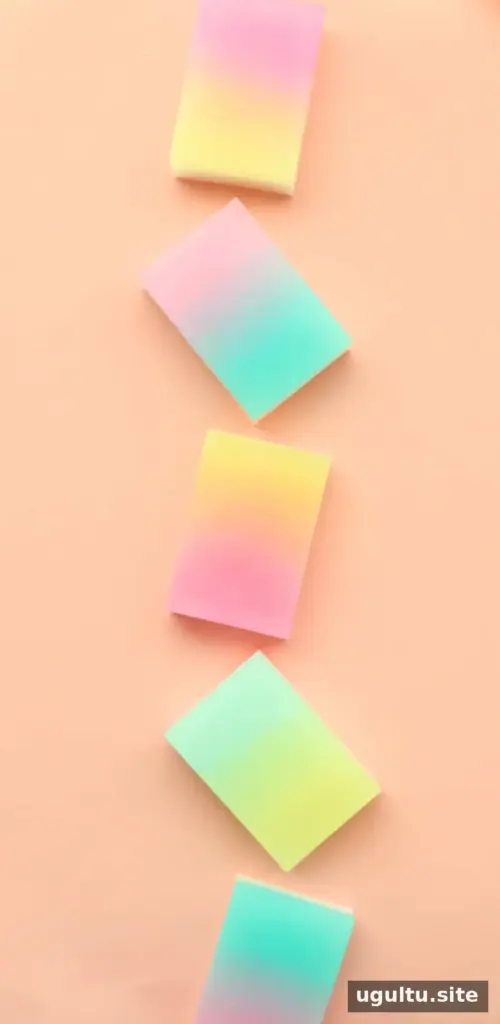
Make one set in contrasting colors or experiment with different color combinations while keeping the same layering method. DIY gradient soap bars can also make practical handmade gifts; allow them to set completely before wrapping. The original project was created by Kara.