
 admin
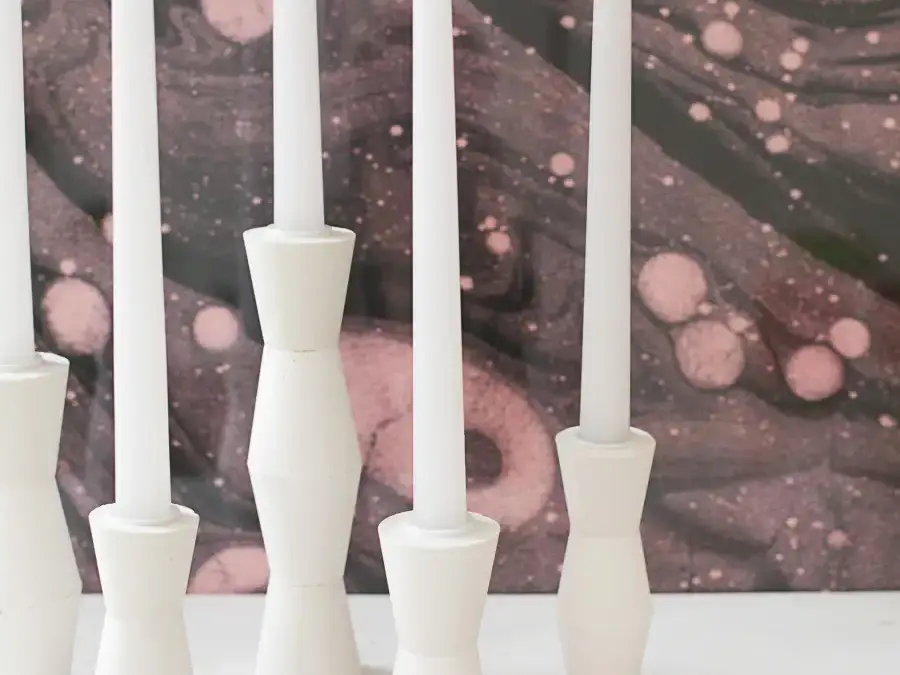
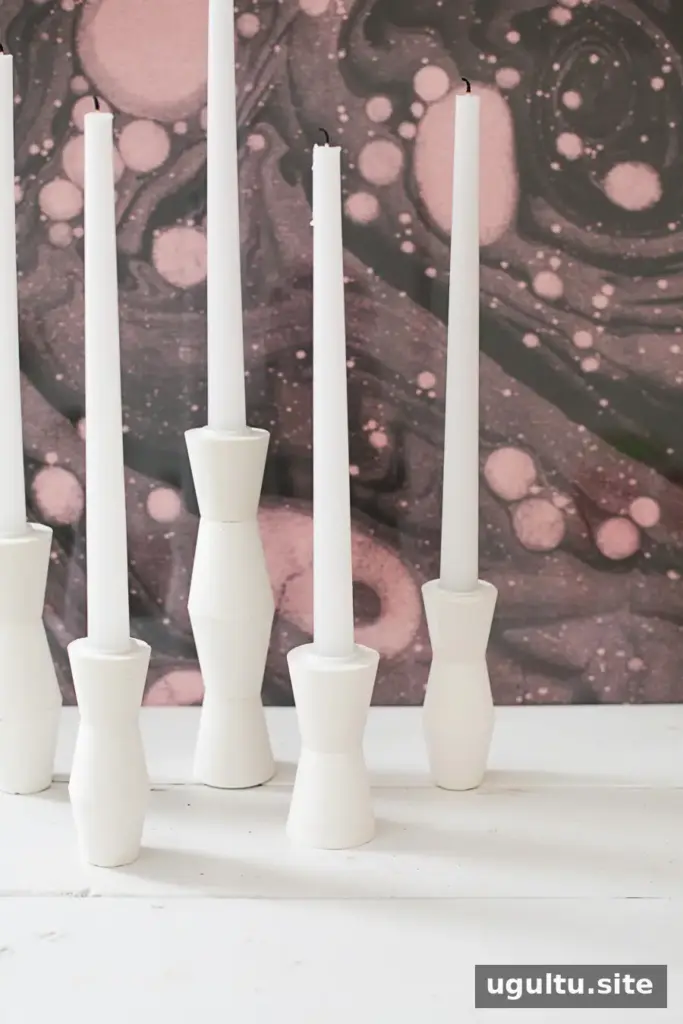
A group of sculptural candle holders can add a striking detail to a dining table or mantel. These DIY mid century candlestick holders are made with plaster, small plastic cups, and PVC caps, then assembled into stacked shapes. The process is straightforward, but accurate measuring and patience during drying are important for a neat, durable finish.
Use the instructions below to make holders in different heights. Before starting, protect your work surface and gather all the materials, since plaster begins to set soon after it is mixed.
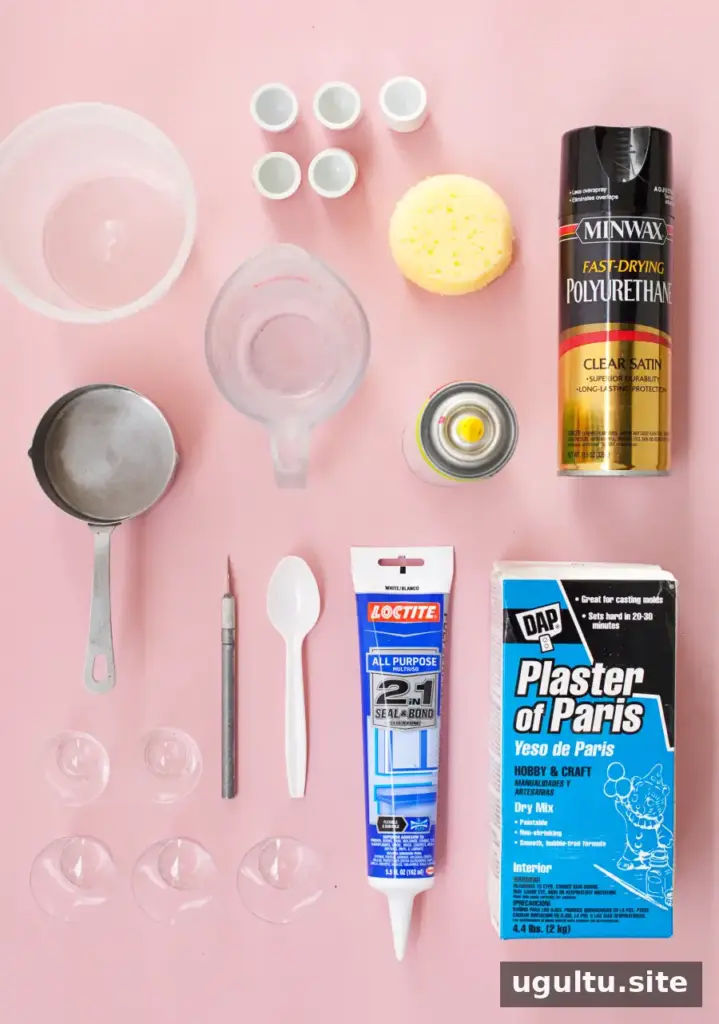
Materials
- Plaster of Paris
- Construction adhesive or another strong glue that dries white
- 3/4-inch Schedule 40 PVC caps
- 2-ounce and 1-ounce plastic shot glasses
- Satin polyurethane or another low-gloss sealer
- Nonstick cooking spray
Tools
- Measuring cups
- A plastic mixing container and spoon
- An X-Acto blade or sharp utility knife
- A sponge
How to Make DIY Mid Century Candlestick Holders
1. Prepare the molds
Lightly coat the inside of the plastic cups with nonstick cooking spray. This helps release the plaster later and reduces the chance of chipped edges. Keep the cups upright and ready before mixing the plaster.
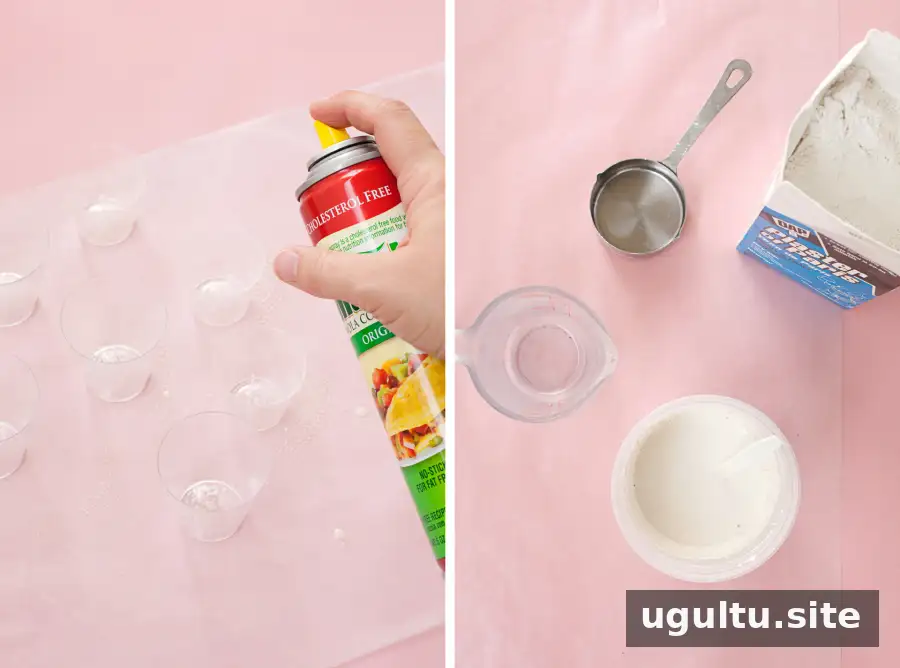
Tip: Use a light coating rather than saturating the molds, so excess spray does not collect in the finished plaster.
2. Mix and pour the plaster
Measure and mix the plaster according to the package directions. The original project uses a ratio of two parts plaster to one part water, but the product instructions should guide the mix. Pour it into the prepared cups, leaving space at the top for the cups that will support the candle.
Tap each mold gently on the table to help air bubbles rise. Avoid filling the cups to the brim, since the PVC caps will be pressed into the plaster in the next step.
3. Position the PVC caps
Wait about 5–10 minutes for the plaster to begin setting. Press a PVC cap into each piece until it sits almost flush with the surface. If a cap will not stay in place, give the plaster a little longer to firm up. Do not wait until it is too stiff to settle around the cap.
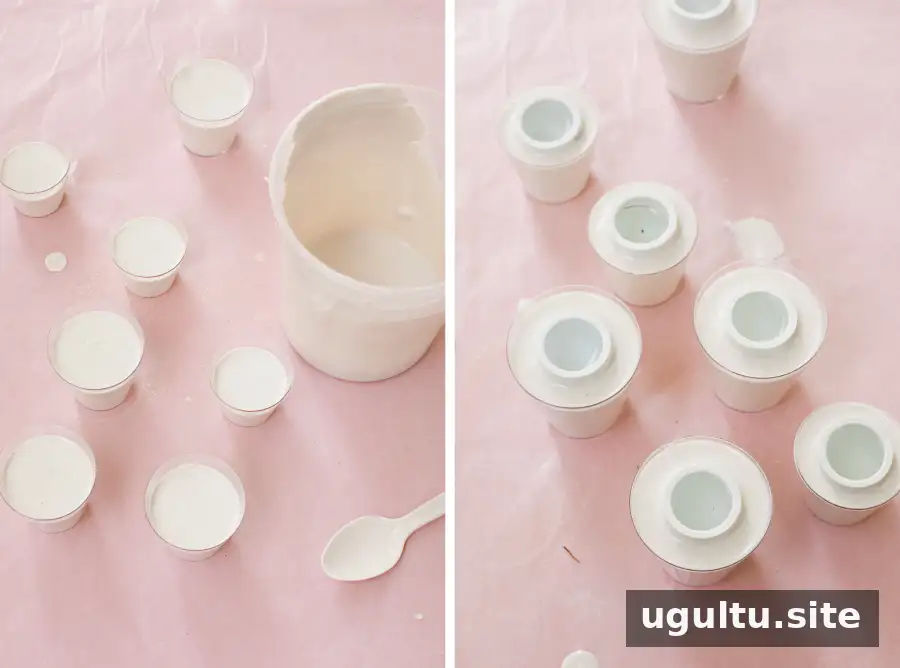
Tap the molds gently once more so the plaster settles around each cap. Check that the caps are positioned evenly before leaving the pieces to set.
4. Remove the molds and dry
After about one hour, carefully remove the plastic cups. One method is to make a small cut at the rim with a sharp blade, then continue the cut down the side so the cup can be opened and peeled away. Work slowly to avoid scratching the plaster.
Some cups may crack as the plaster dries, making them easier to remove. Once the molds are off, allow the plaster pieces to dry for 48 hours before assembling them.
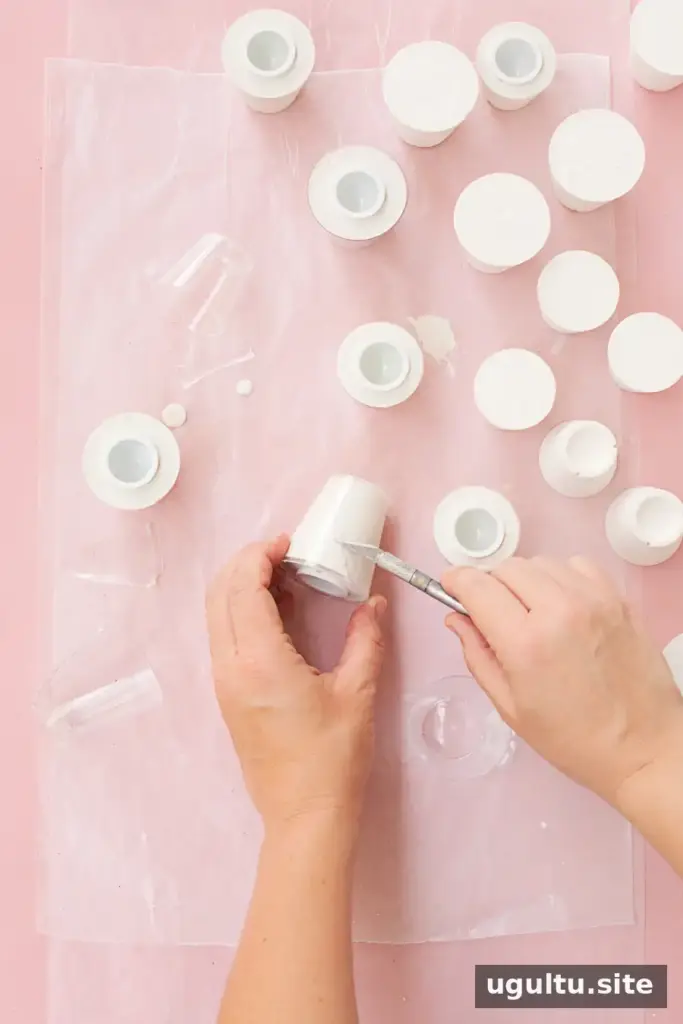
Safety note: Handle the blade carefully and keep fingers clear of its path. Follow the plaster package guidance for handling and drying.
5. Assemble and finish
Use construction adhesive to join the plaster pieces into stacked designs of different heights. Wipe away excess glue promptly with a damp cloth. After the adhesive has had an hour to set, you can mix a small amount of plaster to fill unwanted gaps or dents.
Dampen the dried plaster before applying a patch. Let the fresh mix thicken slightly, then smooth it with a sponge. If needed, sand minor uneven areas once they are dry. When the glue and any repairs have dried completely, apply two coats of polyurethane to help protect the holders from moisture, chipping, and cracking.
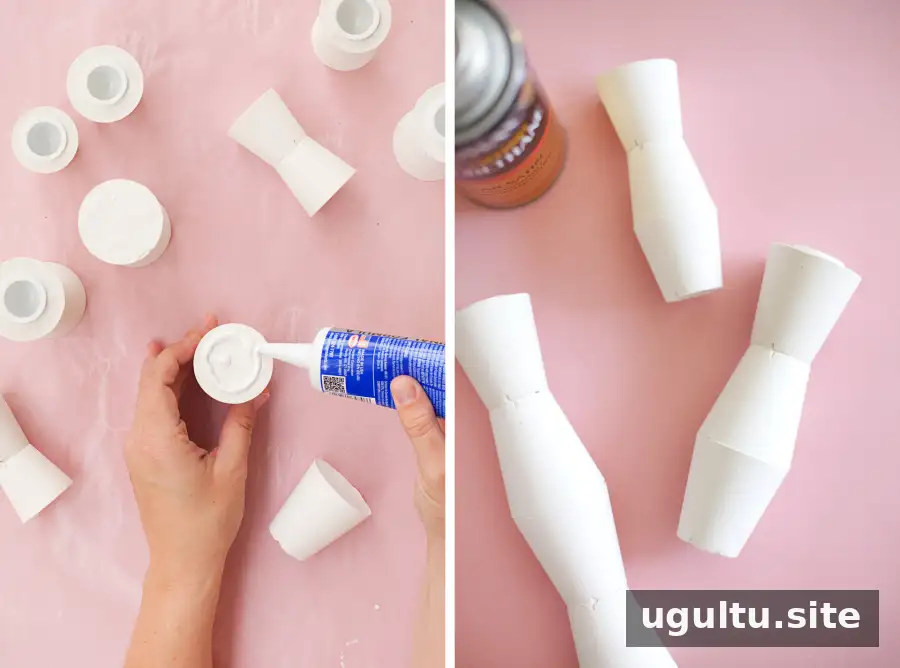
Finishing and Using the Holders
A simple white finish keeps the sculptural shape understated, while matte or satin black paint can create a different look. Whatever finish you choose, do not leave the plaster unsealed: it can chip or leave chalky marks on furniture.
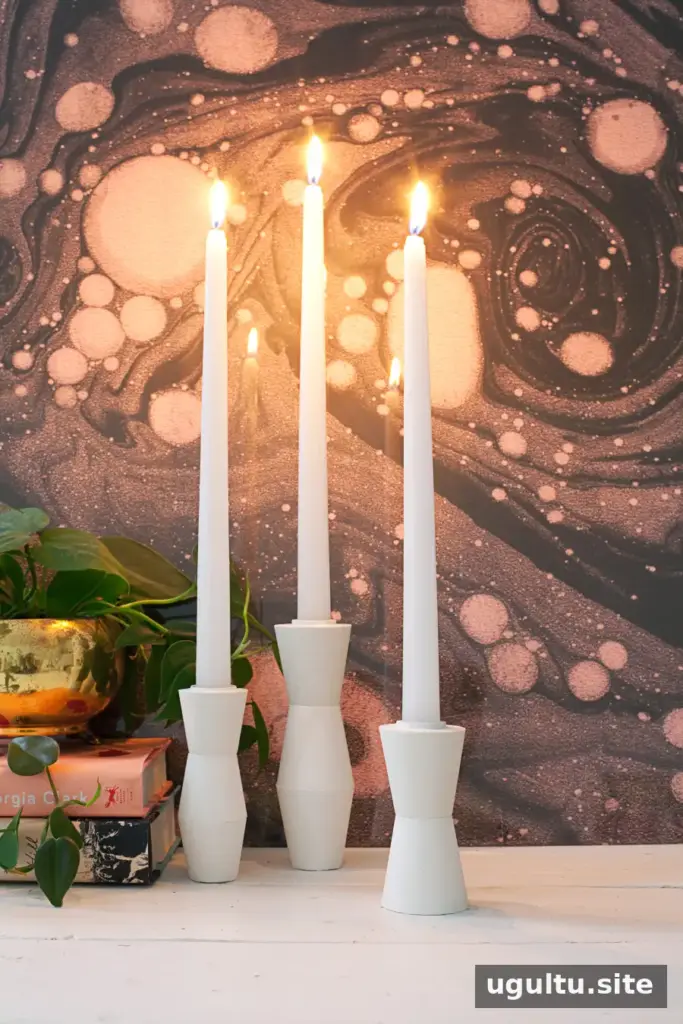
Before lighting a candle, check that it fits securely in the PVC cap and that the holder sits level on a stable, heat-safe surface. Keep lit candles away from flammable materials and never leave them unattended.
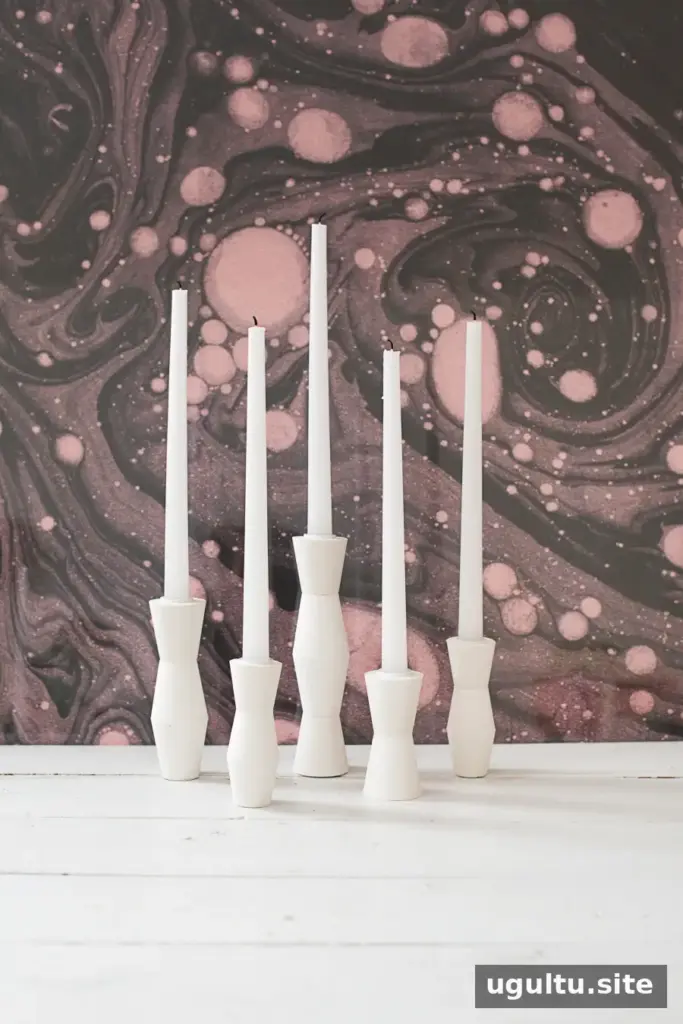
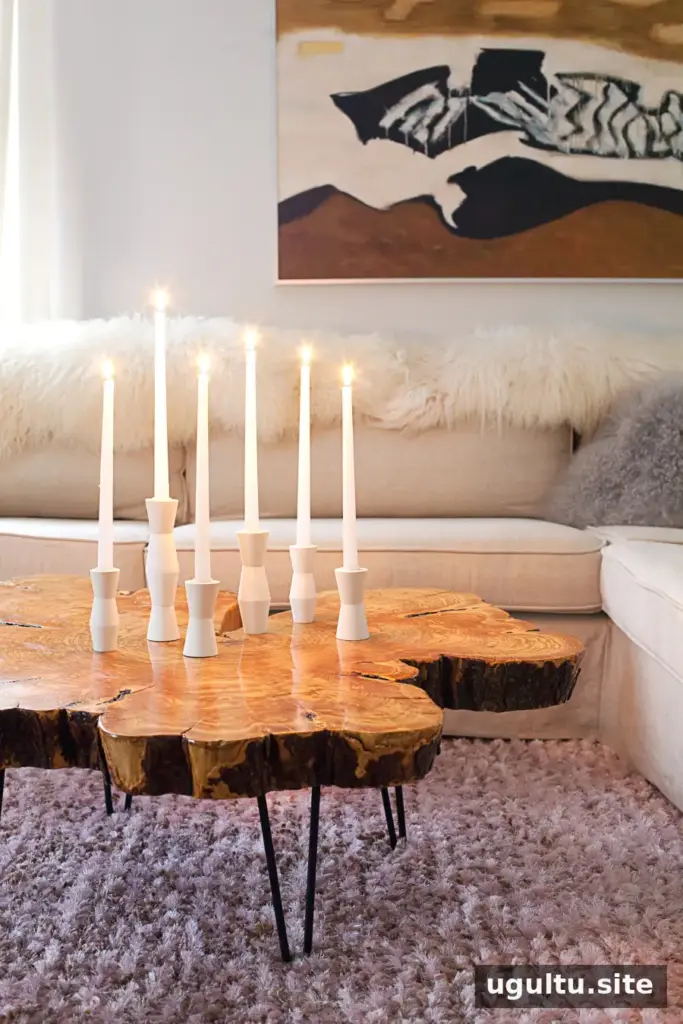
These plaster candle holders can be arranged together on a coffee table or dining table for a coordinated display. Let the finish cure fully before decorating with them. With careful measuring, patient drying, and a protective topcoat, DIY mid century candlestick holders can become a reusable accent for seasonal gatherings. — Mandi


