
 admin
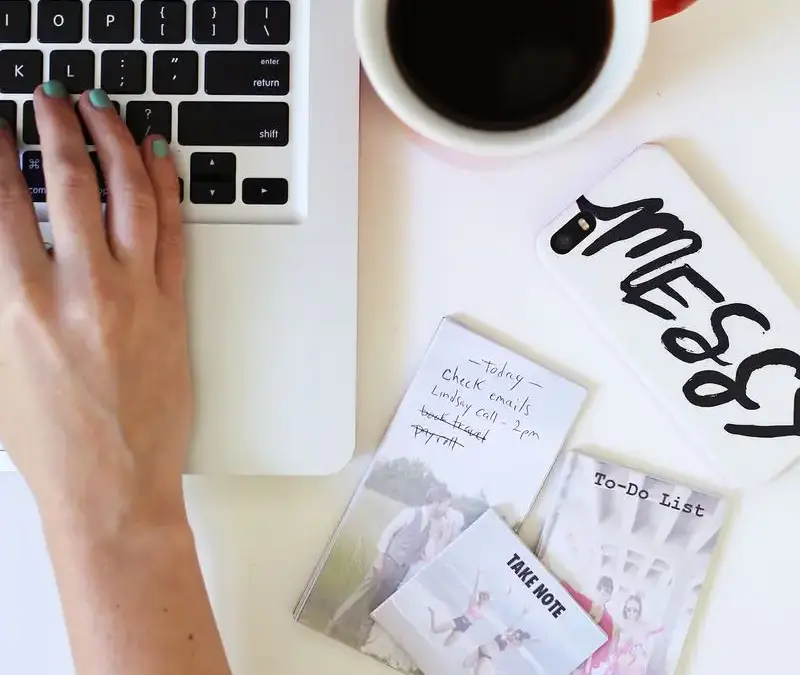
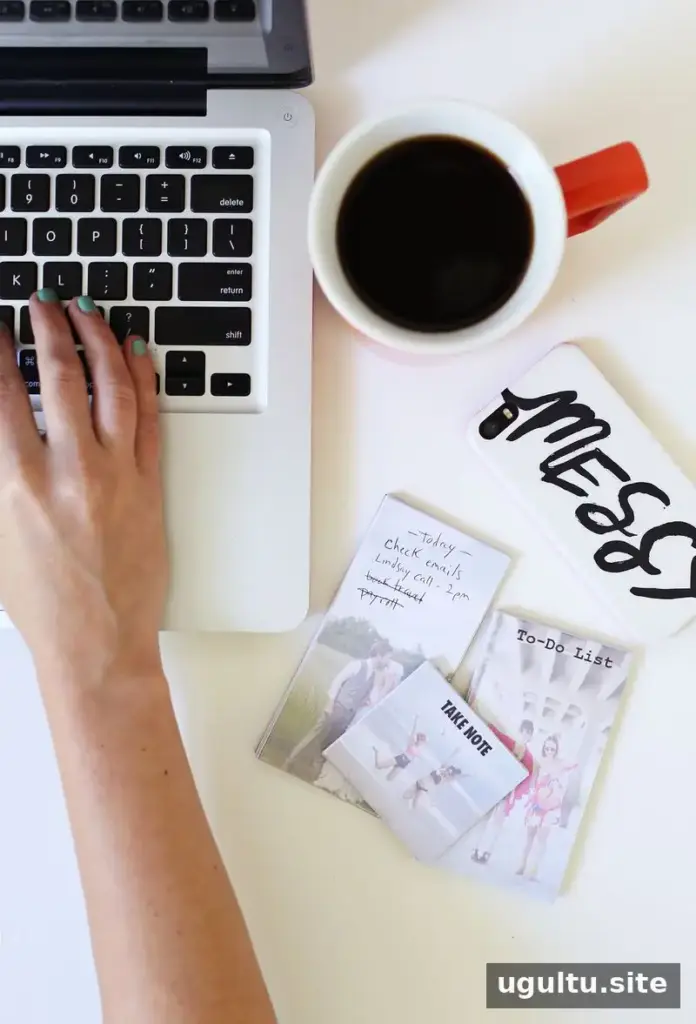
DIY photo notepads are a simple way to turn your favorite pictures, original artwork, or custom designs into useful stationery. With a few basic supplies, you can make tear-off pads for your desk or create personalized gifts. Choose a layout that suits how you plan to use each pad, such as a plain note page or a simple to-do list.
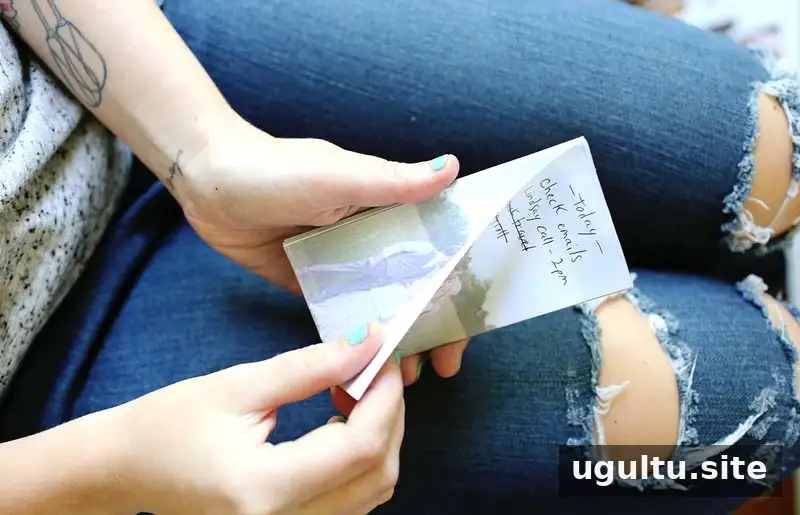
A photo printer can produce clear, consistent pages while still letting you print the quantity you need. For a notepad that is easy to write on and bind, use plain copy paper and select the plain-paper setting in your printer options. This helps ensure the printer applies settings suited to the paper you are using.
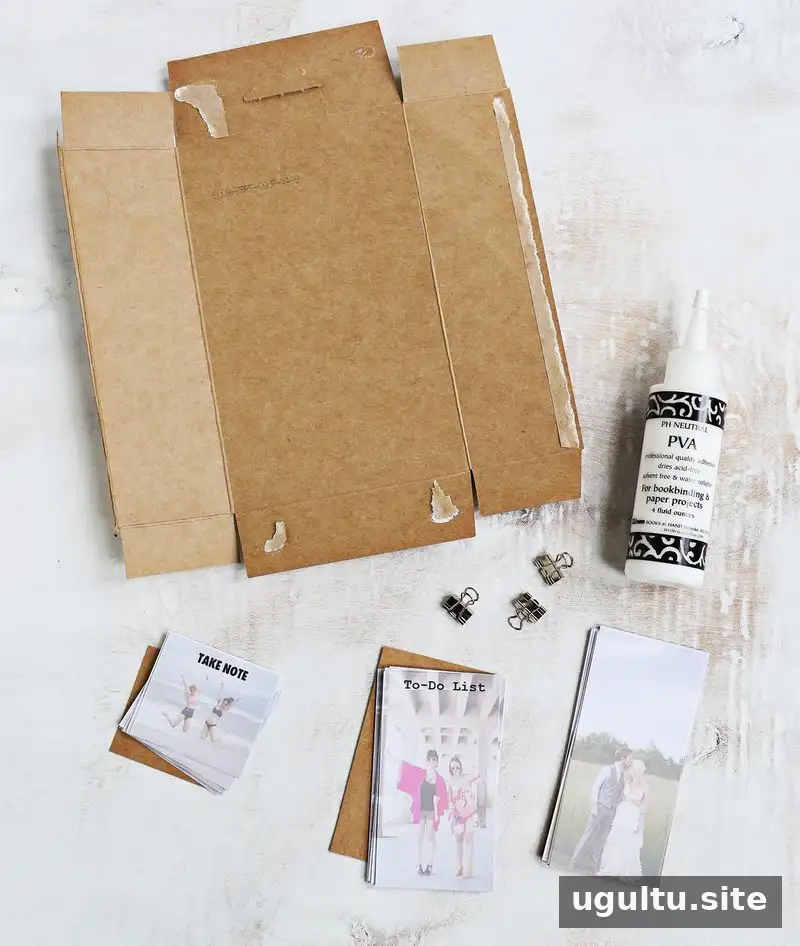
Supplies:
- A photo printer
- Plain copy paper (about 5–6 sheets per notepad)
- Thin cardboard for the backing; a clean cereal box can be reused
- Bookbinding glue, such as PVA
- Clips or small clamps to hold the pages together while they dry
PVA is a suitable option for this type of bookbinding project, and only a thin layer is needed along the edge. Keep the glue away from the writing area, and protect your work surface while assembling the pads.
How to Make DIY Photo Notepads
Step 1: Design the pages
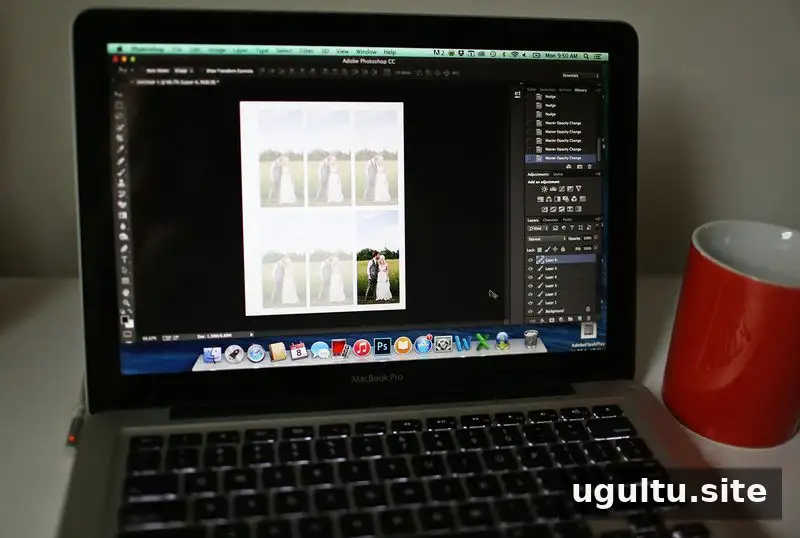
Create a page design using a photo, artwork, or text. If you want to write over a full-page image, lower the image opacity to around 50% so the picture is lighter beneath handwriting. This can be done in image-editing software or a word-processing program. Decide on the finished notepad size, then arrange as many pages as practical on each sheet before printing to make efficient use of the paper.
You can add a heading such as “Take Note” or “To-Do List,” or keep the design minimal. Before printing the full batch, check that the text and images are positioned within the page area and remain easy to read.
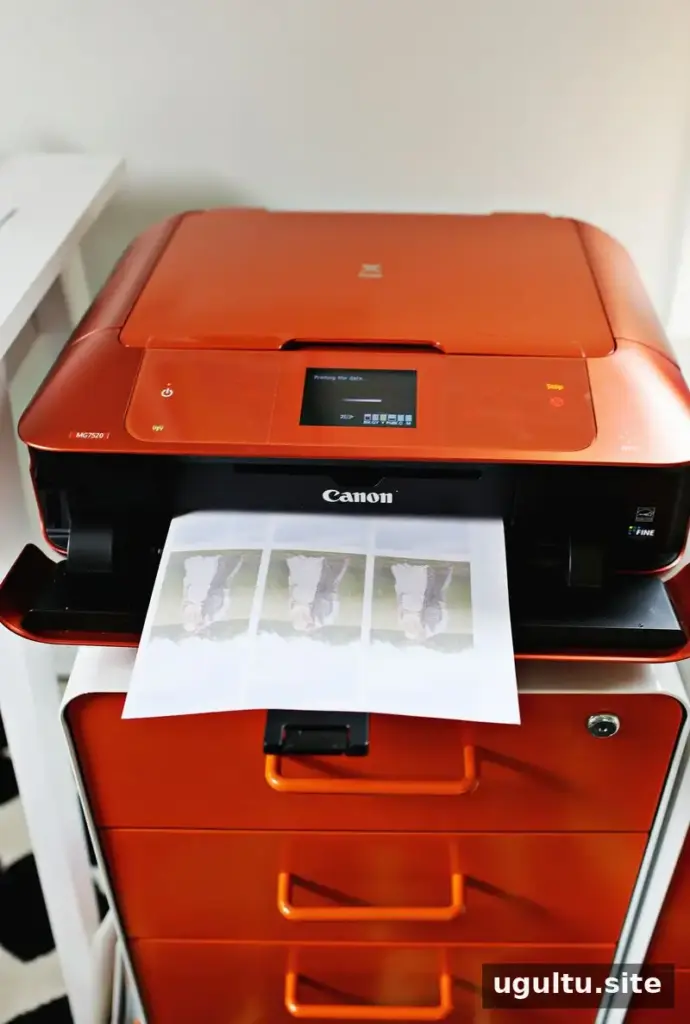
Step 2: Print and trim
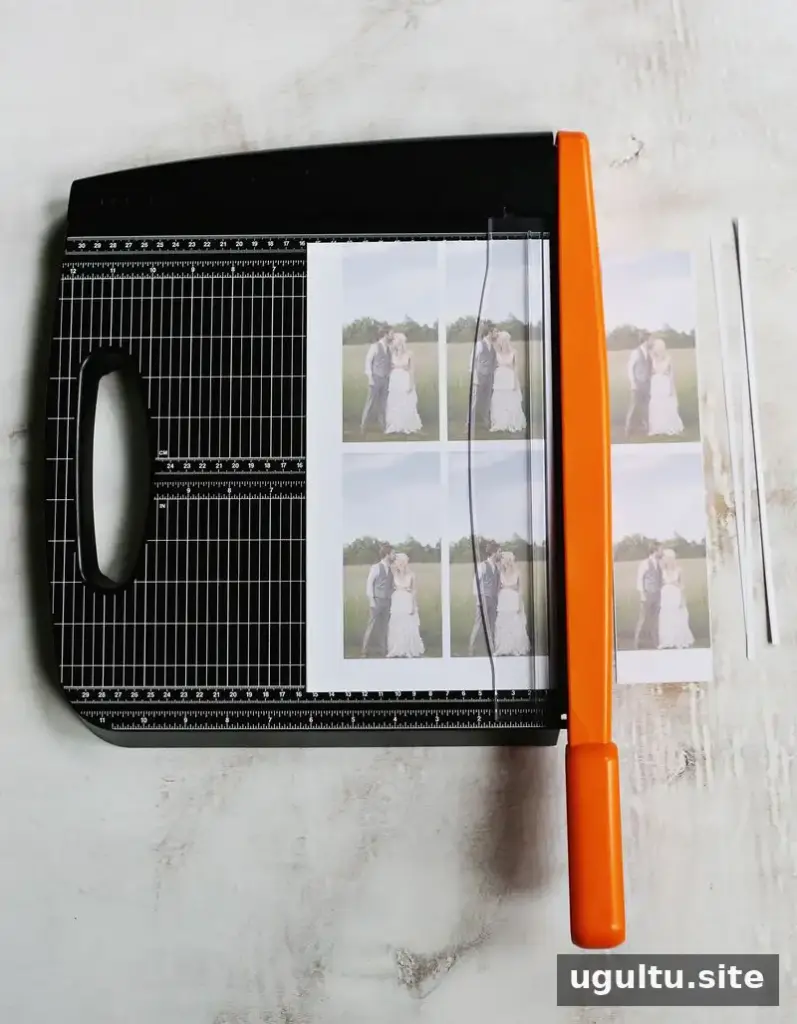
Print the designed pages on plain copy paper, then cut them to size. Aim for clean, even edges: pages that are close in size and aligned neatly will be easier to assemble and will give the finished pad a tidy appearance.
Step 3: Add the backing and bind
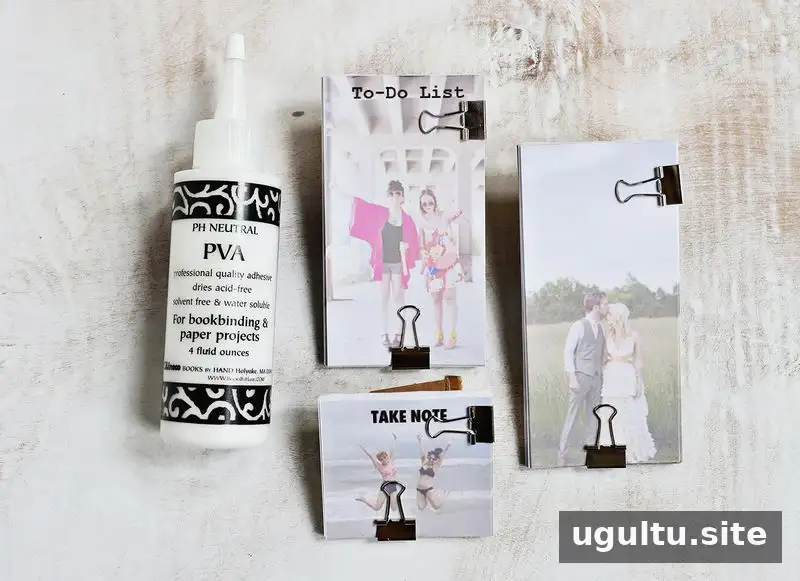
Cut one piece of thin cardboard for each notepad. Stack the pages with their top edges flush, place the cardboard behind them, and secure the stack with clips or small clamps. Apply a thin coat of bookbinding glue along the top edge, making sure it reaches each sheet and the cardboard backing.
Leave the pad clamped until the glue is fully dry, approximately 3–4 hours. Drying time may vary, so check that the edge feels firm before removing the clips or tearing off a page.
Use and Care
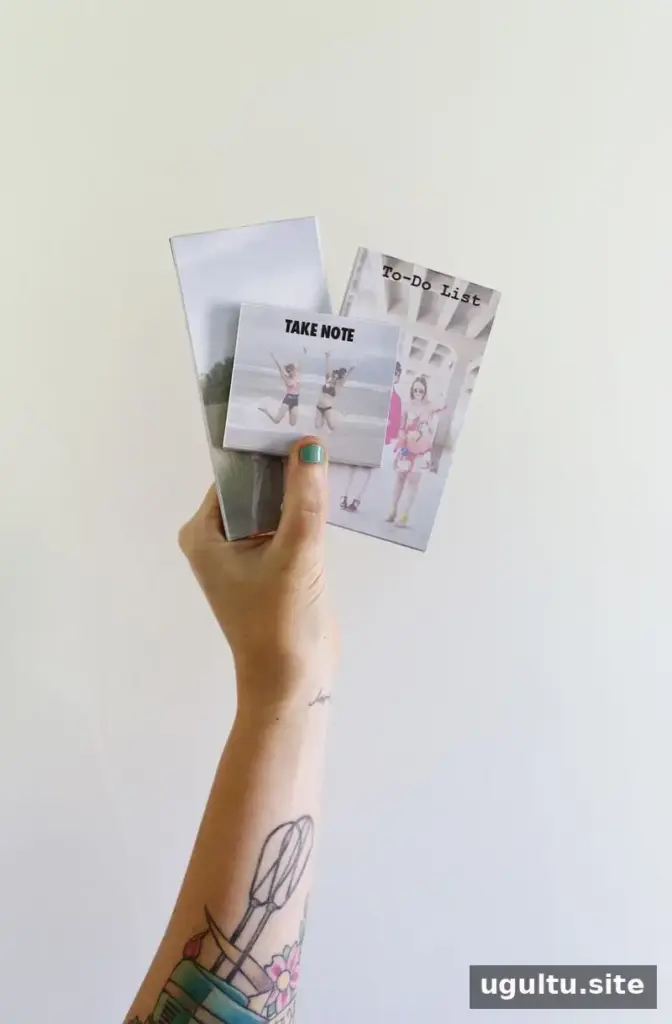
Once the binding is dry, the notepad is ready for notes, reminders, or lists. Store it flat and peel pages away gently from the bound edge. With a customized design and a recycled cardboard backing, these DIY photo notepads make a practical addition to a desk or a thoughtful handmade gift. — Emma


