
 admin
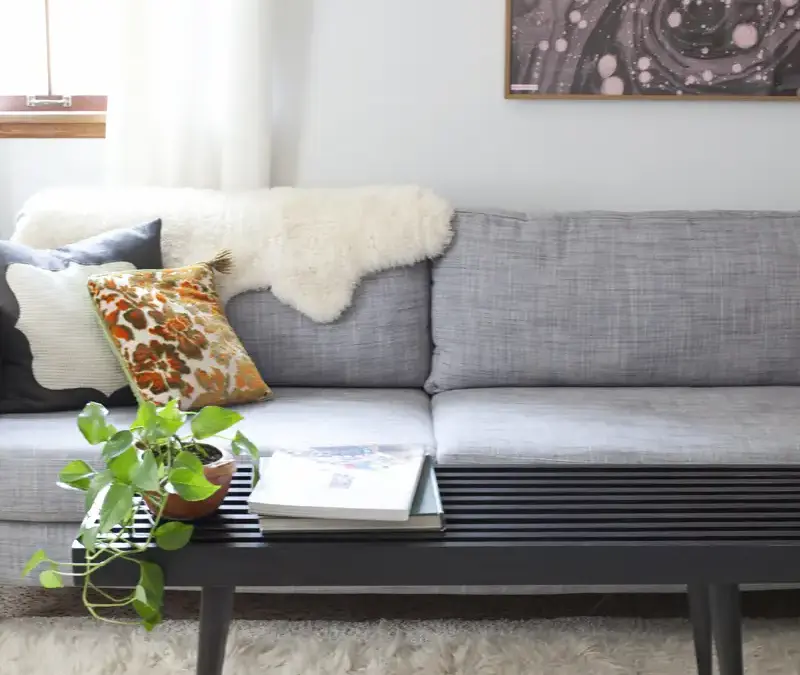
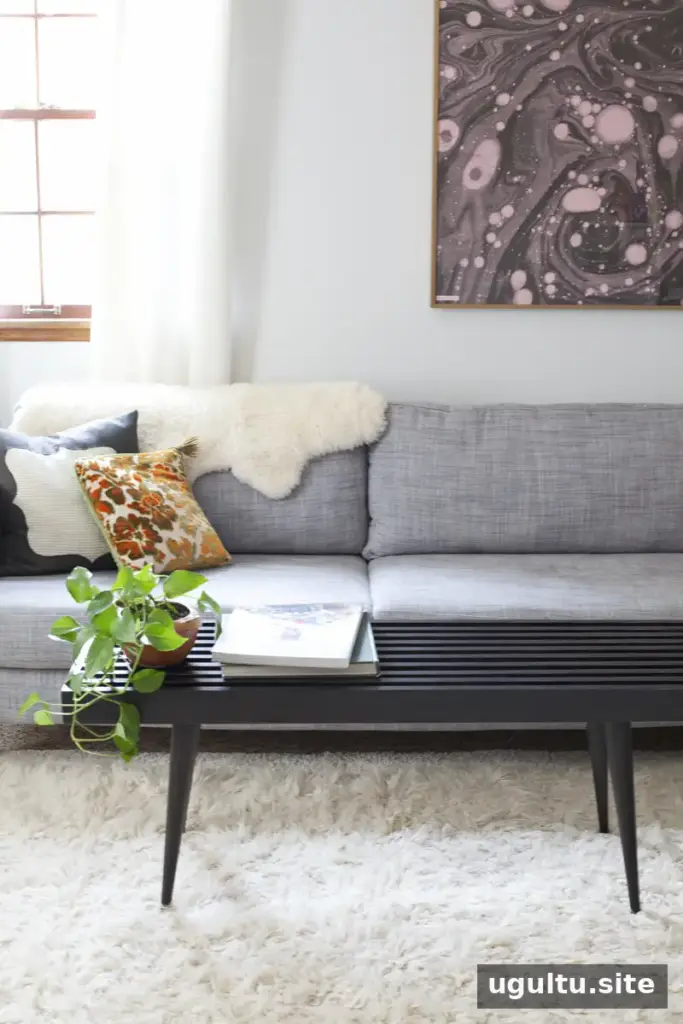
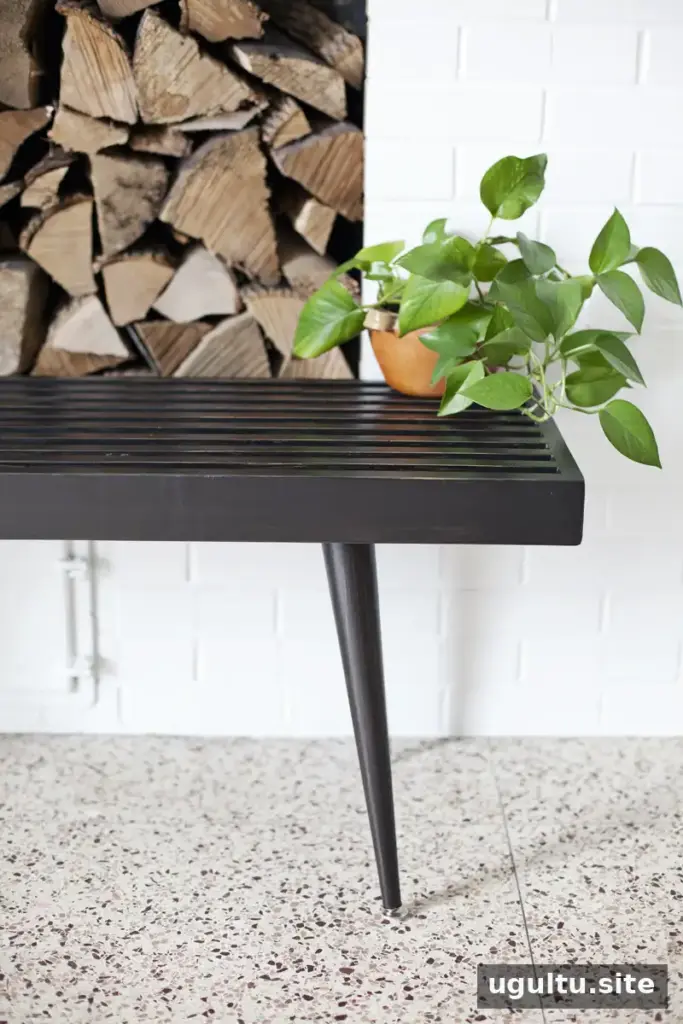
A DIY slatwood bench can add practical seating to a dining area, entryway, or living room. This design uses pine boards, angled legs, and a slightly distressed ebony finish. The project is also adaptable: choose board lengths and leg heights to suit the space where the bench will be used.
Materials and estimated cost
For this design, the boards are 4 feet long, though you can choose longer stock and cut it to size. Lumber prices vary, so treat the figures below as the original project estimate rather than current pricing.
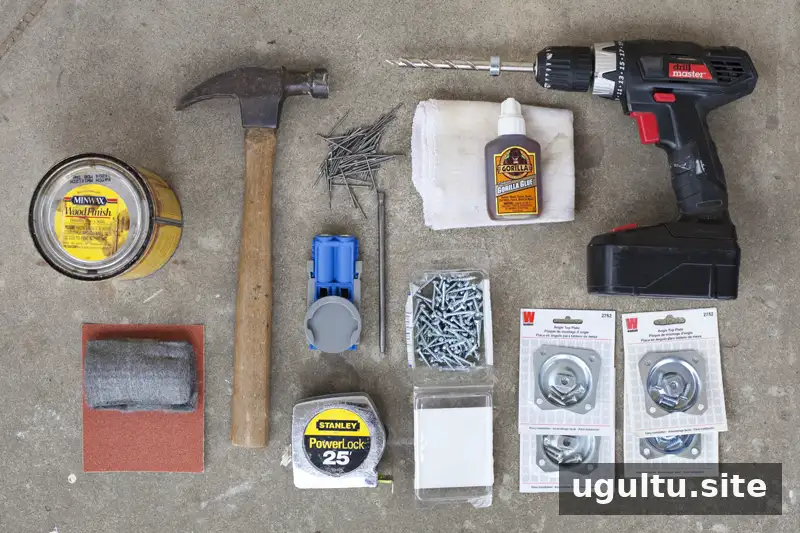
- Three 1×3-inch boards: $3.82 each for pine
- One 1×4-inch board: $4.58 for pine
- Eight 1×2-inch boards: $2.48 each for pine
- Four angled leg mounting plates: about $10, including $5.50 shipping
- Four tapered legs, 12–16 inches long: choose a height that suits your intended use. The original estimate was $17.95 per pine leg for one option, or $5.38 each for a less expensive option.
- Eight 1.5-inch pocket-hole screws, 32 1.5-inch flat wood screws, and 16 finishing nails at least 1.5 inches long
- Wood glue, wood filler, stain or paint and primer, 120- and 220-grit sandpaper, and extra-fine steel wool
Estimated total: $68 for lumber, legs, and mounting plates, based on the less expensive legs. Screws, paint, glue, and other supplies already on hand are not included. Buying longer boards and cutting them down may reduce lumber costs.
Tools
Gather a miter saw, power drill, pocket-hole jig and driver, standard drill bits and drivers, two short and two long clamps, a belt clamp, tape measure, hammer, and rag or sponge. A power sander is optional. Wear eye protection, and secure the boards before cutting or drilling.
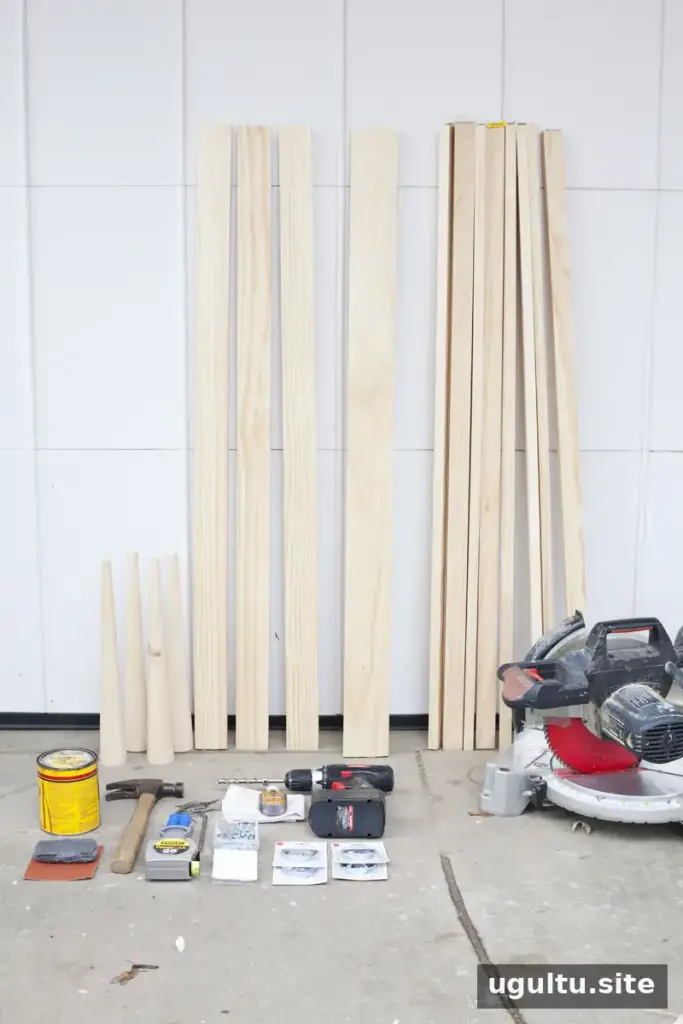
How to build the DIY slatwood bench
1. Cut and arrange the seat boards
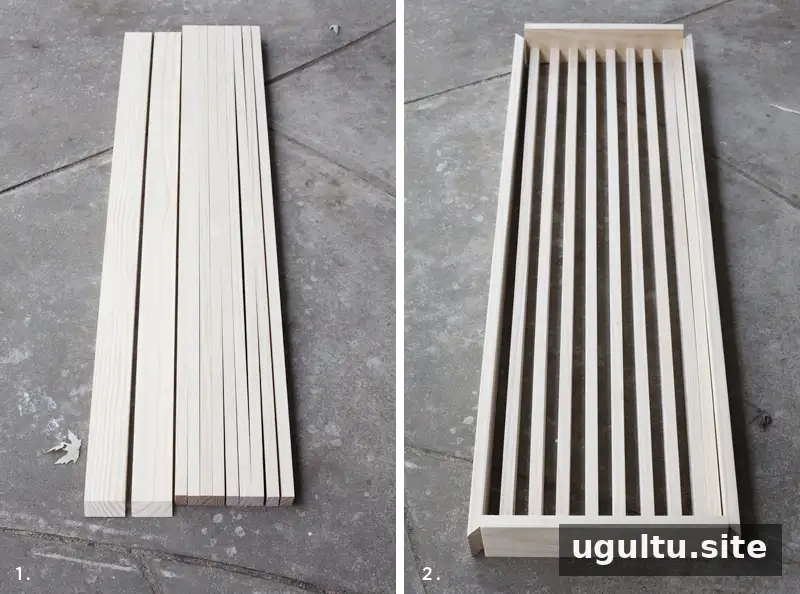
Cut 45-degree angles on the ends of two 1×3 boards. Cut the 1×2 boards to fit the inside length between the angled ends. Take care to make these lengths match precisely; inaccurate cuts can leave uneven joints. Use a spare board as a spacer, place the 1×2 boards in the center, and position the 1×3 boards at the outer edges. Use scrap wood to align the ends.
2. Add the support boards and pocket holes
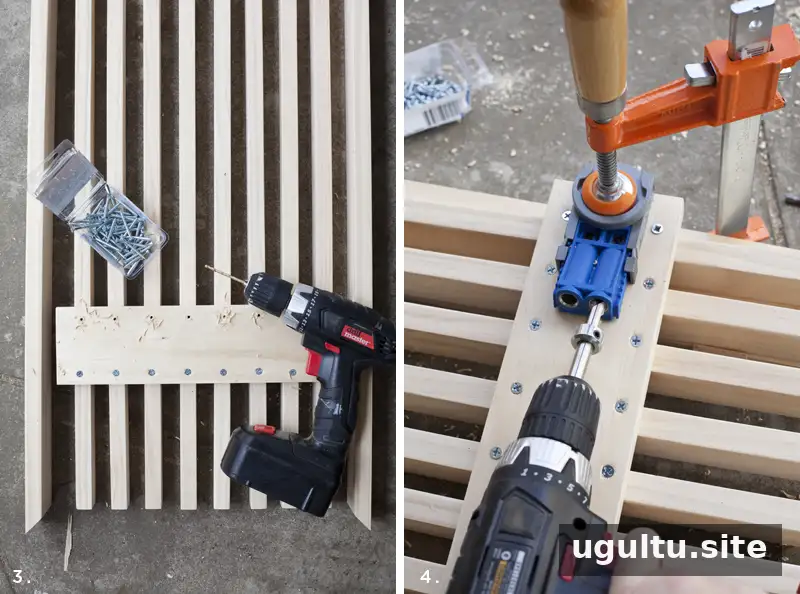
Measure the distance between the 1×3 boards and cut two pieces of 1×4 to that length. These pieces support the seat slats. Attach them across the arranged 1×2 boards, about 6 inches in from each end. Keep pressure on the boards while drilling pilot holes and driving the screws so the spacing does not shift.
Clamp the pocket-hole jig to the ends of the attached support boards and drill two pocket holes for connecting the 1×3 edges. Jig settings depend on wood thickness, screw length, and the drill-bit stop collar. Test the setup on scrap wood first to avoid drilling too shallow or too deep.
3. Secure the outer boards
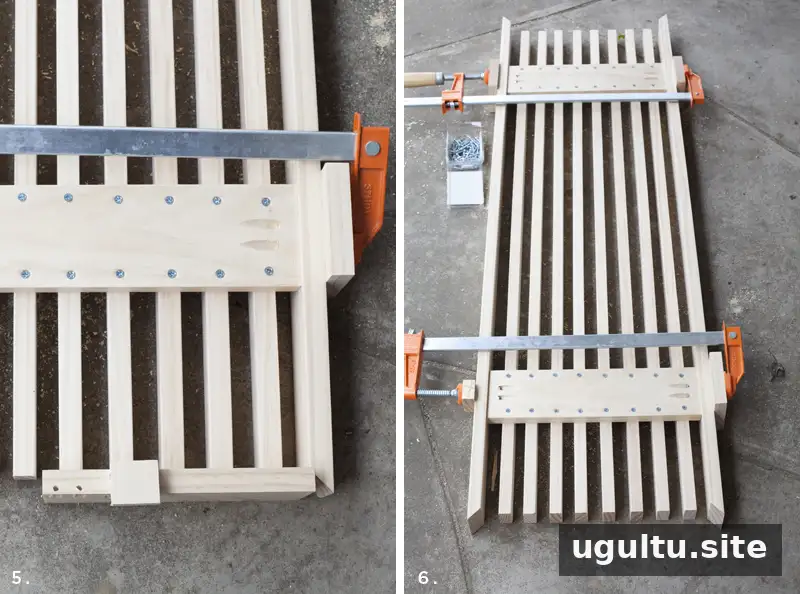
Loosely clamp the 1×3 boards to the support assembly. Use a scrap piece to check that the ends of the 1×2 slats line up with the inside edges of the miters. Adjust the fit before tightening the clamps. If the pieces do not align, trim the slats or carefully adjust the mitered boards. Drive the 1.5-inch pocket-hole screws into the supports to secure the edges. When clamping soft pine, place scrap wood between the clamp and the bench to prevent dents.
4. Fit and glue the end caps
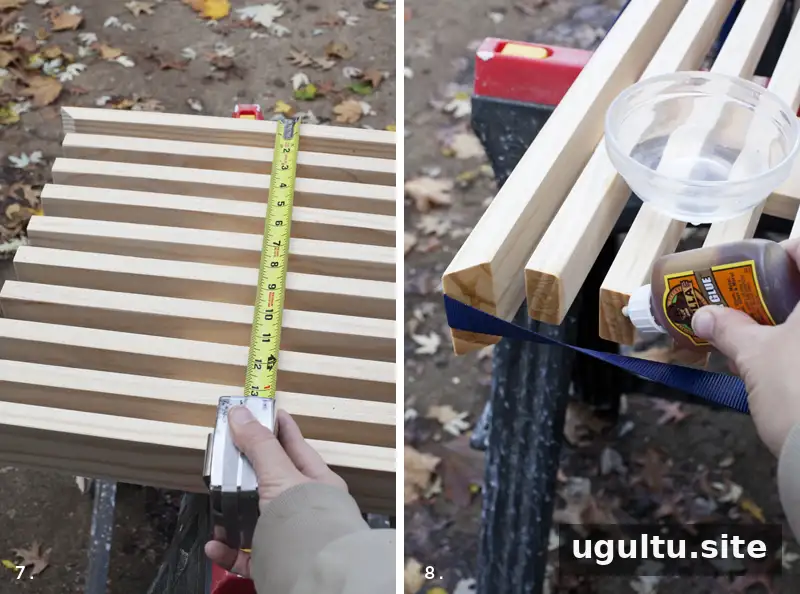
Measure the full width of the bench base and cut the remaining 1×3 boards for the mitered end caps. Cut them slightly long, then trim in small increments until each piece fits. Loosely position a belt clamp around the bench top. Dampen the end grain and apply wood glue to prepare the joints.
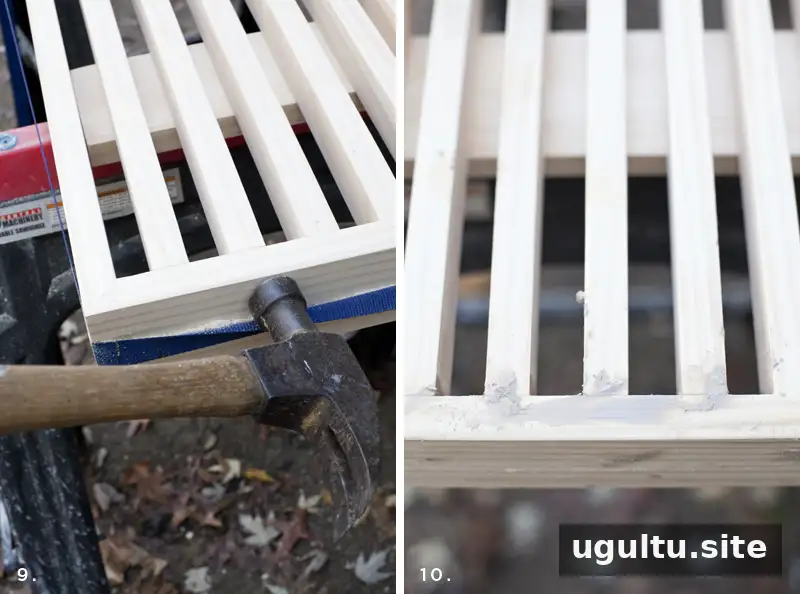
Fit the end caps and tighten the belt clamp. Add finishing nails for extra support, taking into account that wood can expand and shrink as moisture levels change. Allow the glue to set according to its product instructions before removing clamps.
5. Sand and apply the finish
Sand the bench with 120-grit paper to smooth uneven seams. For more pronounced unevenness, 60-grit paper and a power sander can help; use care to avoid removing too much material. Fill small gaps and cover the nail heads with wood filler, setting the nails slightly below the surface. Once the filler dries, sand the bench again with 220-grit paper.
Choose stain or paint. For a painted finish, wet-sand the primer with 400-grit paper and water before painting for a smoother surface. For a stained finish, use 0000-grade steel wool after each stain coat and after the first sealer coat, unless using wax as the sealer. Follow the instructions for the specific finish and let each coat dry as directed.
6. Attach the legs
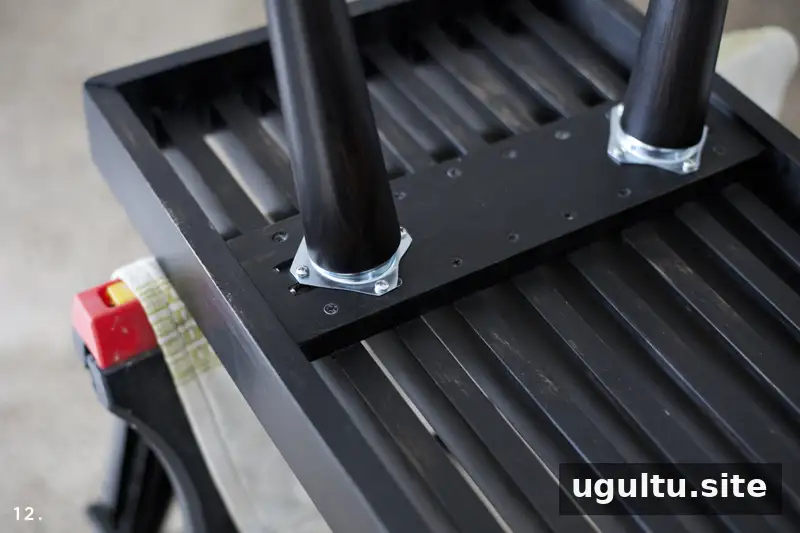
Fasten the angled leg plates to the support boards, positioning them about an inch from the support-board edge and avoiding existing screws. Orient each plate so its leg angles toward an outside corner of the bench. Screw the legs into the plates and check that they are firmly attached.
Ways to use the finished bench
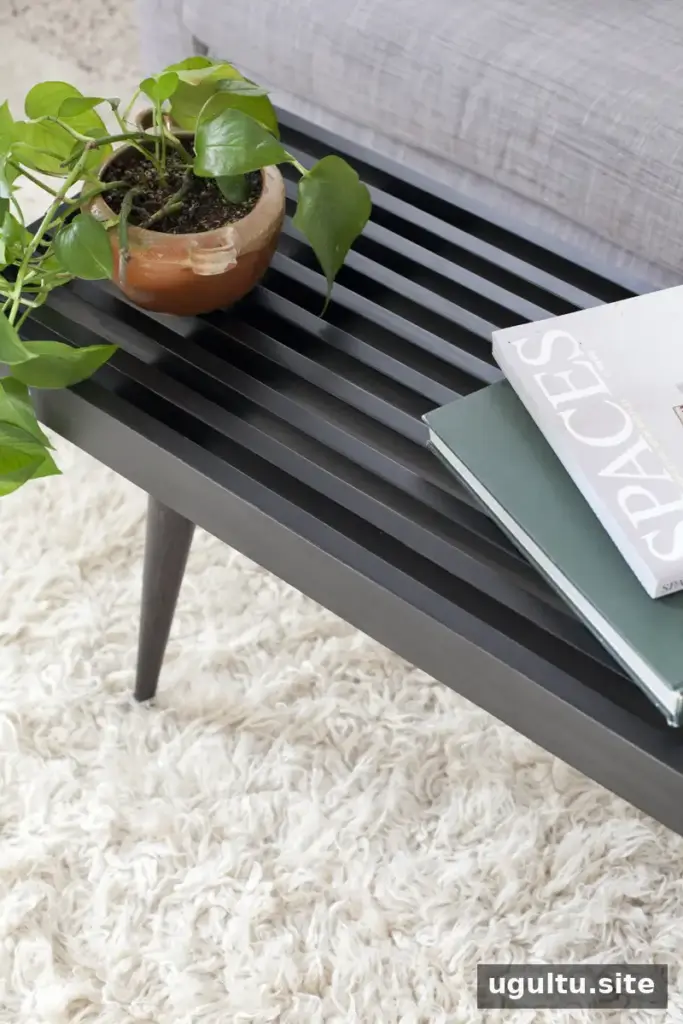
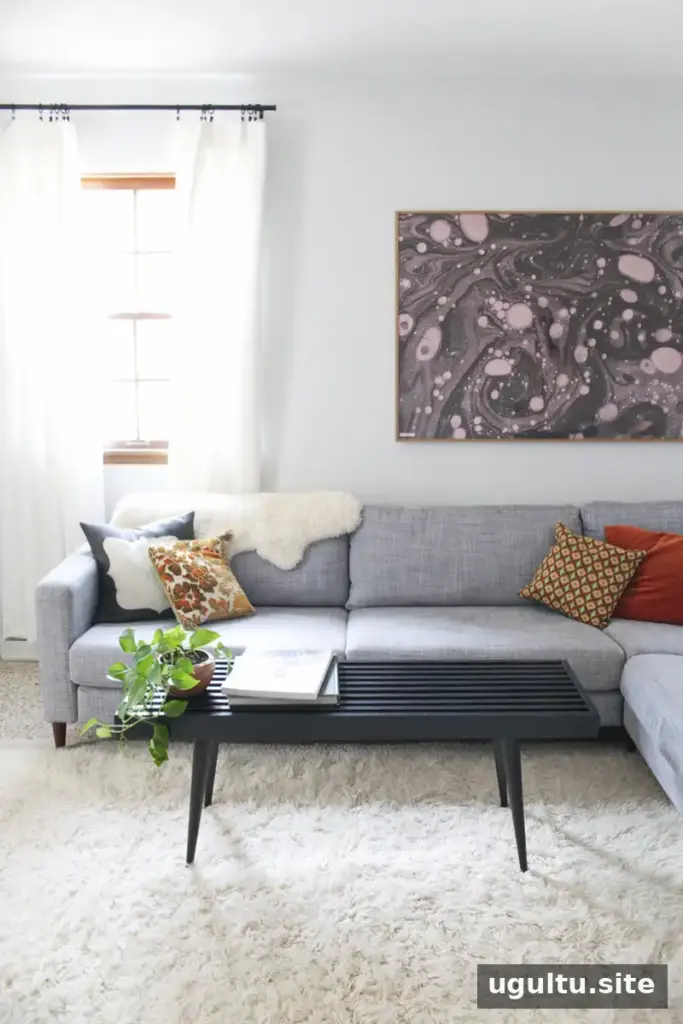
The completed bench can provide extra seating at a dining table, serve as a coffee table, or hold houseplants. Before placing it in service, check that the legs are secure and the bench sits evenly on the floor. Select a leg height and finish that work with its intended location.
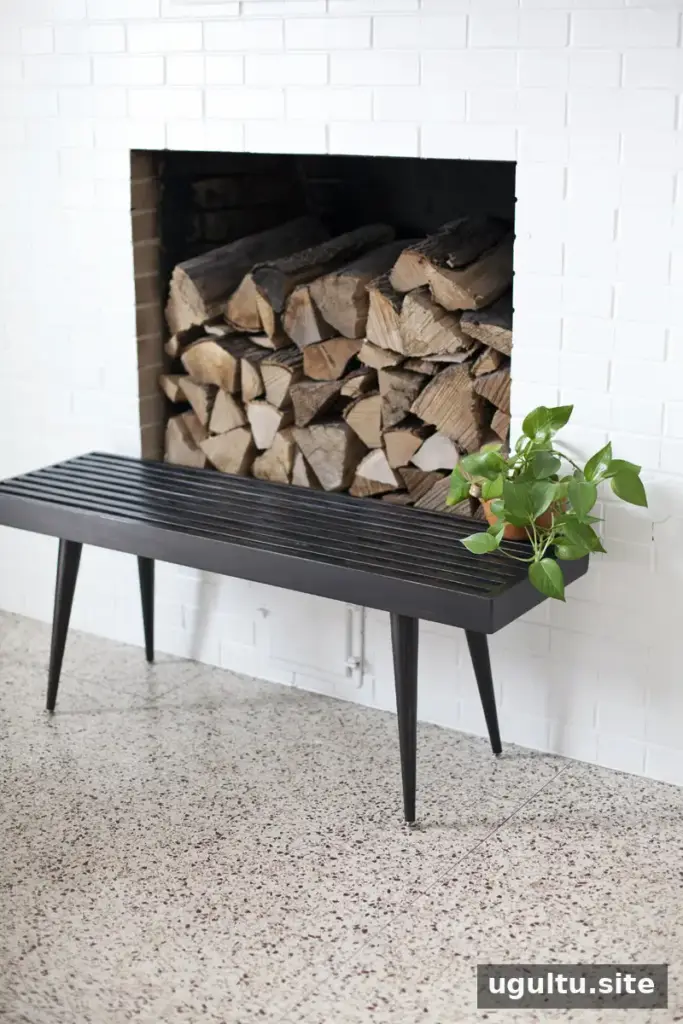
With its simple slatted top and clean lines, this DIY slatwood bench can suit both modern and transitional interiors. —Mandi


