
 admin
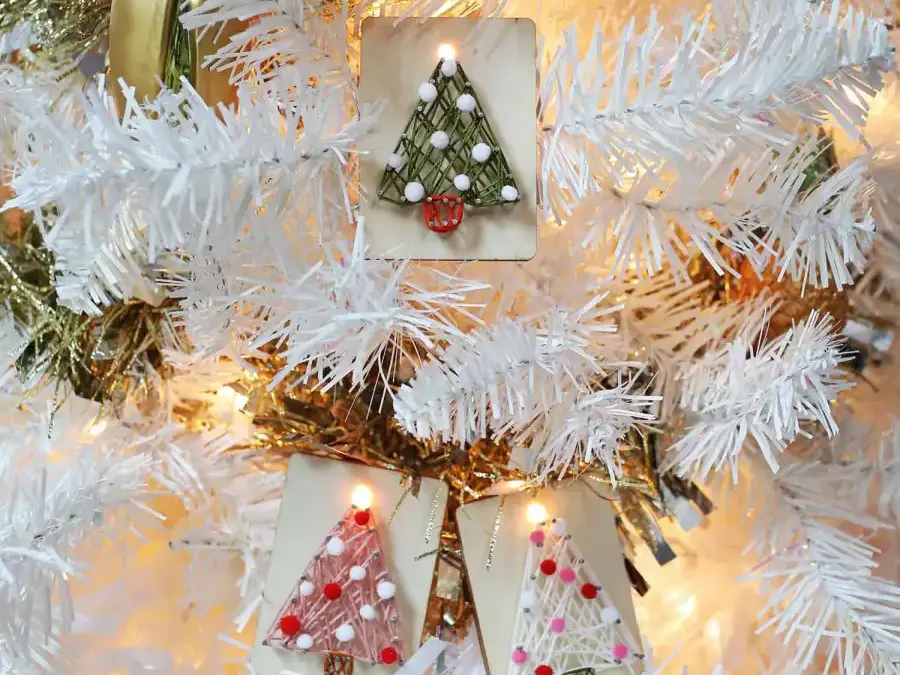

DIY string art ornaments are a simple way to create a small holiday decoration that can glow when placed on a Christmas tree. This project uses a wooden shape, small nails, and embroidery thread to form a tree design, with a hole at the top for a tree light to shine through. You can customize the thread and pom-pom colors or adapt the idea to a different design.
The project involves light drilling and hammering, so a clamp can help keep the wood steady while you work. Choose a work surface that protects your table, and take care when handling the drill and small nails.
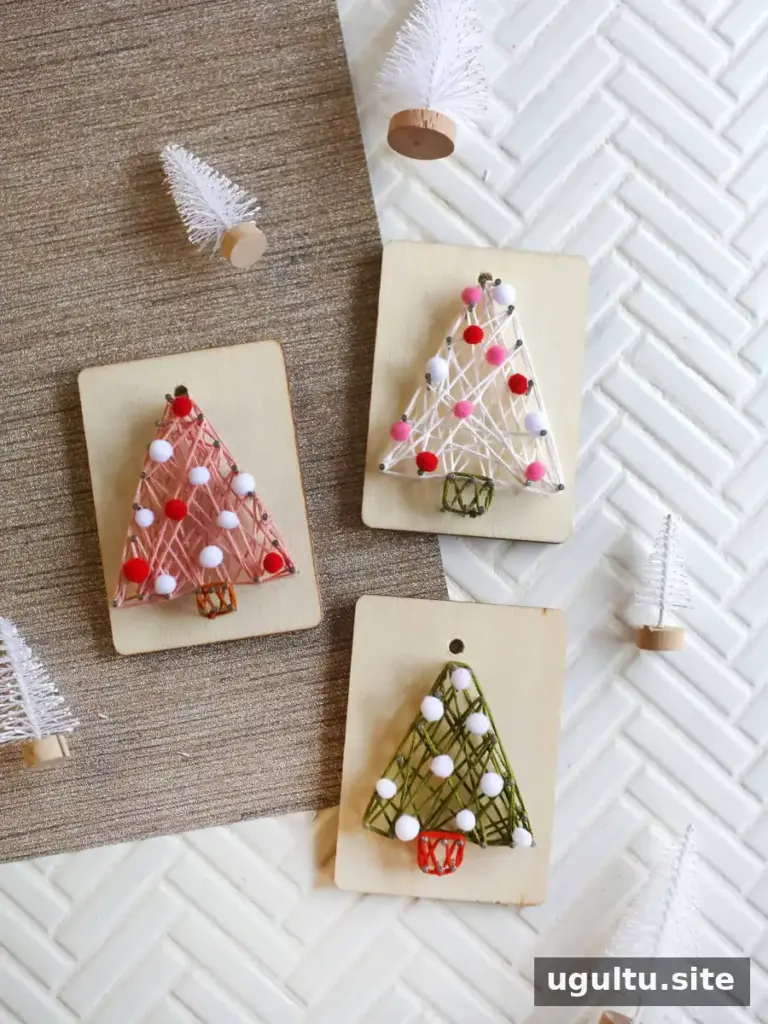
These ornaments can be made in coordinating or contrasting colors, depending on the look you want. The same string-art method can also be used for other simple shapes. Making several at once is a practical option if you want matching decorations or handmade gifts.

Supplies
- Small wooden rectangles
- Small nails; 5/8-inch wire brads were used for this project
- Embroidery thread
- Mini pom-poms
- Super glue
- Fine sandpaper
- Precision hand drill
- Hammer
- Nail starter
- Pencil and, if needed, a clamp
Wood thickness matters: the nails need enough depth to stay in place, but the wood should not be so thick that the project becomes difficult to assemble. If you cannot find a suitable piece, two small wooden rectangles can be glued together to create a thicker base, as in this project. Let the adhesive set according to its package directions before drilling or hammering.
How to Make DIY String Art Ornaments
1. Sketch and drill the top hole
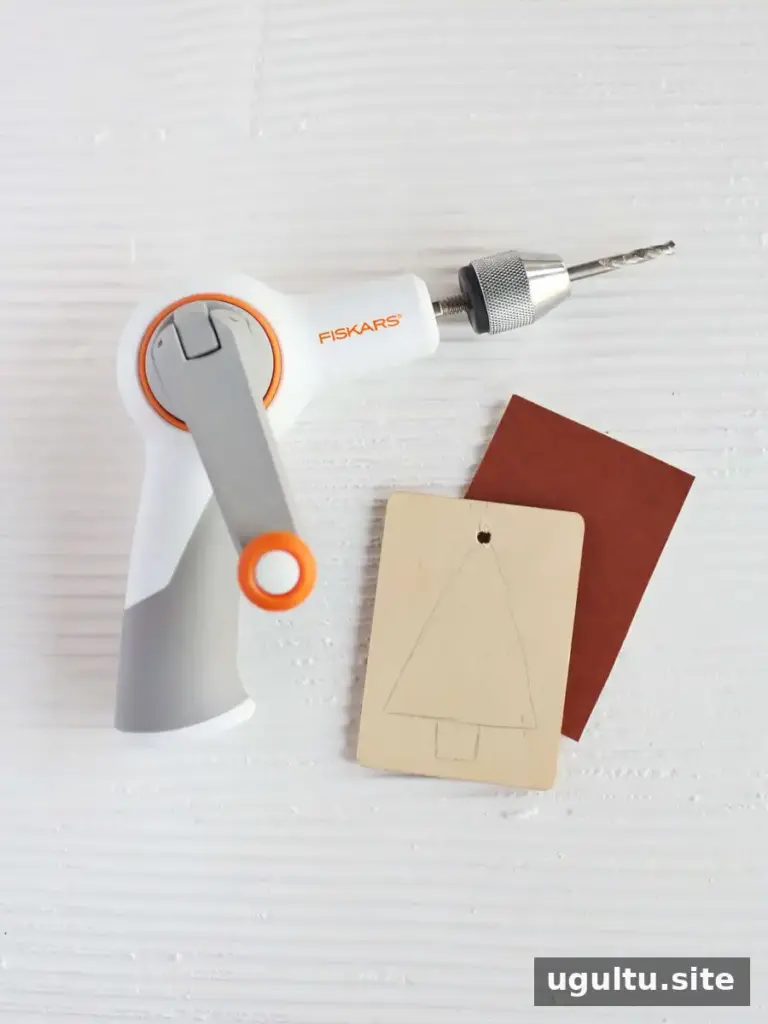
Lightly draw the tree design in pencil. Drill a hole near the top where the tree light will go. Smooth any rough edges around the hole with fine sandpaper. If the wood is difficult to hold, secure it with a clamp before drilling; do not hold it close to the drill bit with your fingers.
2. Add nails around the design
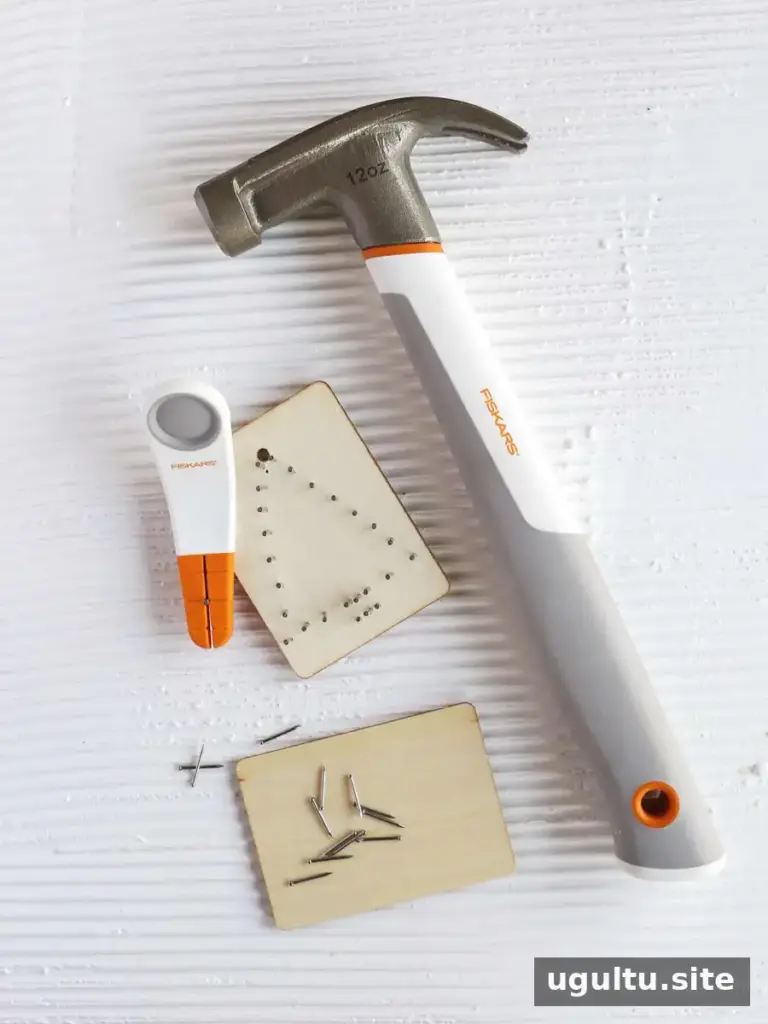
Place small nails along the outline of the design. A nail starter can help hold tiny brads steady while you tap them in with a hammer. Leave enough of each nail exposed to wrap the thread around it. Erase pencil marks as you work, before the string makes them harder to reach.
3. Wrap the thread and add decorations
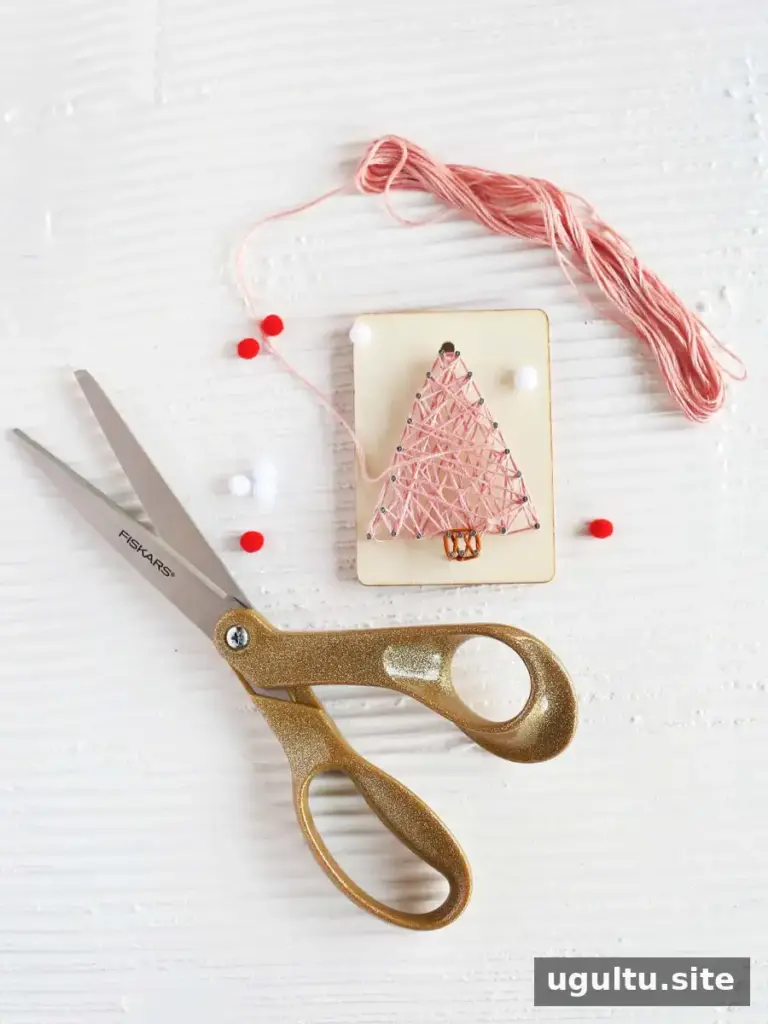
Tie the embroidery thread to a nail, then loop it between the nails to fill in the tree shape. When the pattern is complete, secure the thread with a knot. Add mini pom-poms with small amounts of super glue, following the adhesive label and allowing it to dry before handling the ornament.
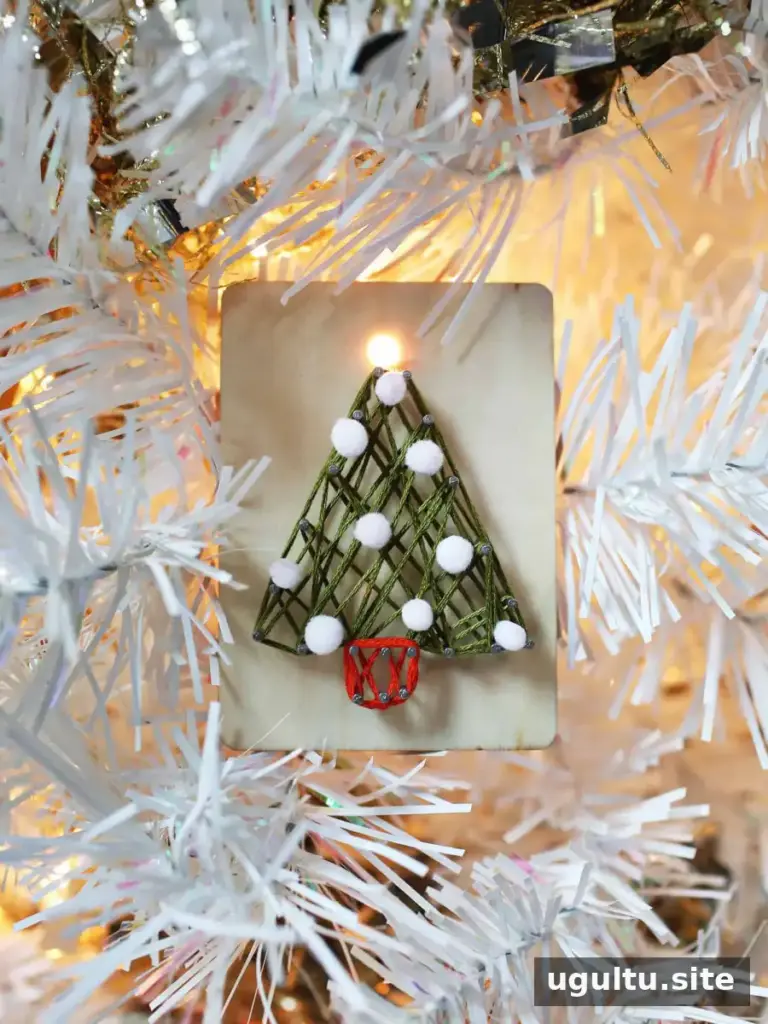
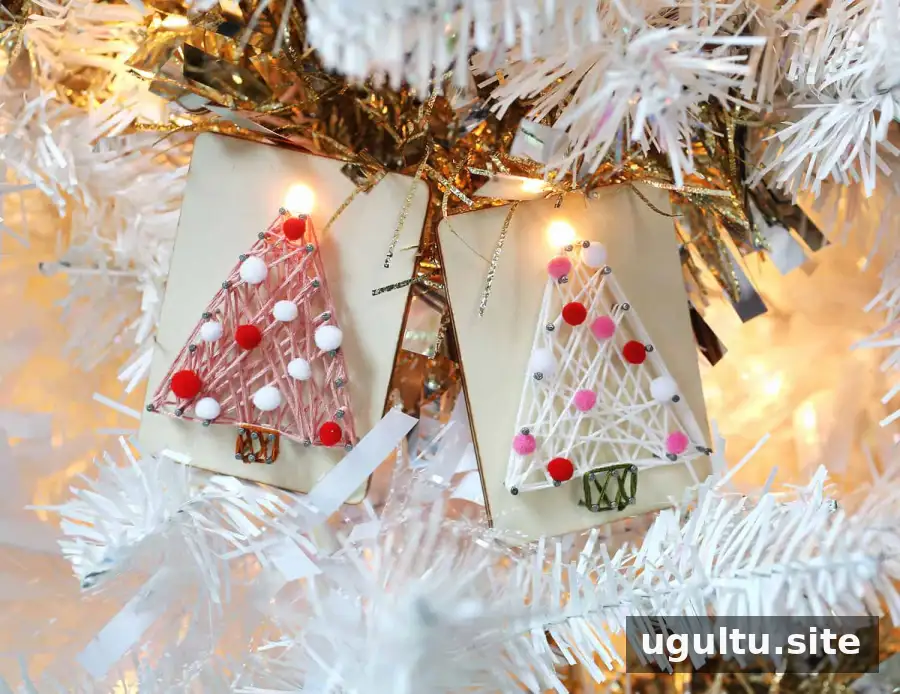
To display the ornament on a lit tree, position a tree light through the hole at the top. Adjust the branches gently so the ornament stays in place. A ribbon loop can be added if you prefer to hang it without placing a light through the hole.
Display and Safety Tips
Keep the wooden ornament clear of damaged or unusually hot lights, and follow the instructions supplied with your holiday lights. As with other decorations made from wood and holiday lights, do not leave the lights on overnight or unattended. Check that the ornament is stable before stepping away, and keep tools and small nails out of reach of children during assembly.
With a few basic materials and a straightforward wrapping pattern, DIY string art ornaments can be adapted to different colors and designs. Take time to secure the wood and nails, and use the light-up hole only with a safe, properly functioning set of holiday lights.


