
 admin

Turn two old phones into distinctive DIY telephone bookends with a few basic materials and a little careful drilling. This project gives vintage phones a practical second life while adding a decorative touch to a bookshelf. Before you begin, check that both phones can be safely drilled at the base and choose a location where the metal supports can be attached securely.
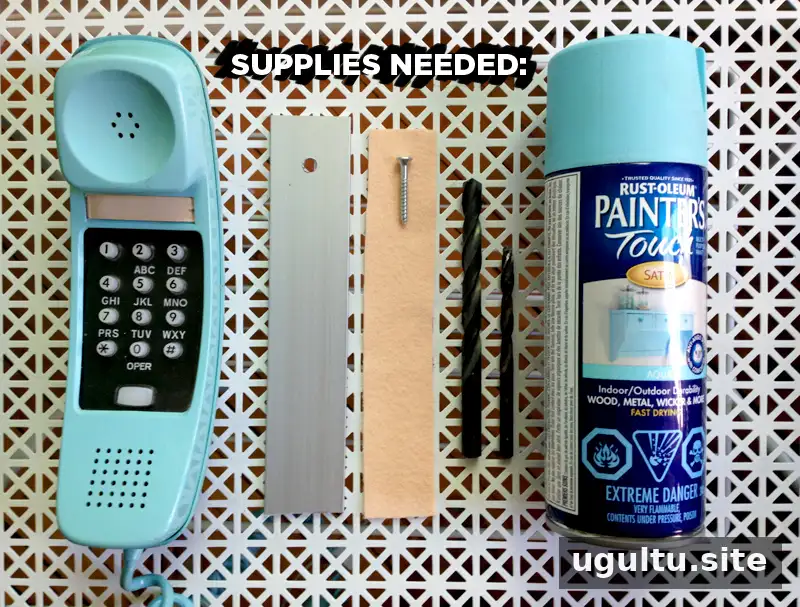
Supplies for DIY Telephone Bookends
Gather all the materials before starting so you can measure, drill, paint, and assemble the bookends without rushing. The project uses two phones, each supported by a metal strip attached underneath.
- 2 old phones
- 2 thin metal strips, each 1.5 inches wide and 7.5 inches long
- 2 pieces of felt, cut slightly smaller than the metal strips
- 2 flathead screws
- 2 drill bits in different sizes: one smaller and one larger
- 1 can of metal spray paint in the color of your choice
- Cordless drill
- Hot glue gun or another suitable glue
The metal strips can be cut at a hardware store or cut at home with a hacksaw. If cutting them yourself, work on a stable surface and take care with the edges. A hardware store can also help ensure the strips are cut to the specified dimensions.
How to Make the Bookends
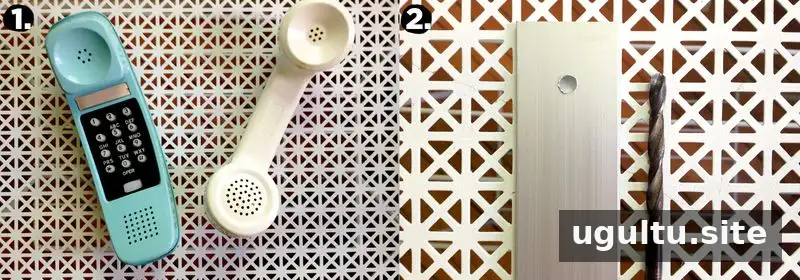
1. Prepare the phones
Cut the cords off both phones. For a rotary phone, unscrew the microphone cover and remove the microphone before drilling. This helps prevent accidentally drilling into the component. Set the phones on a stable work surface and identify where each metal strip will attach underneath.
2. Drill the pilot holes
Place a scrap piece of wood beneath the metal strip to protect the table or floor. Using the smaller drill bit, make a centered pilot hole 1 inch down from the top of each strip. Keep the strip steady while drilling, and check that the hole is positioned consistently on both pieces.
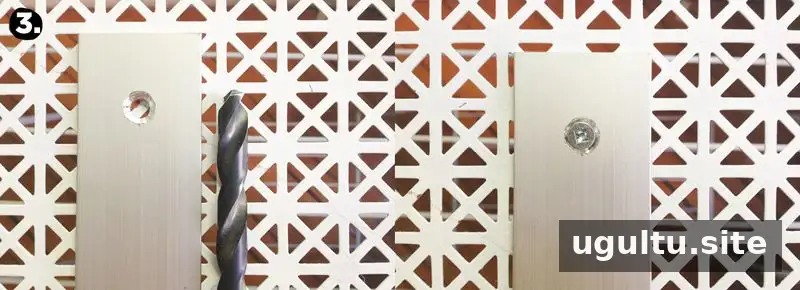
3. Make room for the screw heads
Use the larger drill bit to create a countersink: a wider recess that does not go all the way through the metal. This allows each flathead screw to sit flush with the strip rather than projecting outward. Work carefully and avoid enlarging the pilot hole more than needed.
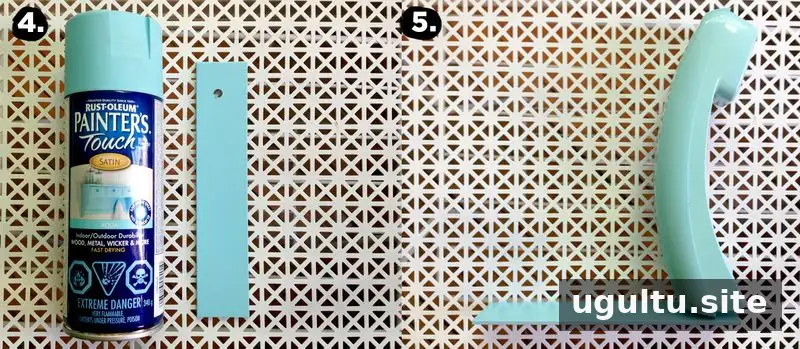
4. Paint and attach the supports
Spray-paint both metal strips, including their sides. Apply two coats and let the paint dry before attaching the strips. Follow the paint can’s directions for application and drying time, and use the spray in a well-ventilated area.
Once the strips are dry, position each phone the way you want it to stand. Carefully screw one metal strip to the bottom of each phone with the cordless drill. Take care not to force the screw, particularly if the phone has delicate or hollow sections.
5. Add felt to the base
Use a hot glue gun or another suitable adhesive to attach a felt piece to the underside of each metal strip. Cut the felt slightly smaller than the metal so it stays within the edges. Let the glue set before placing the finished bookends on a shelf.
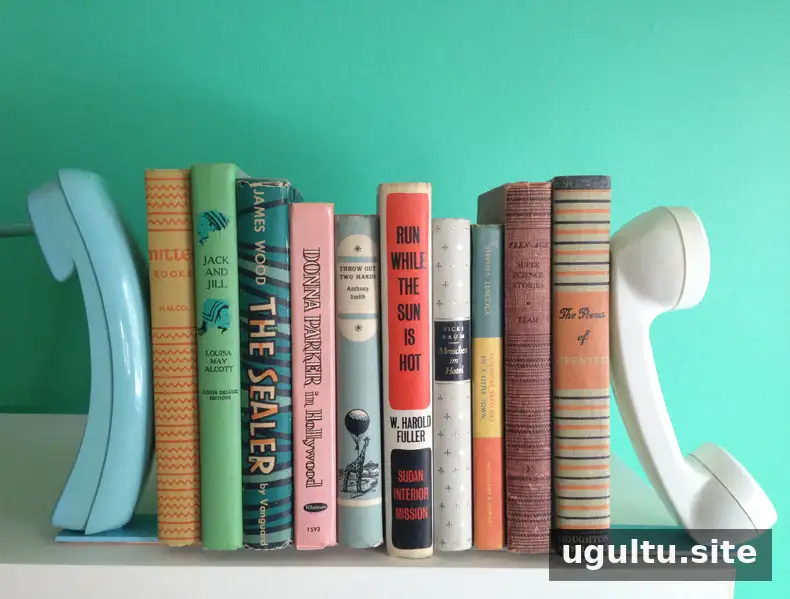
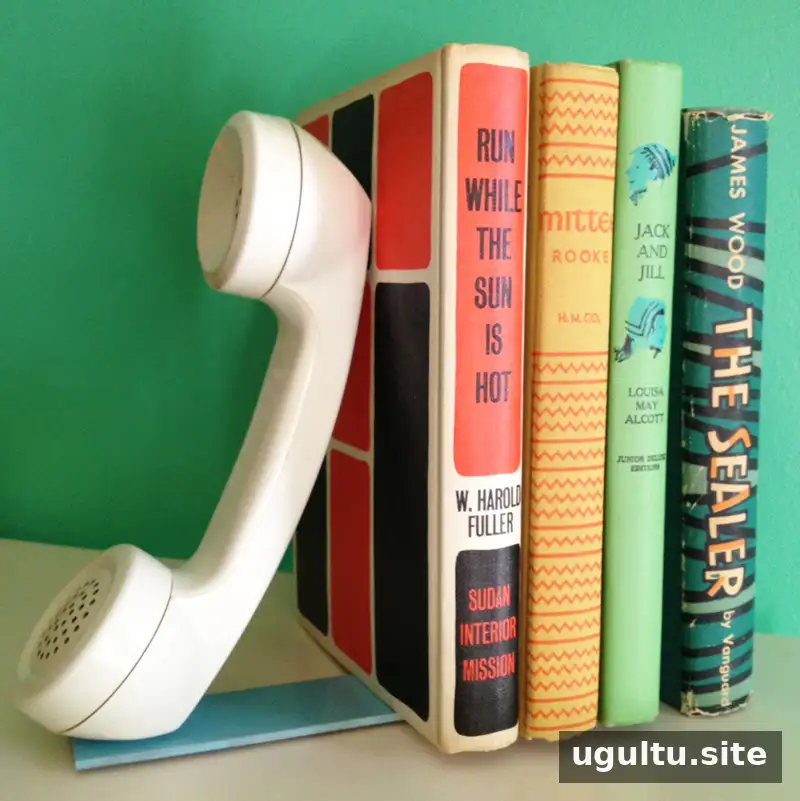
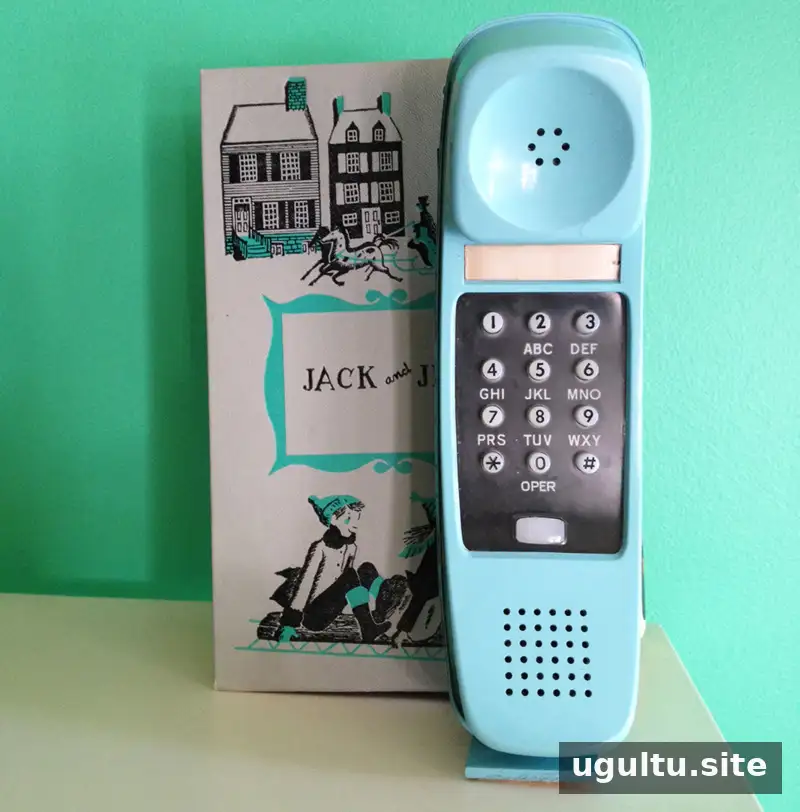
Finishing and Using Your DIY Telephone Bookends
Your repurposed phone bookends are ready once the paint and glue have fully dried. Place them on a flat, stable shelf and arrange books between them. If a phone wobbles or the metal strip shifts, remove it from use and check the screw attachment before loading the bookends with books.
This project was created by Erin and Stefanie. Article credit: Elsie.


