
 admin
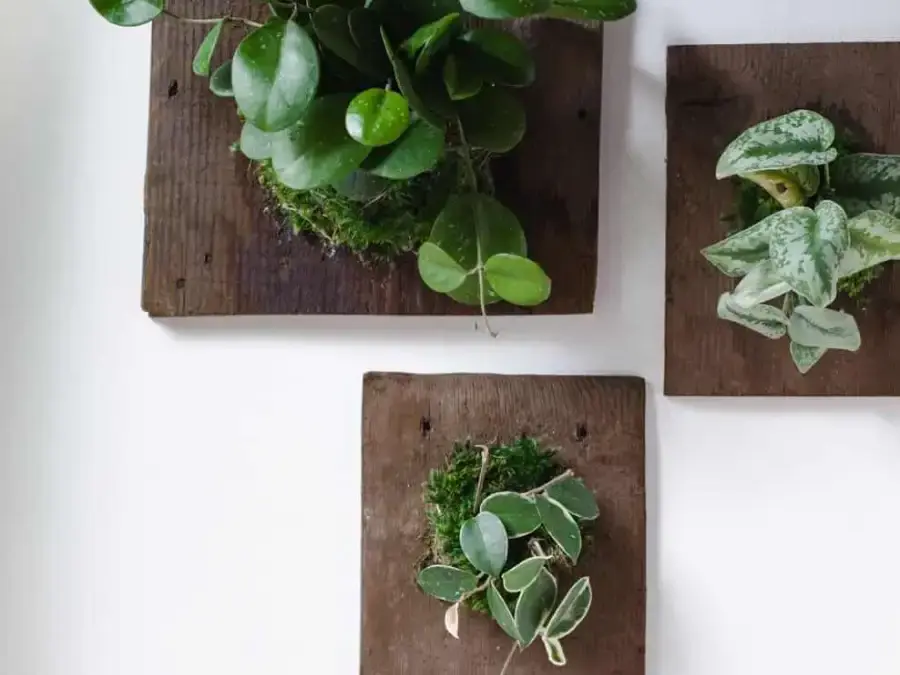
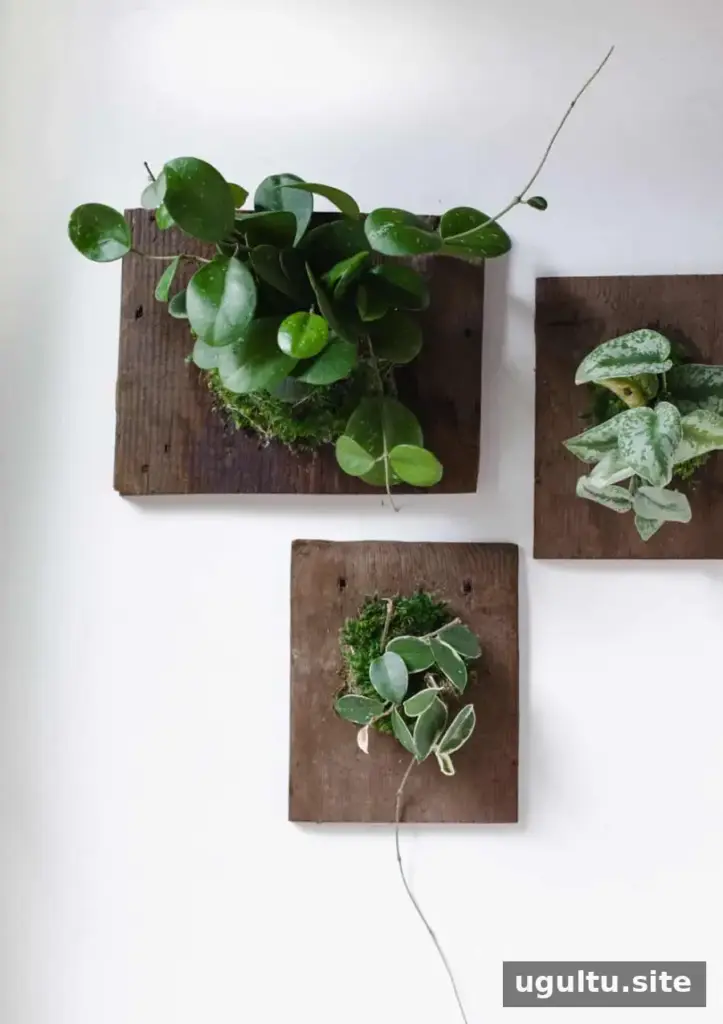
Wall-mounted plants are a practical way to add greenery when shelves, tables and window ledges are already full. With a wood board, sheet moss and a few basic supplies, you can make a display that brings plants onto the wall and doubles as living art. Vining plants are especially appealing, though several other varieties can work too.
Choosing wall-mounted plants and supplies
Staghorn ferns, philodendrons, hoyas and succulents are suitable options for this project. The plants used here are Hoya obovata, satin pothos and Hoya carnosa. Choose a plant that suits the light and care conditions in the spot where you plan to hang it.
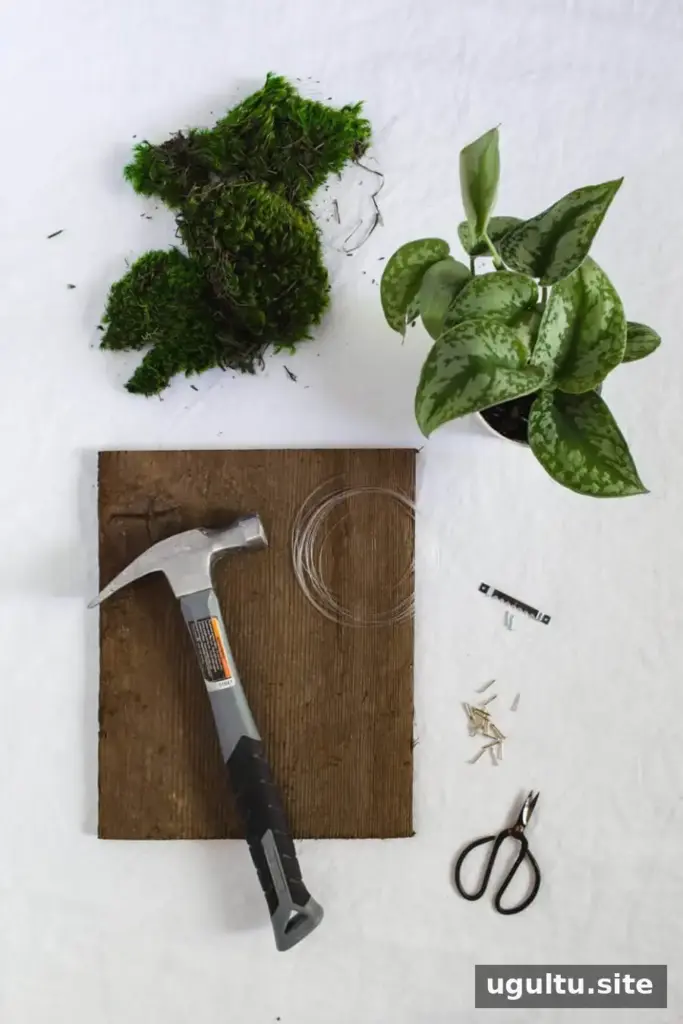
- A mountable plant
- Sheet moss
- A wood board, such as a reclaimed wood slab or a new piece cut to size
- Fishing line or twine
- A sawtooth picture hanger
- Several nails
- Scissors
Before assembling the display, check that the board is large enough to hold the plant and that the picture hanger is appropriate for the finished weight. Keep the plant’s light requirements in mind when choosing a wall location.
How to mount a plant on a board
1. Attach the hanger and mark the plant position
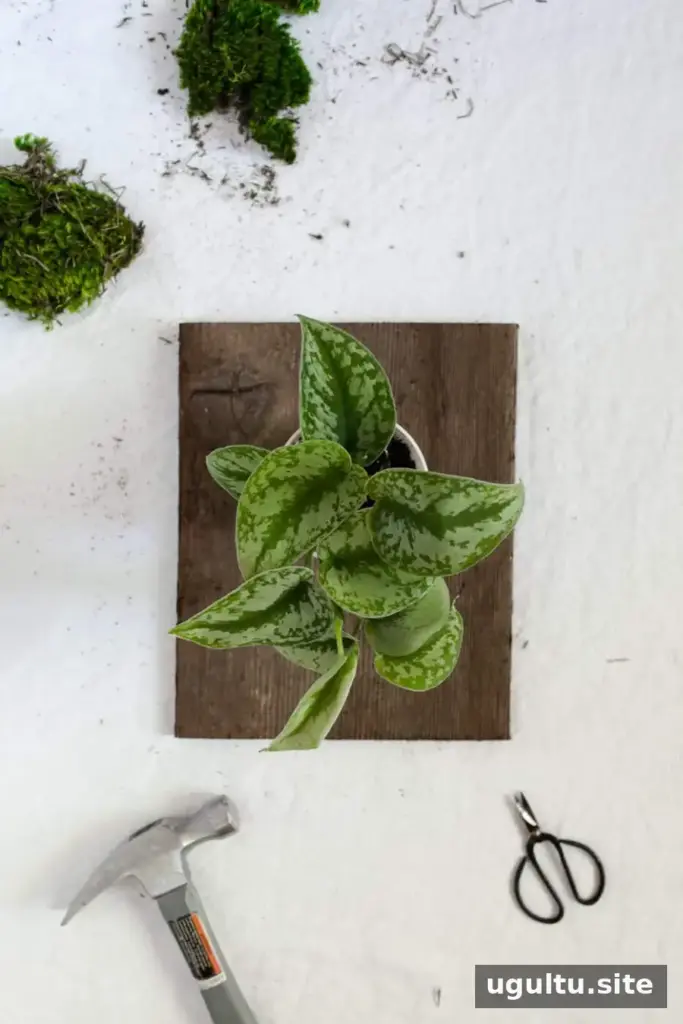
Nail the sawtooth hanger onto the back of the board. Set the potted plant on the front and choose its position, leaving enough room around it for the nails and moss.
2. Arrange the nails
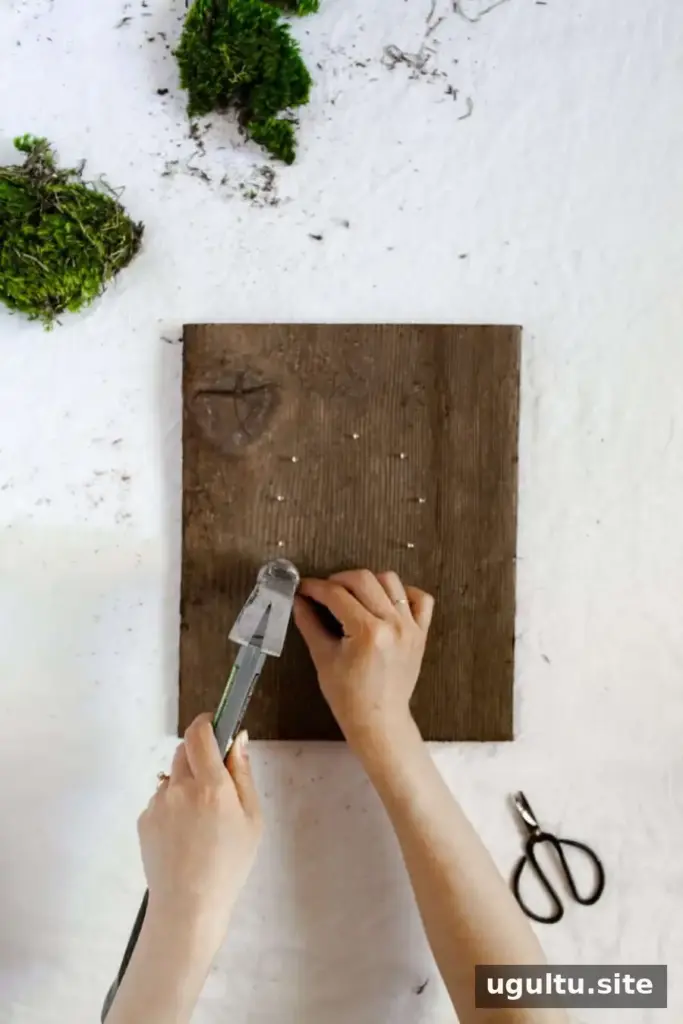
Hammer 8–12 nails into the board in a circle around the plant’s pot. Make the circle about 1/2 inch wider than the pot’s widest point, and angle the nails slightly outward toward the board’s edge. This gives the line places to catch as you secure the plant.
3. Prepare the roots and moss
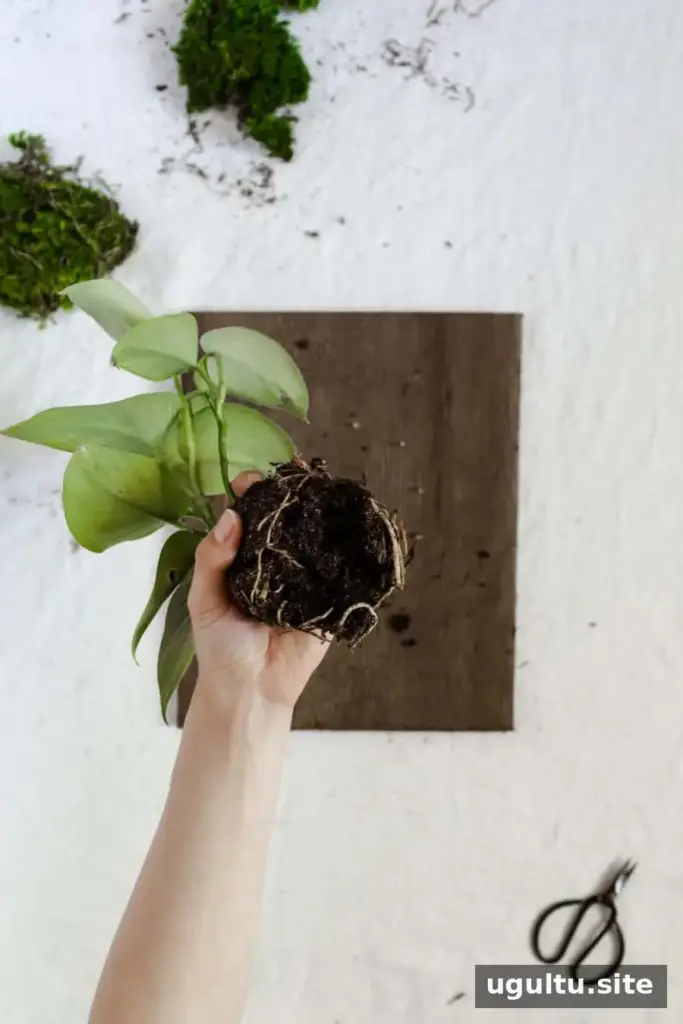
Take the plant out of its pot, gently loosen the roots and remove most of the excess soil. Handle the roots carefully so the plant is easier to position without unnecessary damage.
4. Secure the plant
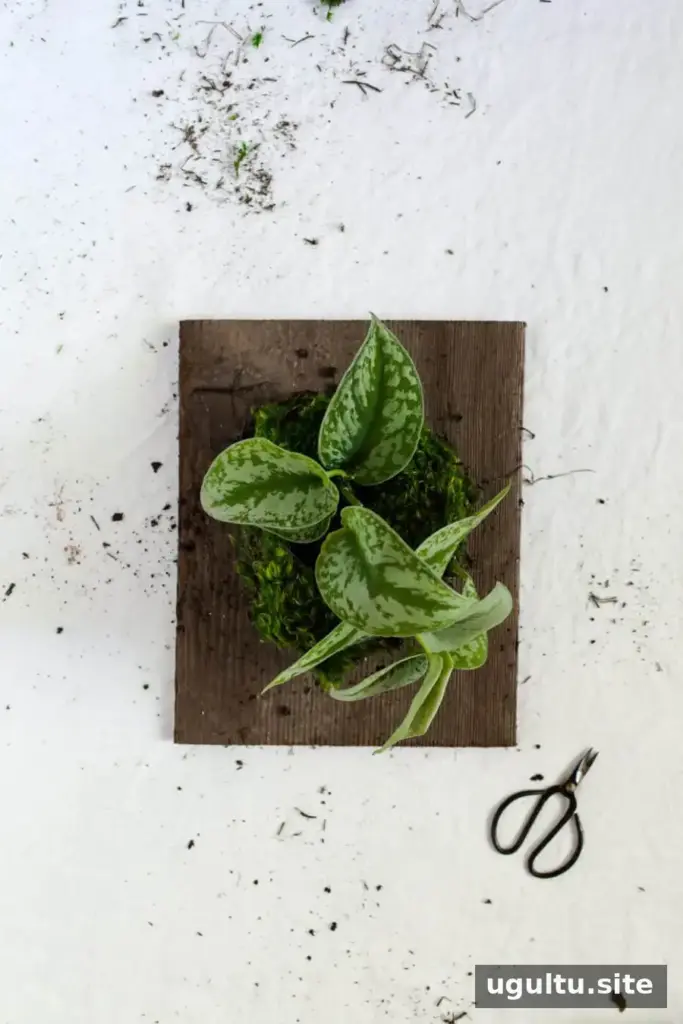
Place the plant firmly against the board. Wrap sheet moss around the soil, pressing and shaping the moss and soil within the circle of nails. A second person can help hold the plant steady while you work.
Cut a 3-foot piece of fishing line or twine and tie it to one nail, leaving a 3-inch tail for finishing the knot. Pull the line tightly across the plant, loop it around a nail, then cross to another nail. Continue wrapping the line around each nail once or twice until the plant feels secure. Avoid pulling so tightly that the line cuts into the plant.
Watering and caring for wall-mounted plants
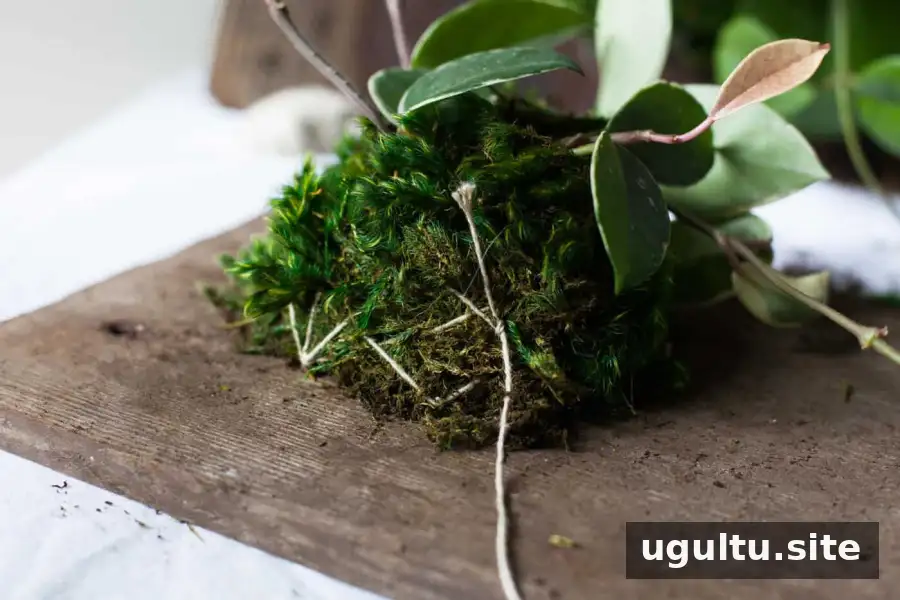
Trim away excess line or twine and hang the finished board. Water the plant immediately after mounting it, then follow care guidance for its particular variety. Mounted plants dry out faster than plants kept in pots, so check the growing material regularly rather than relying only on a fixed schedule. As a general guide, bright, indirect light and watering every 1–2 weeks suit many mounted plants, but the right interval depends on the plant and its environment.
Different wood finishes can help the display complement a room’s decor, and a painted board is another option. With the right plant, a secure mount and attentive watering, wall-mounted plants can make use of empty wall space while adding a distinctive touch of greenery.
Project notes: Kayleigh.


