
 admin
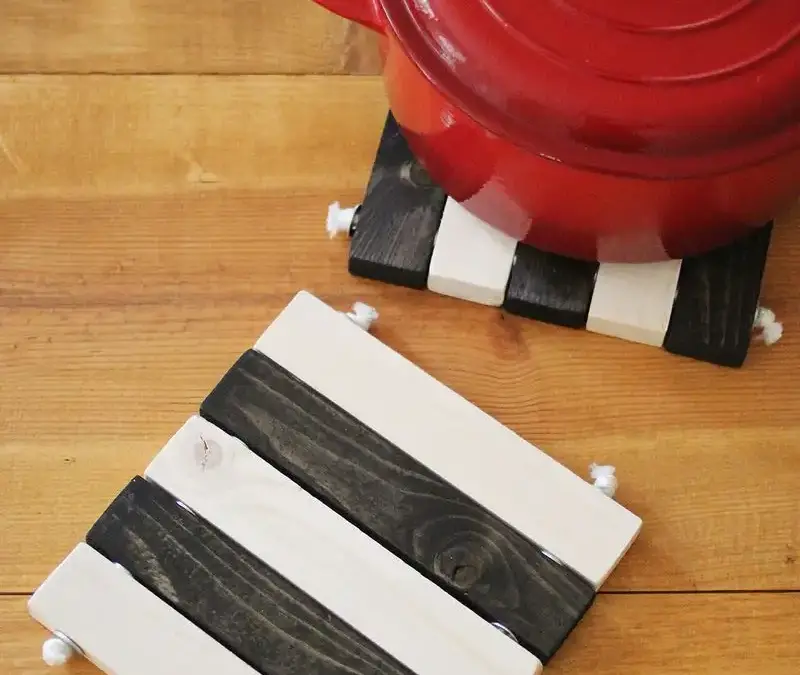
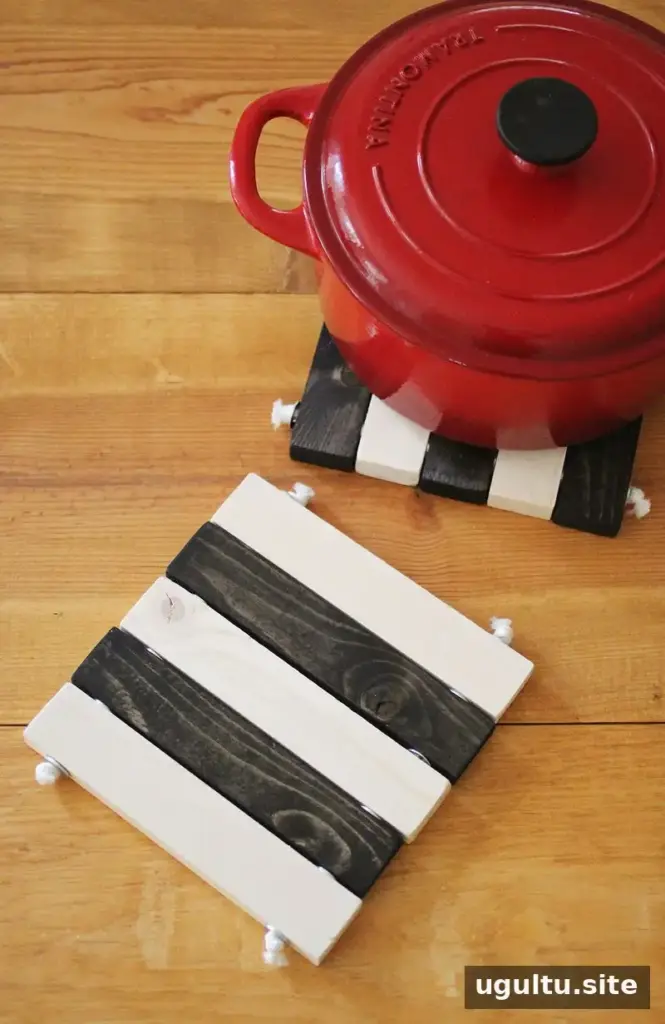
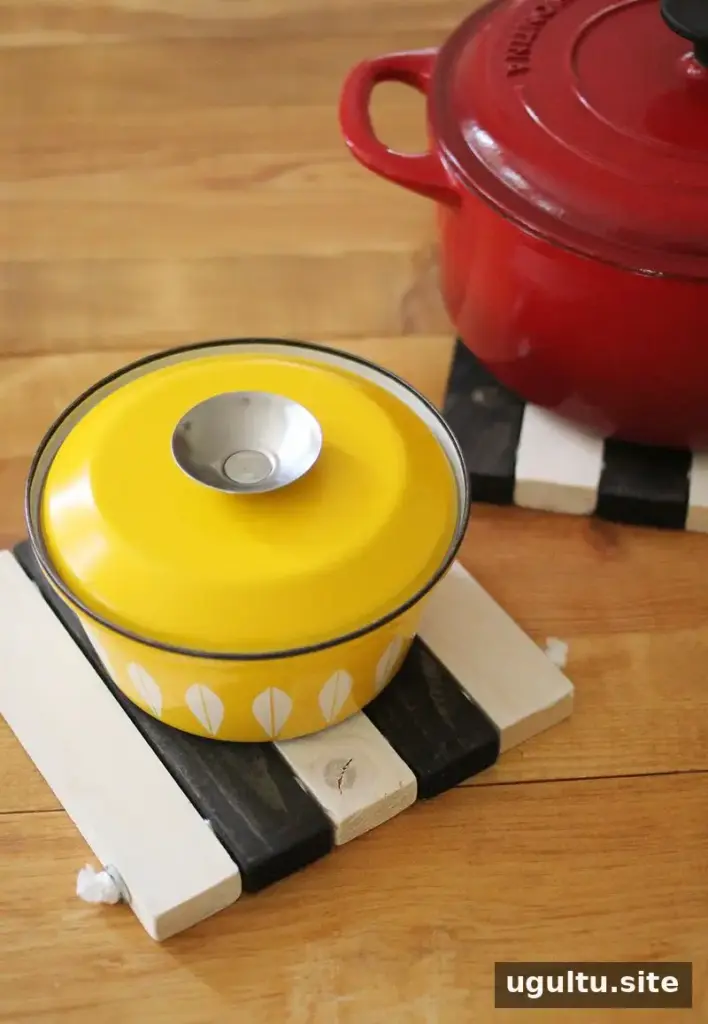
A DIY wooden trivet set is a practical woodworking project that can help protect a table or countertop from hot cookware. The design uses short wooden pieces joined with rope, creating a flexible surface that can be adjusted to suit different pots. With a few basic tools and carefully prepared wood, you can make a set in a style that fits your kitchen or dining area.
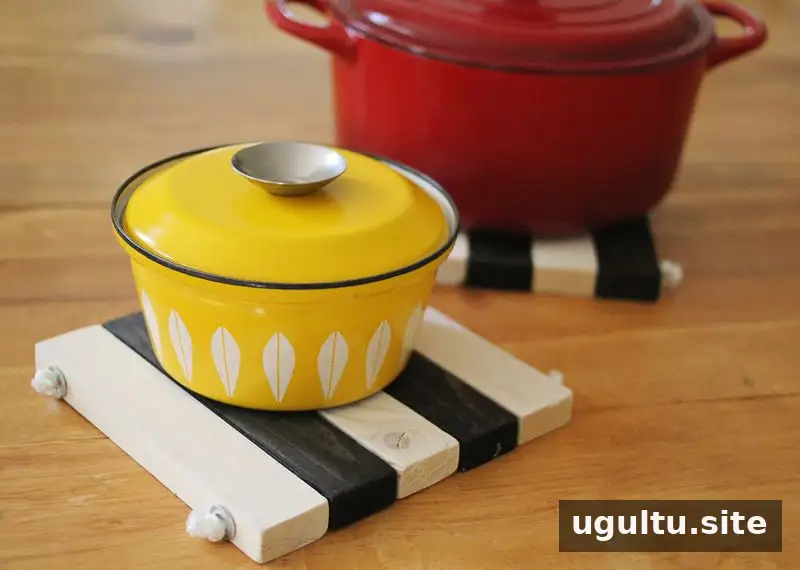
Customize Your DIY Wooden Trivet Set
The wooden pieces can be stained to complement your table, left unfinished for a natural look, or decorated with painted edges. Choosing a different rope color is another simple way to personalize the finished trivets. Before you begin, consider the size of the cookware you expect to use: the suggested wood pieces are 8 inches long, but they can be made slightly longer or shorter to suit your needs.
For a neat result, keep the pieces consistent in length and width, and sand all edges until they feel smooth. If you apply stain, follow the product directions and allow it to dry fully before assembling the trivet.
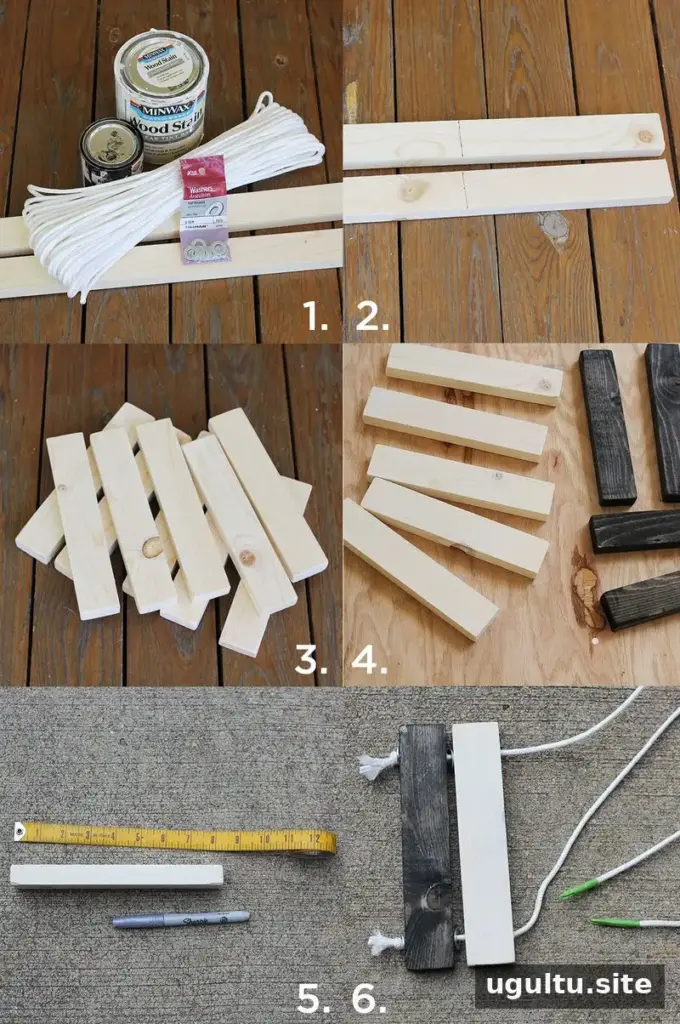
Materials and Tools
- Wood for ten pieces, each measuring 8 × 1.5 × 0.75 inches
- Rope
- 24 washers
- Wood stain
- A brush or clean rag
- Electric drill and a 1/4-inch drill bit
- Tape, such as painter’s tape
You can cut the wood yourself or ask a local lumber yard to cut it to size. Check that the pieces are smooth and evenly sized before drilling; consistent measurements make the finished set easier to assemble.
How to Make the Wooden Trivets
- Prepare the wood. Measure and cut ten pieces to 8 × 1.5 × 0.75 inches, or adjust the length slightly to fit your cookware.
- Sand the edges. Smooth each piece so there are no rough edges to catch on the rope or hands.
- Apply stain. Use a brush or clean rag to apply wood stain, then wipe away any excess. Let the pieces dry fully before continuing.
- Mark and drill the holes. Measure 1 inch in from each end of every piece and mark the drilling points. Use the 1/4-inch drill bit to make holes at the marks.
- Thread the rope. Place washers at the holes as shown in the assembly, then pass the rope through. Wrapping tape around the rope ends can make threading easier.
- Work along both sides. Thread both rope runs through each wooden piece as you go, rather than completing one side first. Tie knots at the ends to secure the assembly.
Finishing and Using Your Trivet Set
Once assembled, check that the knots are secure and the wooden pieces sit evenly. Test the trivet on a stable, heat-resistant surface before placing cookware on it. Follow the stain manufacturer’s drying and curing instructions, and avoid using the trivet until the finish is ready for normal handling.
This DIY wooden trivet set can also make a thoughtful holiday or hostess gift. Choose wood and rope colors that suit the recipient, and make sure the finished piece is clean and fully dry before wrapping it. For best results, keep the set dry between uses and inspect the rope and knots from time to time.
Project by Emma.


