
 admin
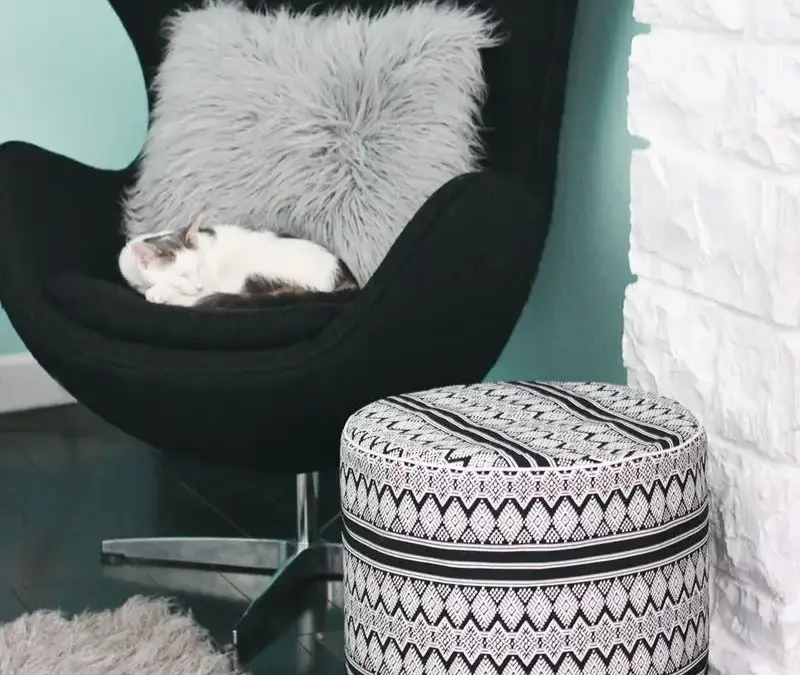
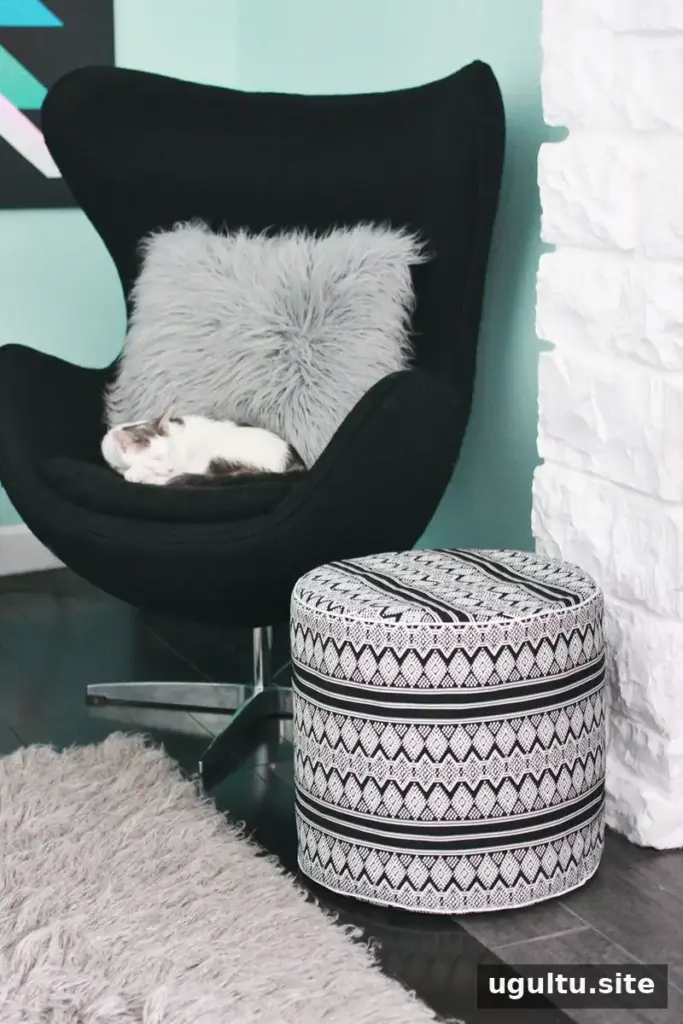
This Drum Floor Pouf DIY guide explains how to sew a round, drum-shaped seat with piped edges and a zippered base. The zipper makes it easier to refill the pouf or change its filling later. Before starting, check that your sewing machine can handle upholstery fabric and piping, and use a zipper foot for the steps that require close stitching.
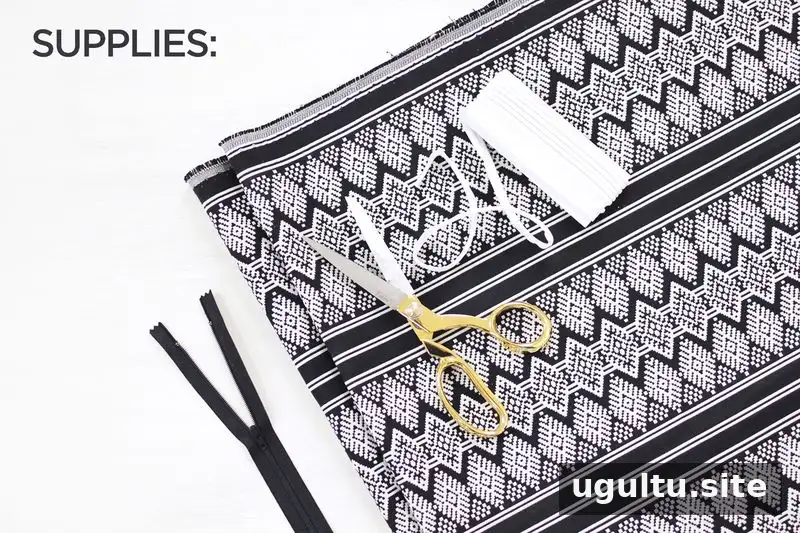
Materials for the Drum Floor Pouf DIY
Gather the following supplies before cutting the fabric:
- 2 yards of upholstery fabric
- Fabric scissors
- A 22″ zipper
- Piping trim
- Beanbag filling
- Craft paper
- An iron
Keep the fabric grain and right side in mind as you cut. Pressing seams as you sew can help the finished pouf keep a neat shape.
Cut the top and zippered bottom
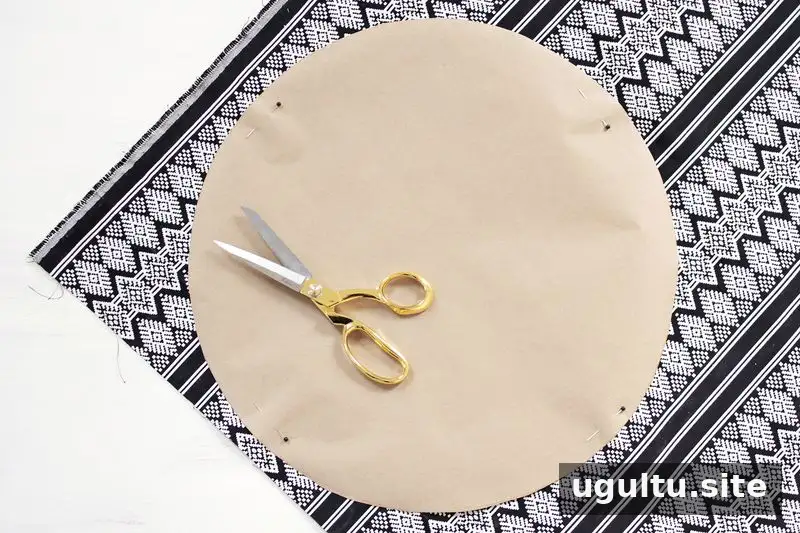
Cut an 18″ circle from craft paper to make a template. Pin it to the fabric, cut around it, and set the paper circle aside. This fabric circle will form the top of the pouf.
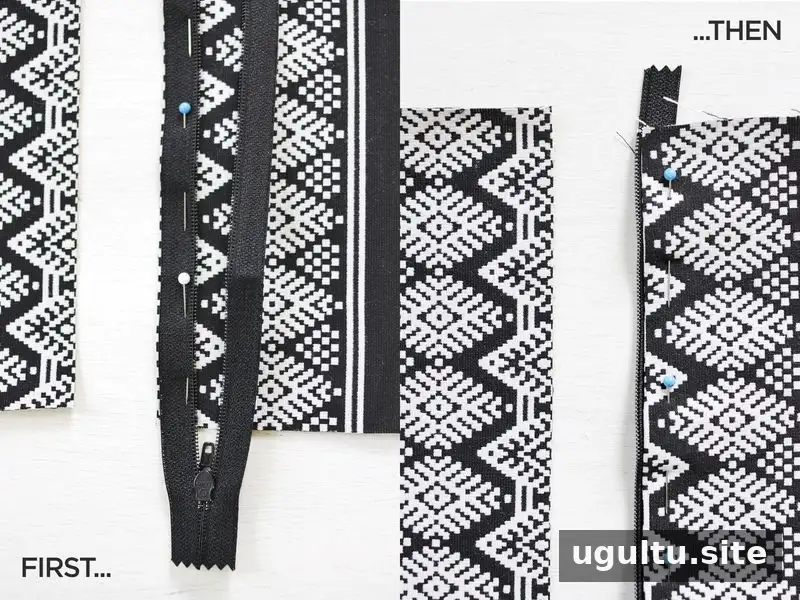
Cut a fabric rectangle measuring 18″ × 19″. With the 19″ side horizontal, cut vertically down the center to make two pieces, each measuring 9.5″ × 18″. Place the fabric right side up. Open the zipper and position it face down along the left edge of the right-hand piece, allowing its ends to extend beyond the fabric. Pin and sew it using a zipper foot.
Fold the fabric back from the zipper and press it so the teeth face outward. Pin the fold, switch to a standard foot, and stitch 1/4″ from the zipper to hold the fabric in place.
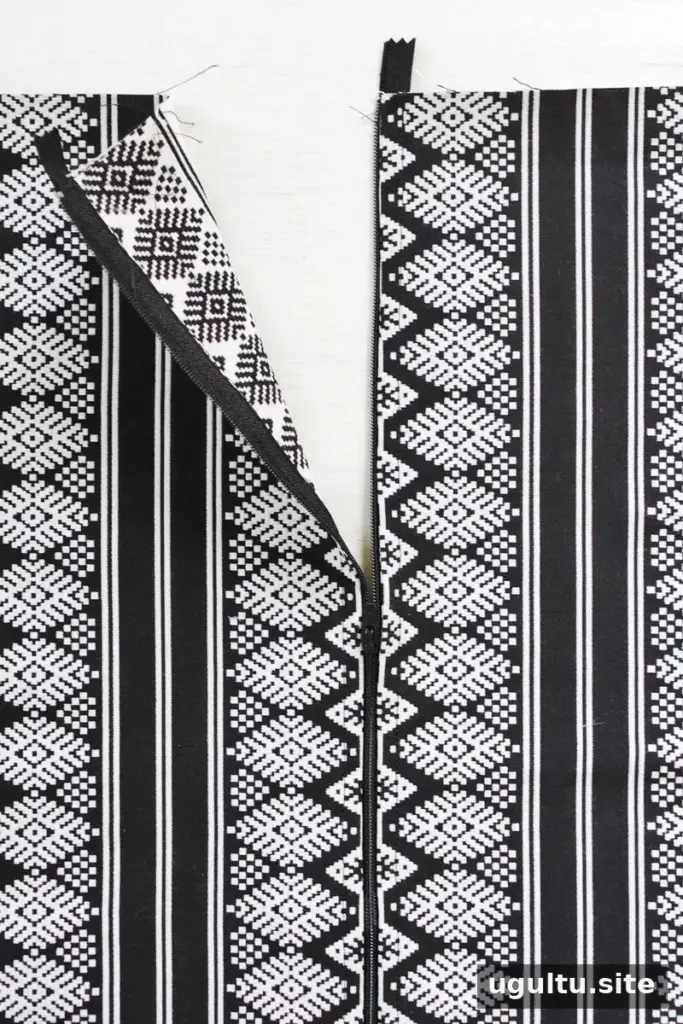
Repeat the zipper attachment on the other fabric piece. The two sections should zip together to form the panel for the base.
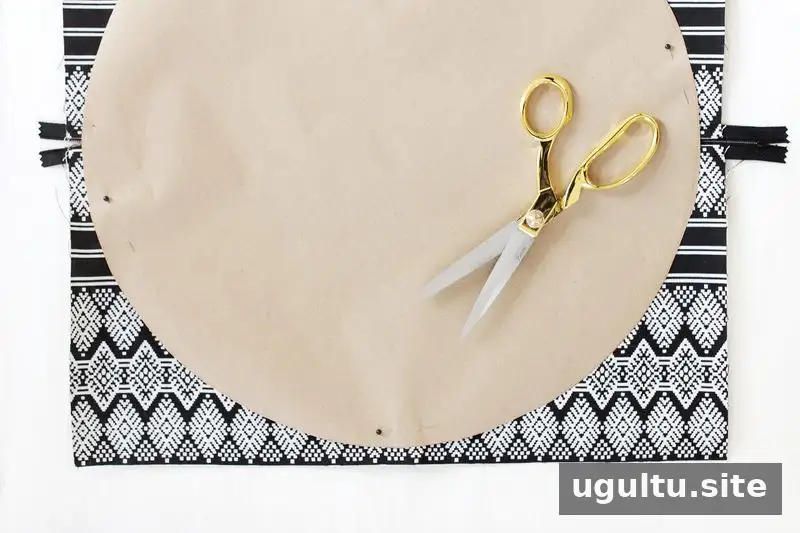
Place the paper circle over the zipped panel and cut around it to create the bottom. Position the zipper slider inside the circle’s outline before cutting so it is not accidentally trimmed off. The zipper ends will be enclosed later.
Attach piping and sew the pouf sides
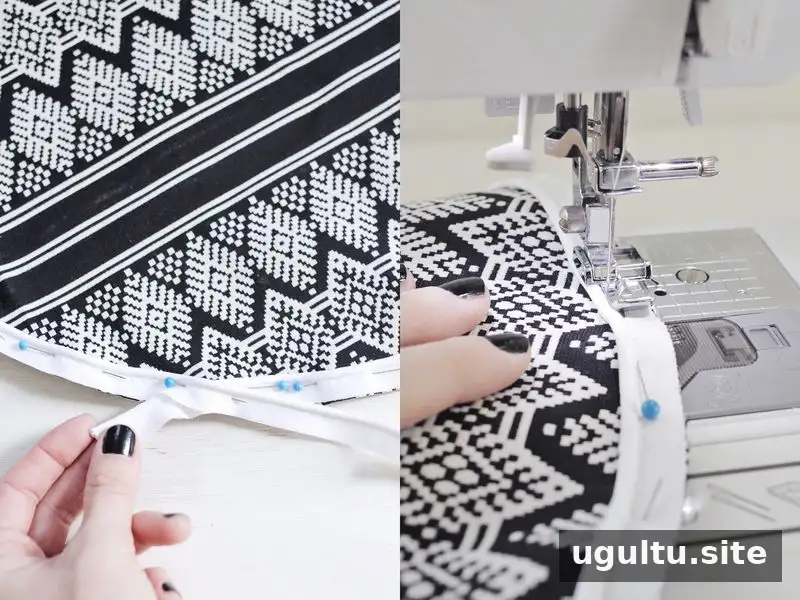
With the top circle right side up, align the piping with its edge and pin it in place. Where the piping ends meet, overlap them and leave both ends extending beyond the circle. Sew the piping with a zipper foot, then trim the excess.
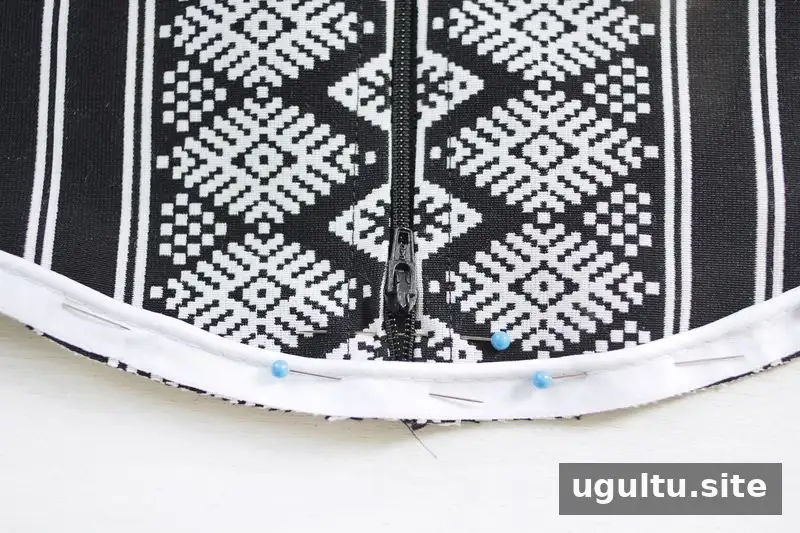
Repeat for the bottom circle. Before attaching the piping, open the zipper about 1/2″ above it and pin the zipper halves close together. This helps keep the opening accessible during assembly.
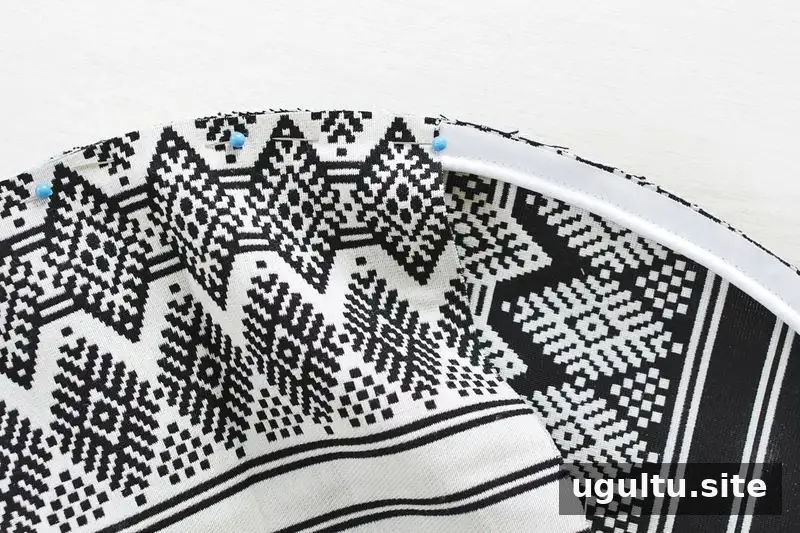
Cut a 16″ × 56″ rectangle for the pouf’s side. Pin it lengthwise around the top circle with the right sides facing each other, placing the pins just inside the piping edge.
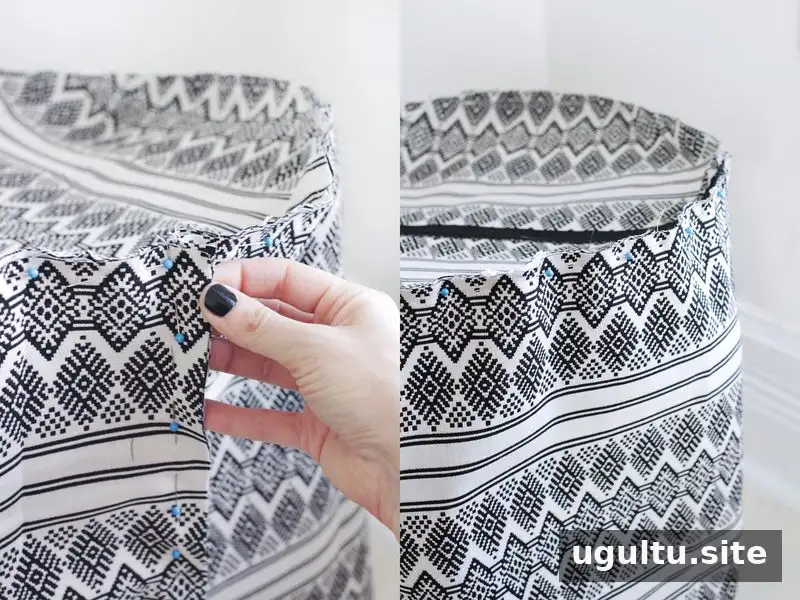
After pinning the side fabric around the circle, pin the side seam. Sew that seam first with a standard presser foot and a 1/2″ seam allowance. Then use a zipper foot to sew the side panel to the top, stitching close to the piping. Pin the side panel to the bottom circle, right sides together, and sew it in place with the zipper foot as well. Open the zipper a few inches before sewing on the bottom so it remains easy to reach when turning the pouf.
Turn, press, and fill the pouf
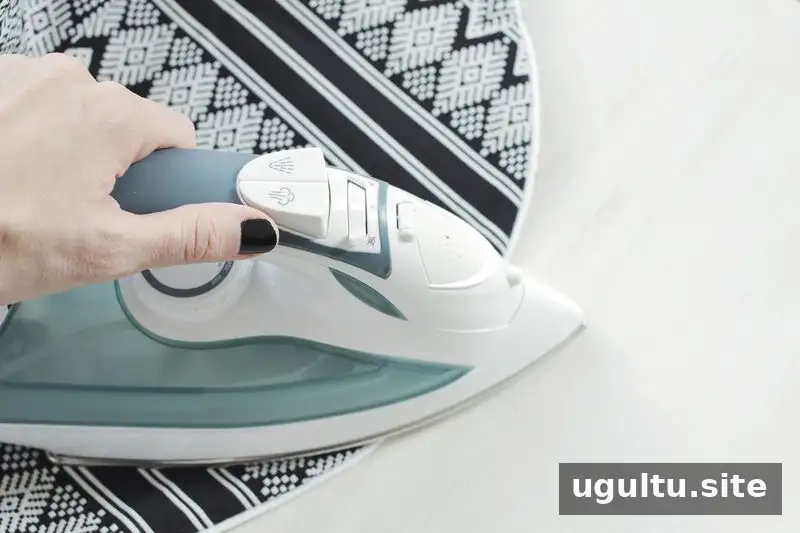
Turn the pouf right side out through the zipper opening. Press the seams near the piping with an iron, taking care to follow the fabric’s care instructions. Add beanbag filling through the zipper until the pouf reaches the firmness you prefer, then close the zipper.
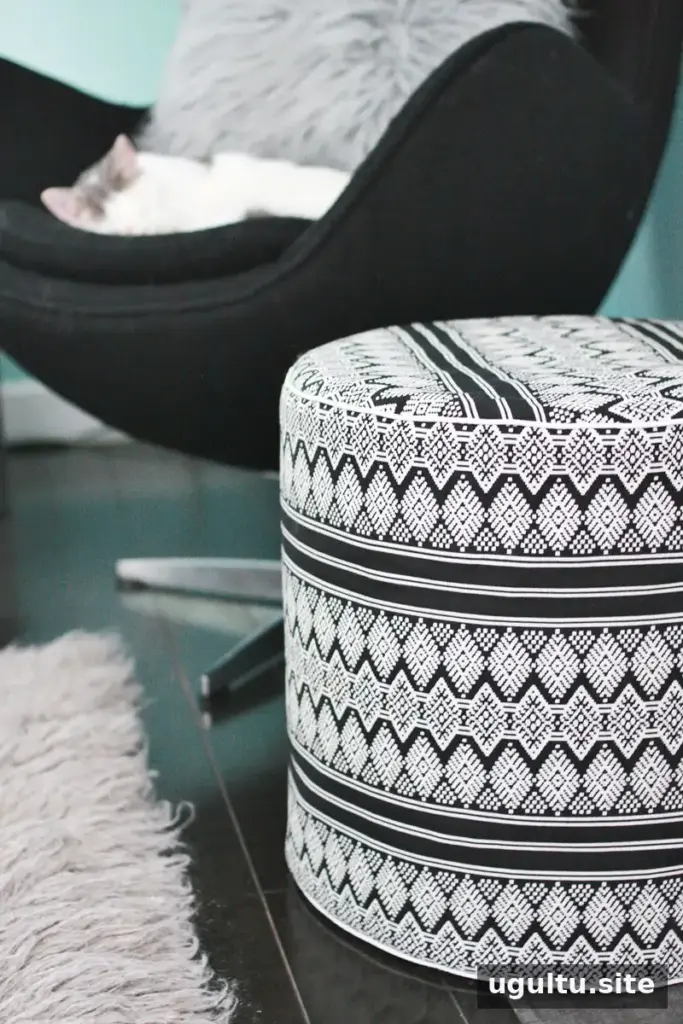
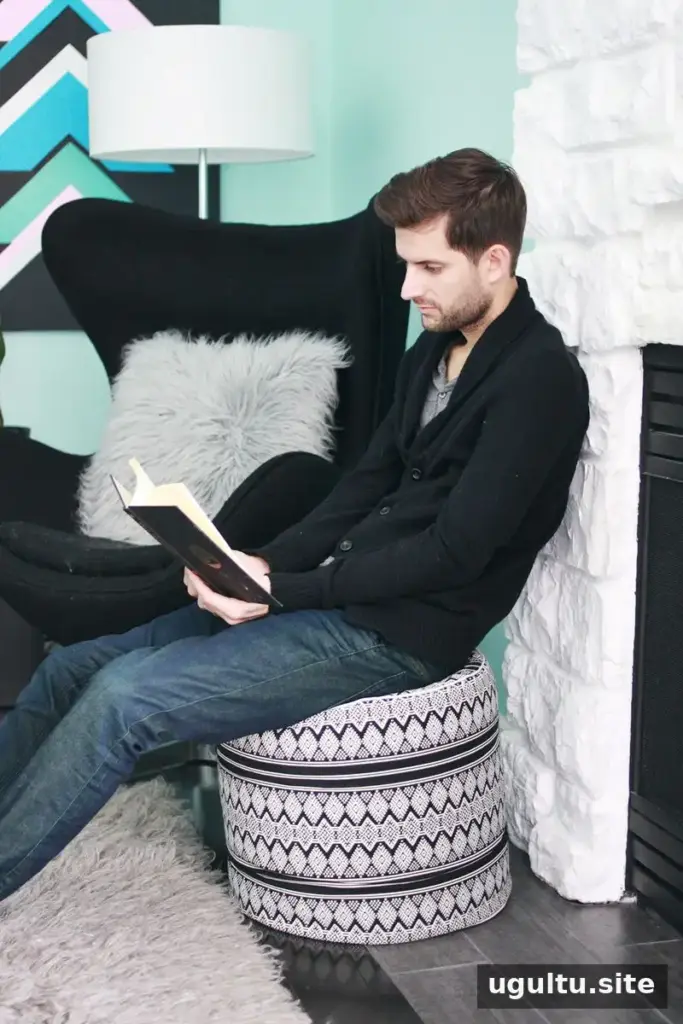
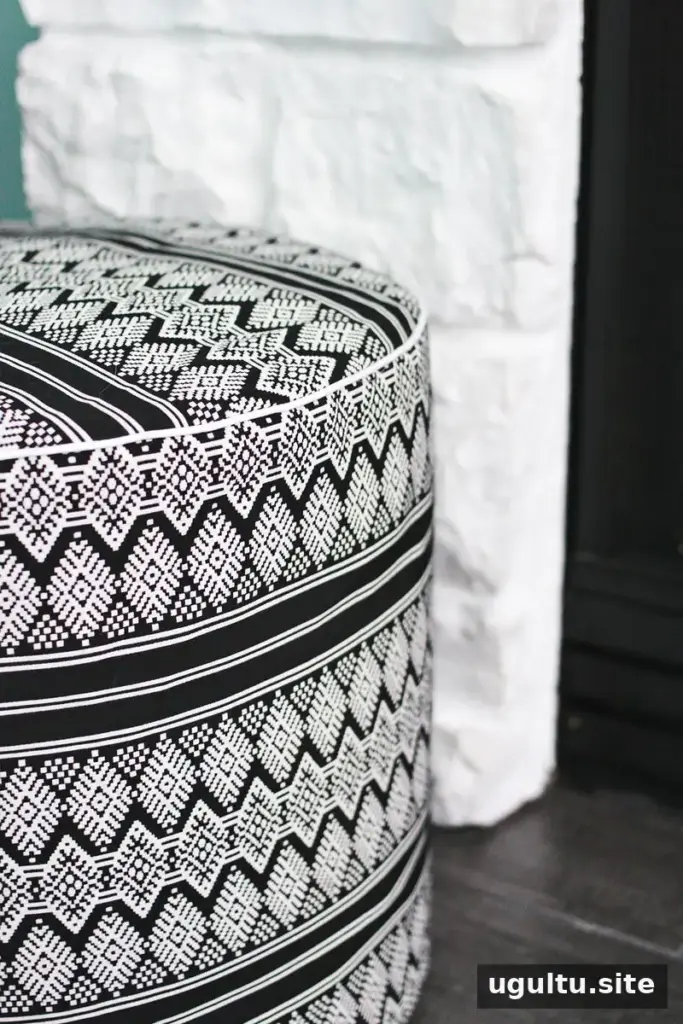
Final tips for a durable floor pouf
For a tidy finish, check that the piping sits evenly around both circles before sewing. Add filling gradually and test the seat as you go; this makes it easier to adjust the firmness. The zippered design also allows the filling to be topped up or replaced when needed.
Project instructions by Laura. A hand-stitched pouf is another option for a different DIY seating project.
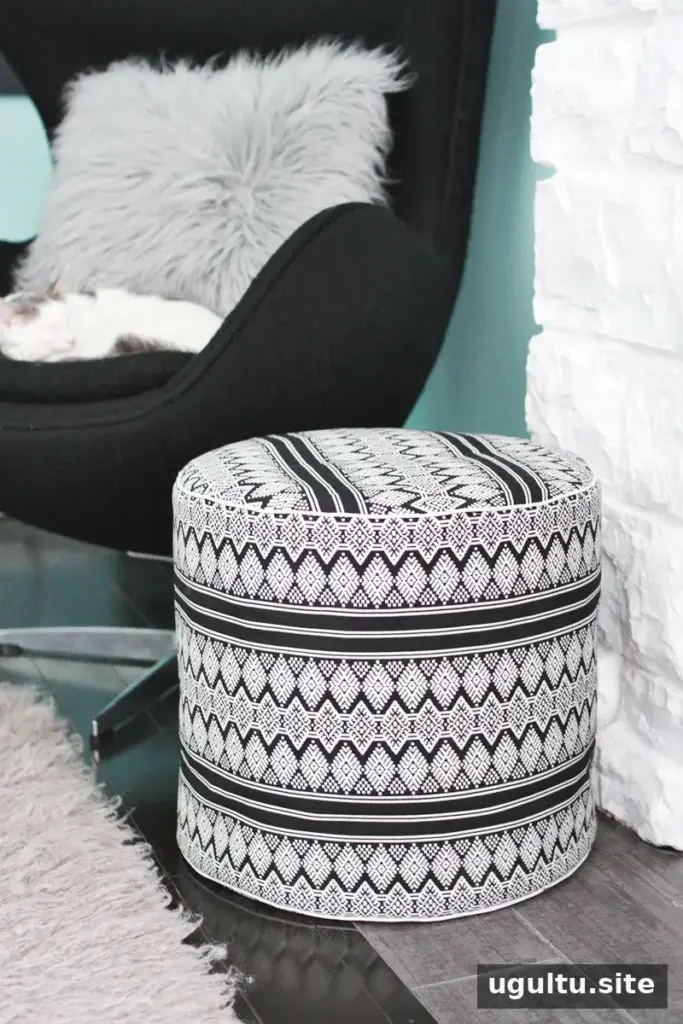
With its round shape, piped edges, and refillable base, this Drum Floor Pouf DIY creates practical extra seating for a living room or other relaxed space.


