
 admin
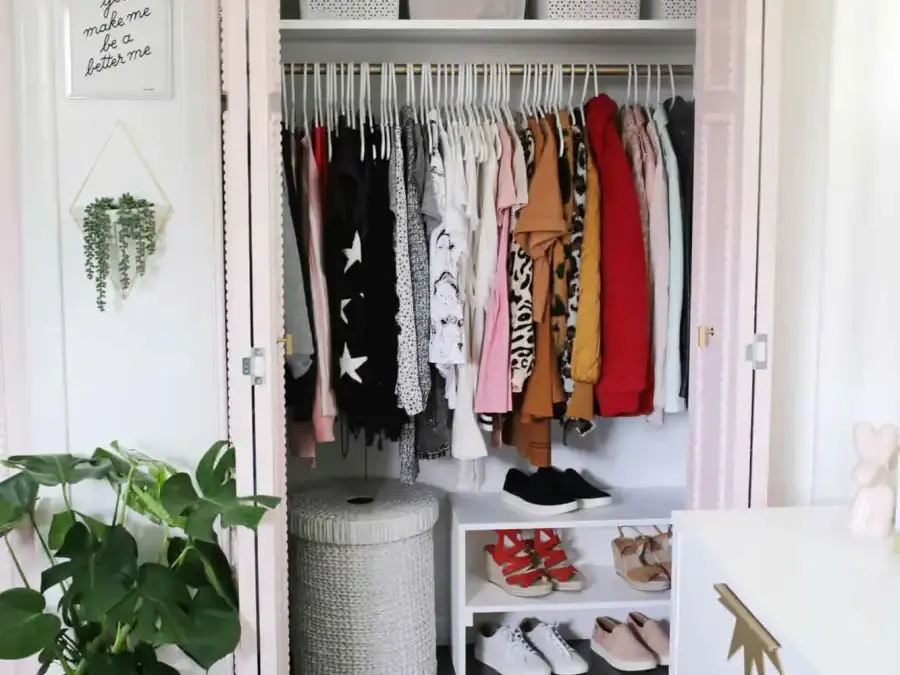
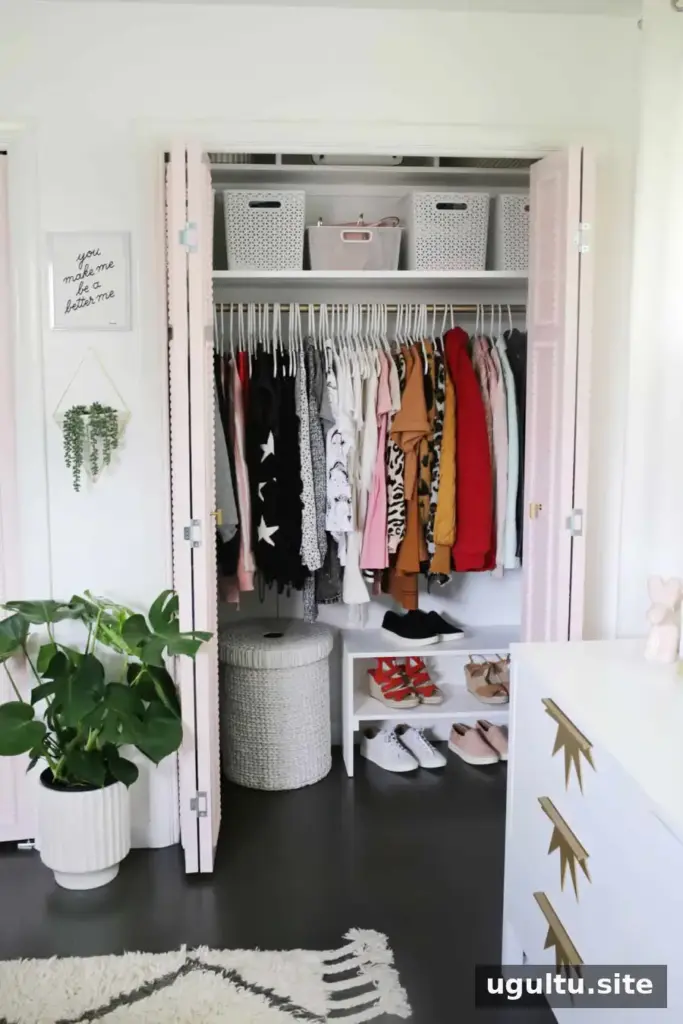
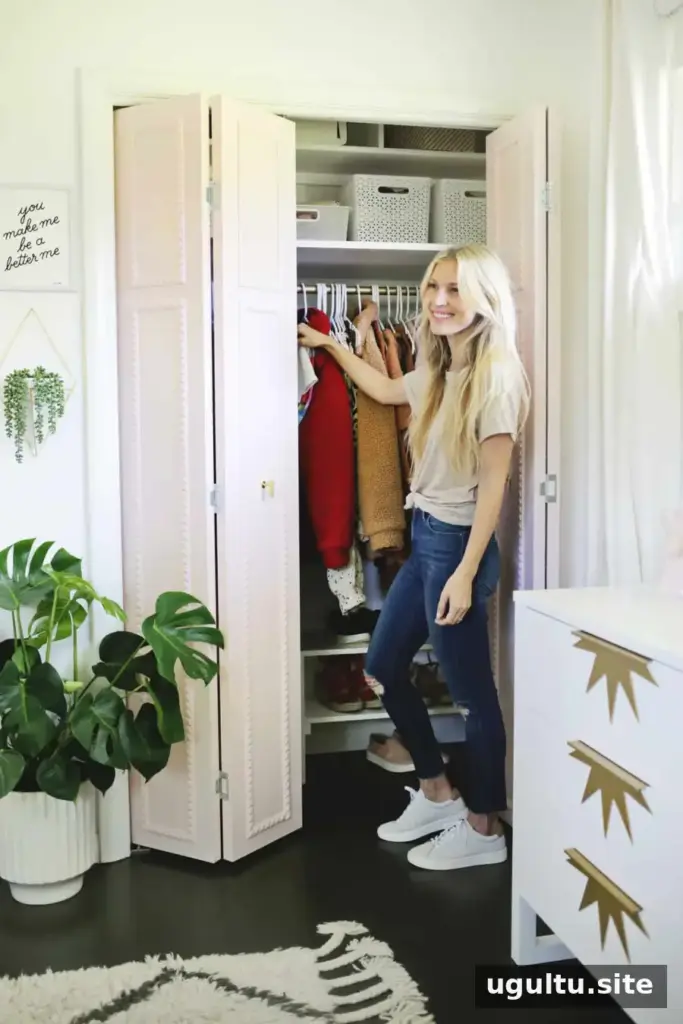
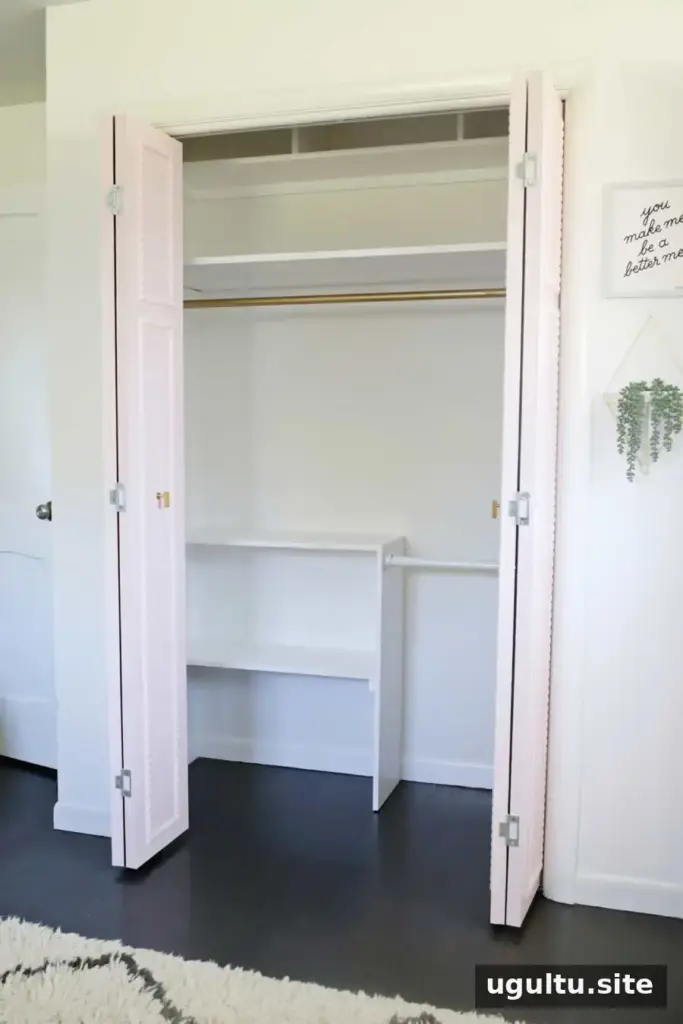
A well-planned built-in closet DIY project can turn an unstable, cluttered storage area into a more organized space with shelves and hanging rods designed around your needs. Before buying materials, consider what you store, how often you use it, and which parts of the closet would benefit most from shelves or hanging space.
This project uses support boards fixed to the walls, shelf boards placed on top, and brackets to hold closet rods. Taking measurements and sketching a simple layout first can help you avoid unnecessary cuts and make better use of the available space.
Plan your built-in closet DIY layout
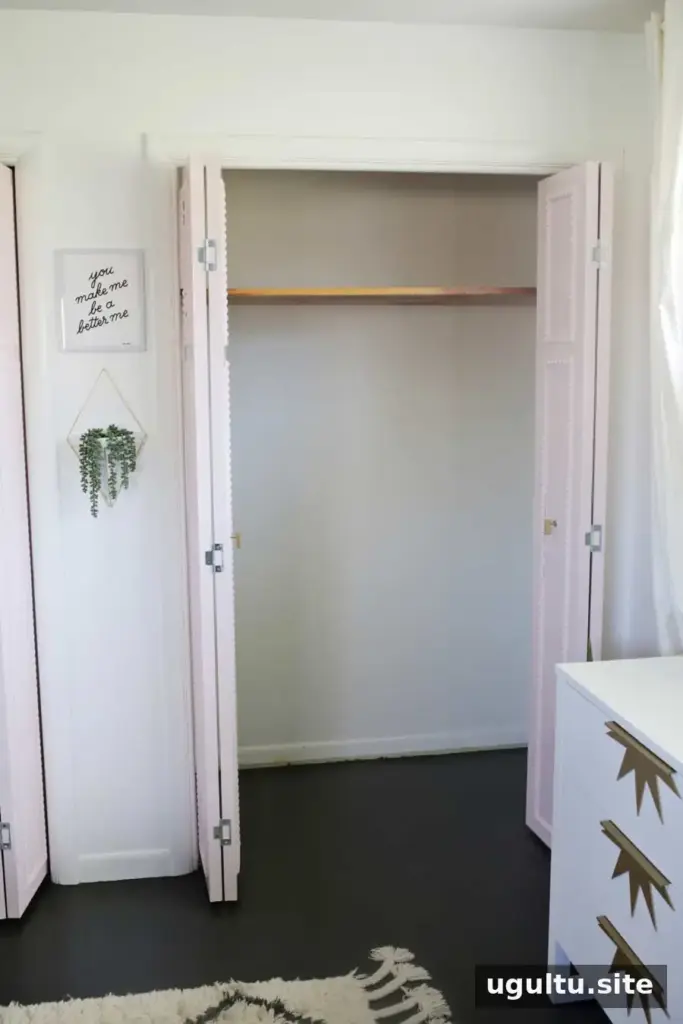
Temporary shoe racks and clip-on organizers can shift or collapse, while fixed supports provide a more permanent foundation. Start by deciding which items you want to hang, which belong on shelves, and whether you need separate areas for shoes, folded clothes, or less frequently used belongings.
Make a basic drawing of the closet and note the planned width, height, and depth of each section. Measure the available space carefully, including any baseboards, doors, or other features that could affect the fit. A simple diagram is enough to guide your cuts and installation.
Materials and tools
- 1 1/2″ x 3/4″ x 6′ support boards
- 12″ x 3/4″ x 6′ shelf boards
- Miter saw, circular saw, or jigsaw
- Drill, level, and stud finder
- Screws and drywall anchors
- Semi-gloss paint, paint brushes, and roller
- Metal spray paint
- Latex caulk
- Closet rod and brackets; rods are available in different sizes or can be cut to length with a hacksaw
Check your measurements and the condition of the wall before cutting or fastening anything. Wear appropriate eye and hearing protection when using power tools, and follow the tool manufacturer’s instructions.
Install the shelf supports
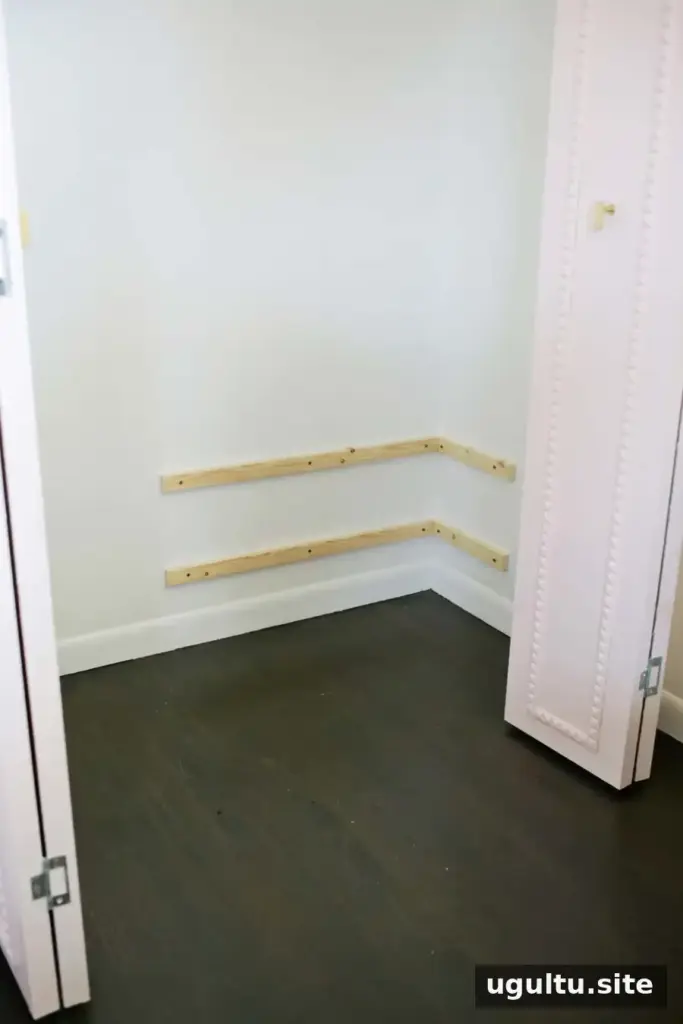
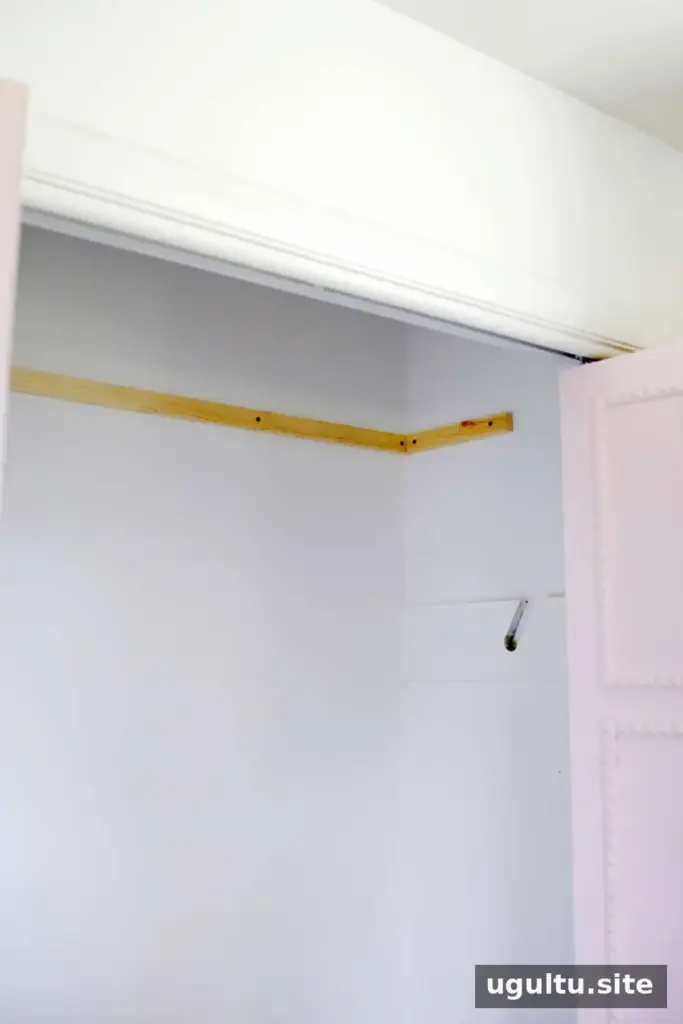
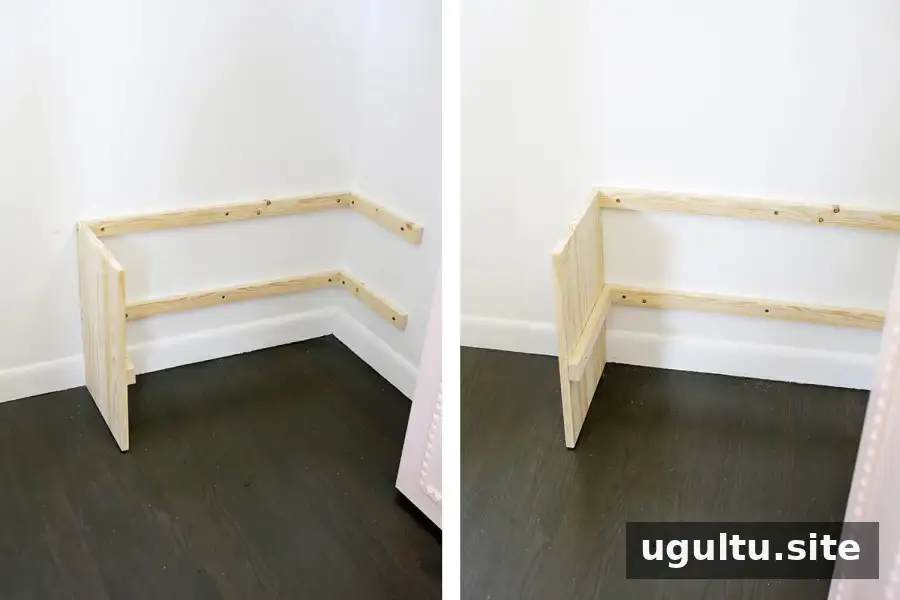
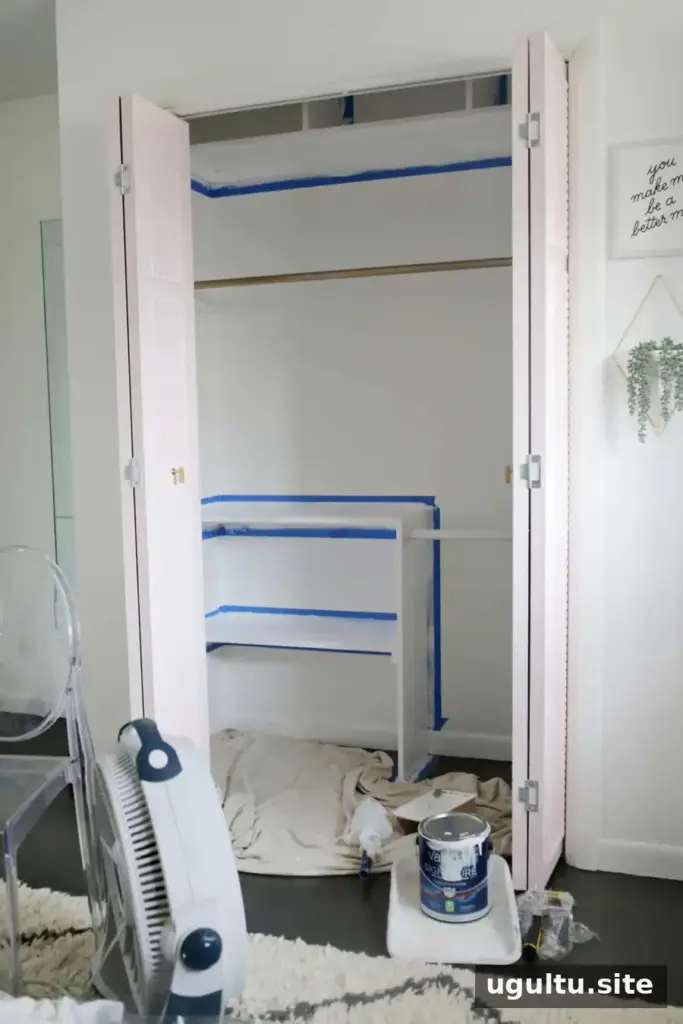
Measure the planned shelf areas, then cut the 1 1/2″ x 3/4″ x 6′ support boards to fit. For each shelf, arrange supports along three sides so the shelf board can rest on them.
Use a stud finder to locate and mark the wall studs. Attach the support boards level, fastening into studs wherever possible. If a fastening point does not line up with a stud, use a suitable drywall anchor rated for the intended load. Heavy items should be supported by secure fixings rather than relying on an unrated anchor.
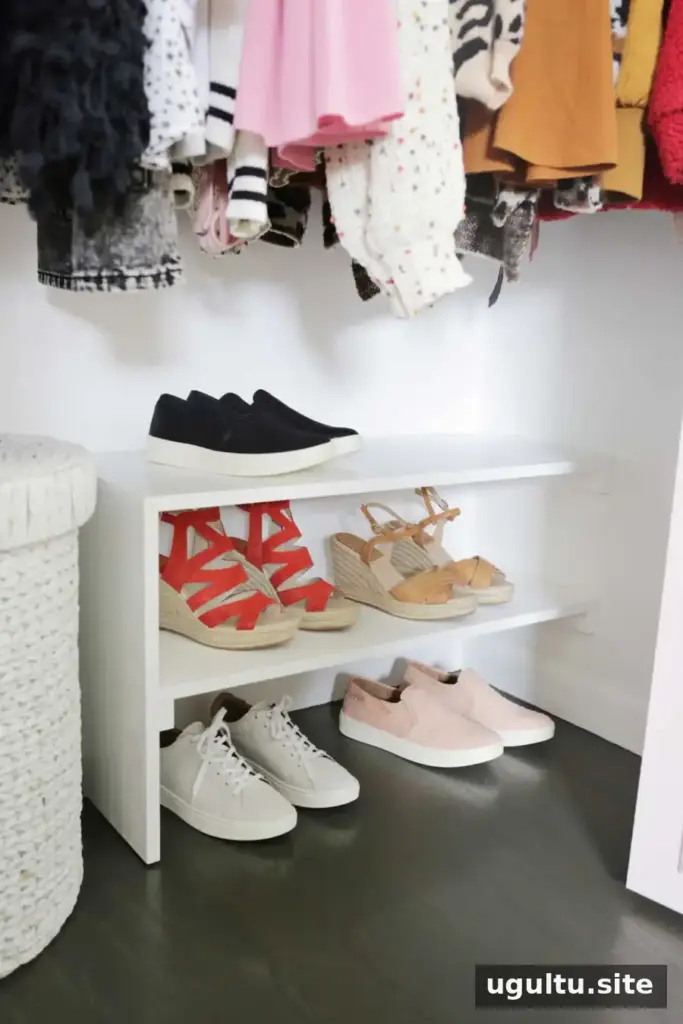
Pre-drill holes in the support boards, especially near their ends, to reduce the chance of splitting. Add supports where they will be useful—for example, a lower double shelf for shoes or a high shelf for items you use less often.
Fit and secure the shelves
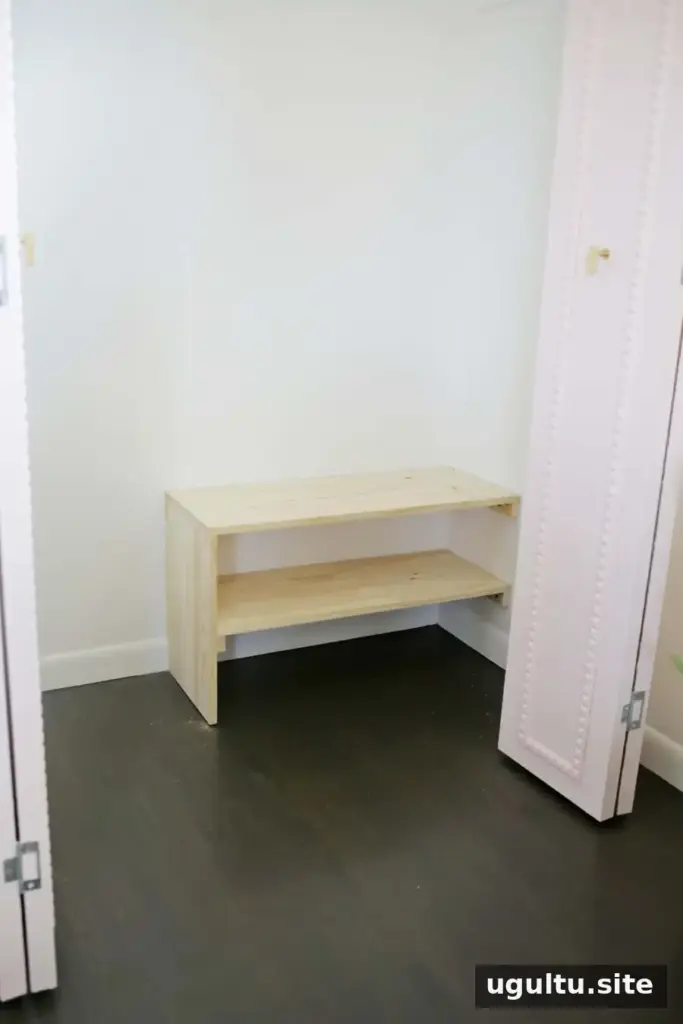
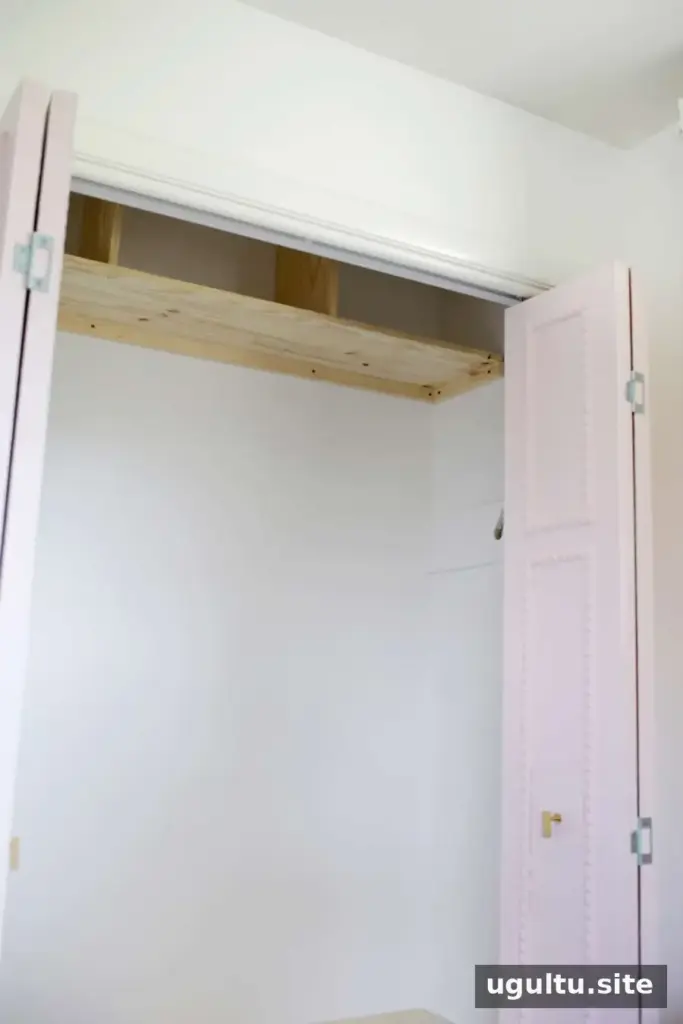
Cut the 12″ x 3/4″ x 6′ shelf boards to the required lengths and place them on the supports. If a shelf needs support at a vertical side board as well as at the wall, attach a support board to that side so the shelf has a stable resting point.
To fasten a top or middle shelf to its supports, pre-drill holes and drive four screws through the shelf into the supports at each end. If you want adjustable storage, you can leave some middle shelves unattached and add supports at different heights. Make sure any removable shelf sits securely and cannot shift during normal use.
Make floor-level shelves fit around baseboards
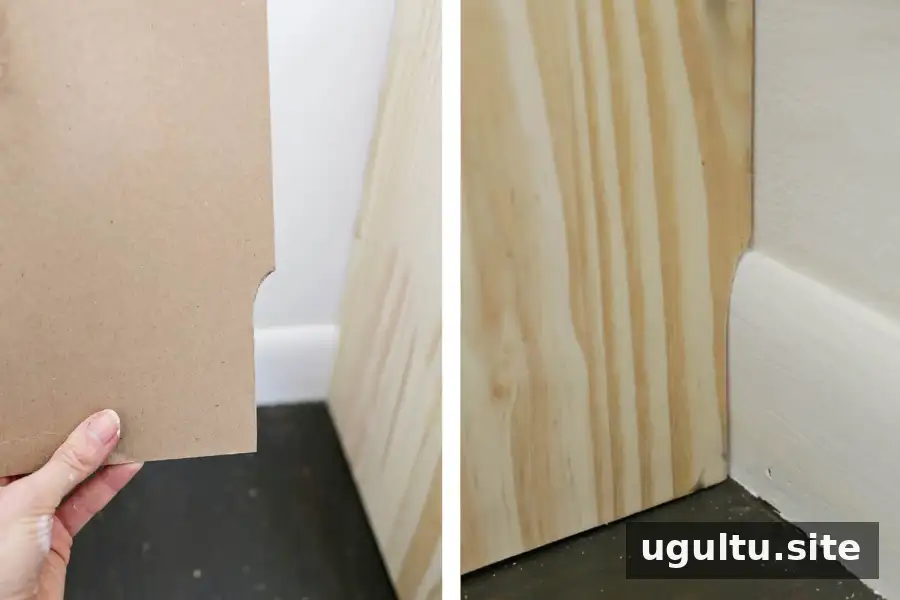
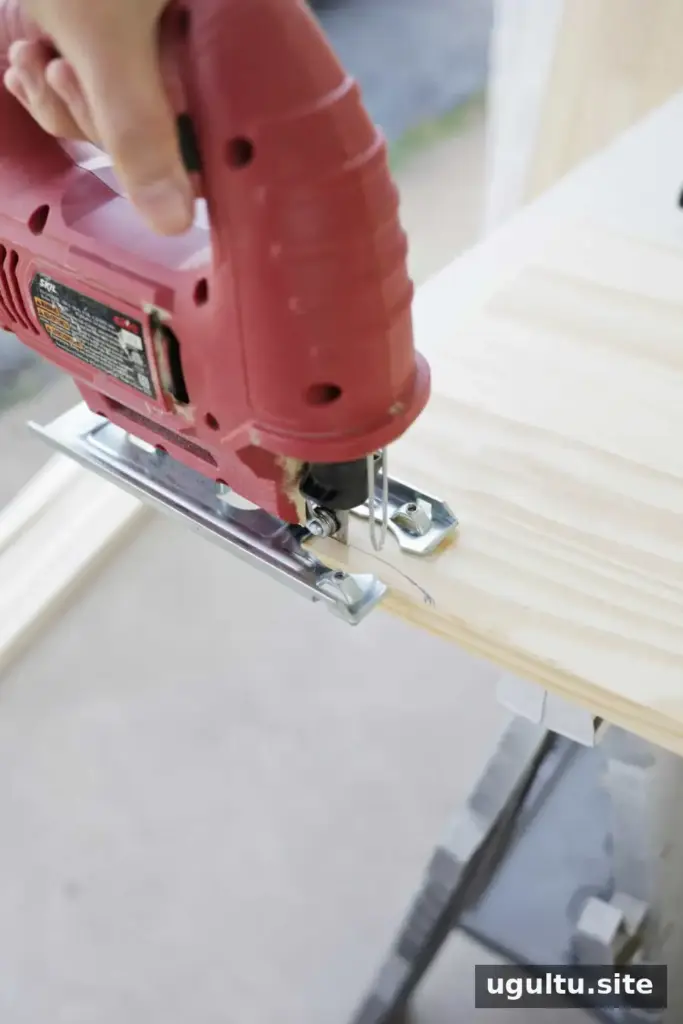
A side board placed against the floor and wall may need an adjustment to clear the baseboard. One option is to remove and reinstall the baseboard; another is to cut a notch in the board with a jigsaw. Trace the shape using a pencil or a cardboard template, then test the fit before making the final cut. Work gradually so you remove only the material needed for a close fit.
Add dividers to a high shelf
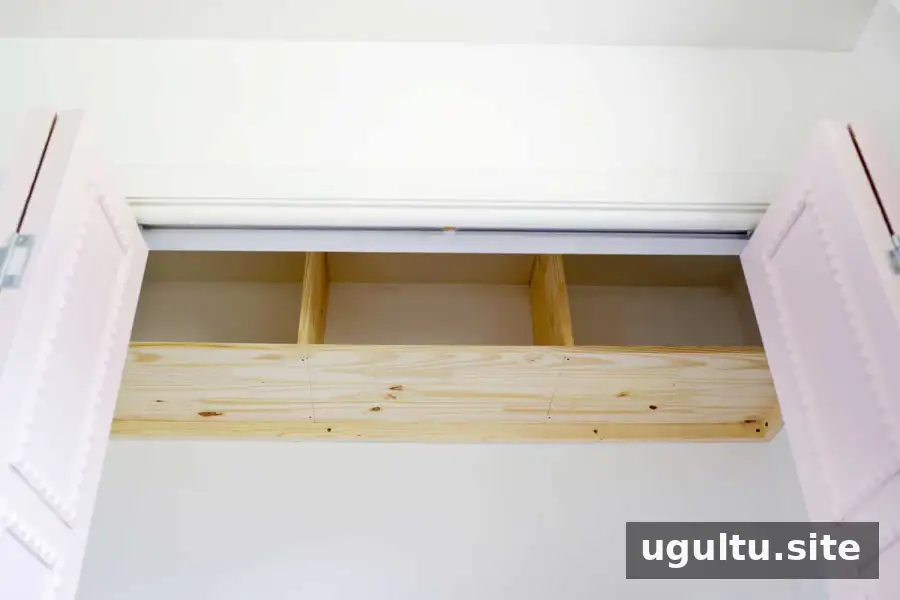
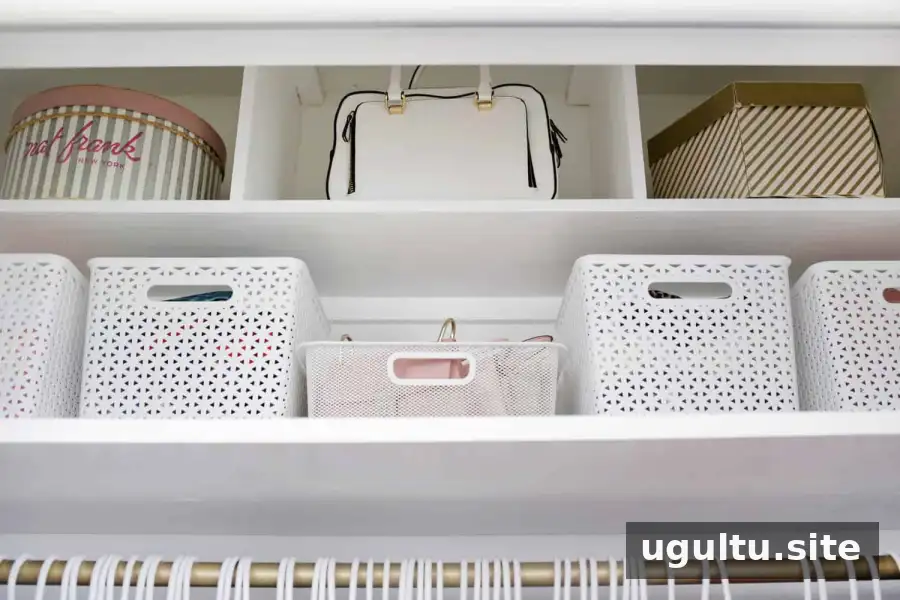
To create separate storage sections, cut divider pieces from the same shelf-board material and fit them between the long shelf and the closet ceiling. Mark the divider positions on the underside of the shelf and screw the pieces into place from below. For heavier items or dividers that may be pushed from the side, add suitable support so they are secured to an anchored board.
Install closet rods
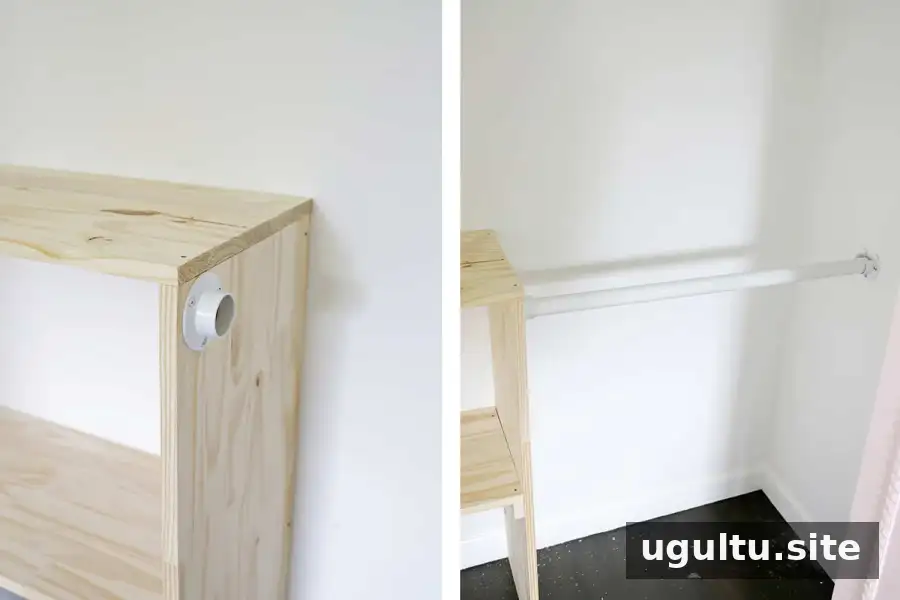
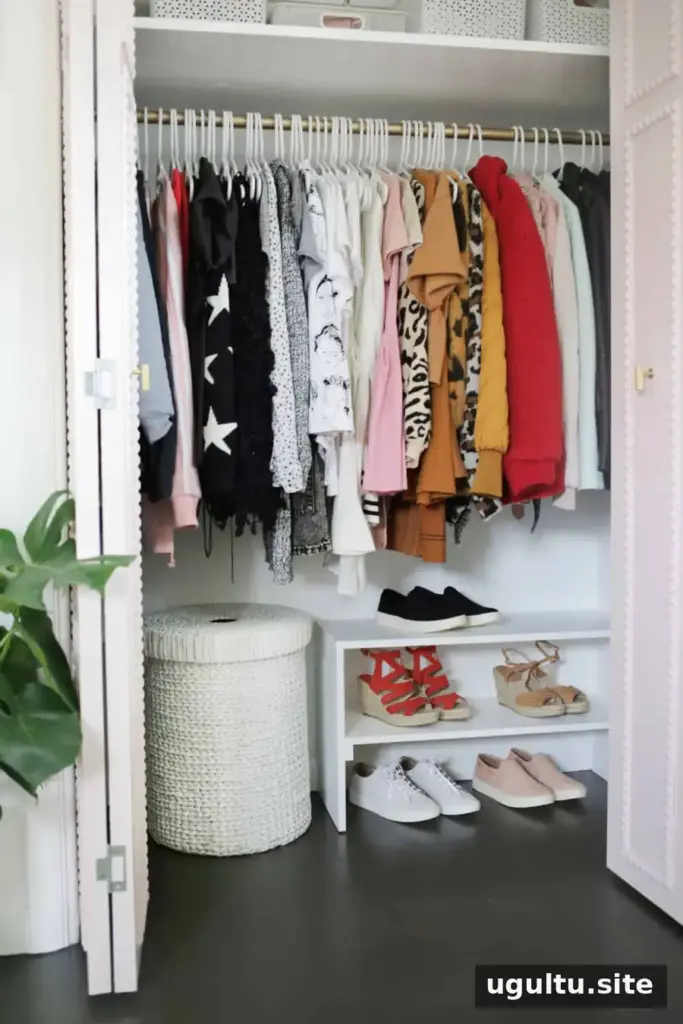
A rod can be fitted beneath a shelf using brackets mounted on either side of the opening. Measure the distance between the brackets, then extend or cut the rod to the required length. A hacksaw can be used to shorten a rod when needed. Check that the brackets are level and firmly attached before hanging clothes.
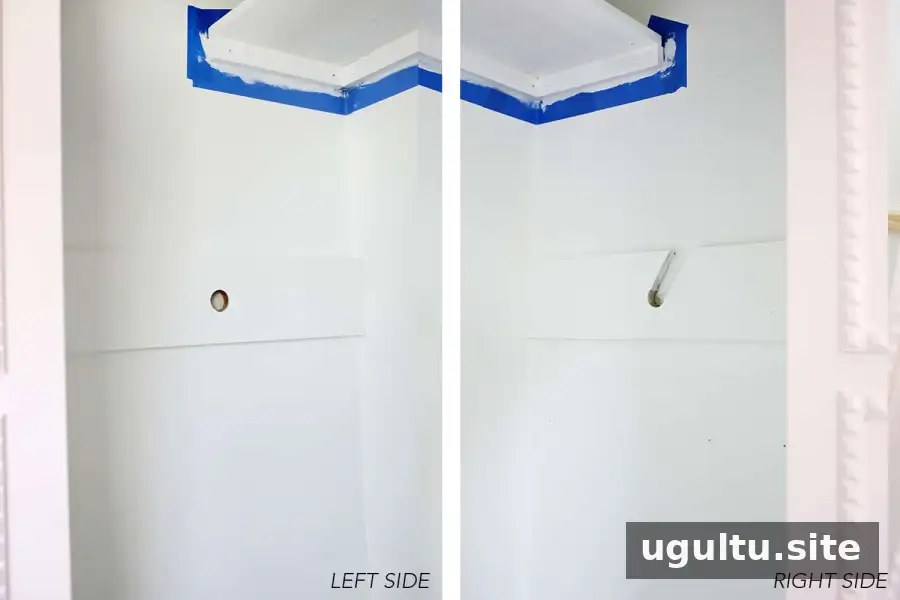
Some closet designs support a rod through openings cut into the side boards. If using this approach, plan the openings before installing the shelves and make sure the surrounding boards remain strong enough for the intended load. A lower rod can be useful for folded jeans on hangers or tall boots on boot hangers.
Paint, caulk, and allow time to cure
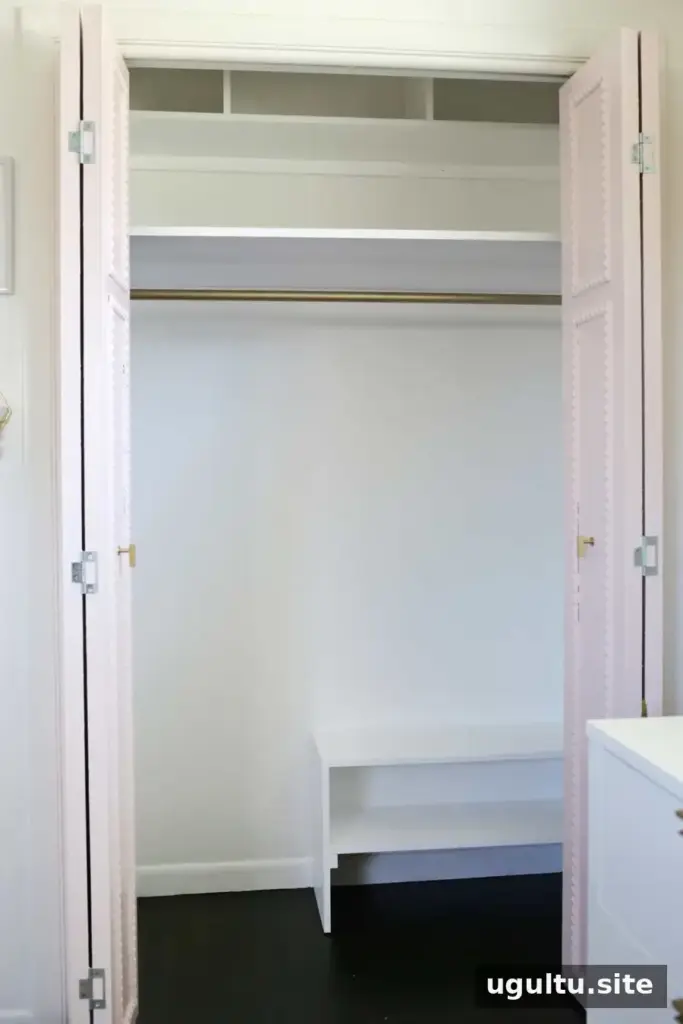
Apply a few coats of semi-gloss paint to the completed woodwork. Use latex caulk to fill small gaps between boards or where the boards meet the wall; this helps create a neater, more finished appearance. If reusing an existing metal closet rod, a fresh coat of metal spray paint can update its finish.
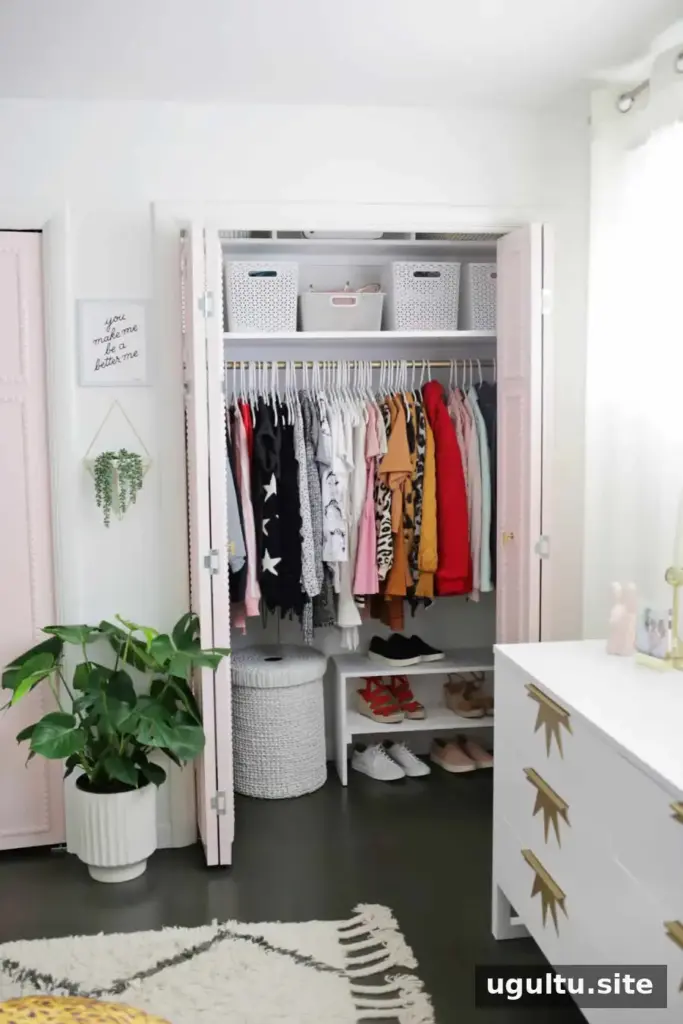
Allow the finish to cure for at least 2–3 days before putting items back into the closet. Follow the paint and caulk product labels, since drying and curing times can vary. Waiting helps reduce the chance of marks or paint lifting as clothes and storage bins are moved into place.
Final tips for a built-in closet DIY
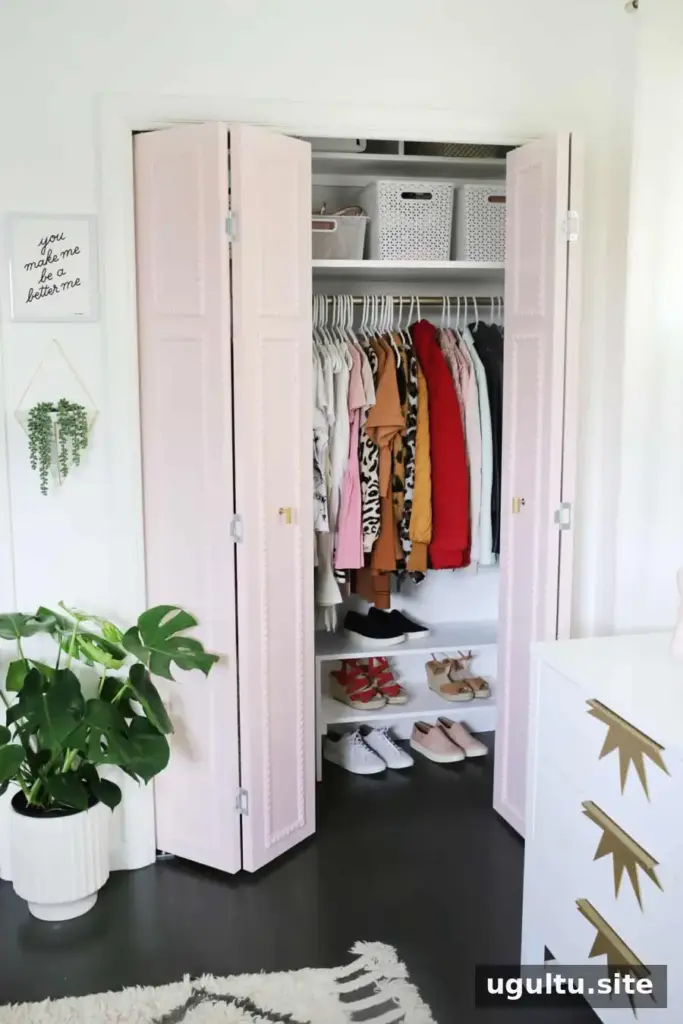
A built-in closet DIY can make everyday storage easier by giving frequently used items a clear place and reserving high shelves for belongings you need less often. Before loading the finished closet, check that shelves are level, supports are secure, and rods and brackets do not move under a light test load. Adjust the layout to suit the items you actually store, and keep heavy belongings on properly supported shelves.
Project notes by Laura.


