
 admin
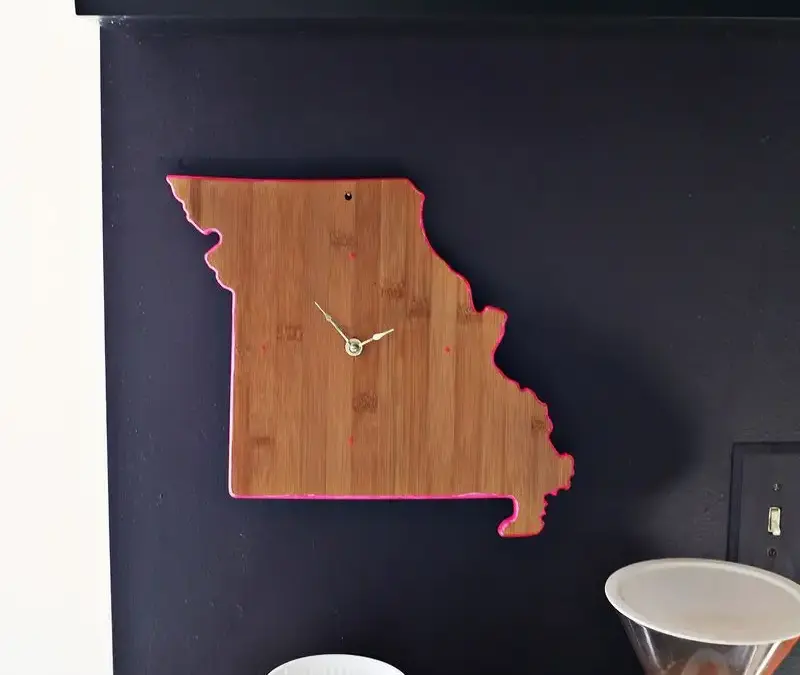
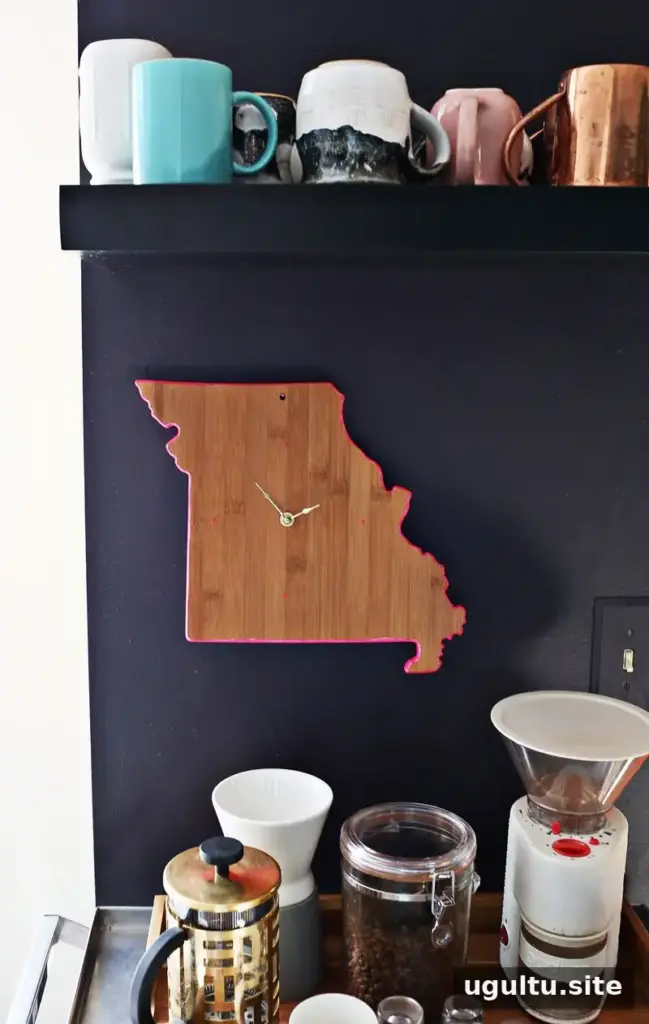
A DIY cutting board clock is a simple way to turn a small, decorative board into distinctive wall art. A state-shaped Missouri cutting board inspired this project: it was smaller than expected for food preparation, but its outline made an eye-catching feature for a wall. Choose a board with a shape you like, and check its size and thickness before buying clock hardware.
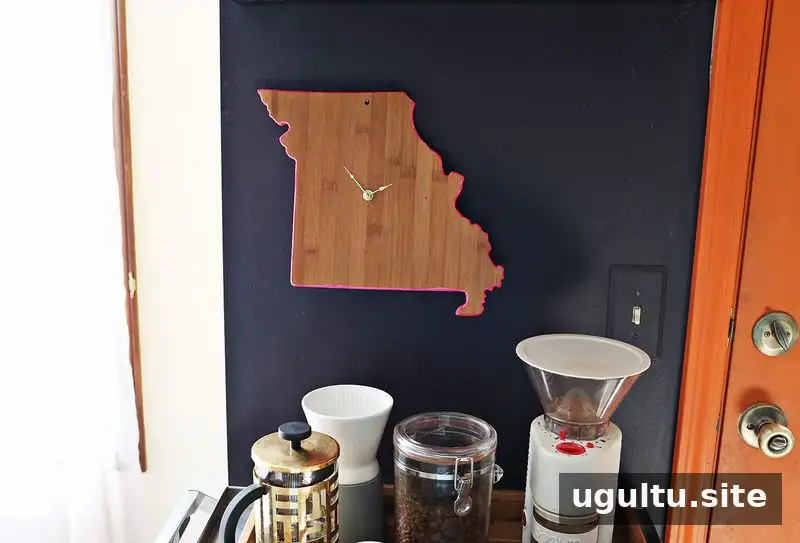
The finished clock was planned for a coffee-cart area, but it can suit a kitchen, office, or other space where a playful accent fits. A set of boards representing different states could also make a themed display; if using several clocks, you could set them to different time zones.
DIY Cutting Board Clock Supplies
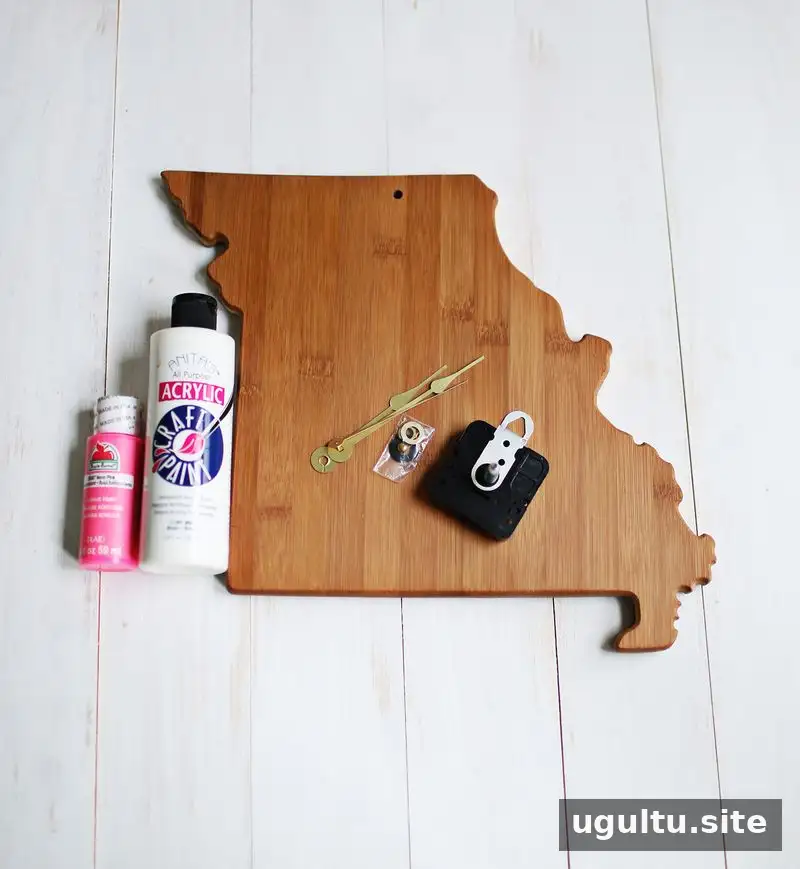
Gather the materials before starting so you can check that the clock mechanism fits the board:
- A state-shaped cutting board
- Paint and paintbrushes
- Clock hardware, available at many craft stores
- A power drill and a drill bit sized for the clock kit
The original project used a 5/16-inch drill bit for its particular clock hardware. Clock kits vary, so use the instructions for your own mechanism to confirm the required hole size and shaft length.
Tip: Before painting or drilling, decide how the board will hang and where the clock hands should sit. This helps you choose a balanced position for the mechanism.
Paint the Cutting Board
Paint any area you want to highlight. In this project, only the edges were painted pink. Neon colors often look brighter over a white base coat, so apply white primer first if you want a vivid finish. Let each coat dry according to the paint instructions before handling the board.
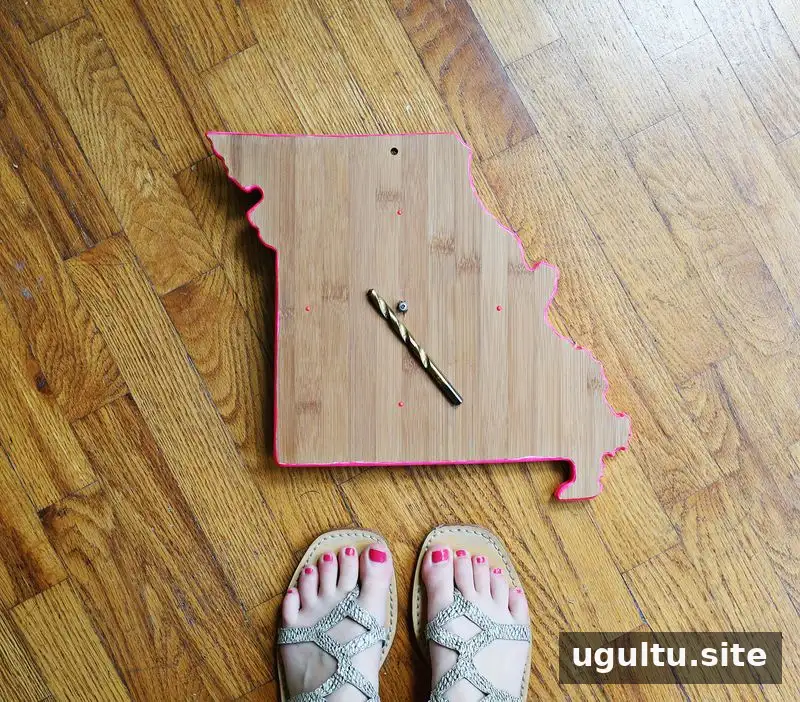
Protect your work surface while painting, and keep paint away from any area that will be used for food preparation. Once a cutting board is drilled or painted for decor, use it as a display piece rather than for preparing food.
Drill the Hole and Install the Clock Hardware
Measure to find the center of the board, then mark the spot for the clock shaft. State outlines are irregular, so check the position visually as well as by measurement. Secure the board before drilling and follow basic drill safety, including keeping hands clear of the bit.
If you are unsure which drill bit size your kit needs, start with a smaller bit and enlarge the hole gradually, checking the fit as you go. A hole that is too small can be widened, while one that is too large may not hold the mechanism securely.
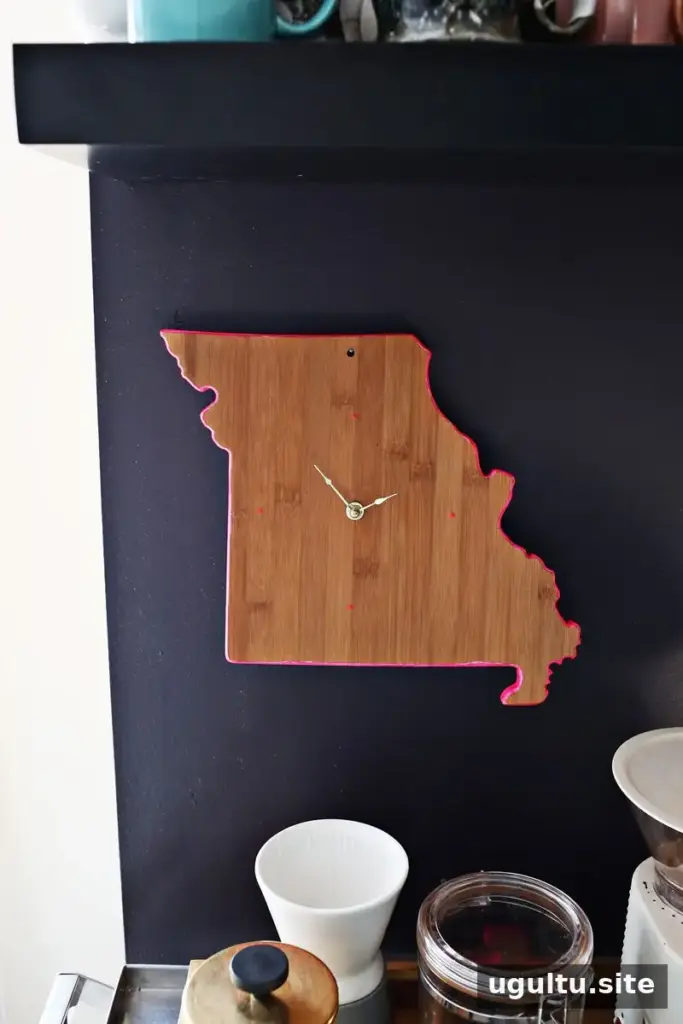
Fit the clock hardware according to its instructions and make sure the hands have room to move without touching the board. The original cutting board had a pre-cut hole near the top, offering a choice of hanging it from that hole or using the hanger built into the clock hardware. Check that your chosen hanging method supports the finished clock securely.
Display Your DIY Cutting Board Clock
Once the mechanism is installed, add a battery if required by your clock kit and check that the hands move freely. Hang the clock in a visible spot and enjoy the painted edge and distinctive state shape. This straightforward DIY cutting board clock can also be adapted with different board shapes and paint colors. — Emma


