
 admin
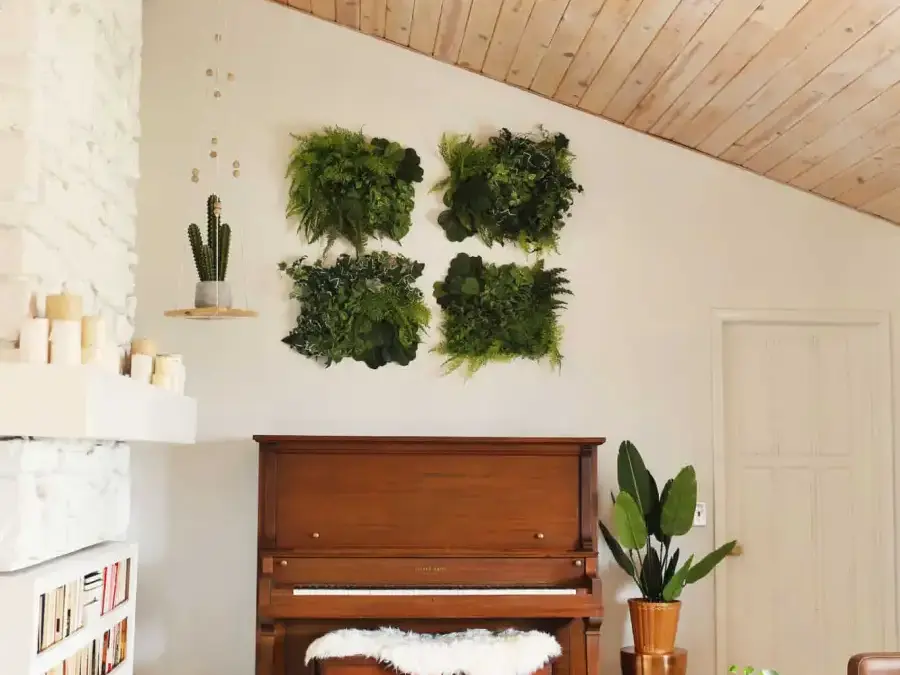
DIY living wall art is a simple way to add greenery to a room without the upkeep of live plants. Using artificial foliage and stretched canvas, you can create lightweight panels in a size and color scheme that suits your space. Make a single piece or arrange several panels together for a larger display.
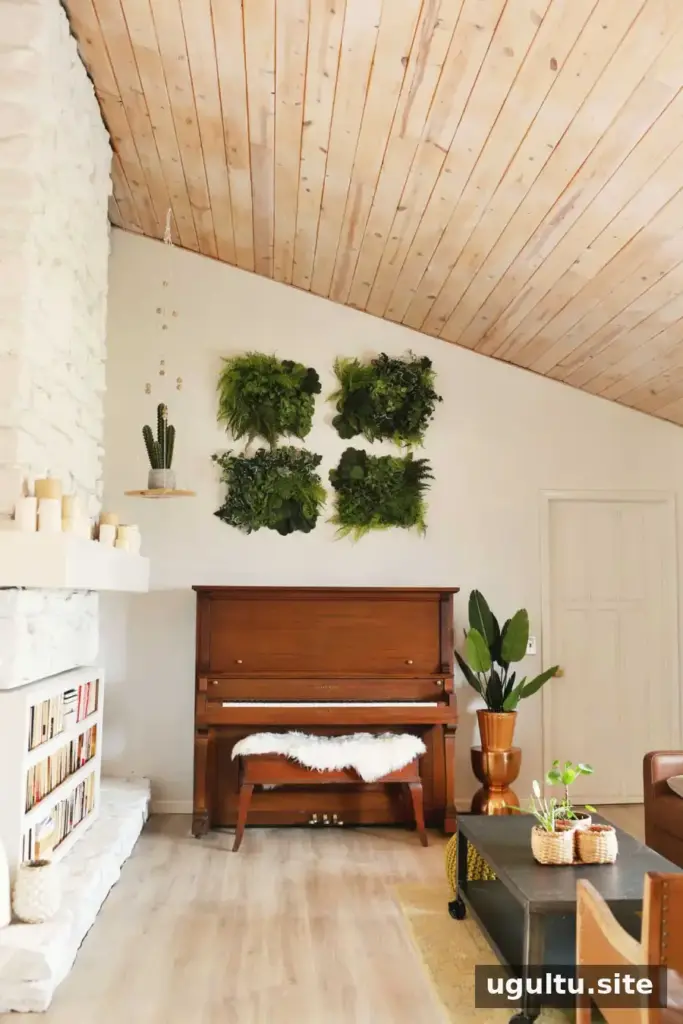
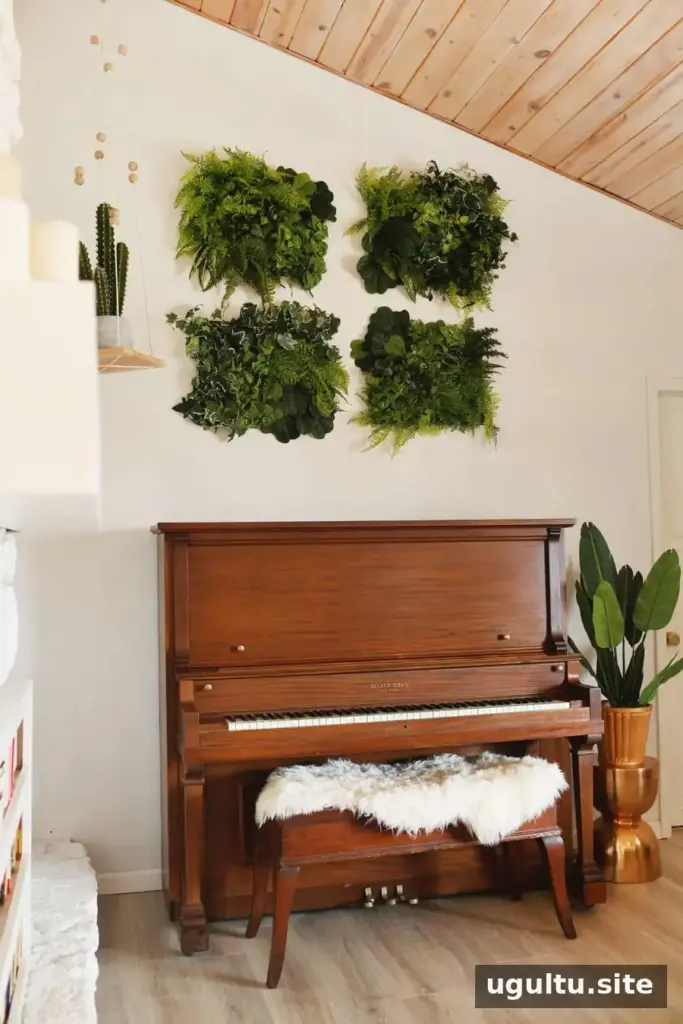
This project is also a practical way to reuse artificial plants you already have. The original design uses four greenery panels above a piano, with a second set in autumn colors that can be swapped in for a seasonal change.
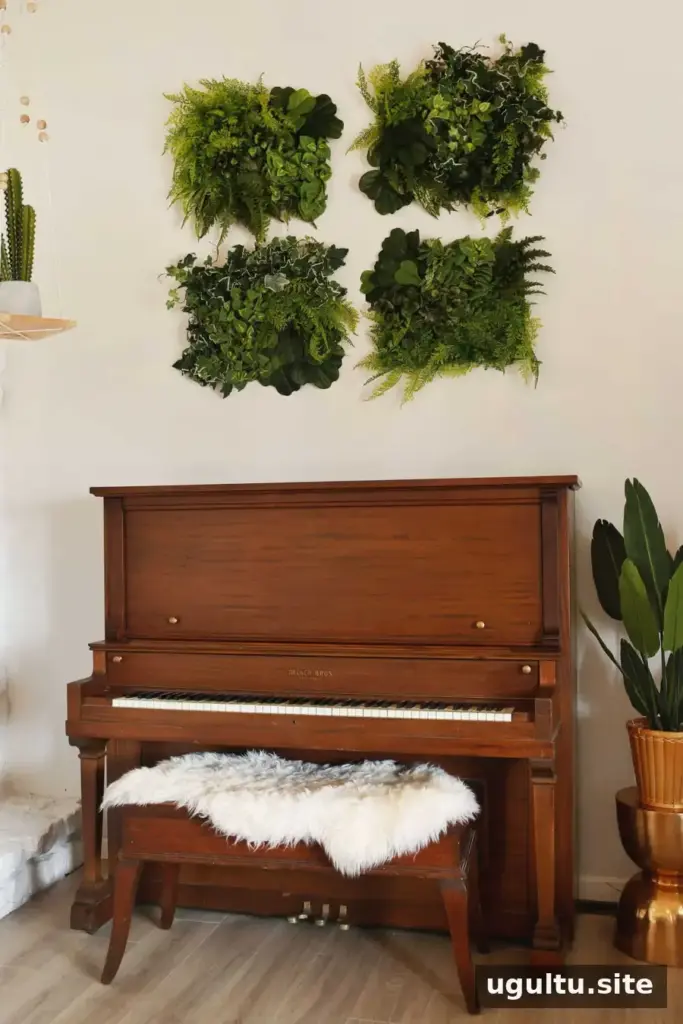
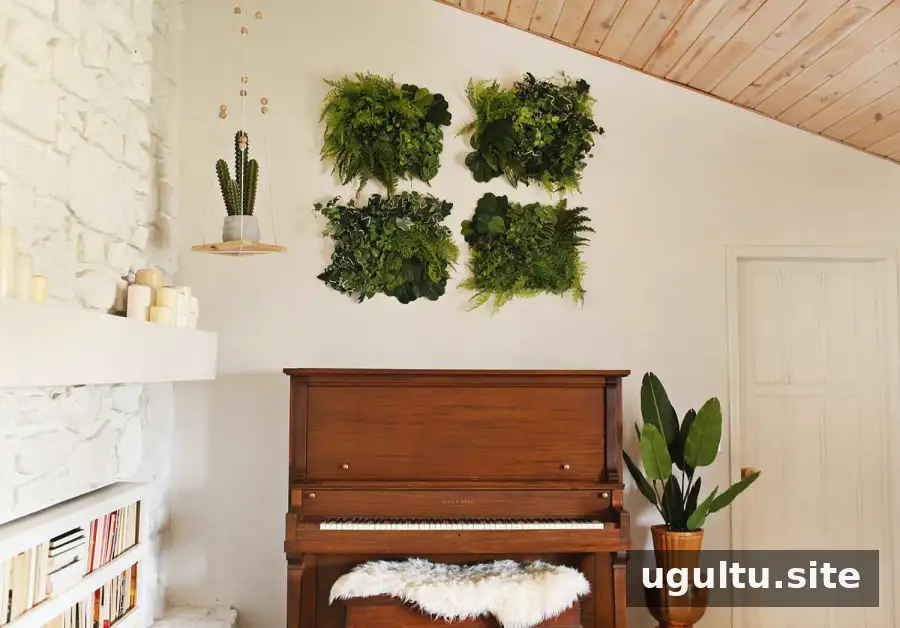
DIY Living Wall Art: Supplies and Planning
Before you begin, choose the location and decide how many panels will fit comfortably. You can adjust the canvas sizes and layout to suit your wall. Lightweight panels may be suitable for removable adhesive strips, depending on the product instructions and the surface; check the weight limit before hanging.
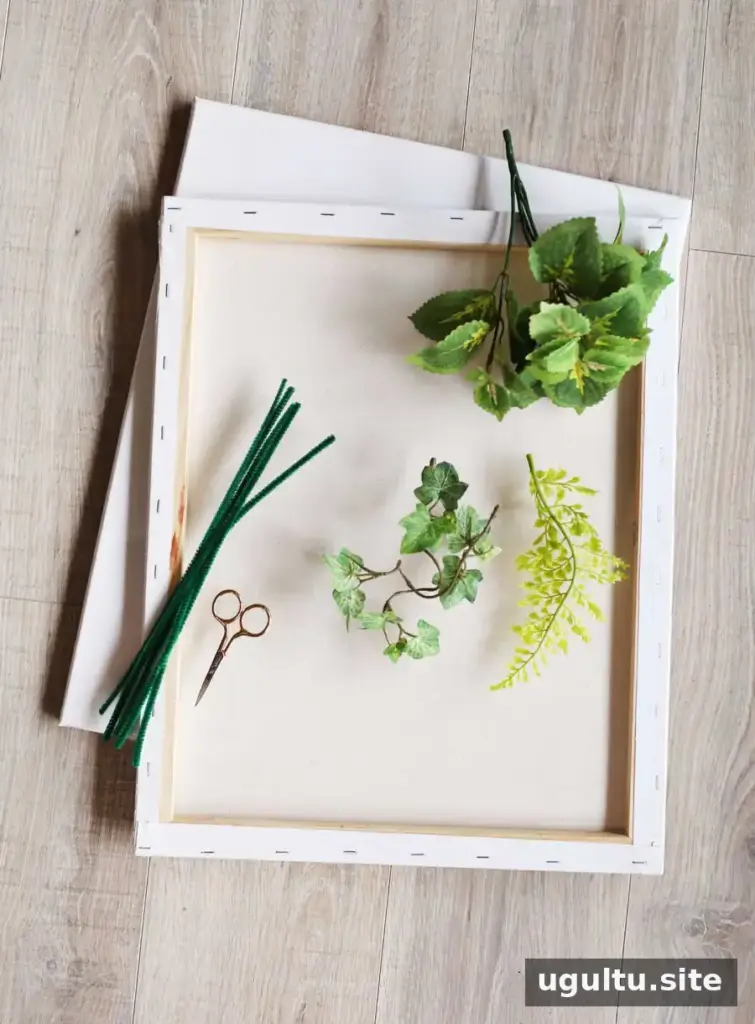
- Artificial greenery, such as faux leaves, stems, or vines
- Stretched canvas in your preferred size
- Small scissors or an X-Acto knife
- Paint and a brush
- Pipe cleaners
Select paint and pipe cleaners in colors that blend with the foliage. This helps the canvas and fasteners stay less noticeable if they show through. For a seasonal display, prepare panels in different palettes, such as green and autumn colors.
How to Make Artificial Greenery Panels
1. Paint the canvas
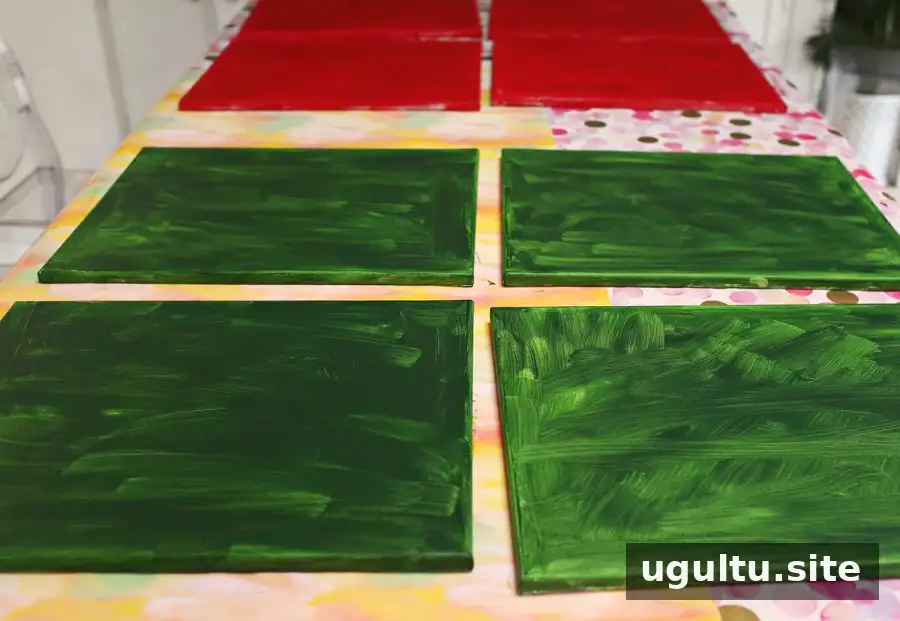
Paint the canvas so most of its surface is covered, then let it dry completely. A perfectly even finish is not necessary: the foliage will conceal much of the background. Matching the paint to your plants can help disguise small gaps between leaves.
2. Attach the artificial plants
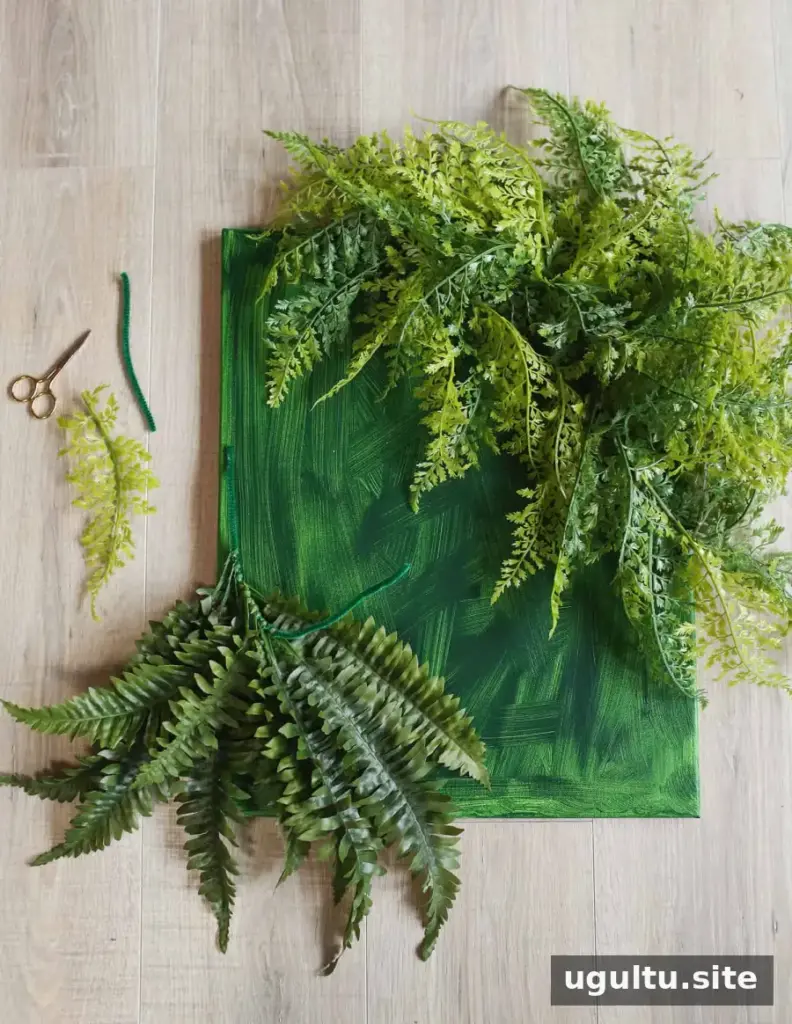
Once the paint is dry, arrange the plants over the canvas to plan the composition. Use small scissors or an X-Acto knife to make small openings where needed. Thread pipe cleaners through the canvas and twist them around the stems or vines to hold the foliage in place, much like a twist tie securing an item to packaging.
Work a few stems at a time and check the front of the panel as you go. This makes it easier to adjust the spacing, cover visible canvas, and avoid fastening foliage in a position that looks uneven.
Arrange and Hang Your Wall Art
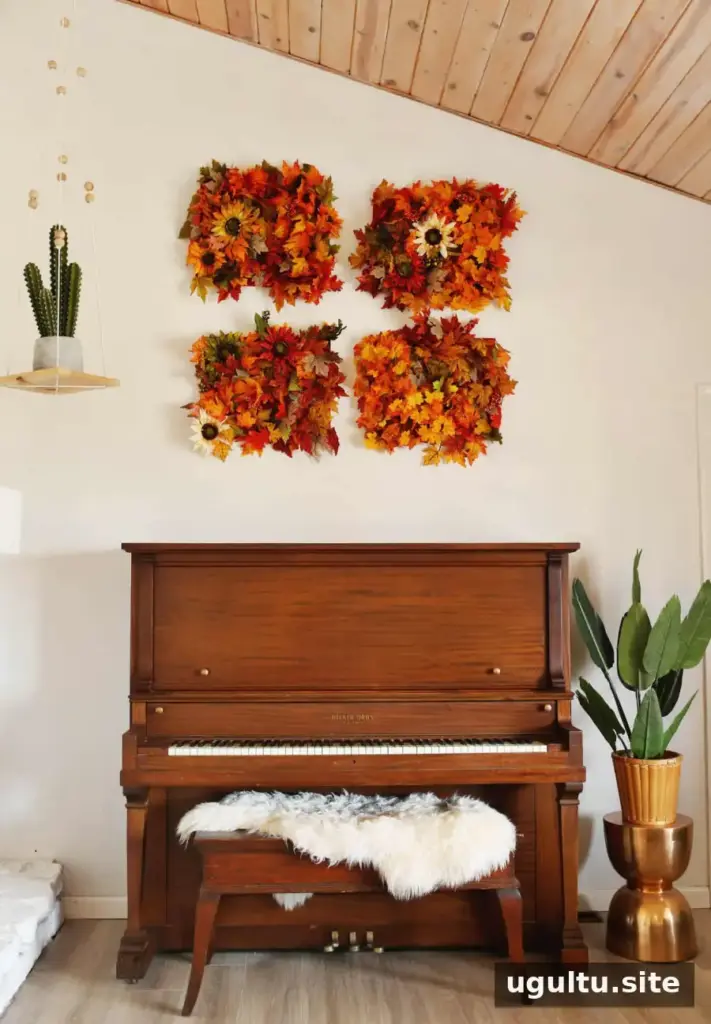
When the panels are complete, arrange them on the floor first to test the spacing and overall shape. Then hang them using a method suited to the panel weight and your wall. If you plan to change the display seasonally, keep the panels easy to remove and store them in a dry place when they are not in use.
DIY living wall art is customizable, reusable, and easy to adapt to different rooms. Start with one canvas if you want a small accent, or make several coordinated panels for a fuller display. — Emma


