
 admin
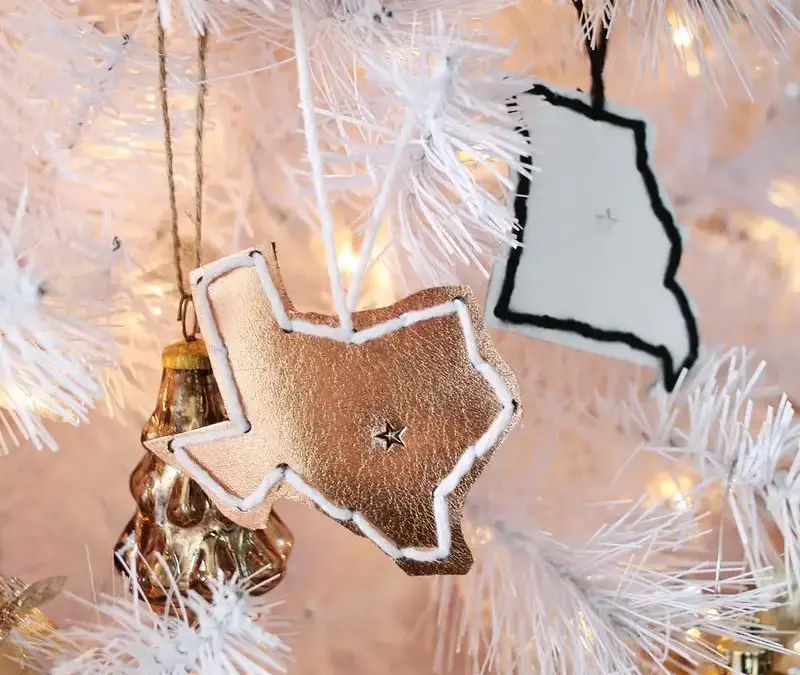
Stitched leather ornaments turn familiar map shapes into personalized holiday decorations. Made with leather, thin yarn, and a stamped star, these handmade pieces can represent a birthplace or another meaningful location. Their simple construction makes them a thoughtful addition to an ornament collection or a small gift with a personal connection.
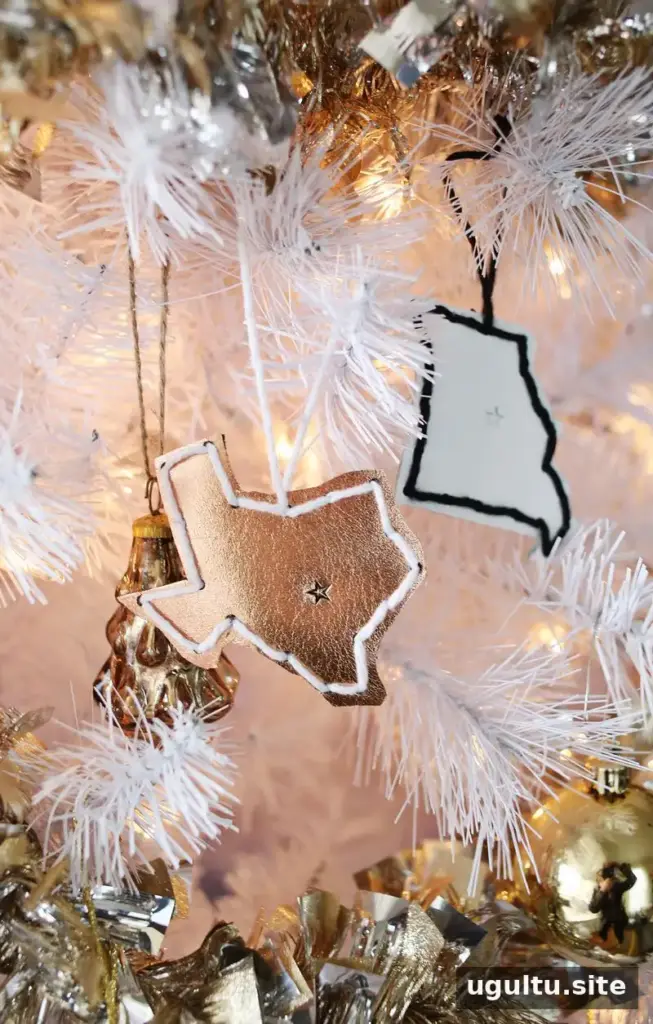
Plan Your Stitched Leather Ornaments
The examples feature Missouri and Texas, but the same approach works with other state outlines or a country shape. Choose a location that matters to the recipient, then decide whether the star will mark the capital or a birthplace.
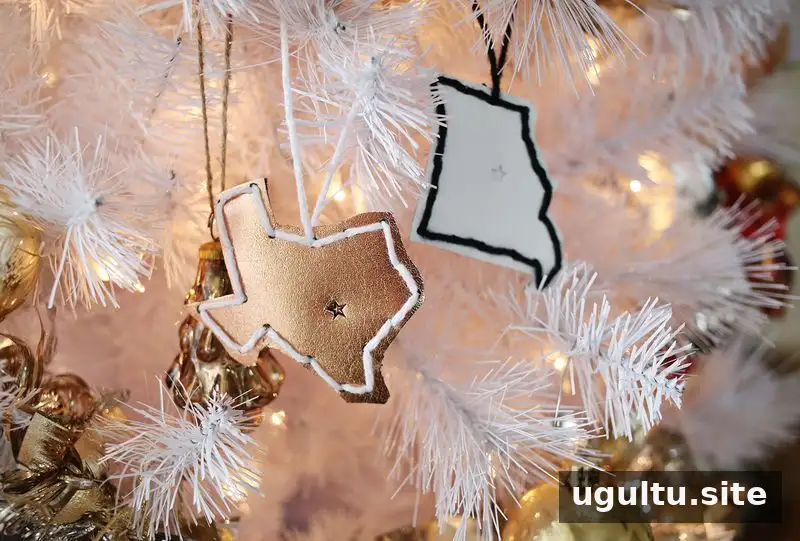
Planning tip: Avoid making the template too small. Narrow sections and detailed borders need enough room for punched holes without weakening the leather.
Materials and Tools
- Leather suitable for cutting and hole punching
- Printed state or country outlines
- Fabric scissors capable of cutting the chosen leather
- A leather hole punch
- Thin yarn and a needle that fits the punched holes
- A small star-shaped leather stamp
- A hammer and a firm surface suitable for leather stamping
Test cutting, punching, and stamping on a scrap first. Leather thickness and finish can affect how easily each step works.
Print a Template and Cut the Leather
Find a clear outline of the chosen state or country and print it at the desired ornament size. If you plan to mark the capital, a reference image showing its location will help position the star accurately.
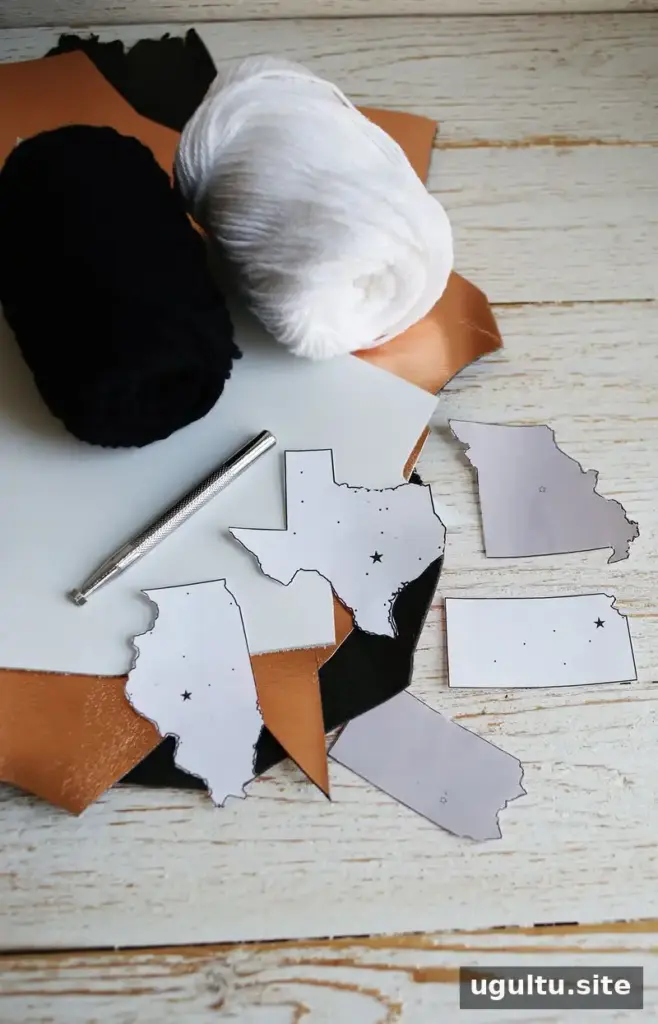
Cut out the paper outline and use it as a guide for cutting the leather with fabric scissors. Work slowly around tight curves and narrow sections rather than trying to finish the entire outline in one continuous cut.
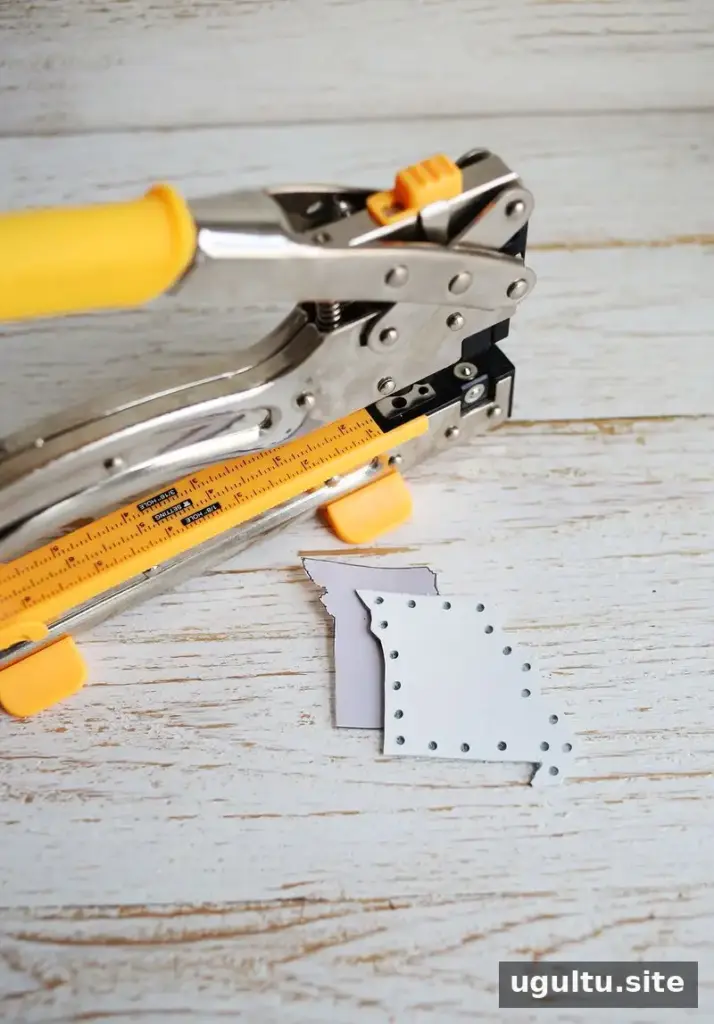
Punch Holes Around the Border
Use the hole punch to create small openings around the leather’s edge. Keep the spacing reasonably consistent and leave enough material between each hole and the cut edge to reduce the risk of tearing.
Practical tip: Check that the yarn and needle pass comfortably through a test hole before punching the full border.
Add the Yarn Stitching
Thread thin yarn through the holes, working around the outline. Stitch back in the opposite direction to fill the gaps and form a continuous-looking border. Secure the yarn ends neatly on the back.
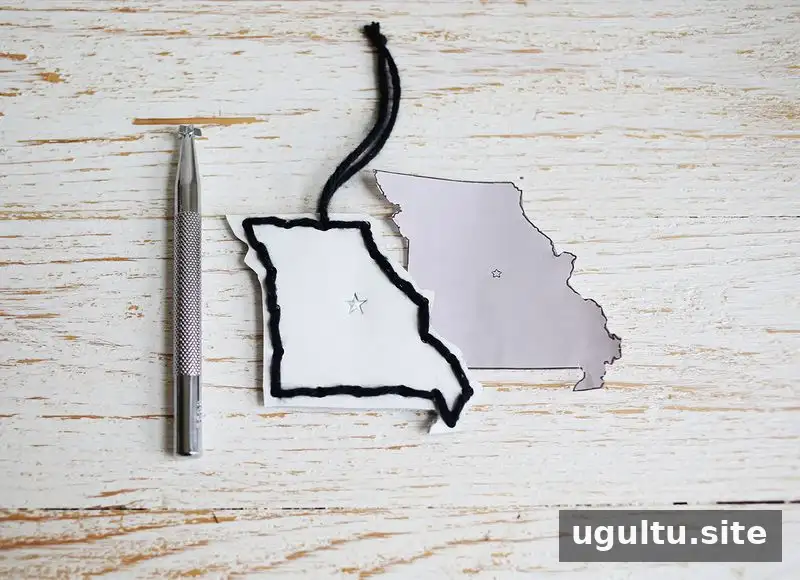
Keep the tension gentle and even. Pulling too tightly can distort the outline or put unnecessary strain on the holes.
Stamp a Star at a Meaningful Location
Position the star stamp over the selected location and strike it with a hammer while the leather rests on a firm, stable surface. Use a surface intended for this work, and follow the stamp manufacturer’s instructions.
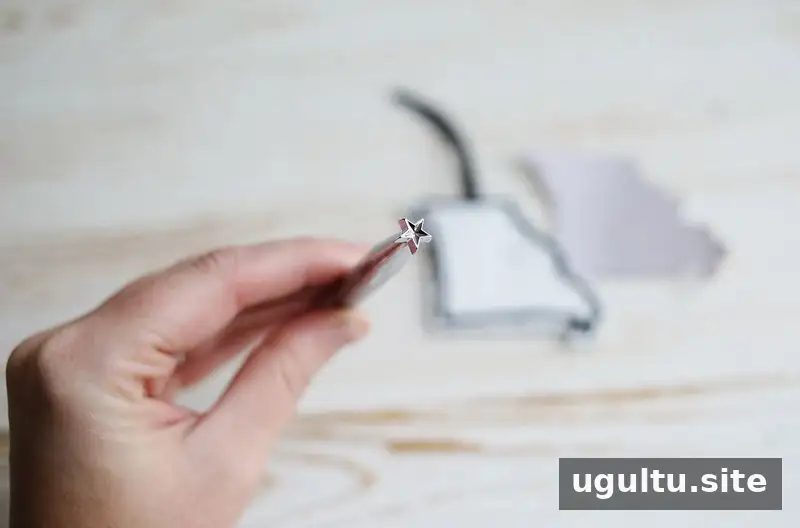
Laura and Trey suggested marking the recipient’s birthplace instead of the state capital for a more personal design. Check the location against a map before stamping, since an impression cannot simply be moved afterward.
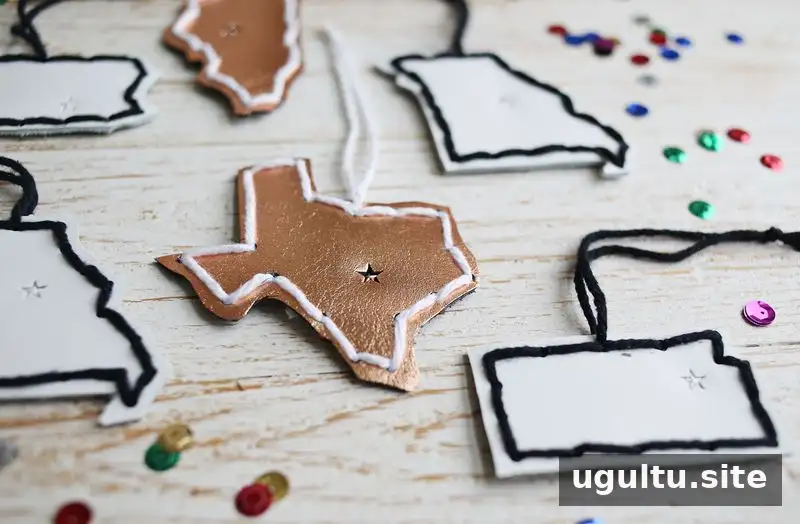
Finish and Display Your Ornaments
Add a secure hanging loop through a suitable hole near the top, checking that the ornament hangs in the intended orientation. Choose a position with enough surrounding leather to support the loop.
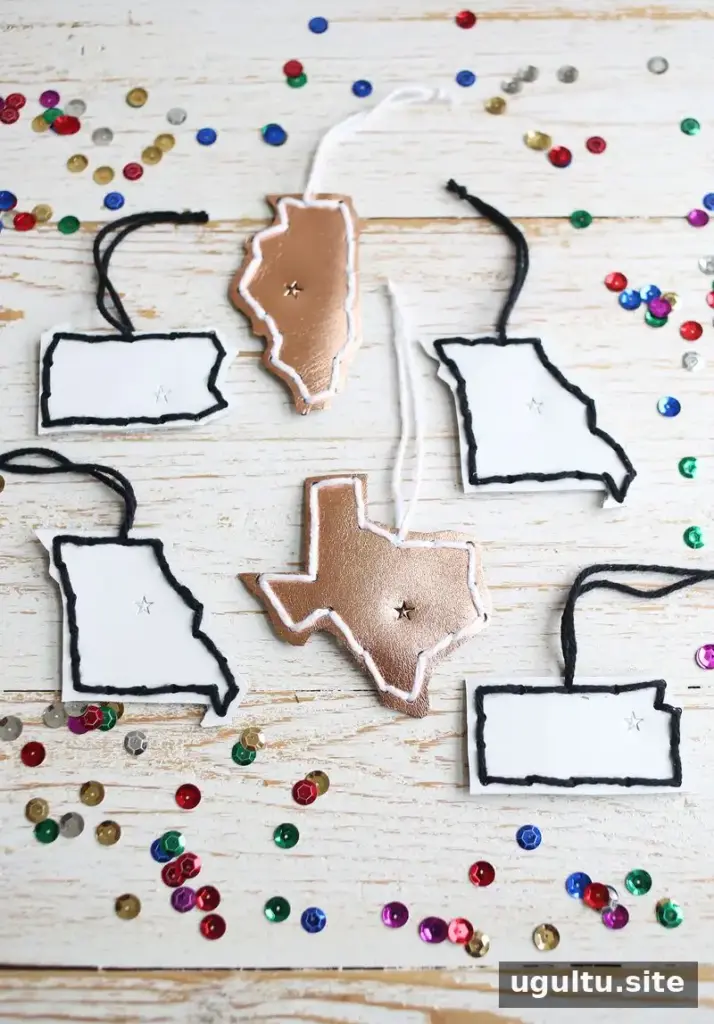
For gifts, include a short note explaining the location and the meaning of the star. Store the finished decorations somewhere dry, without crushing the leather shapes or tangling the yarn.
Stitched leather ornaments combine a recognizable outline with simple decorative details. A carefully chosen location, an even yarn border, and a thoughtfully placed star create a holiday keepsake with meaning beyond its appearance.


