admin
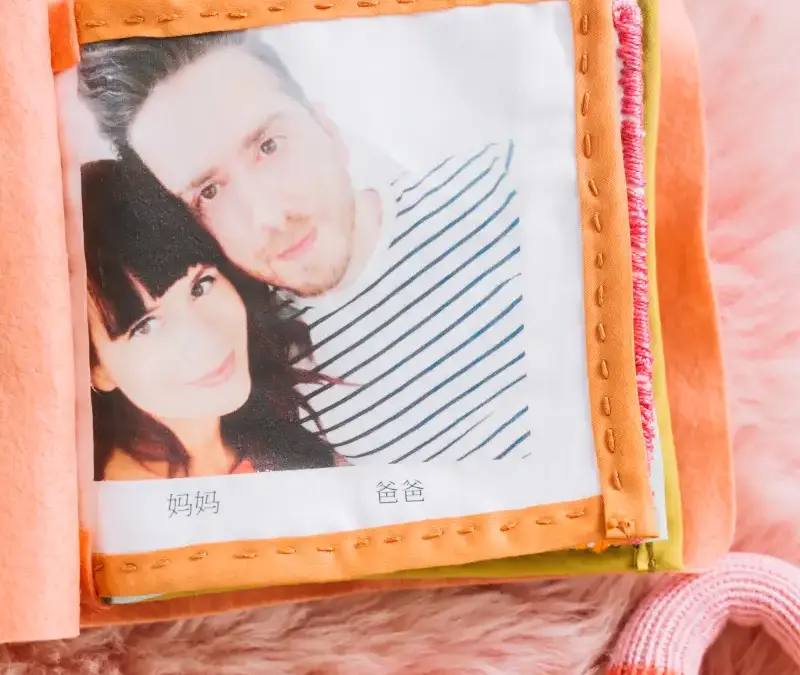
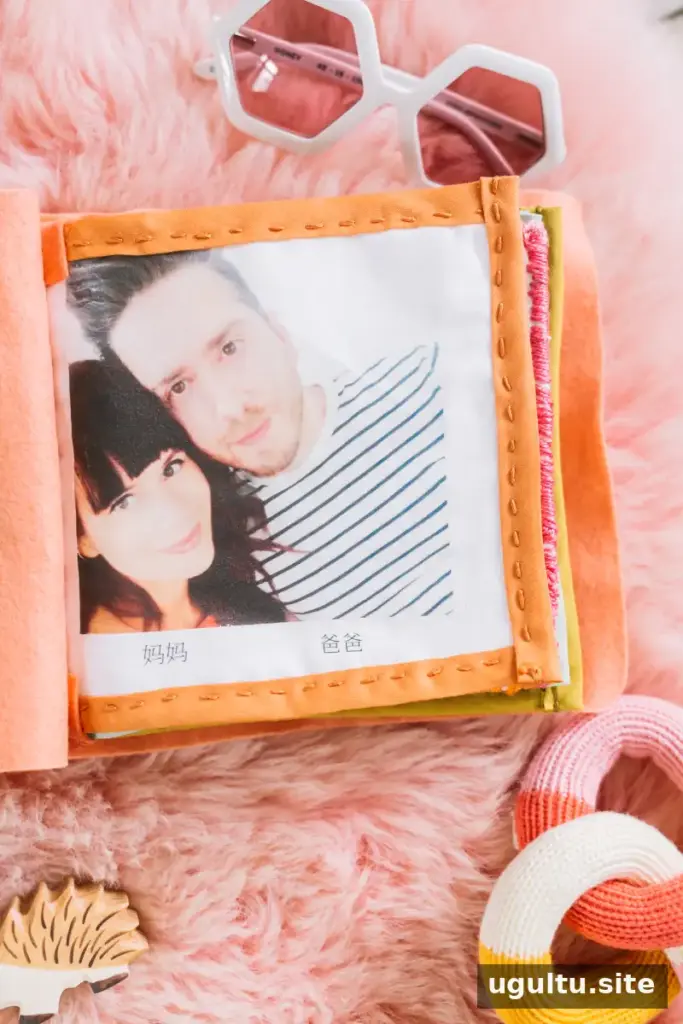
A DIY soft photo book is a thoughtful way to introduce a baby or toddler to familiar faces, places, and everyday routines. Made with printed fabric images, cotton pages, and a felt lining, this keepsake can be personalized for any theme. The example below was created as an adoption album to help a child become familiar with her new family and home.
The pages can be sewn by hand for a handmade finish or machine stitched to save time. Before beginning, choose washable fabric and transfer materials suitable for your printer, and check the transfer package for its specific application instructions.
How to make a DIY soft photo book
Print and transfer the pictures
- Choose iron-on transfers designed for inkjet printers and prepare white cotton fabric. A standard home printer can work; a large-format printer is not essential.
- Arrange and print the images, then cut them out. Flip each image horizontally before printing so that the transferred picture and any words read correctly.
- Iron the transfers onto the fabric, following the product instructions. Let each one cool before peeling away its backing.
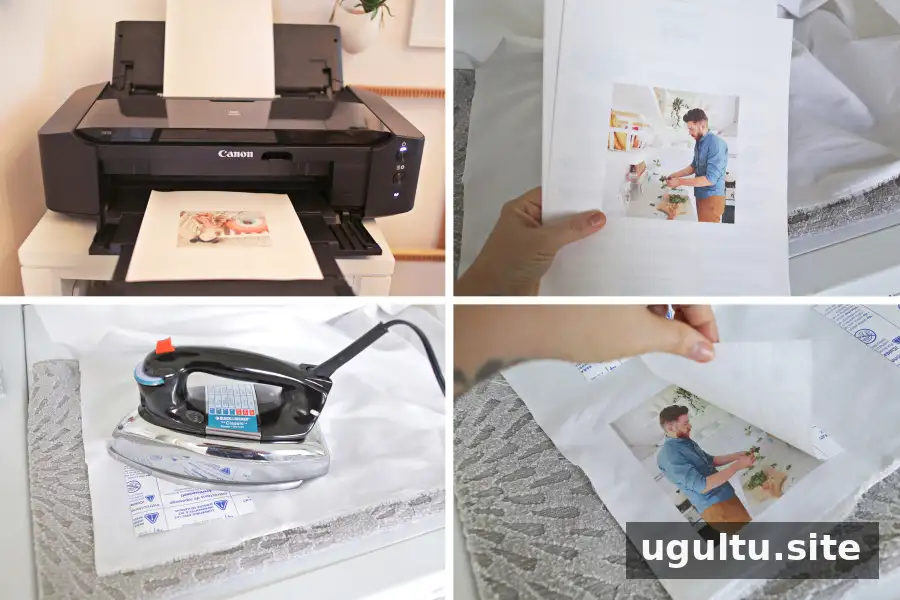
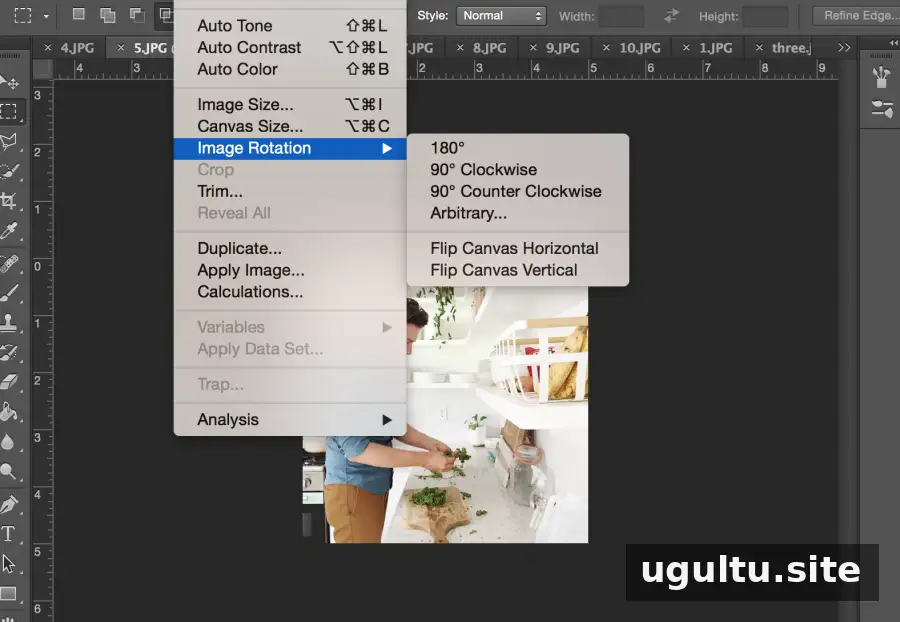
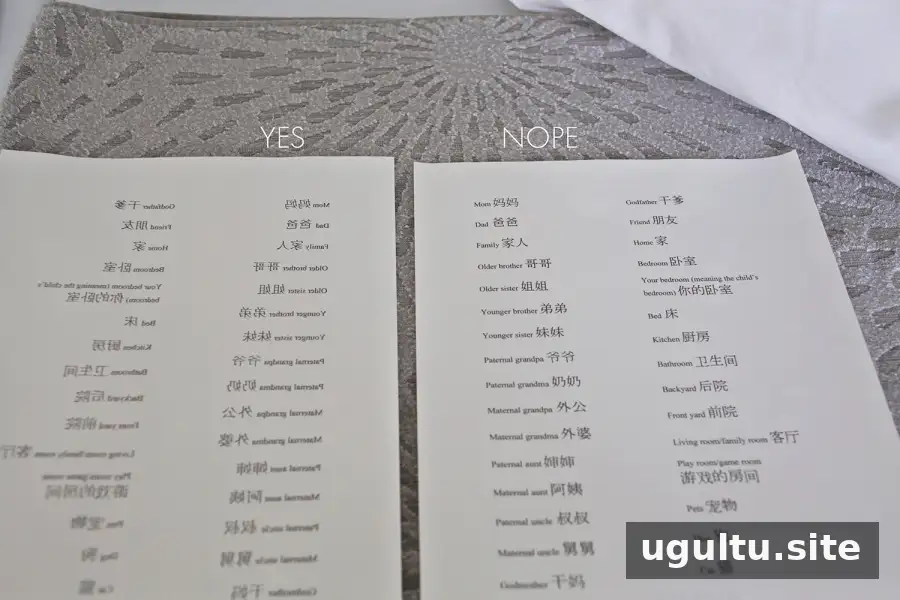
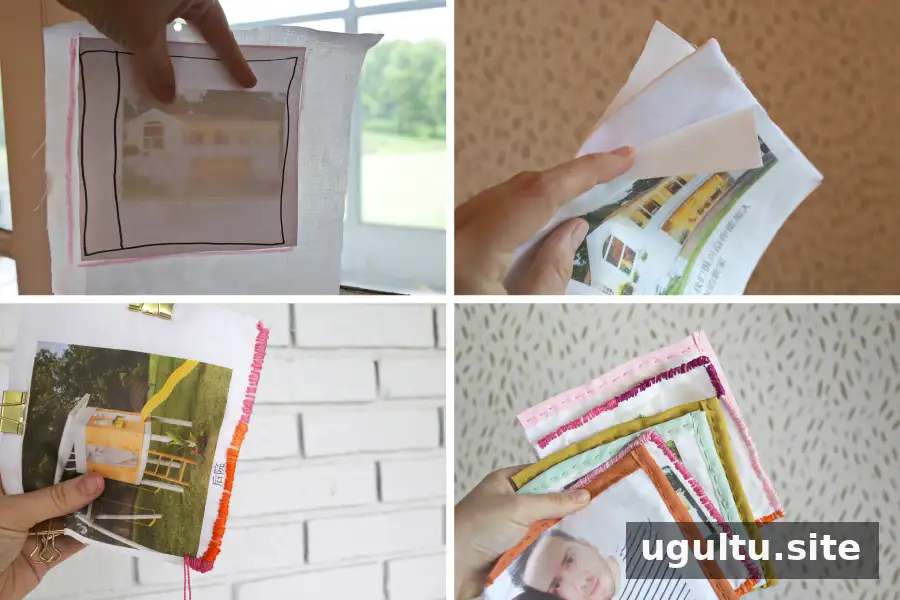
Cut and sew the pages
- Print the images at about 5 inches by 5 inches, leaving several inches of blank fabric around each one for ironing. Make a simple page template to keep the pages a consistent size, and mark the area that will be used for the spine.
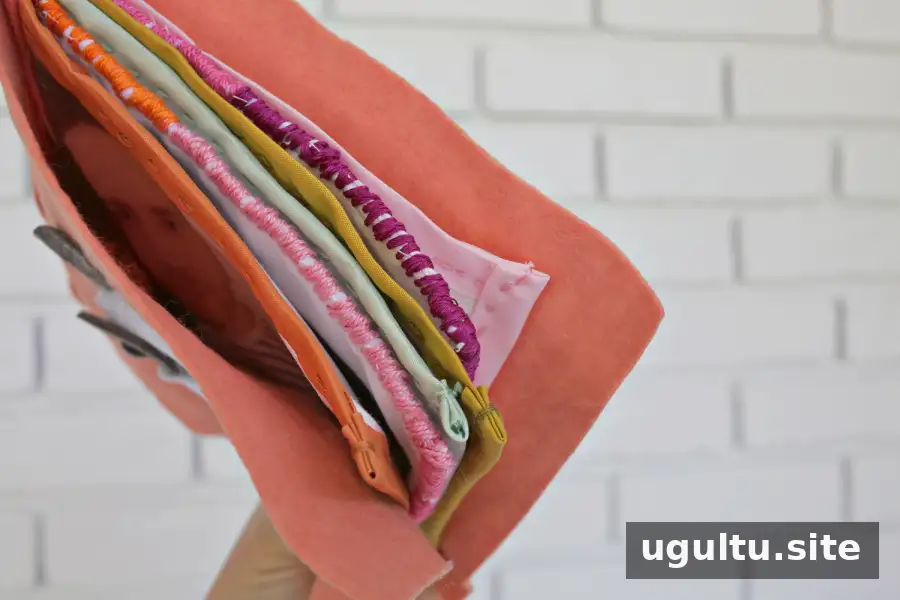
- Place a piece of felt between every pair of cotton pages. The extra layer gives the book more body and helps keep the pages from showing through.
- Sew around three outer edges of each page, leaving the spine edge open. Hand stitching, a sewing machine, or folded bias tape can be used to finish the edges.
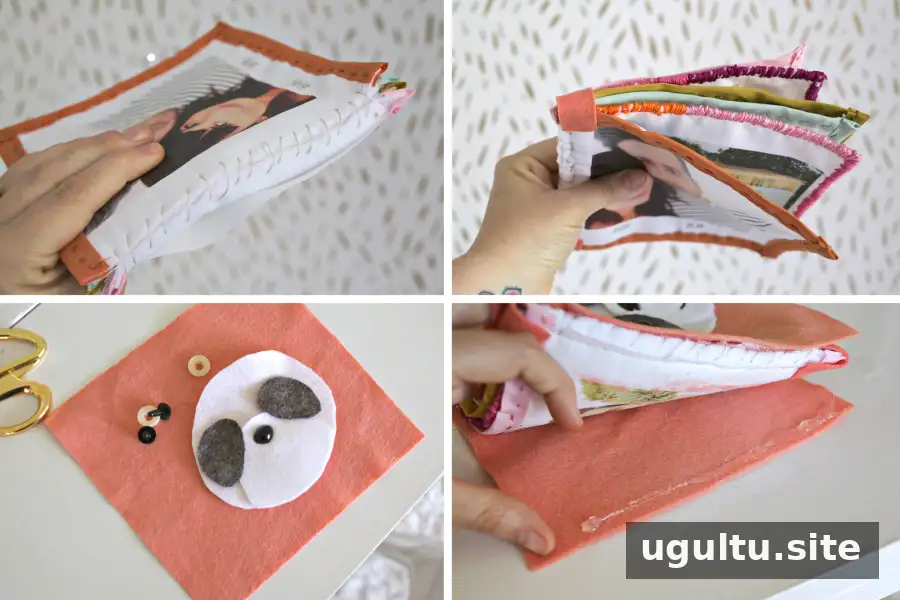
- Join the pages by stitching along the spine.
- Cover the top and bottom page edges with felt to give the spine a neater finish.
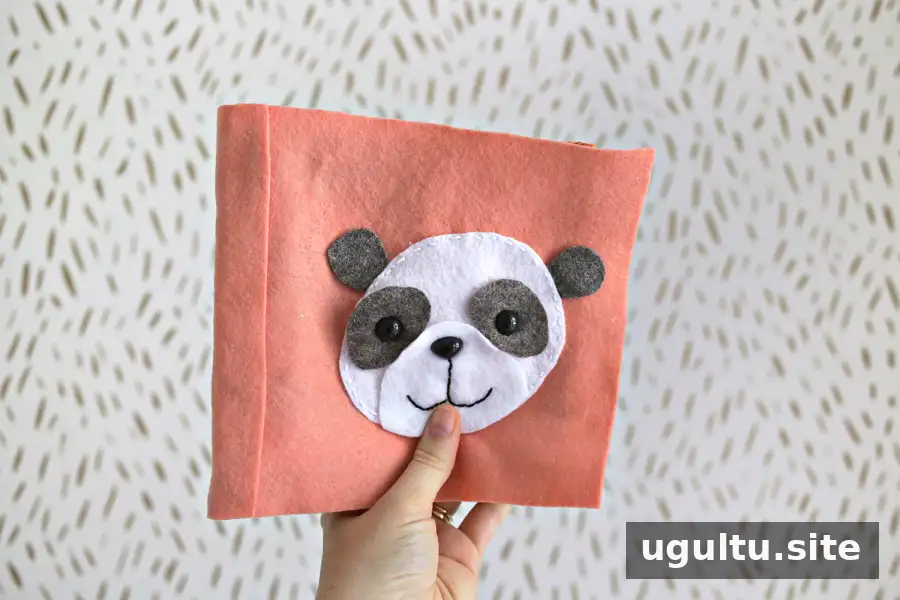
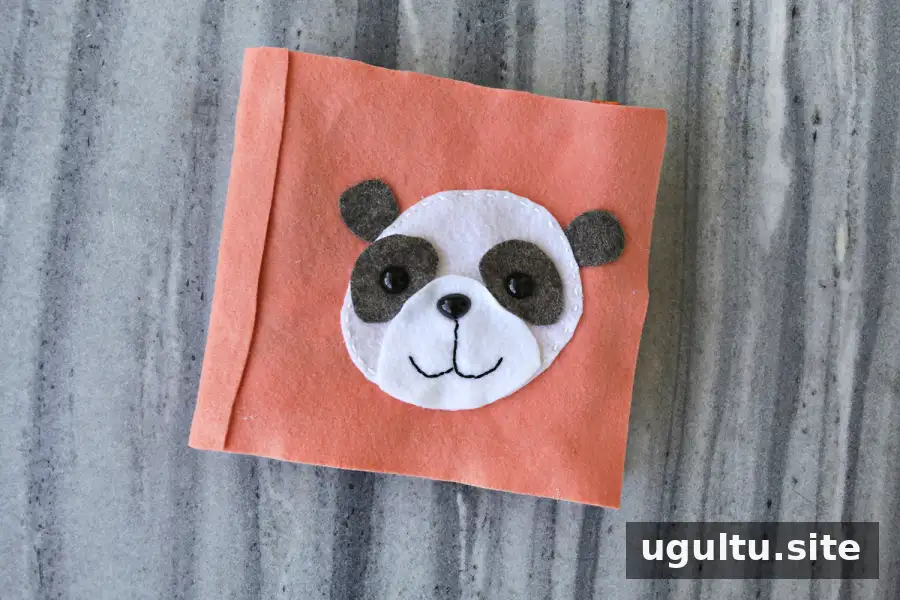
- Prepare a cover in the design of your choice. The example uses a simple panda face made with felt and child-safe facial details.
- Attach the front and back covers to the pages with fabric glue, then glue a fabric or felt strip around the spine to finish the book.
Allow glue to dry fully before handling the book. For a baby or toddler, avoid loose decorations and small detachable parts, and check the book regularly for wear.
Personalizing an adoption photo album
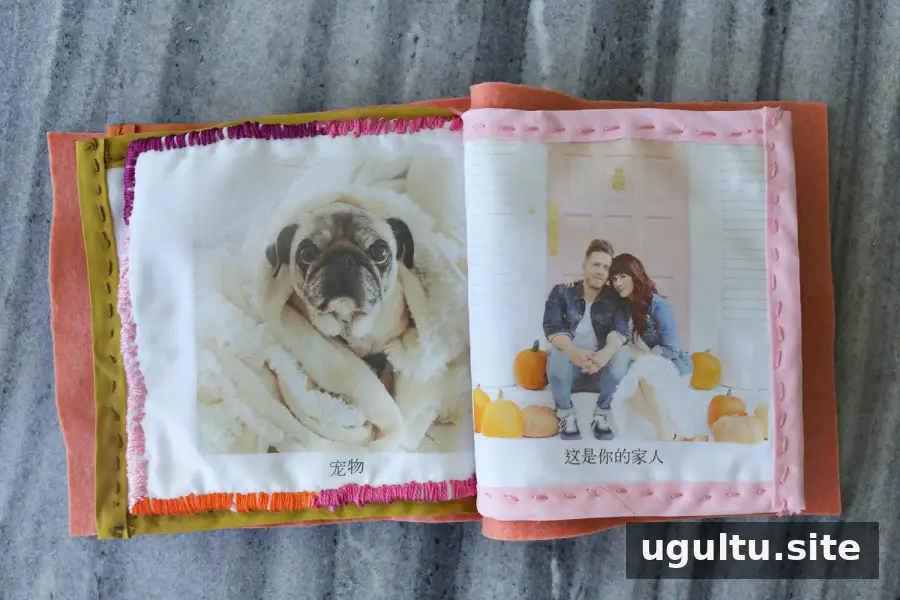
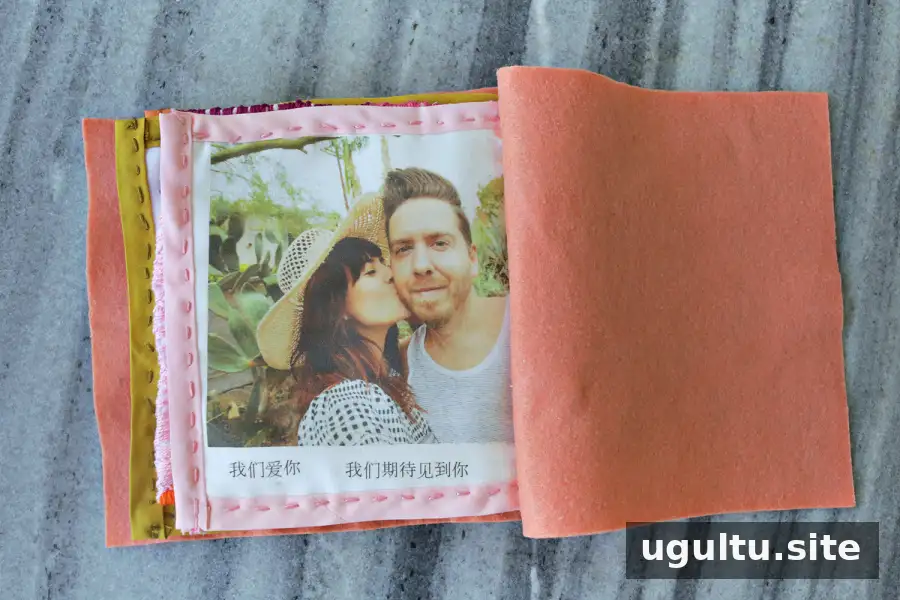
Elsie made the album while her family was waiting to be matched with a child in China. Their adoption agency recommended a soft photo book for a younger child and provided guidance on which pictures and captions to include. The captions were intended for the child’s caregivers to read aloud, since the child was not yet old enough to read.
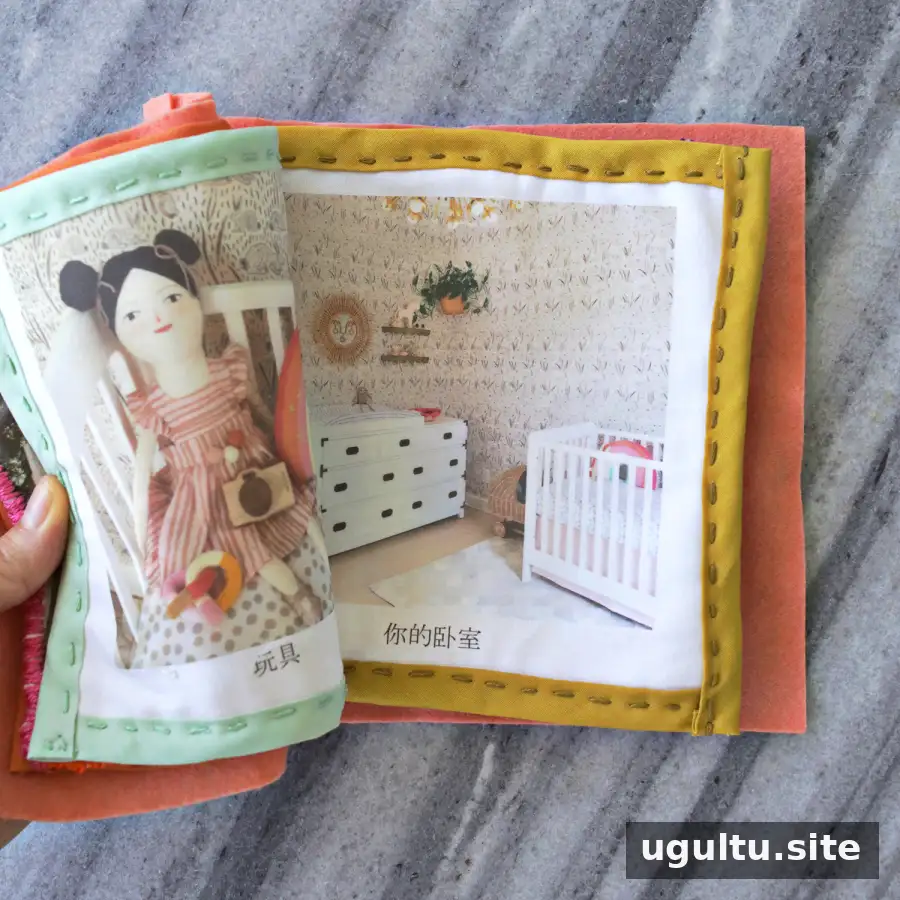
The album focused on people, pets, and places the child would encounter at home. Its pictures included the parents, the front yard and backyard, toys, the child’s bedroom, the kitchen, and the family pets. The captions included simple messages such as “mom,” “dad,” “This is your family,” “We love you,” and “We look forward to meeting you.” The agency’s guidance was to include only people and pets who lived in the home.
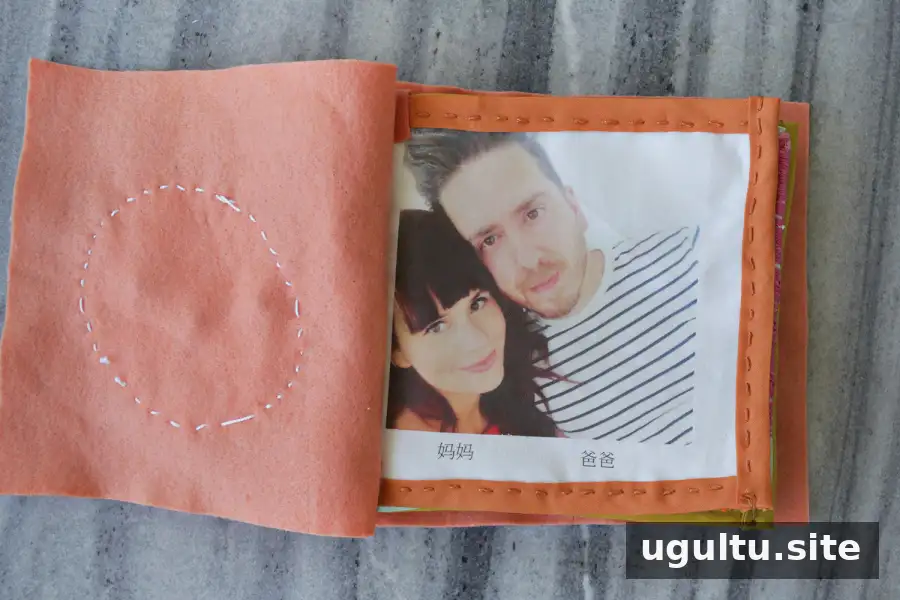
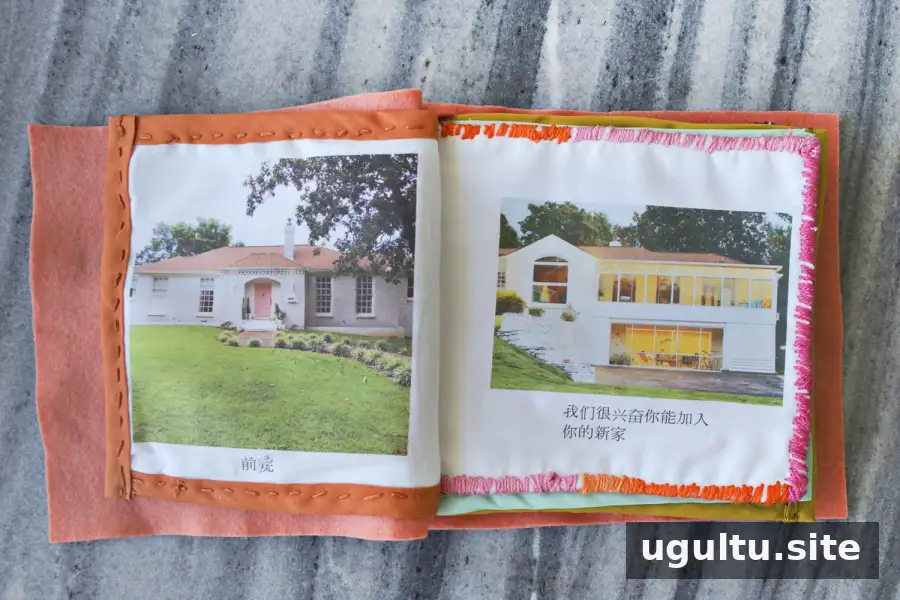
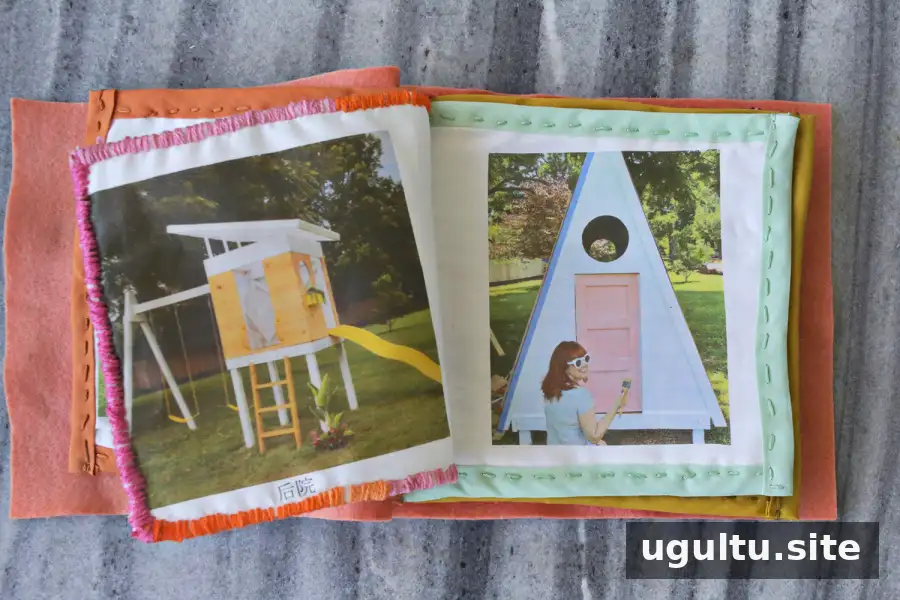
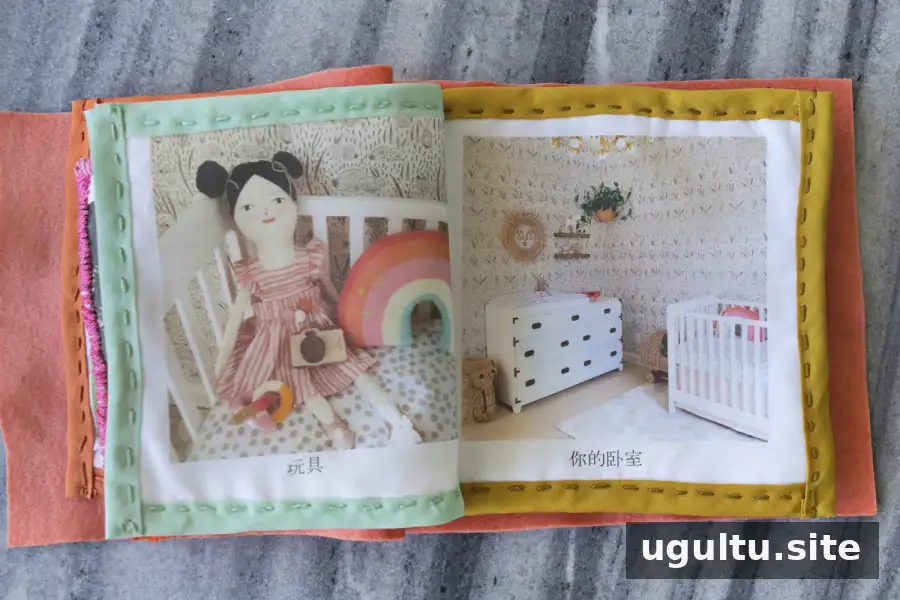
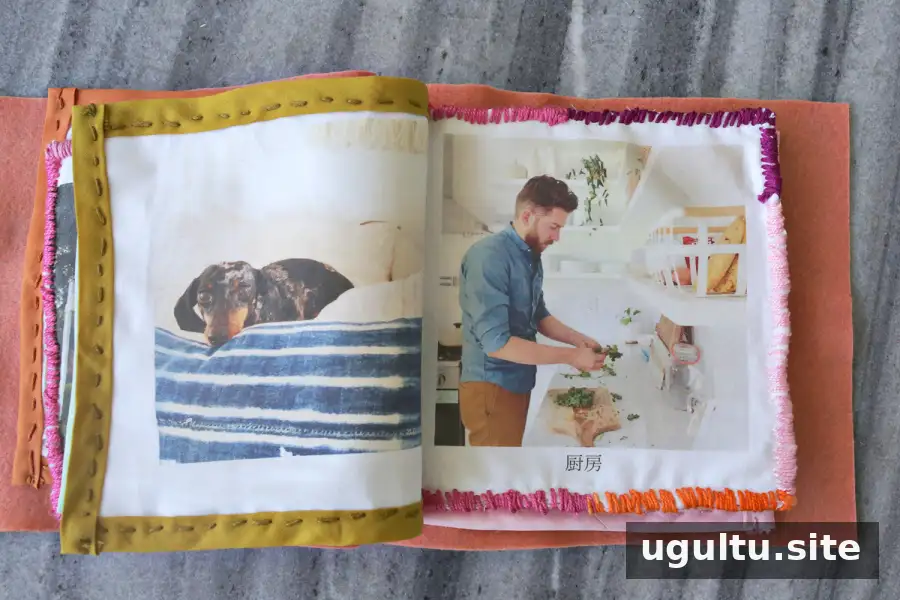
For an adoption album, follow the agency’s instructions about photographs and wording. If captions use another language, confirm translations with a reliable source rather than guessing. For a book intended for an older child, consider choosing images and messages with their age and understanding in mind.
A handmade photo book can be a useful, personal gift for a new baby or toddler, and the same steps can be adapted for many subjects. With careful image placement, secure construction, and age-appropriate materials, a DIY soft photo book can become a memorable introduction to family life. — Elsie