
 admin
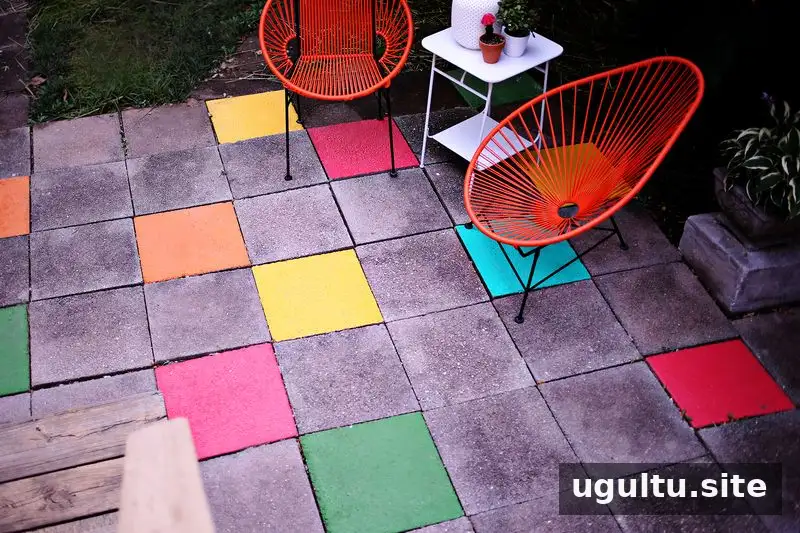
Painted patio tiles offer a practical way to add color and personality to an outdoor space without replacing the existing surface. This stone patio already had a solid foundation, but its plain appearance felt out of place beside the bright orange Acapulco chairs. Rather than continue searching for an outdoor rug, the update used paint to create a more lively look.
Painted Patio Tiles: The Inspiration
The design combined a Palm Springs feel with a classic, 1960s-inspired look. The goal was to make a noticeable change while working with the patio that was already there, instead of taking on a larger renovation. A simple palette of colors helped give the space a fresh, coordinated appearance.
Painting can be a useful option when an existing patio is structurally sound but looks dated or lacks character. Before starting, check that the surface is suitable for paint and consider how the colors will work with nearby furniture, walls, and plants. A small test area can also help you assess the finish before painting multiple tiles.
Materials and Painting Process
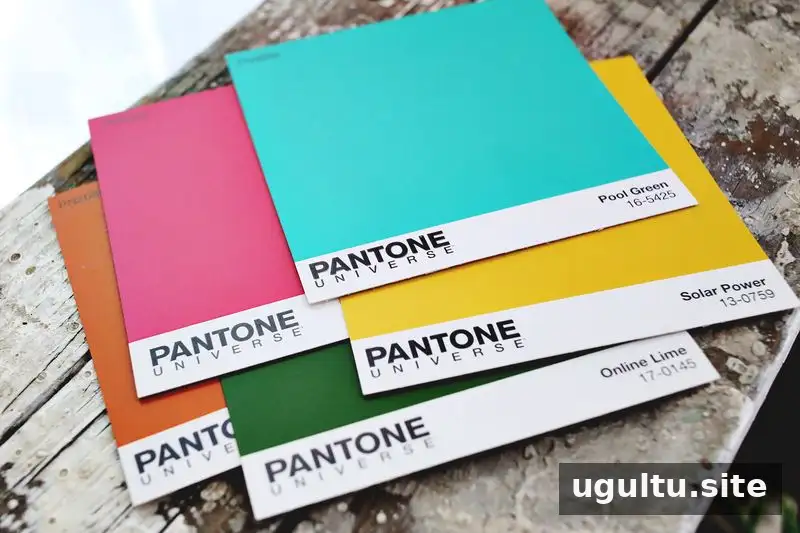
The project used latex paint intended for porches and floors, primer, and a clear concrete protective sealer. Some of the stone tiles were primed before painting. Three coats of color were applied to each painted tile, followed by the sealer.
- Prepare the surface: Clean the tiles and let them dry thoroughly. Follow the paint and primer labels for surface preparation and application conditions.
- Prime selected tiles: Primer was applied to random tiles as part of the design. Confirm that the primer is suitable for the patio material and compatible with the paint.
- Apply the color: Three coats were used on each tile. Allow each coat to dry as directed before adding the next.
- Seal the finish: A clear concrete protective sealer was applied after the paint. Check that the sealer is intended for painted outdoor surfaces and follow its curing instructions.
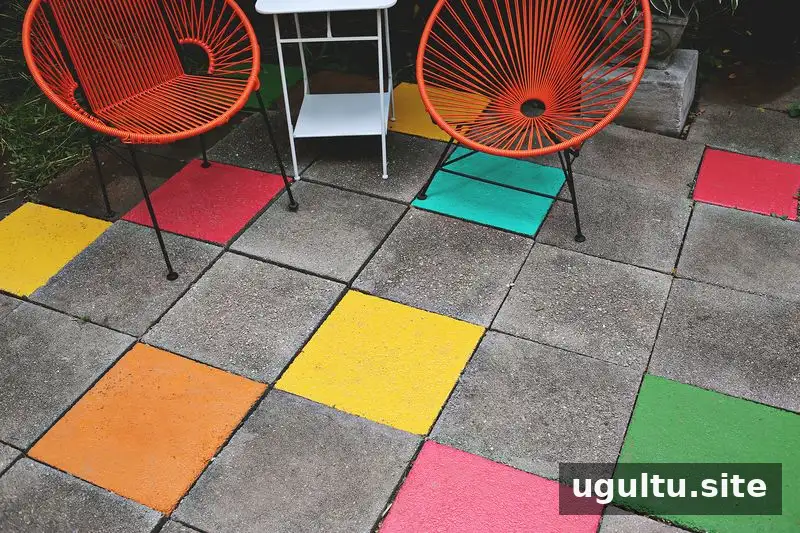
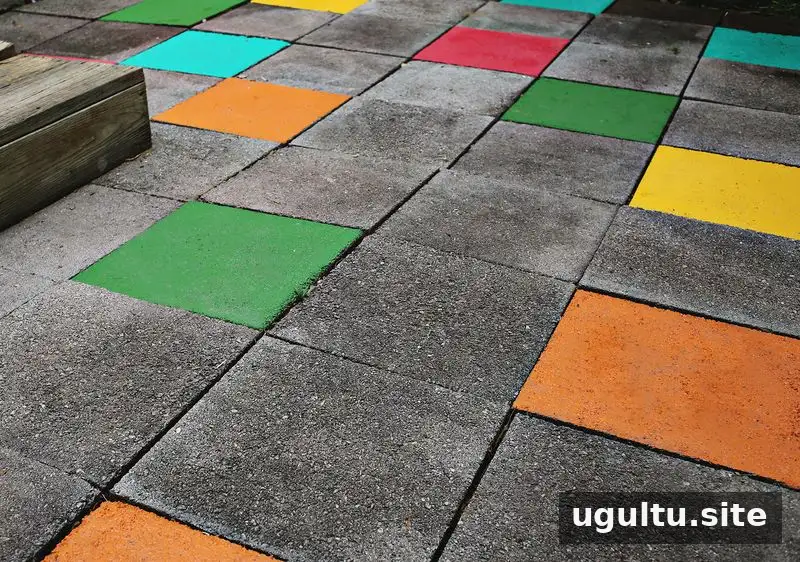
The work took a full day, with much of that time spent waiting for the coats to dry. Drying and curing times vary with the product and weather, so avoid rushing between steps. For a patio, also consider whether the finished surface could become slippery when wet; use products designed for the intended outdoor application.
A Colorful Result That Can Change Over Time
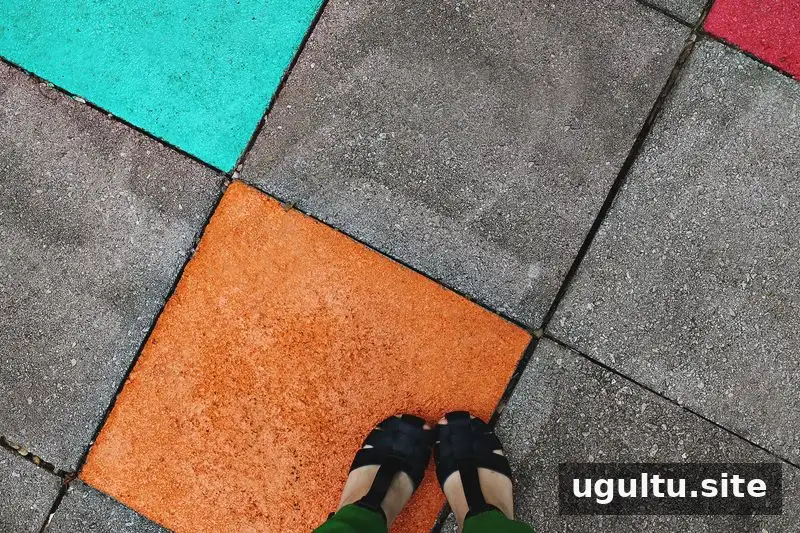
A month after the project, the painted patio tiles continued to bring a fun, fresh quality to the yard. The painted surface also leaves room for a future refresh: the tiles could be repainted in a different color or given a pattern if the look no longer suits the space. Planning for a future update is useful, but proper preparation and product compatibility remain important for a durable finish.
Some visitors compared the colorful effect to the illuminated tiles in the Billie Jean music video. The playful comparison suited the bold, graphic look of the patio.

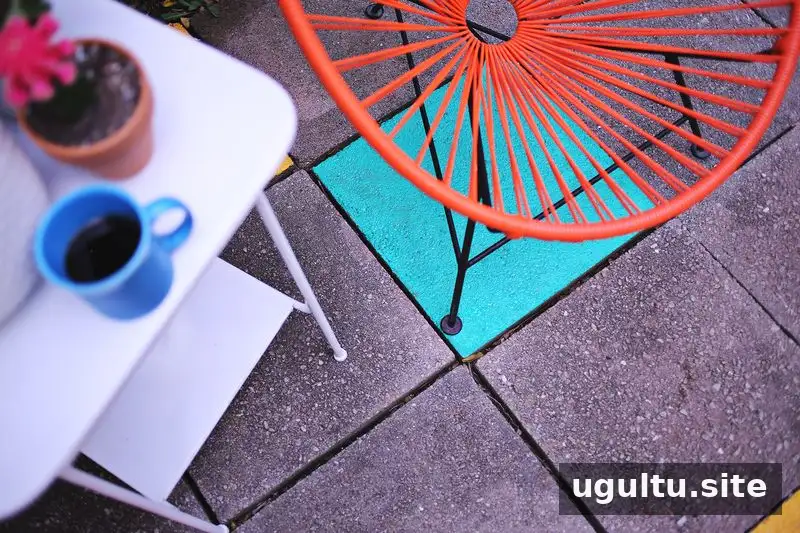
Before You Paint an Outdoor Patio
Keep a few practical points in mind before beginning:
- Choose paint and primer that are approved for the patio surface and outdoor use.
- Check the forecast so rain or damp conditions do not interrupt drying and curing.
- Use a small test area to check the color and finish.
- Follow the manufacturer’s instructions for coats, recoat times, and sealer application.
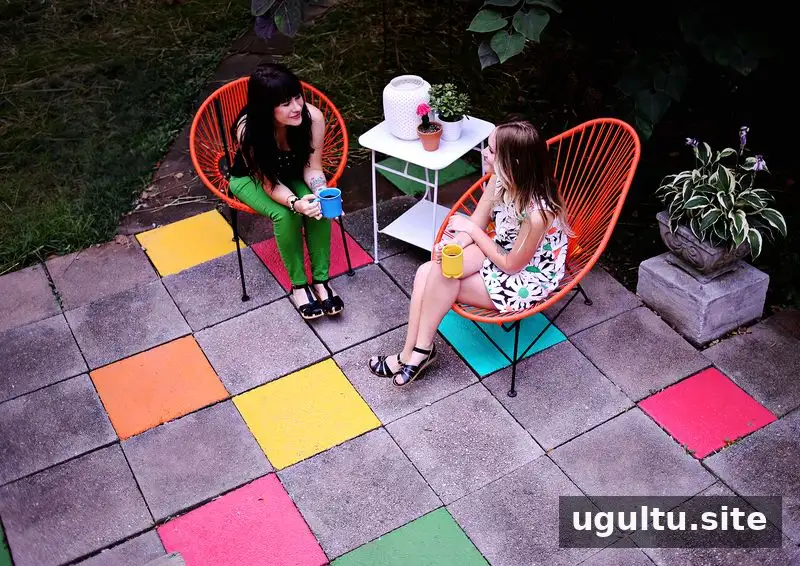
For a relatively focused outdoor update, painted patio tiles can add character while making use of an existing stone surface. With suitable products, careful drying between coats, and attention to slip resistance, this approach can give a patio a colorful new look without replacing the tiles.
— Elsie


