
 admin
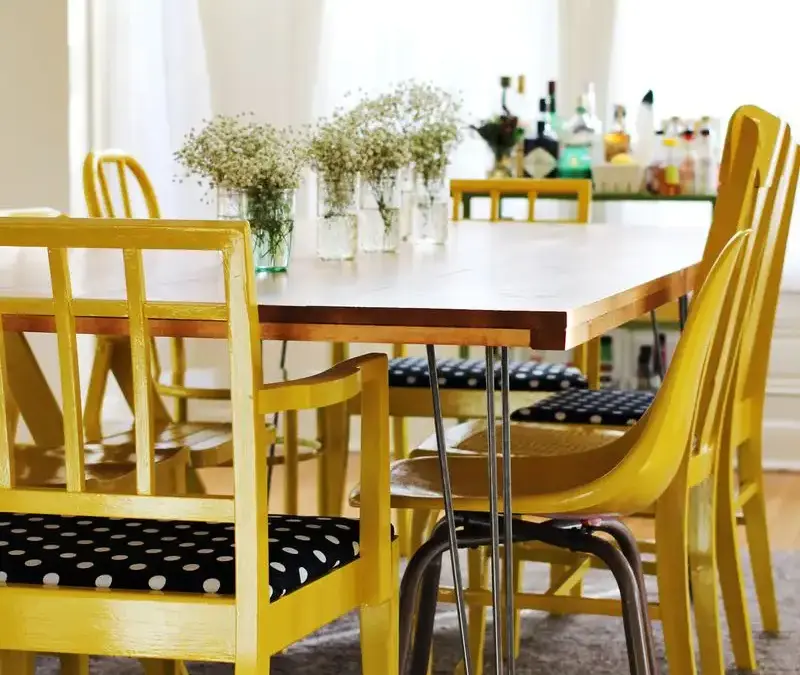
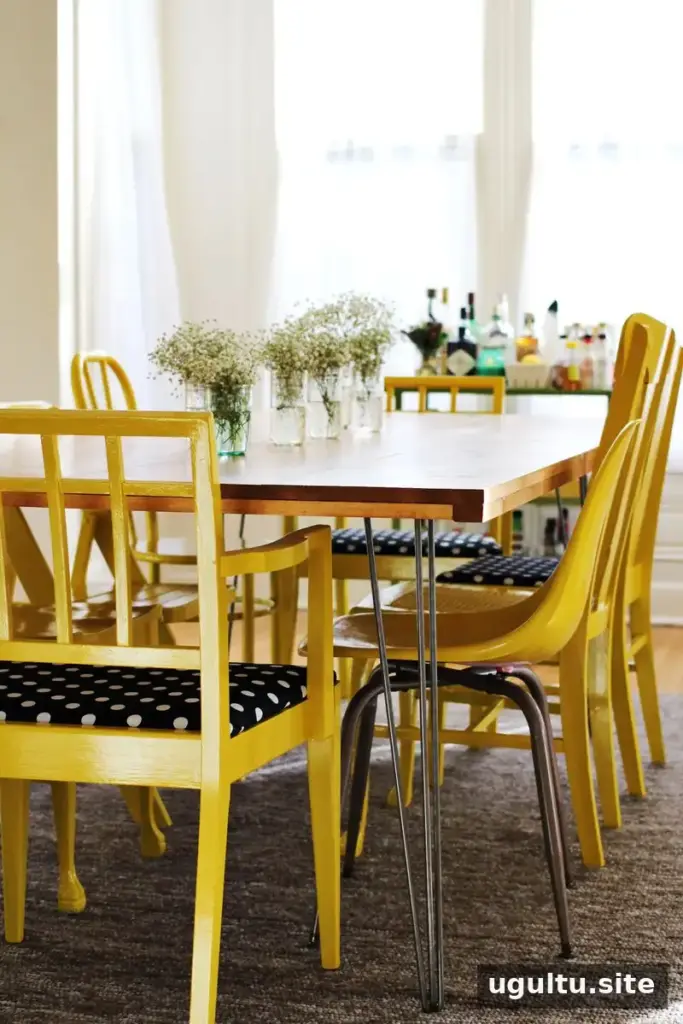
A DIY dining room table can be a practical way to create a piece that suits your space when ready-made options do not fit your needs. This project resulted in a large table that seats eight, with a wood-plank top, a honey-toned finish, and simple hairpin legs. The supplies cost about $350 for the project, and the table was assembled, stained, and sealed over a few days.
Planning a DIY dining room table
Start by measuring the dining area and deciding how much space the table should occupy. Consider the room’s layout and how people will move around the table before settling on its size. The home for this project had rooms with more traditional dimensions, so the table was planned to suit that space rather than a standardized modern layout.
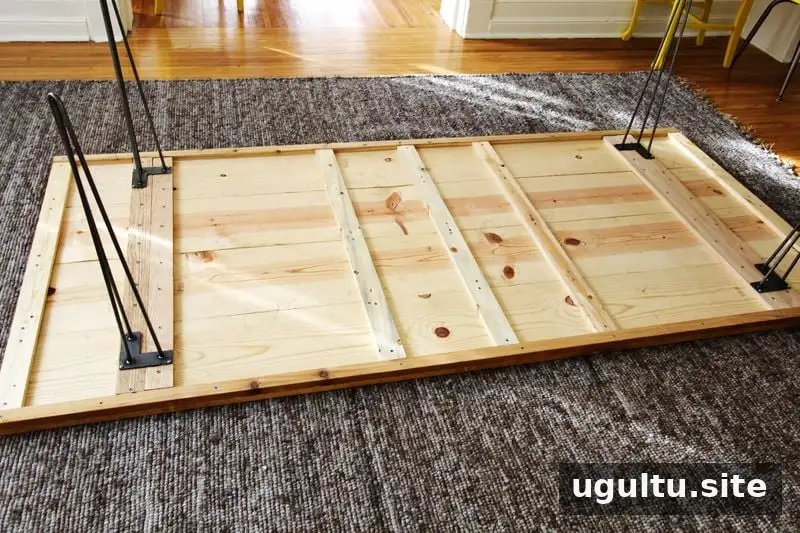
The lumber list included four long planks for the tabletop, nine smaller planks for the underside bracing and frame, and two longer, narrow planks for the outer edges. Most of the wood was pine, chosen for its appearance and affordability. A few pieces of oak were included among the smaller boards to add strength, since oak is a harder wood.
- Four long planks for the tabletop
- Nine smaller planks for bracing and the underside frame
- Two longer, narrow planks for the outer edges
- About 90 screws
- Four three-prong hairpin legs, each 28 inches tall
The board sizes and lumber quantities can be adjusted for a different table. Keep the underside layout in mind when planning: the bracing and frame help support the top and provide places to attach the legs. Check that your planned materials and leg placement work with the table dimensions before assembly.
Assembling the table
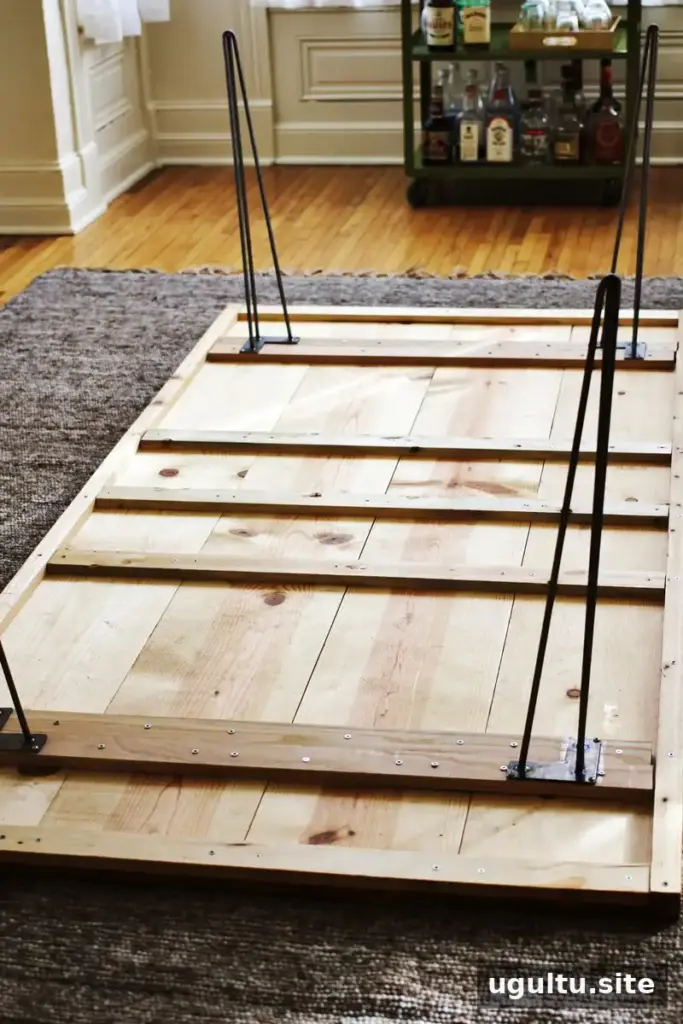
The tabletop was assembled upside down, with framing wood added around the edges for a more finished appearance. The boards underneath were arranged to brace and support the surface. Once the construction was complete, the table was turned upright, sanded, and prepared for staining. The build took a few days, with additional help during assembly.
Before moving on to the finish, check that the boards and frame are secure and that the table sits steadily. Sanding the surface helps prepare it for stain; follow the directions for the products and tools you use.
Choosing stain and sealing the wood
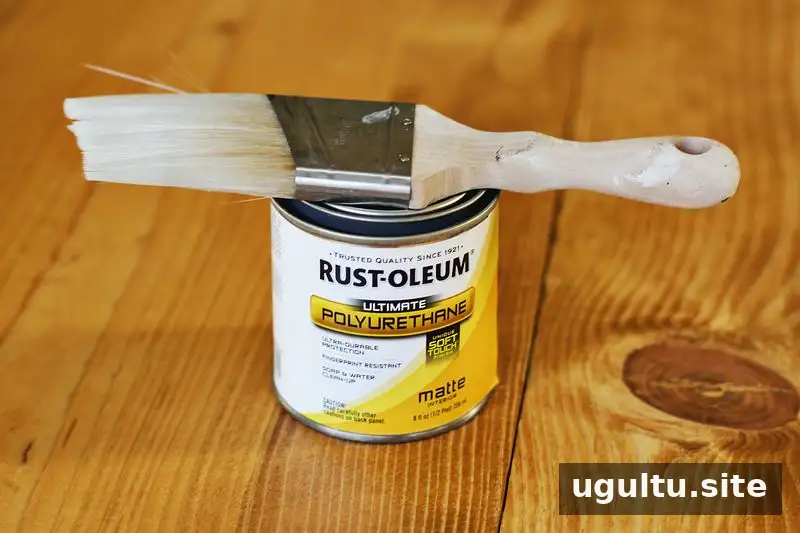
Look at the other wood tones in the room when choosing a stain. For this table, the existing floors had a honey-colored tone, so a similar—but not identical—stain was selected. Wipe away dust and let the wood dry before applying stain.
Apply a light coat to a small area with a brush, then wipe away excess stain with an old towel or cloth. Starting with a thin coat makes it easier to build up the color gradually. Follow the stain label for drying times and application guidance.
After staining, the table was sealed with polyurethane. A protective finish can make the surface easier to wipe clean after meals. Even with a sealant, using coasters for cold drinks is a sensible way to help protect the finish.
The finished DIY dining room table
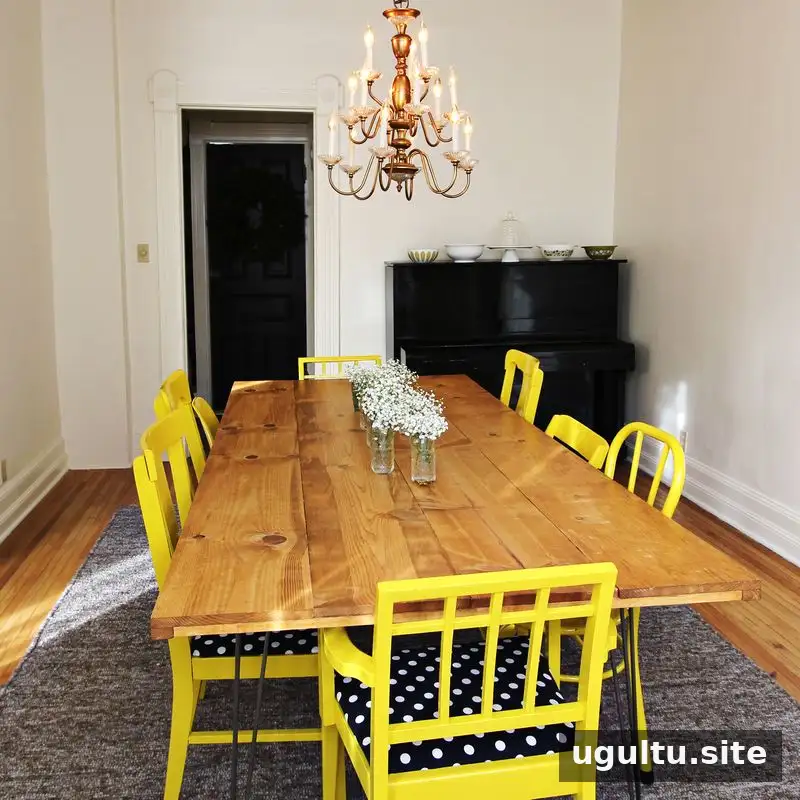
The completed table combines visible wood grain, a honey-colored finish, and four understated hairpin legs. Its size provides seating for eight, and building it made it possible to choose a style and scale suited to the home. The reported supply cost was about $350, and the project was described as saving thousands compared with the desired ready-made table.
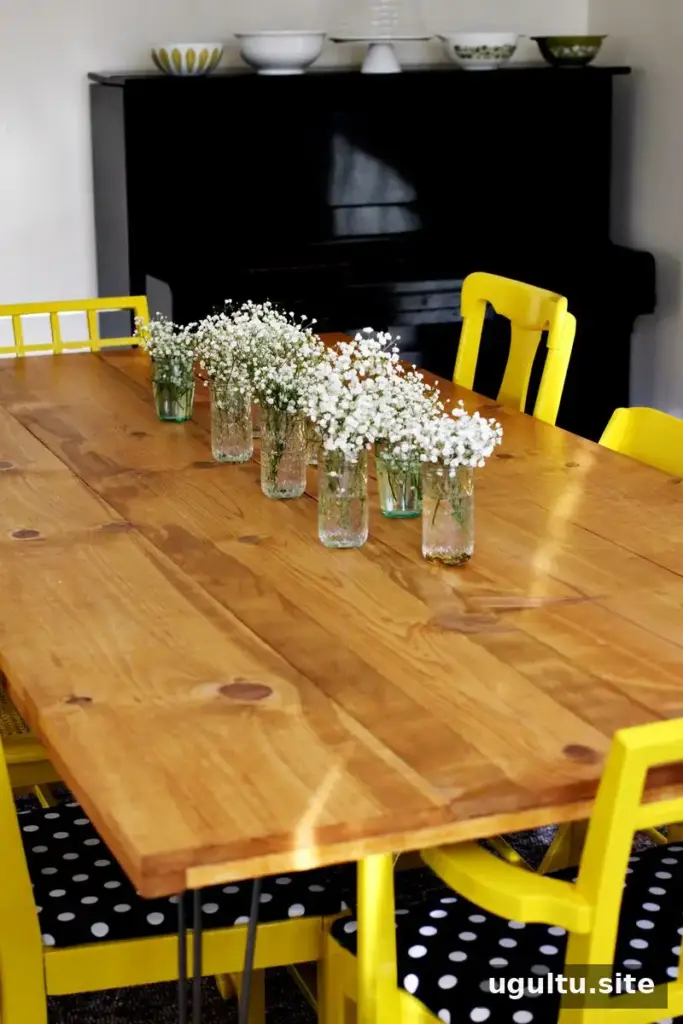
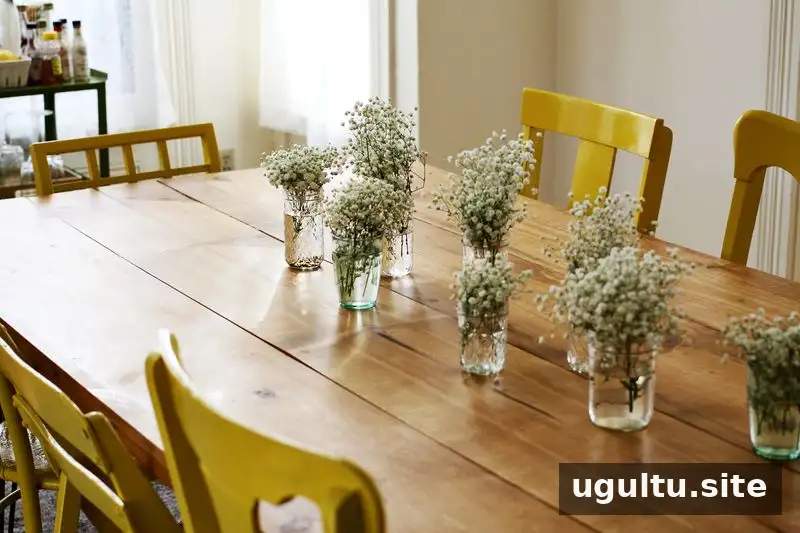
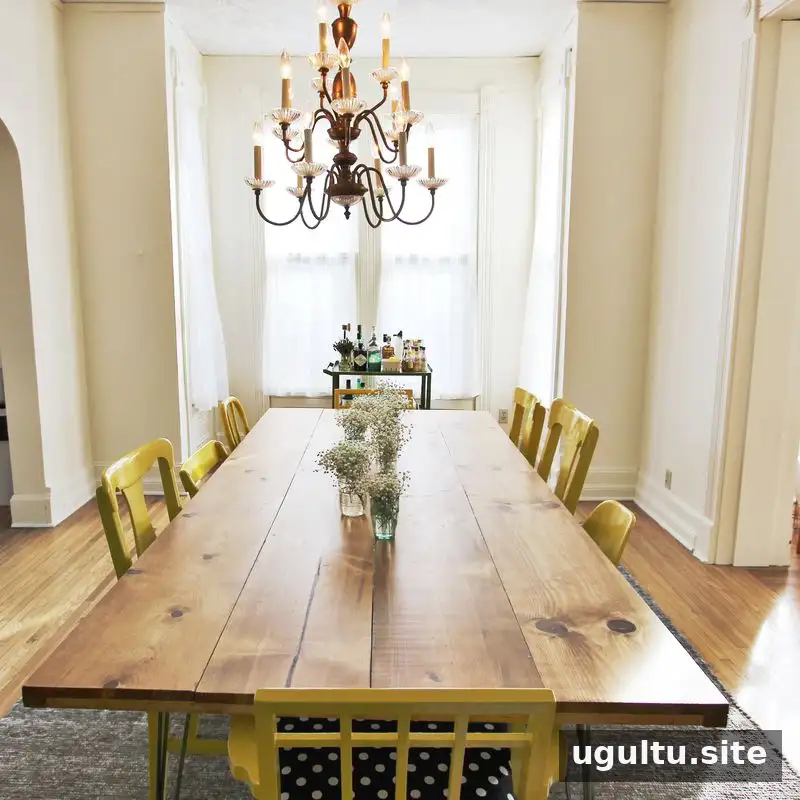

Building a DIY dining room table requires planning, suitable lumber, and time for assembly and finishing. This project shows how a plank top, a supportive underside frame, stain, and polyurethane can come together in a custom table for eight. Use room measurements to guide the design, and allow the finish to dry according to its product instructions before putting the table into regular use.
— Elsie


