
 admin
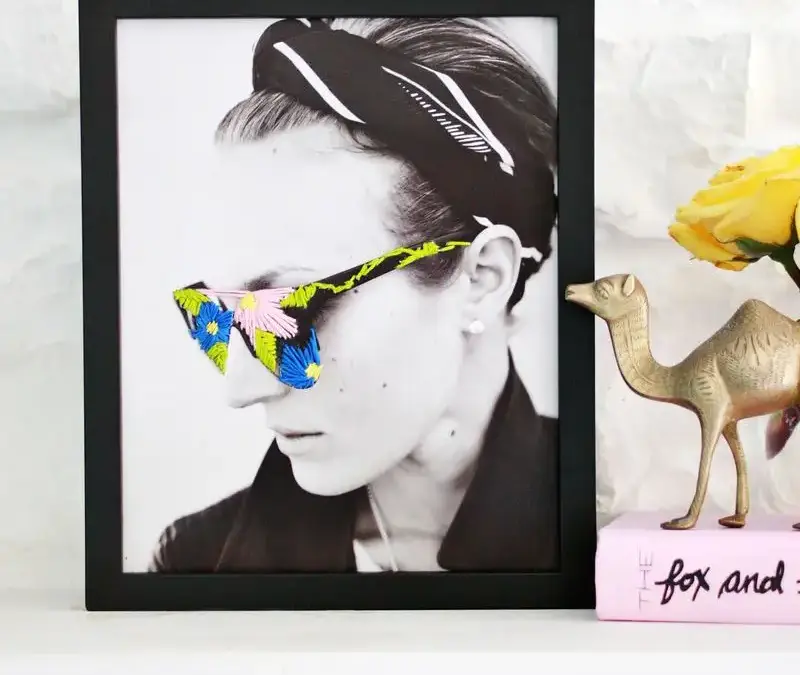
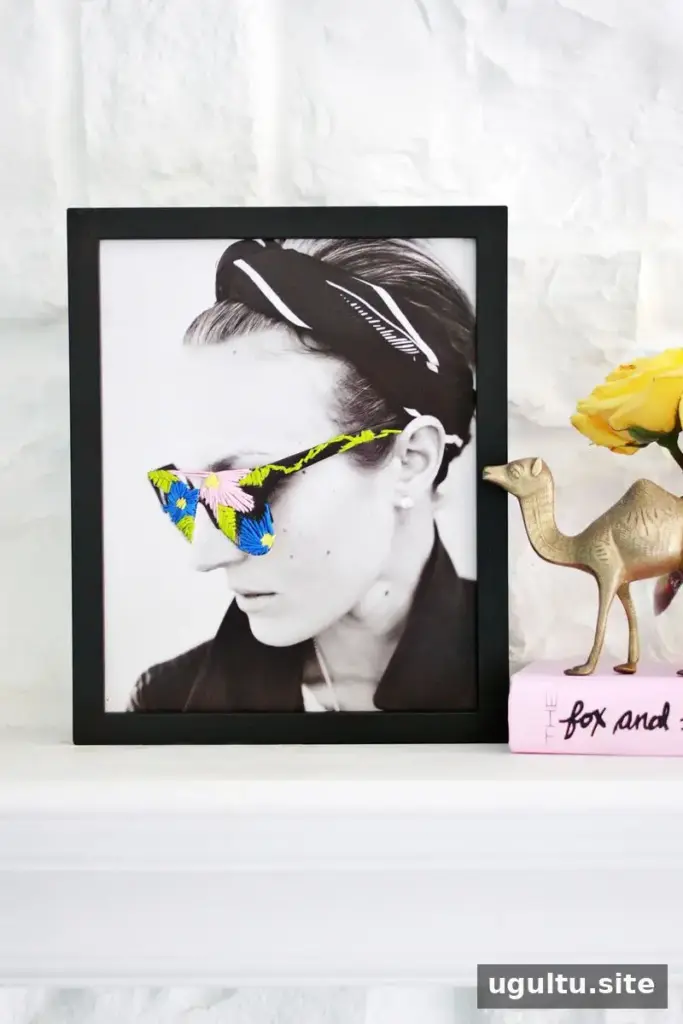
Embroidered photo art combines a printed photograph with colorful thread to create a tactile, handmade piece. A few carefully placed stitches can highlight details in a portrait or scene without covering the image. Artist Jose Romussi is known for pairing embroidery with photography, and this project uses the same general idea to embellish a photo at home.
Choose a photograph with a clear feature you can emphasize, such as a hat, sunglasses, a doorway or a car. Keep the stitching focused on selected areas so the original image remains easy to see.
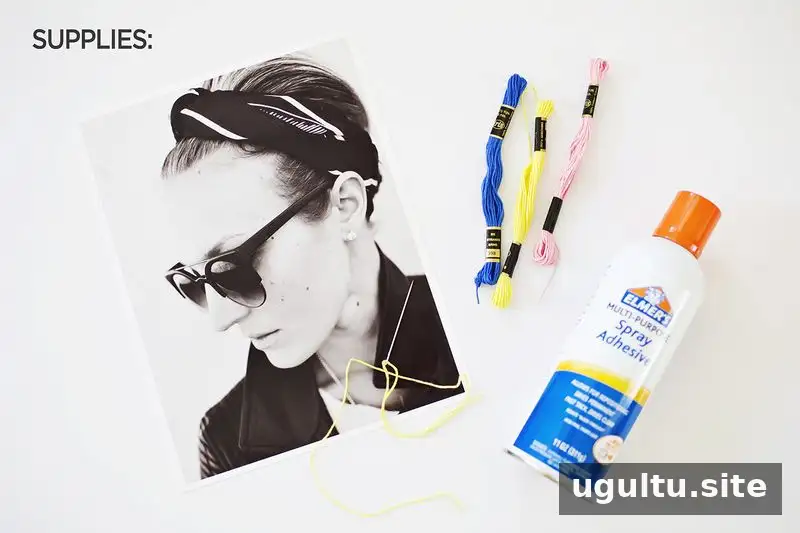
Supplies for embroidered photo art
Gather the following materials before you begin:
- A printed photo
- Cardstock
- A yarn needle
- Embroidery thread
- Spray adhesive
How to make embroidered photo art
Step 1: Choose and prepare the photograph
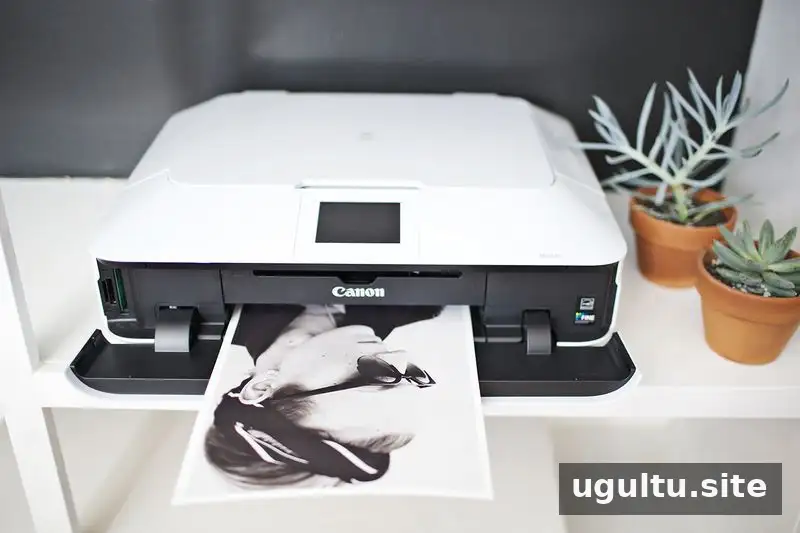
Select a photo with a subject or object that can be enhanced with thread. A small test print can help you plan where the stitched details will go before working on the final copy. Print the image at photo quality on semi-gloss photo paper. The original project used an MG7120 printer.
Attach the printed image to cardstock with spray adhesive. The cardstock provides support while sewing and helps the paper hold its shape. Use the adhesive according to its label and allow it to set before stitching.
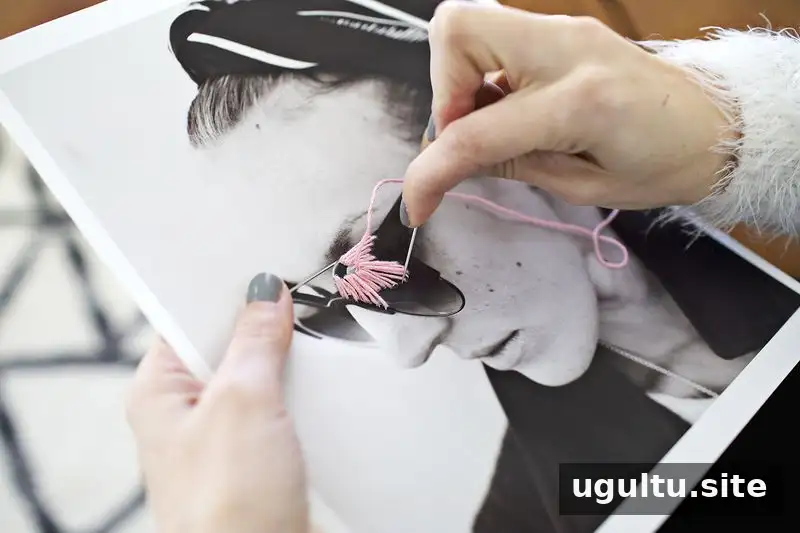
Step 2: Plan and stitch the flowers
Decide where to place the largest flowers. If you are unsure about the composition, sketch the placement on a separate test print first. Thread and knot the needle with your chosen color, then make a few test stitches to get comfortable with the technique.
To form each flower, begin with scattered stitches that mark the longest and shortest parts of the petals. Add stitches between them, gradually changing their length to shape the petals. Work slowly and keep the thread tension even.
Because the needle makes holes in the photograph, reuse the same holes where practical. Around the flower center, vary the placement of the holes rather than repeatedly piercing one small spot; this helps prevent damage to the paper.
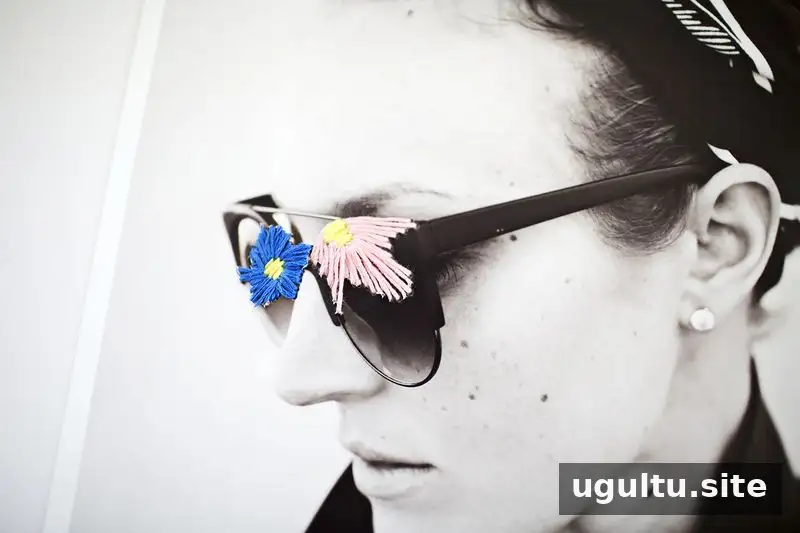
Step 3: Add flower centers
Once the petals are in place, fill the center with a few parallel stitches. Keep these stitches close together but avoid pulling them so tightly that the paper buckles.
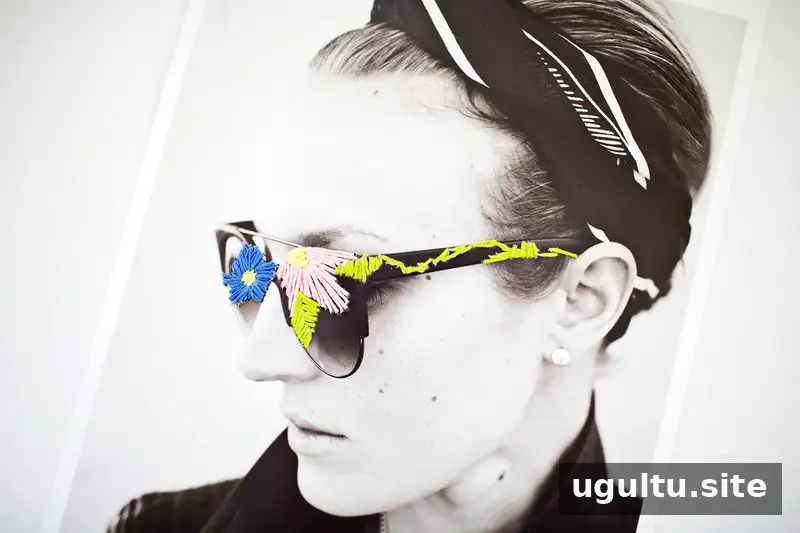
Step 4: Stitch leaves and finish
Make a leaf with a series of longer and shorter stitches that meet along its center line. Add leaves and flowers where they complement the photograph, taking care not to overcrowd important details. When you are happy with the design, place the finished piece in a frame.
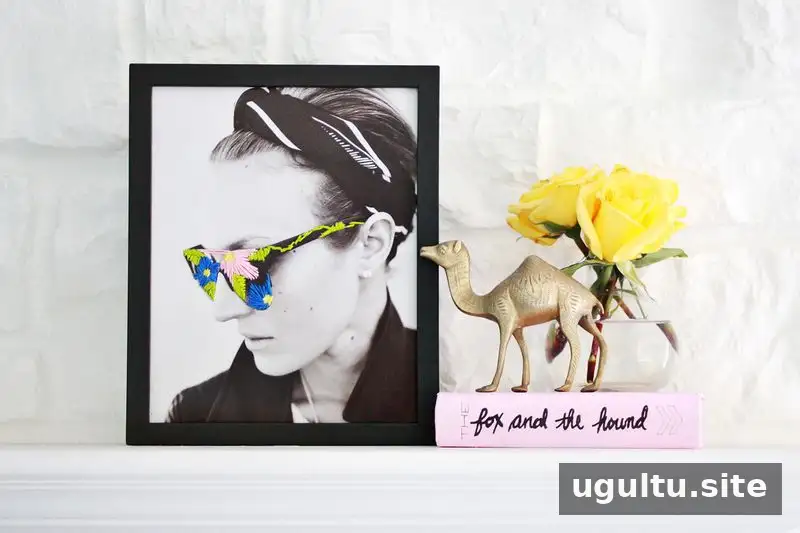
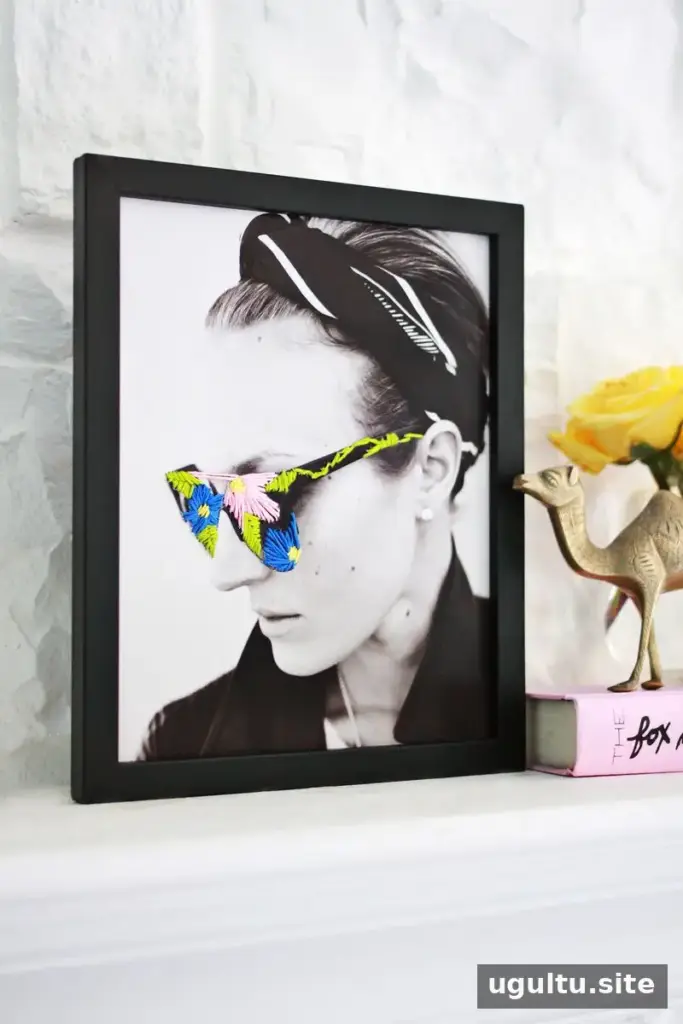
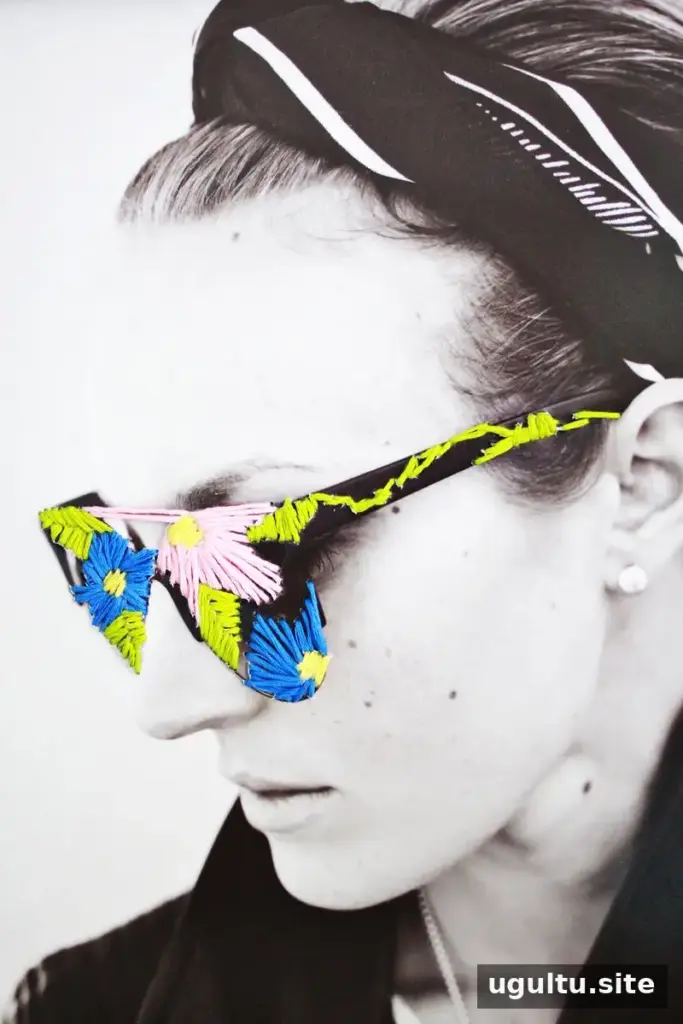
Embroidery gives a photograph a handmade texture and lets you personalize a treasured image with color and detail. For a balanced result, start with a few stitches, step back to check the composition, and add more only where they improve the picture. With a thoughtful photo and careful stitching, embroidered photo art can become a distinctive framed keepsake.
— Laura


