
 admin
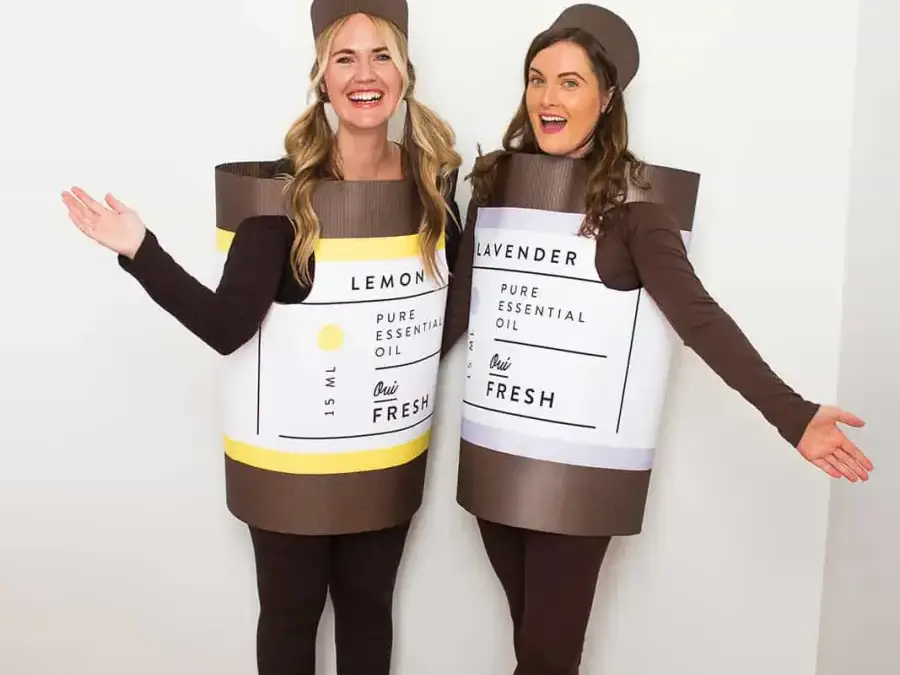
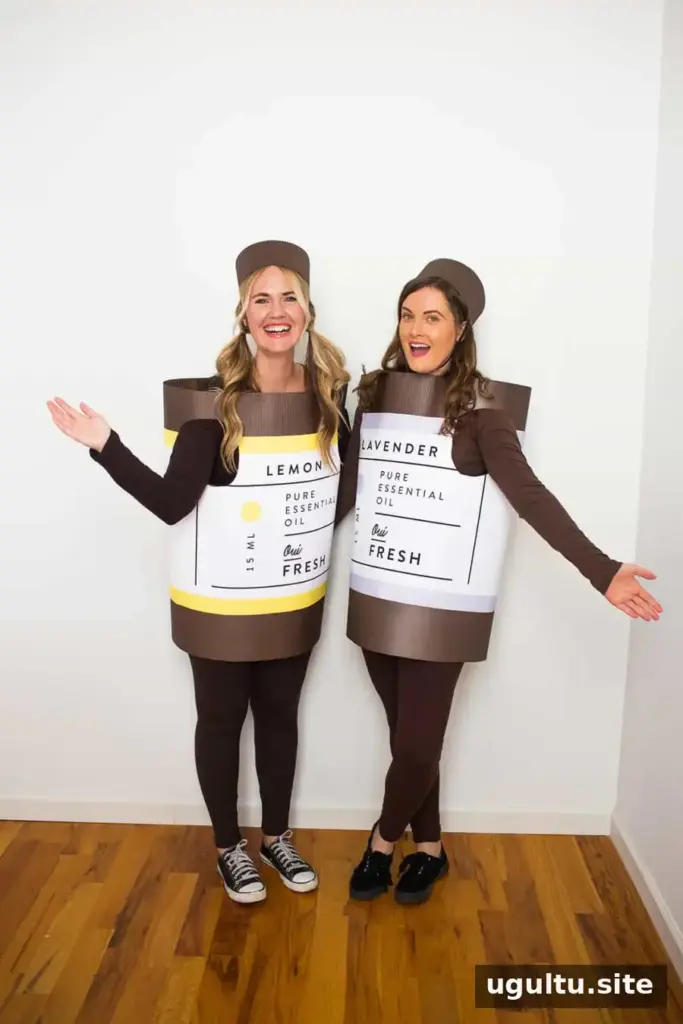
An essential oil Halloween costume is a playful option for anyone looking for a distinctive, easy-to-recognize outfit. The bottle shape is simple to build from corrugated cardboard, and the finished costume can be customized with a printed label and matching cap. With a few basic craft supplies, you can make one for a Halloween party or an evening of trick-or-treating.
Why make an essential oil Halloween costume?
This costume is designed to be funny and a little unexpected. Its basic bottle shape can also be adapted for other themed outfits: use the same construction method and change the label, colors, and cap details to create a different kind of bottle costume.
The outfit is worn over a shirt and leggings, so you can choose layers that suit the weather. For a chilly evening, long sleeves and leggings provide extra coverage; in warmer conditions, a short-sleeve shirt may be more comfortable.
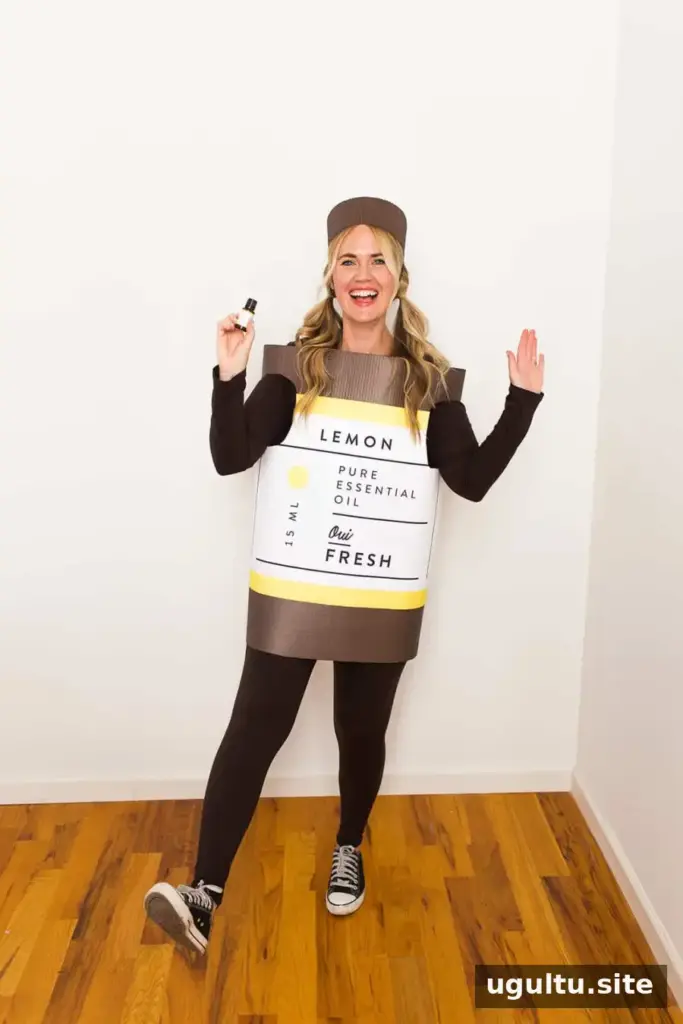
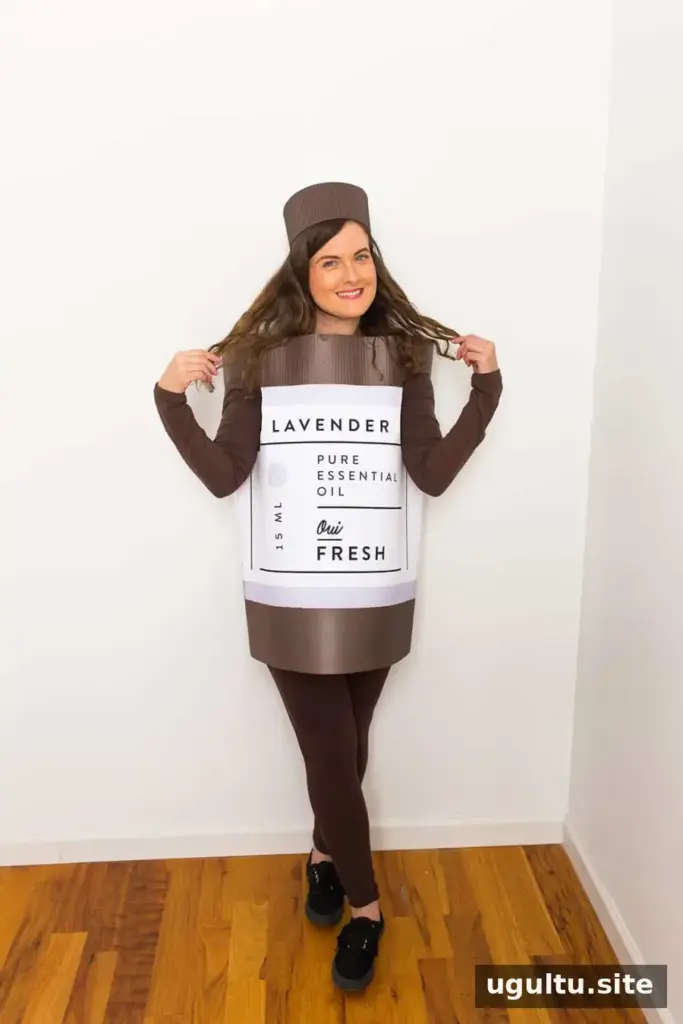
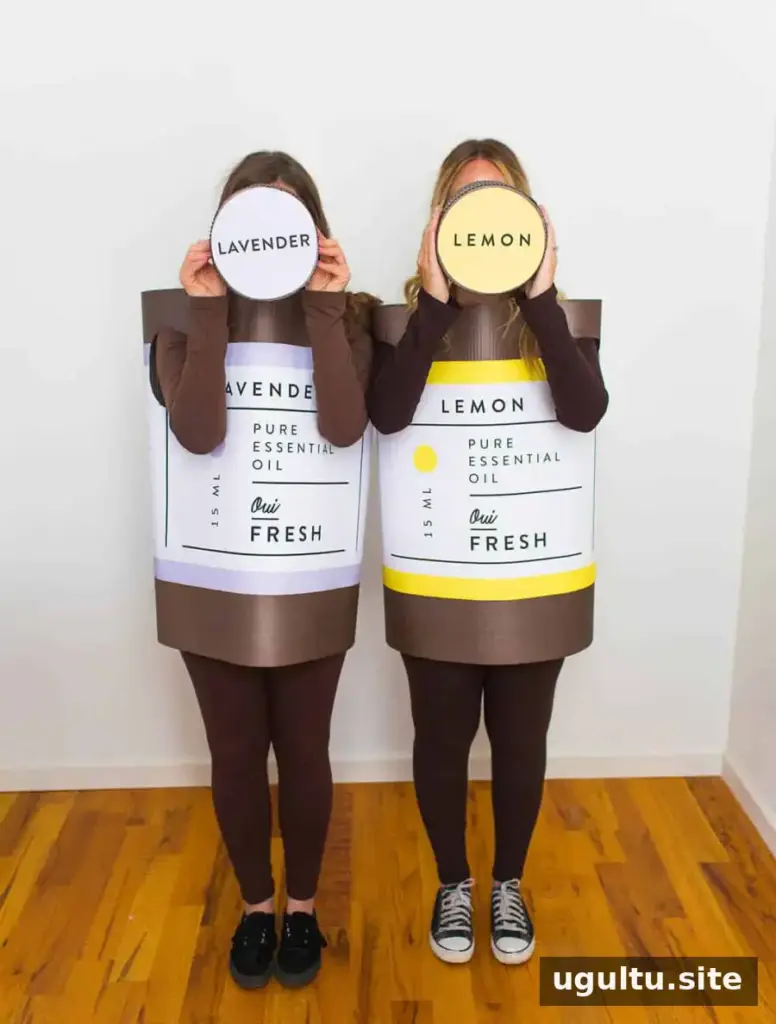
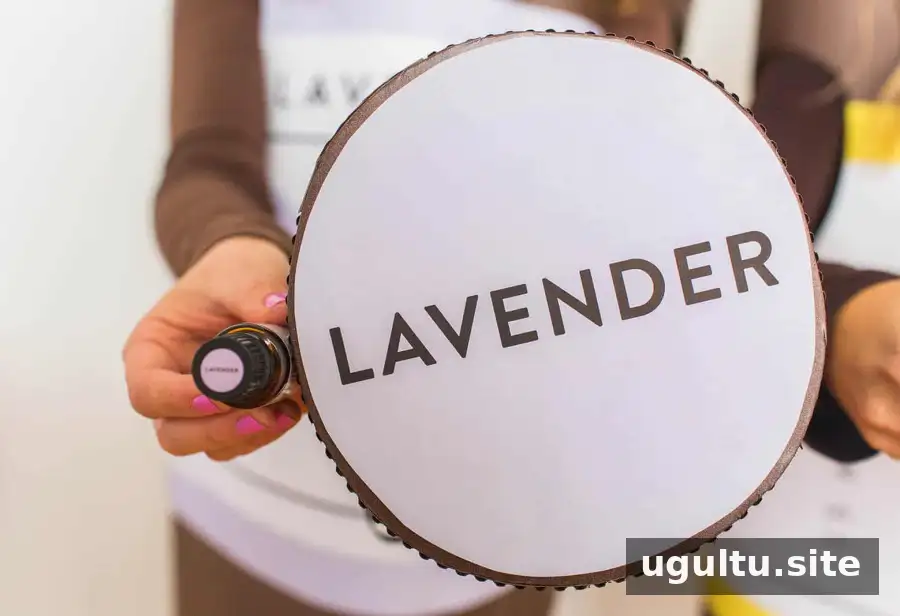
Making a second bottle costume is a simple way for friends to coordinate. Bottle-cap stickers or other small decorative details can help give each outfit a finished look.
Supplies for the costume
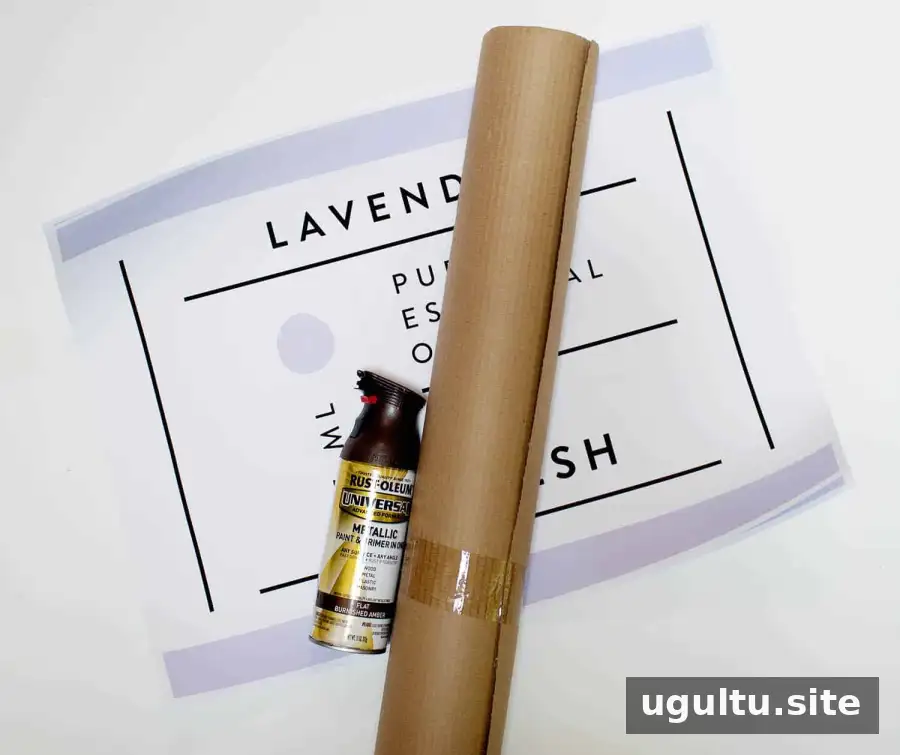
- Corrugated cardboard roll; the amount described in the original instructions is enough for three costumes
- Brown spray paint
- Poster-size labels with enlarged bottle designs
- Packing tape or duct tape, plus masking tape
- Glue dots
- Black or dark brown elastic
- Stapler and staples
- Scissors
- Long-sleeve brown shirt and leggings, or a short-sleeve shirt for warmer weather
Before starting, measure the wearer and check that the cardboard pieces will leave enough room to move comfortably. Work with spray paint outdoors or in a well-ventilated area, and follow the product’s drying instructions.
How to make the bottle costume
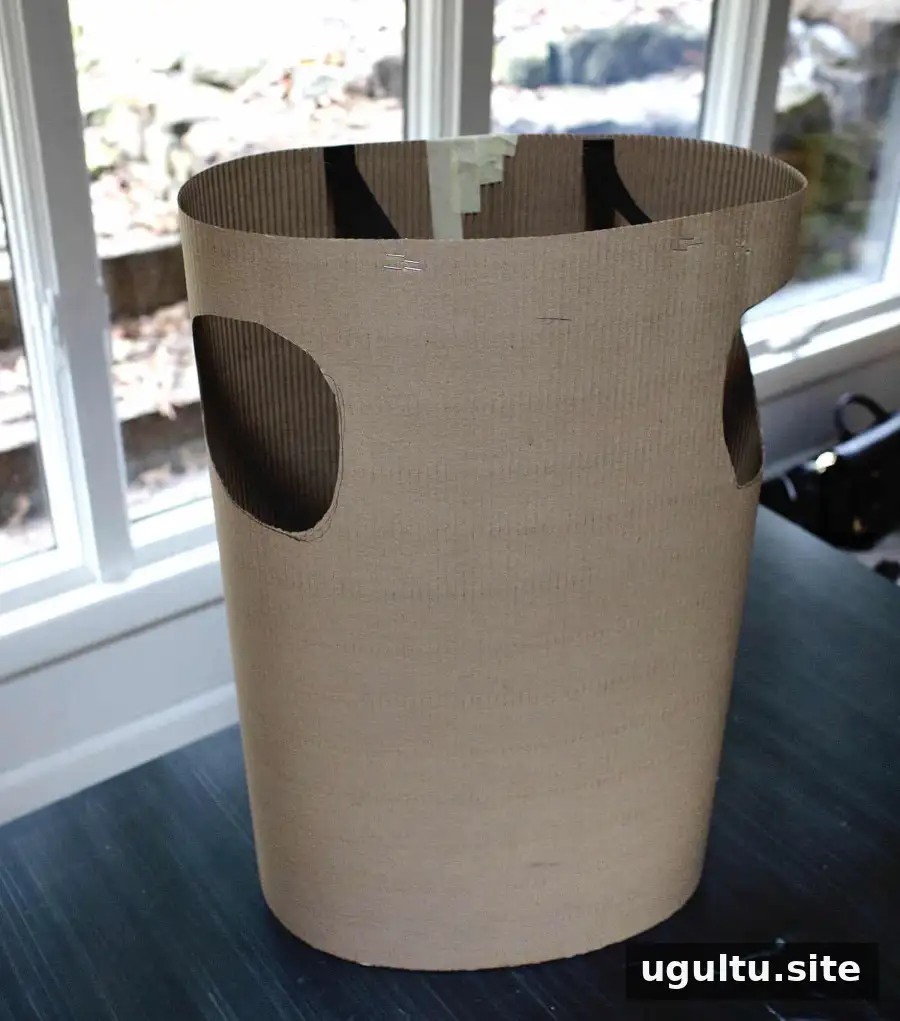
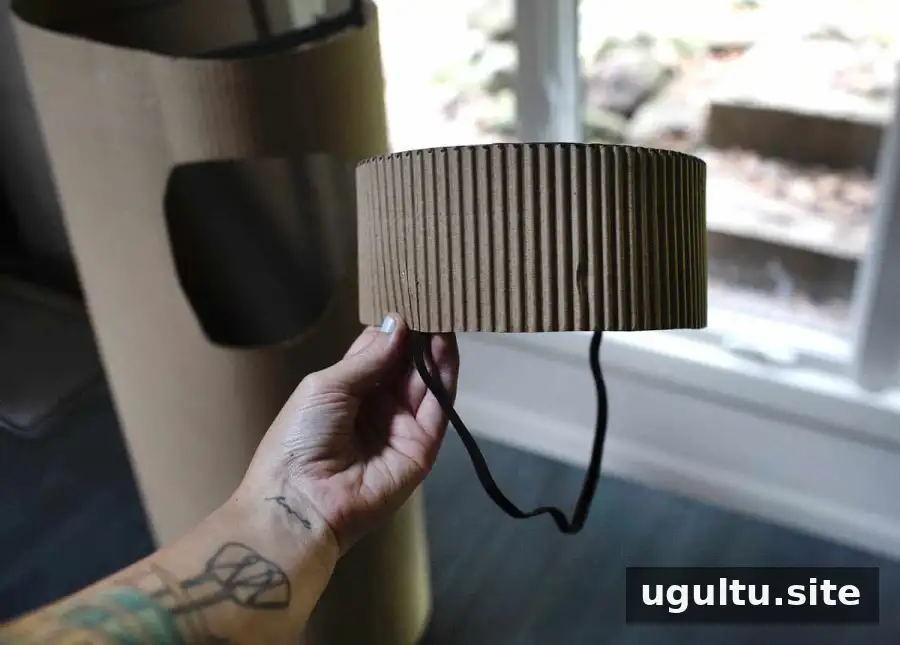
The costume is made from two main cardboard pieces: the bottle body and a cap-shaped hat. Assemble and test the fit before painting, so you can adjust the openings while the cardboard is still easy to trim.
Step 1: Shape the bottle body
Measure around the wearer’s hips and shoulders to estimate the size of the bottle body. Cut the cardboard to fit, then make small armholes. Try the piece on and enlarge the openings gradually if needed. Join the edges with strong tape, then cover the areas that will be painted with masking tape. Spray paint may not adhere well to shiny tape.
Step 2: Build the bottle cap
Use the other side of the corrugated cardboard to create ridges that resemble a bottle cap. Tape the piece into shape and add a cardboard top. Cover any exposed outer areas that you plan to paint with masking tape.
Step 3: Paint and add straps
Spray paint the bottle body and cap, then let both pieces dry completely. Staple elastic shoulder straps to the bottle body and add a chin strap to the cap. Check that the straps feel secure but are not uncomfortably tight.
Step 4: Attach the label
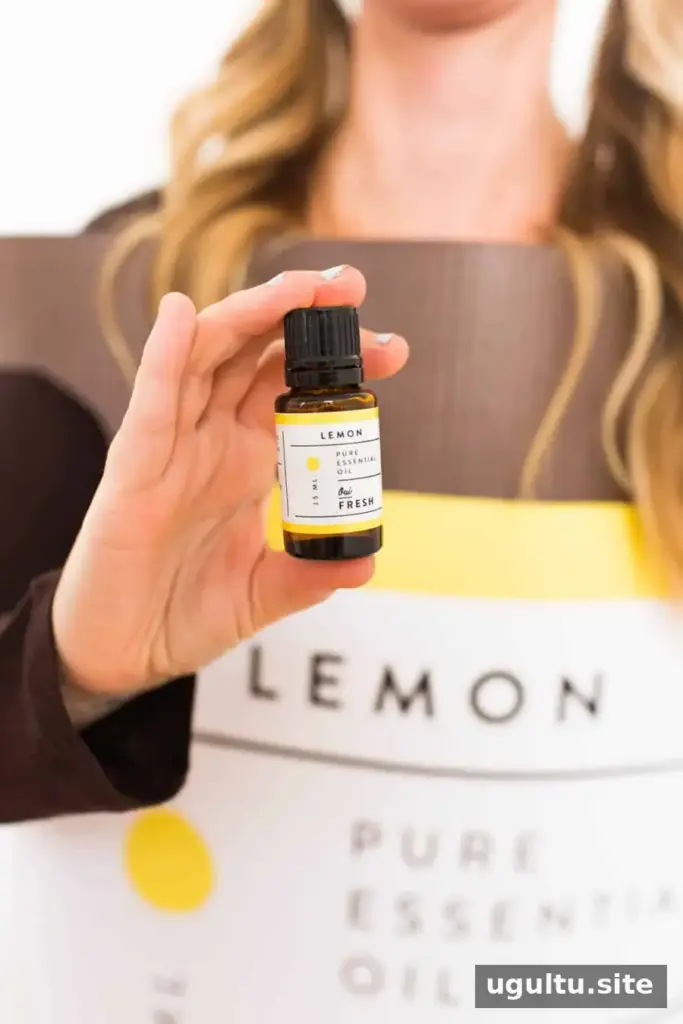
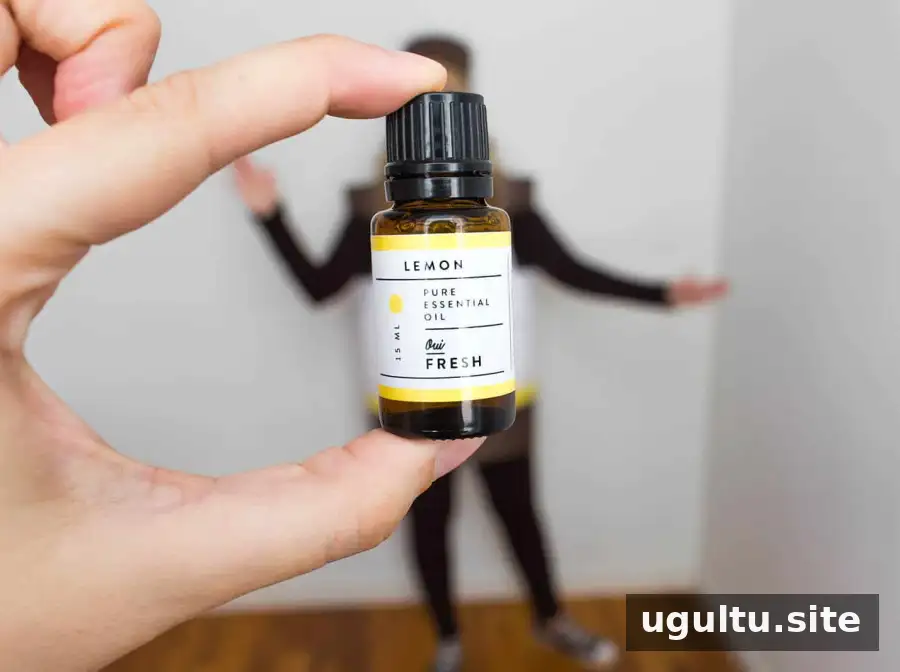
Trim the poster-size label to fit the bottle and attach it with glue dots. If you prefer, paint the label directly onto the cardboard instead. Allow any paint or adhesive to dry before wearing the costume.
Wearing and adjusting the costume
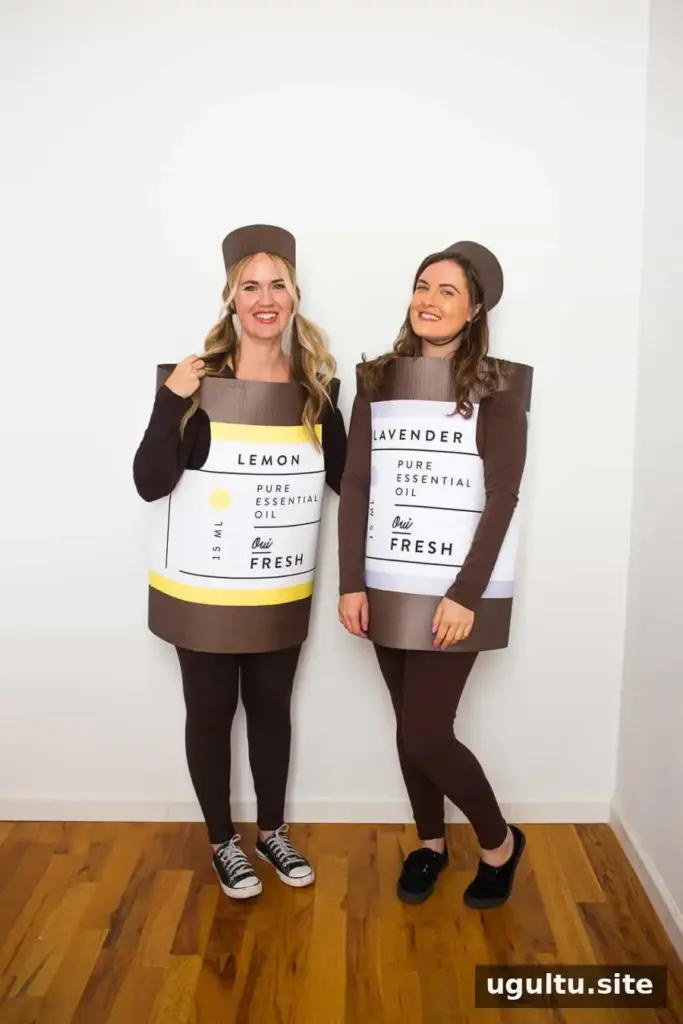
Wear the bottle over a brown shirt and leggings, then put on the cap. The cardboard shell slips over the head, while the elastic straps help it rest on the shoulders. It may take more effort to put on than ordinary clothing, so try it on before Halloween and make any fit adjustments in advance.
Make sure the armholes allow comfortable movement and that the costume does not block your view or make walking difficult. For trick-or-treating, check that the wearer can move safely and that the cardboard edges and staples are covered or positioned away from the skin.
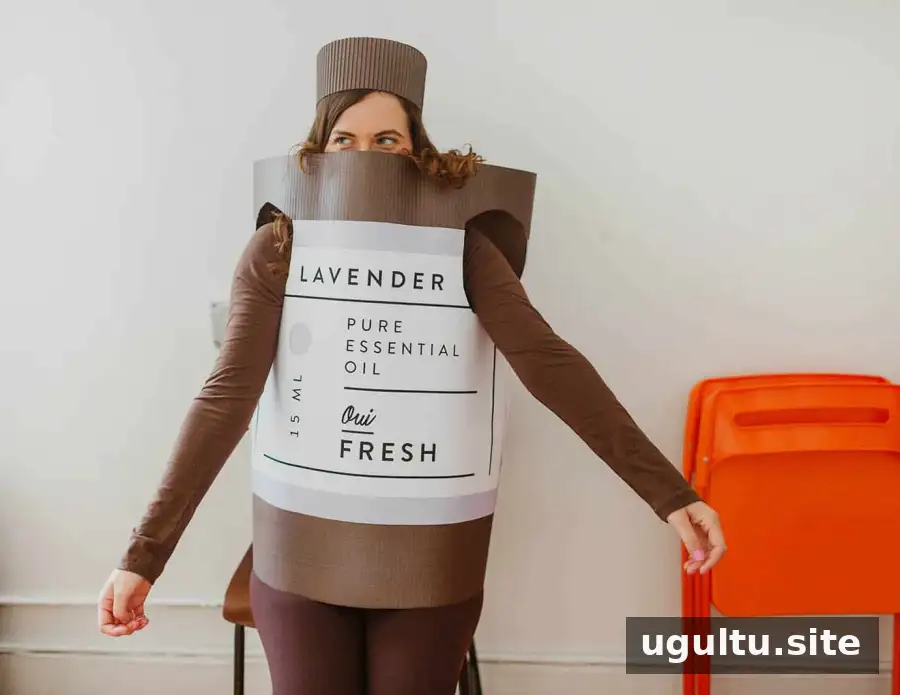
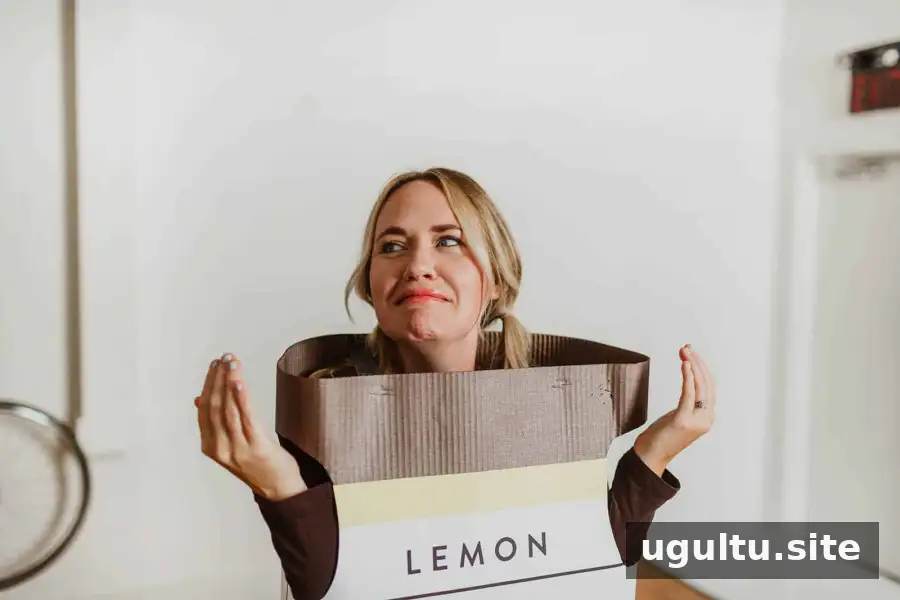
Because this costume is made from taped and stapled cardboard, handle it gently and check the joins before wearing it. Keeping it dry and avoiding rough handling can help it hold together longer during a party or an evening out.
Final thoughts on an essential oil Halloween costume
An essential oil Halloween costume is a straightforward DIY project that combines a cardboard bottle, a matching cap, and a custom label. Measure carefully, test the fit before painting, and allow every painted piece to dry fully. These simple steps can make the costume more comfortable and help it stay in good condition throughout Halloween.
— Emma


